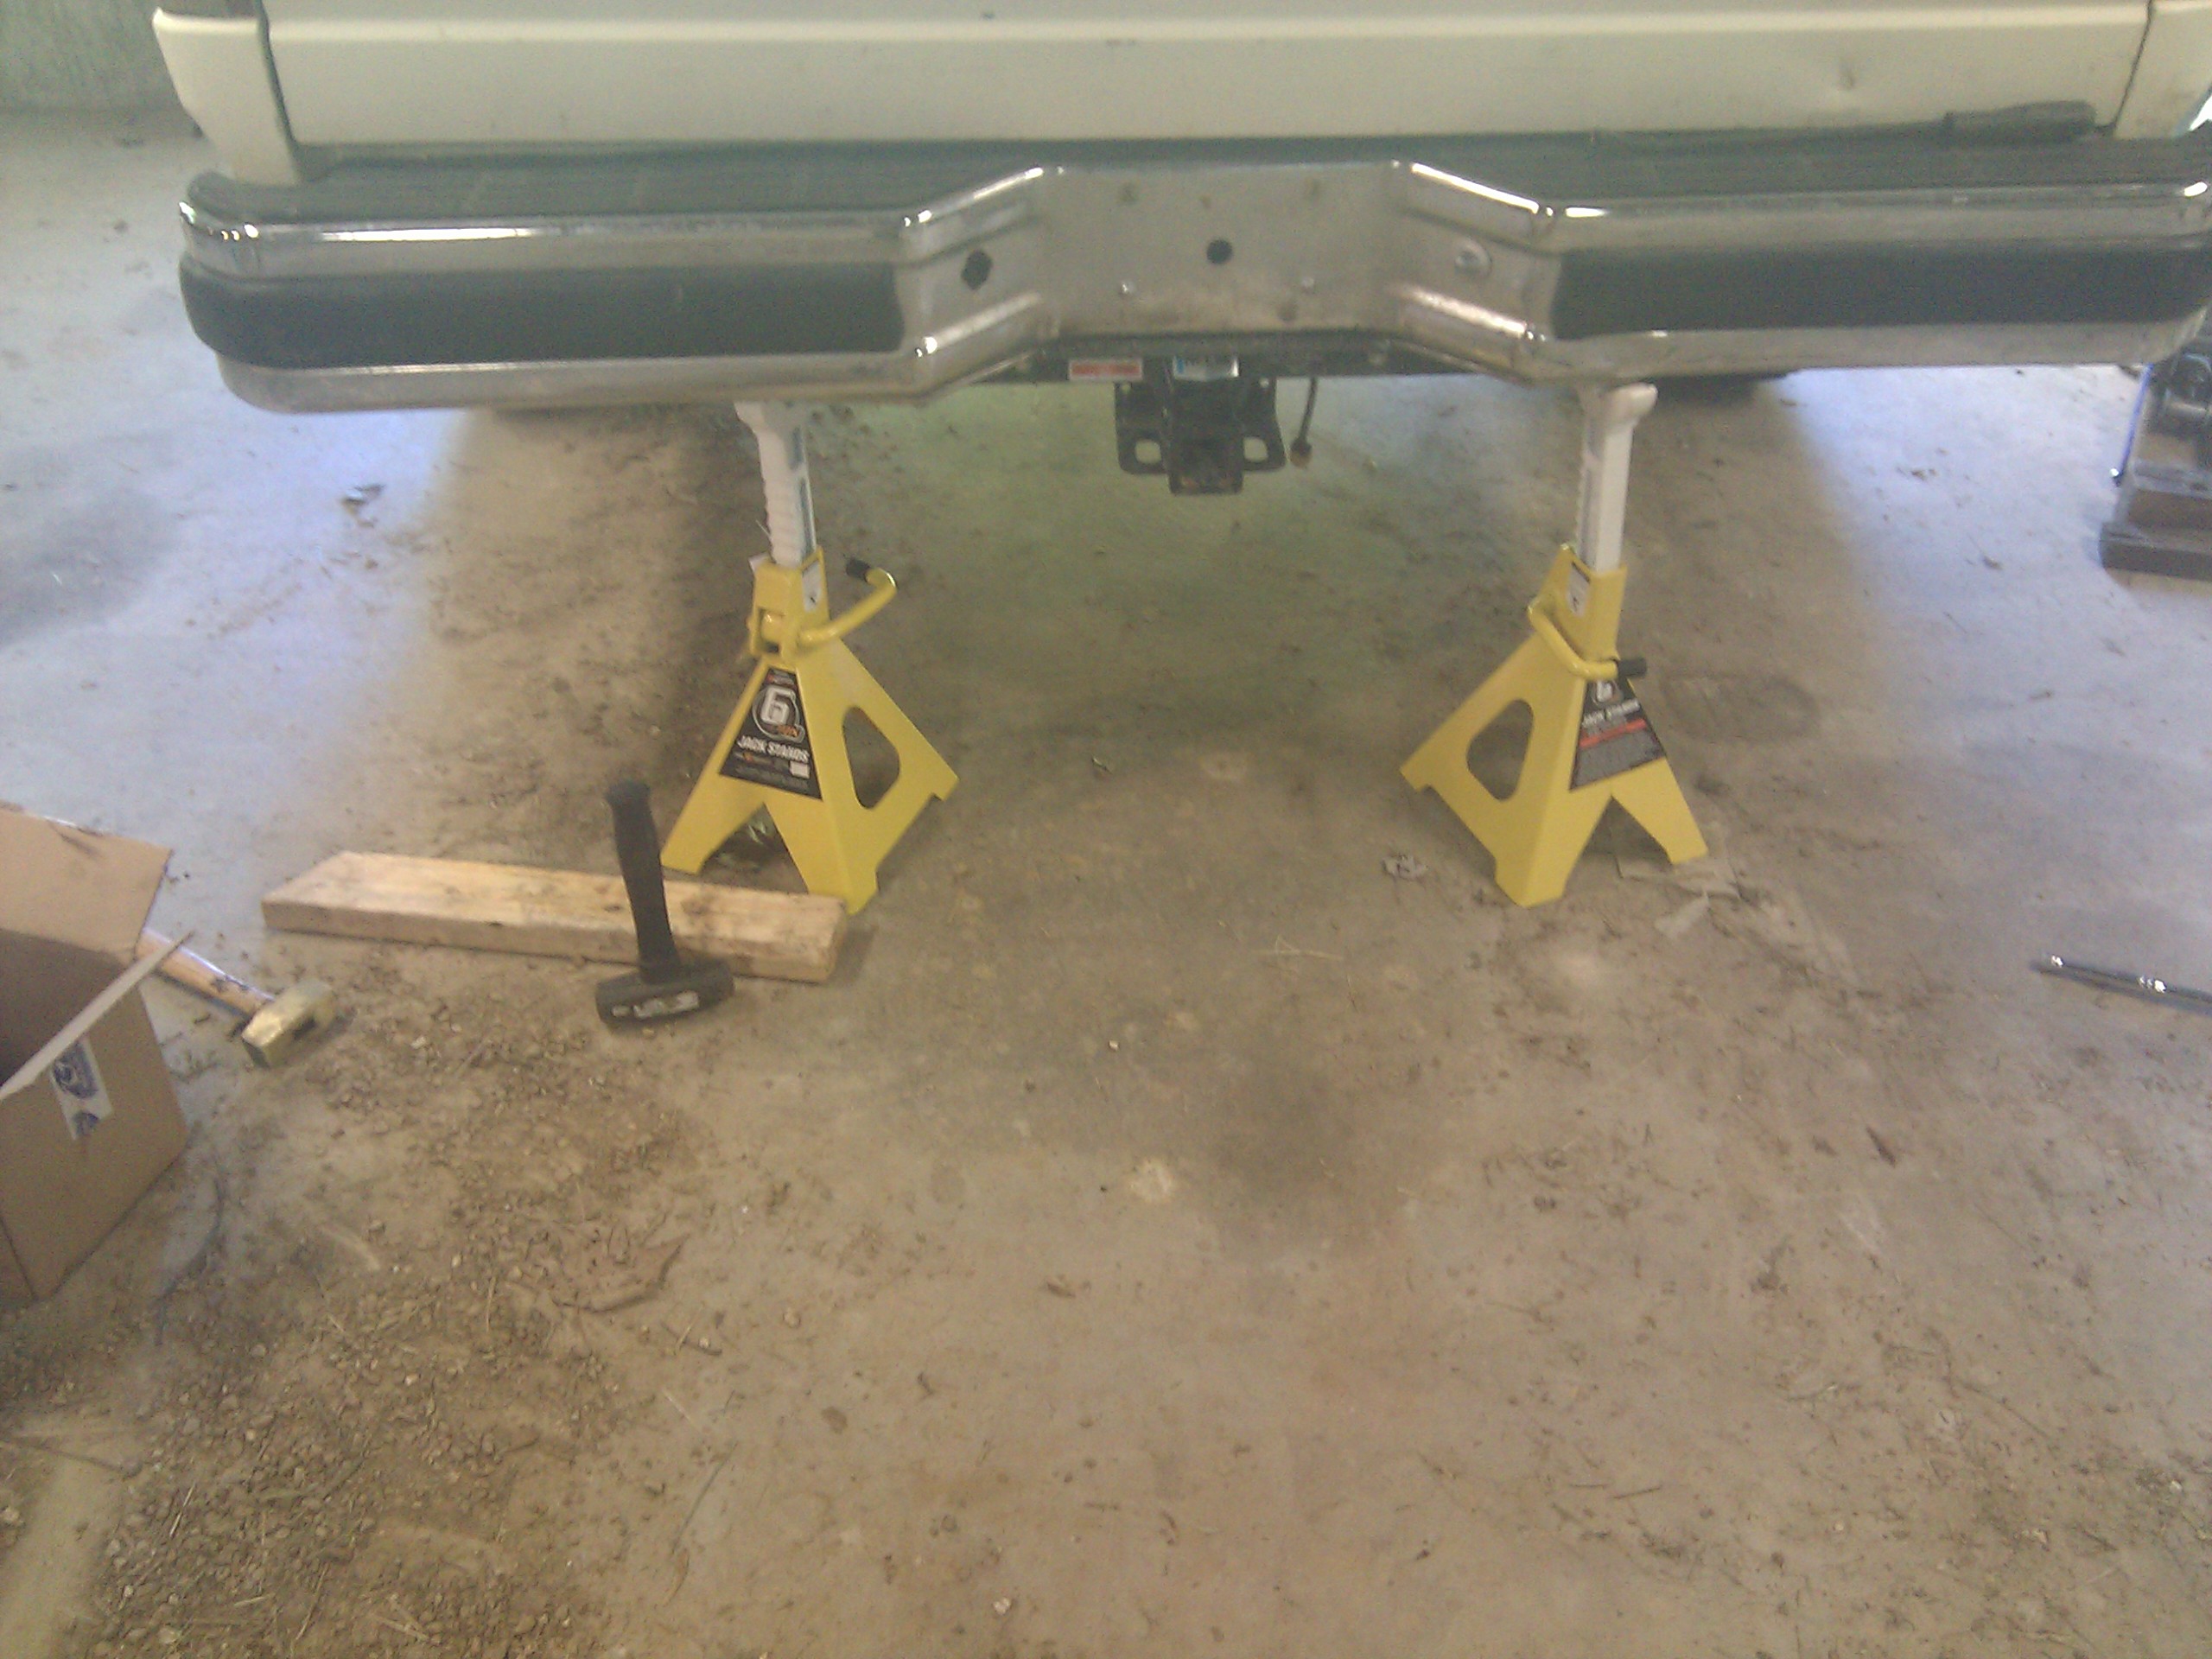
When I bought my truck, it had a step bumper with a trailer hitch ball on it. A while back, I managed to jacknife a trailer into the bumper while trying to back out of my driveway and bent the bumper up pretty badly. I pulled the bumper off, put on a trailer hitch, ziptied the license plate to the truck, and went about towing things around with impunity.
However, lo and behold I received a notification that my truck's registration was due for renewal and that I needed to pass a safety inspection. Turns out for whatever reason you need a bumper to pass safety, something about "it's supposed to be there" and "car accidents"???
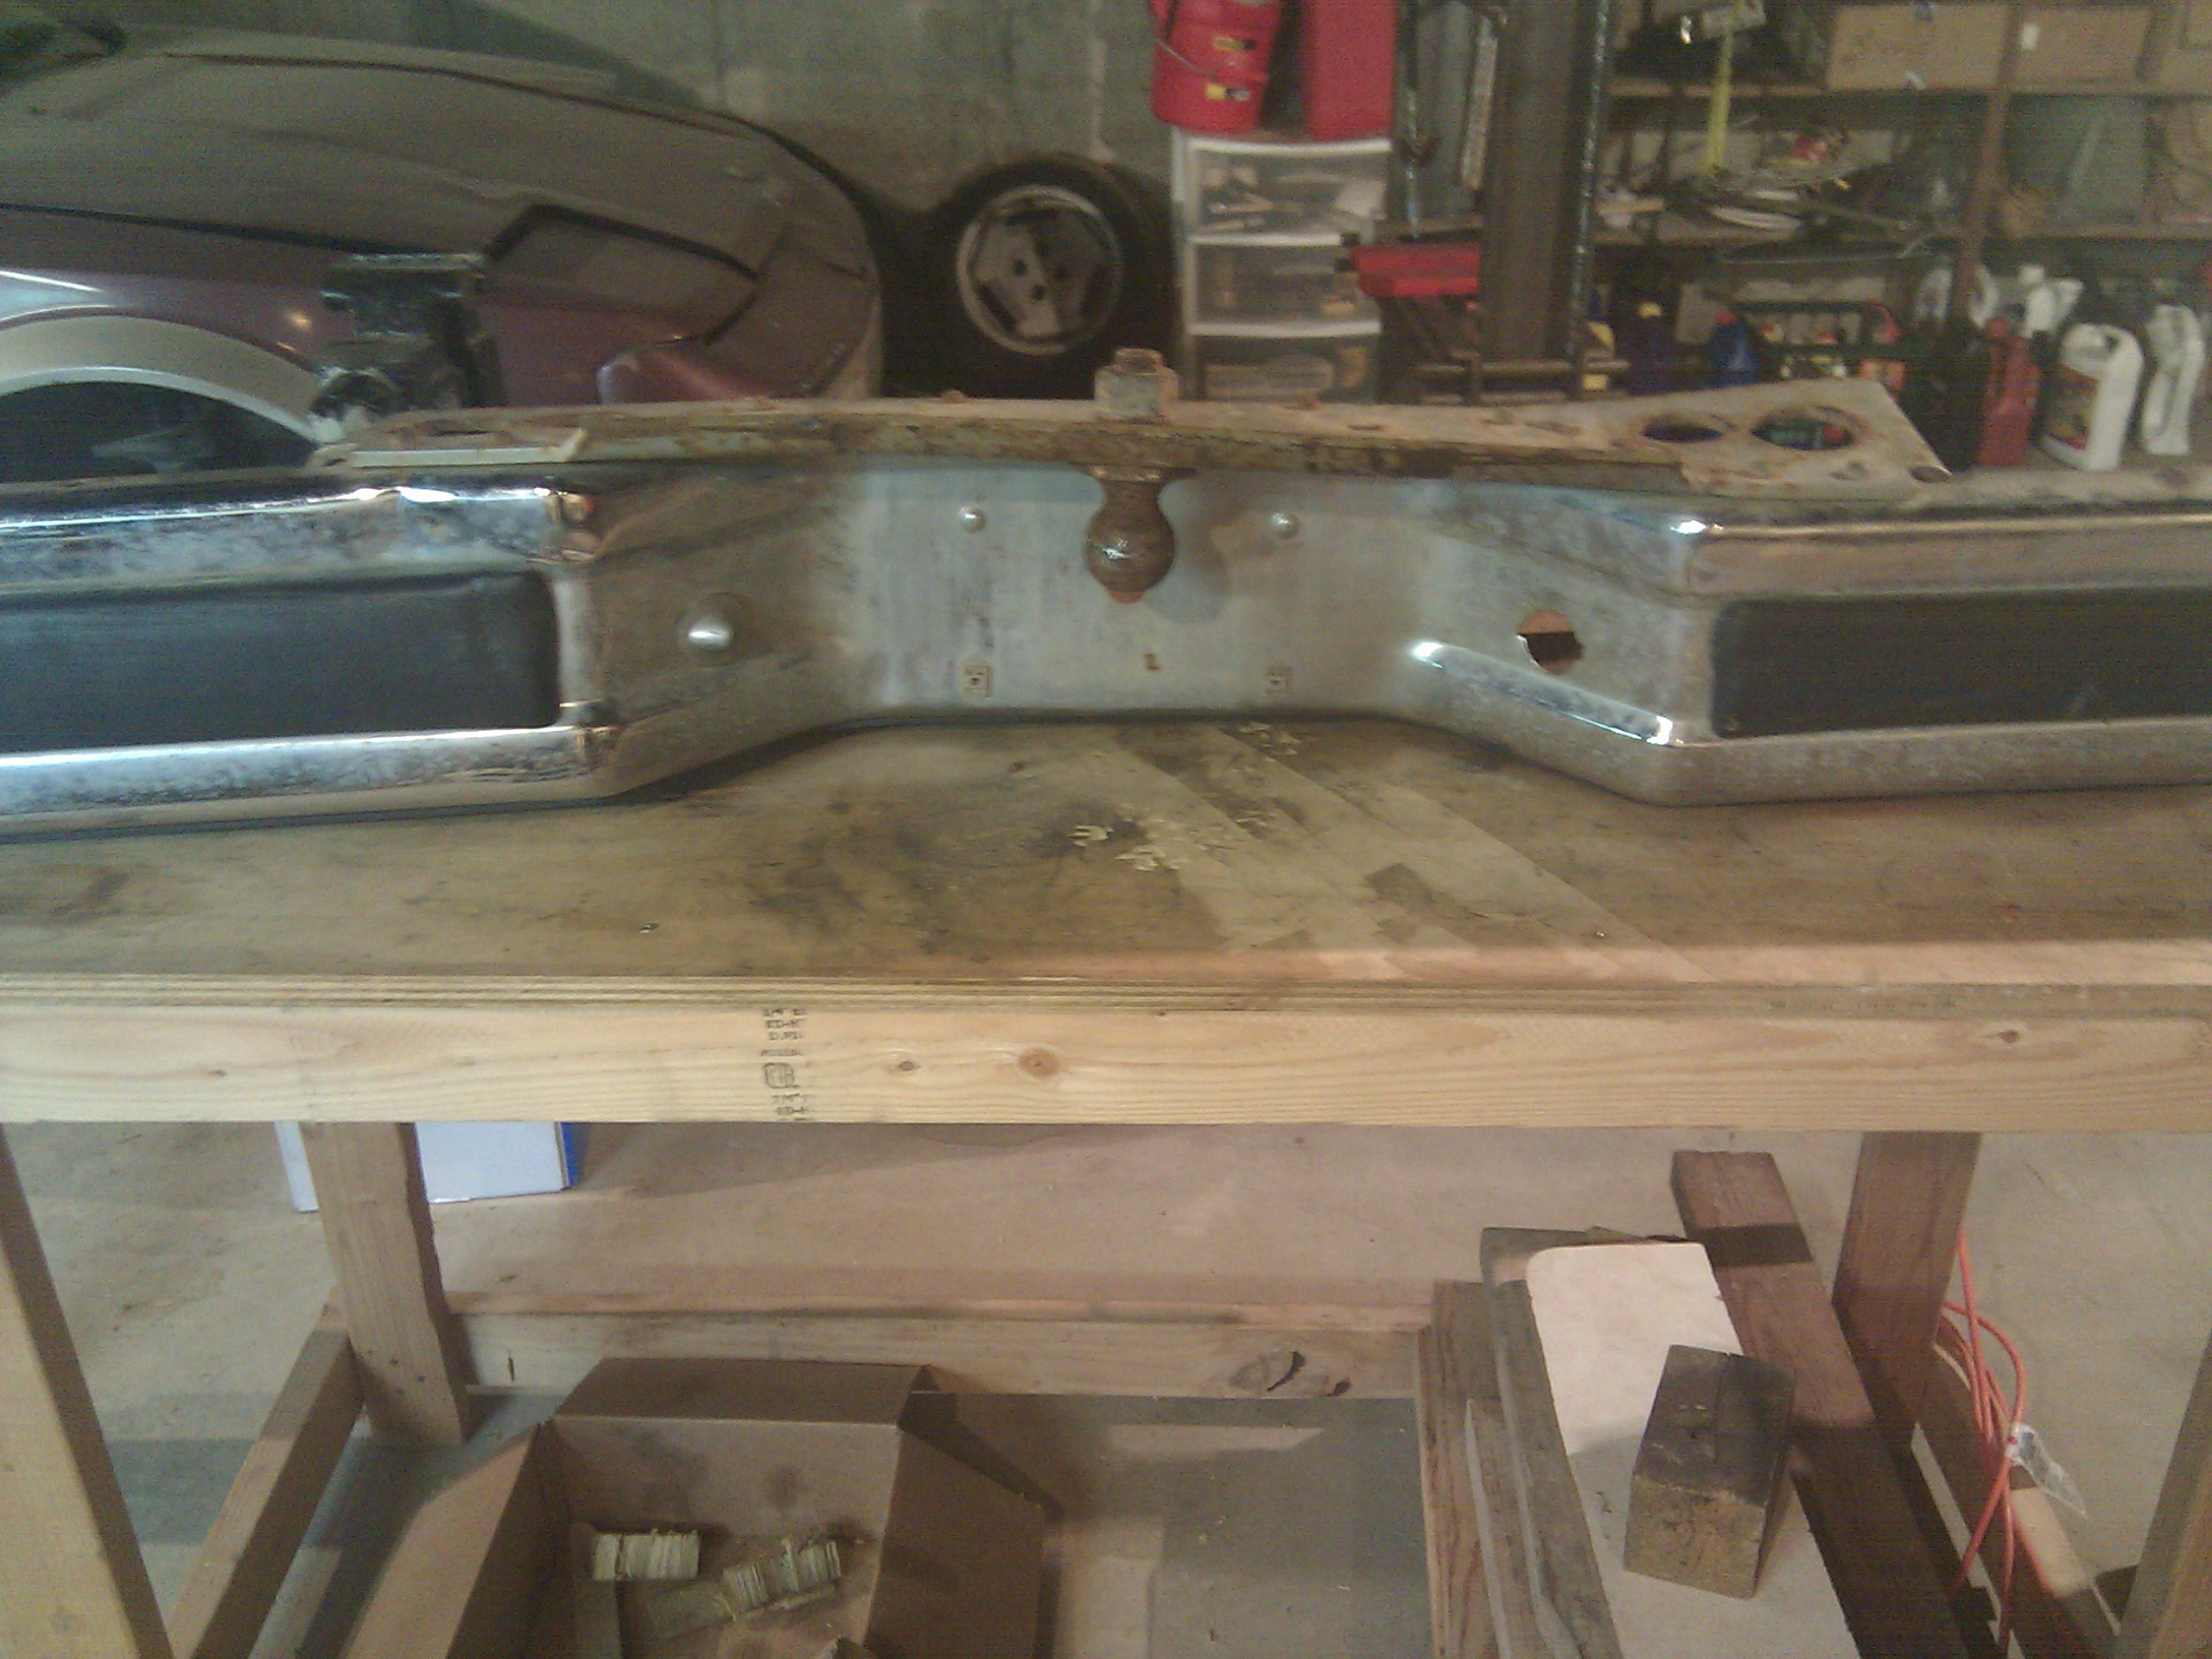
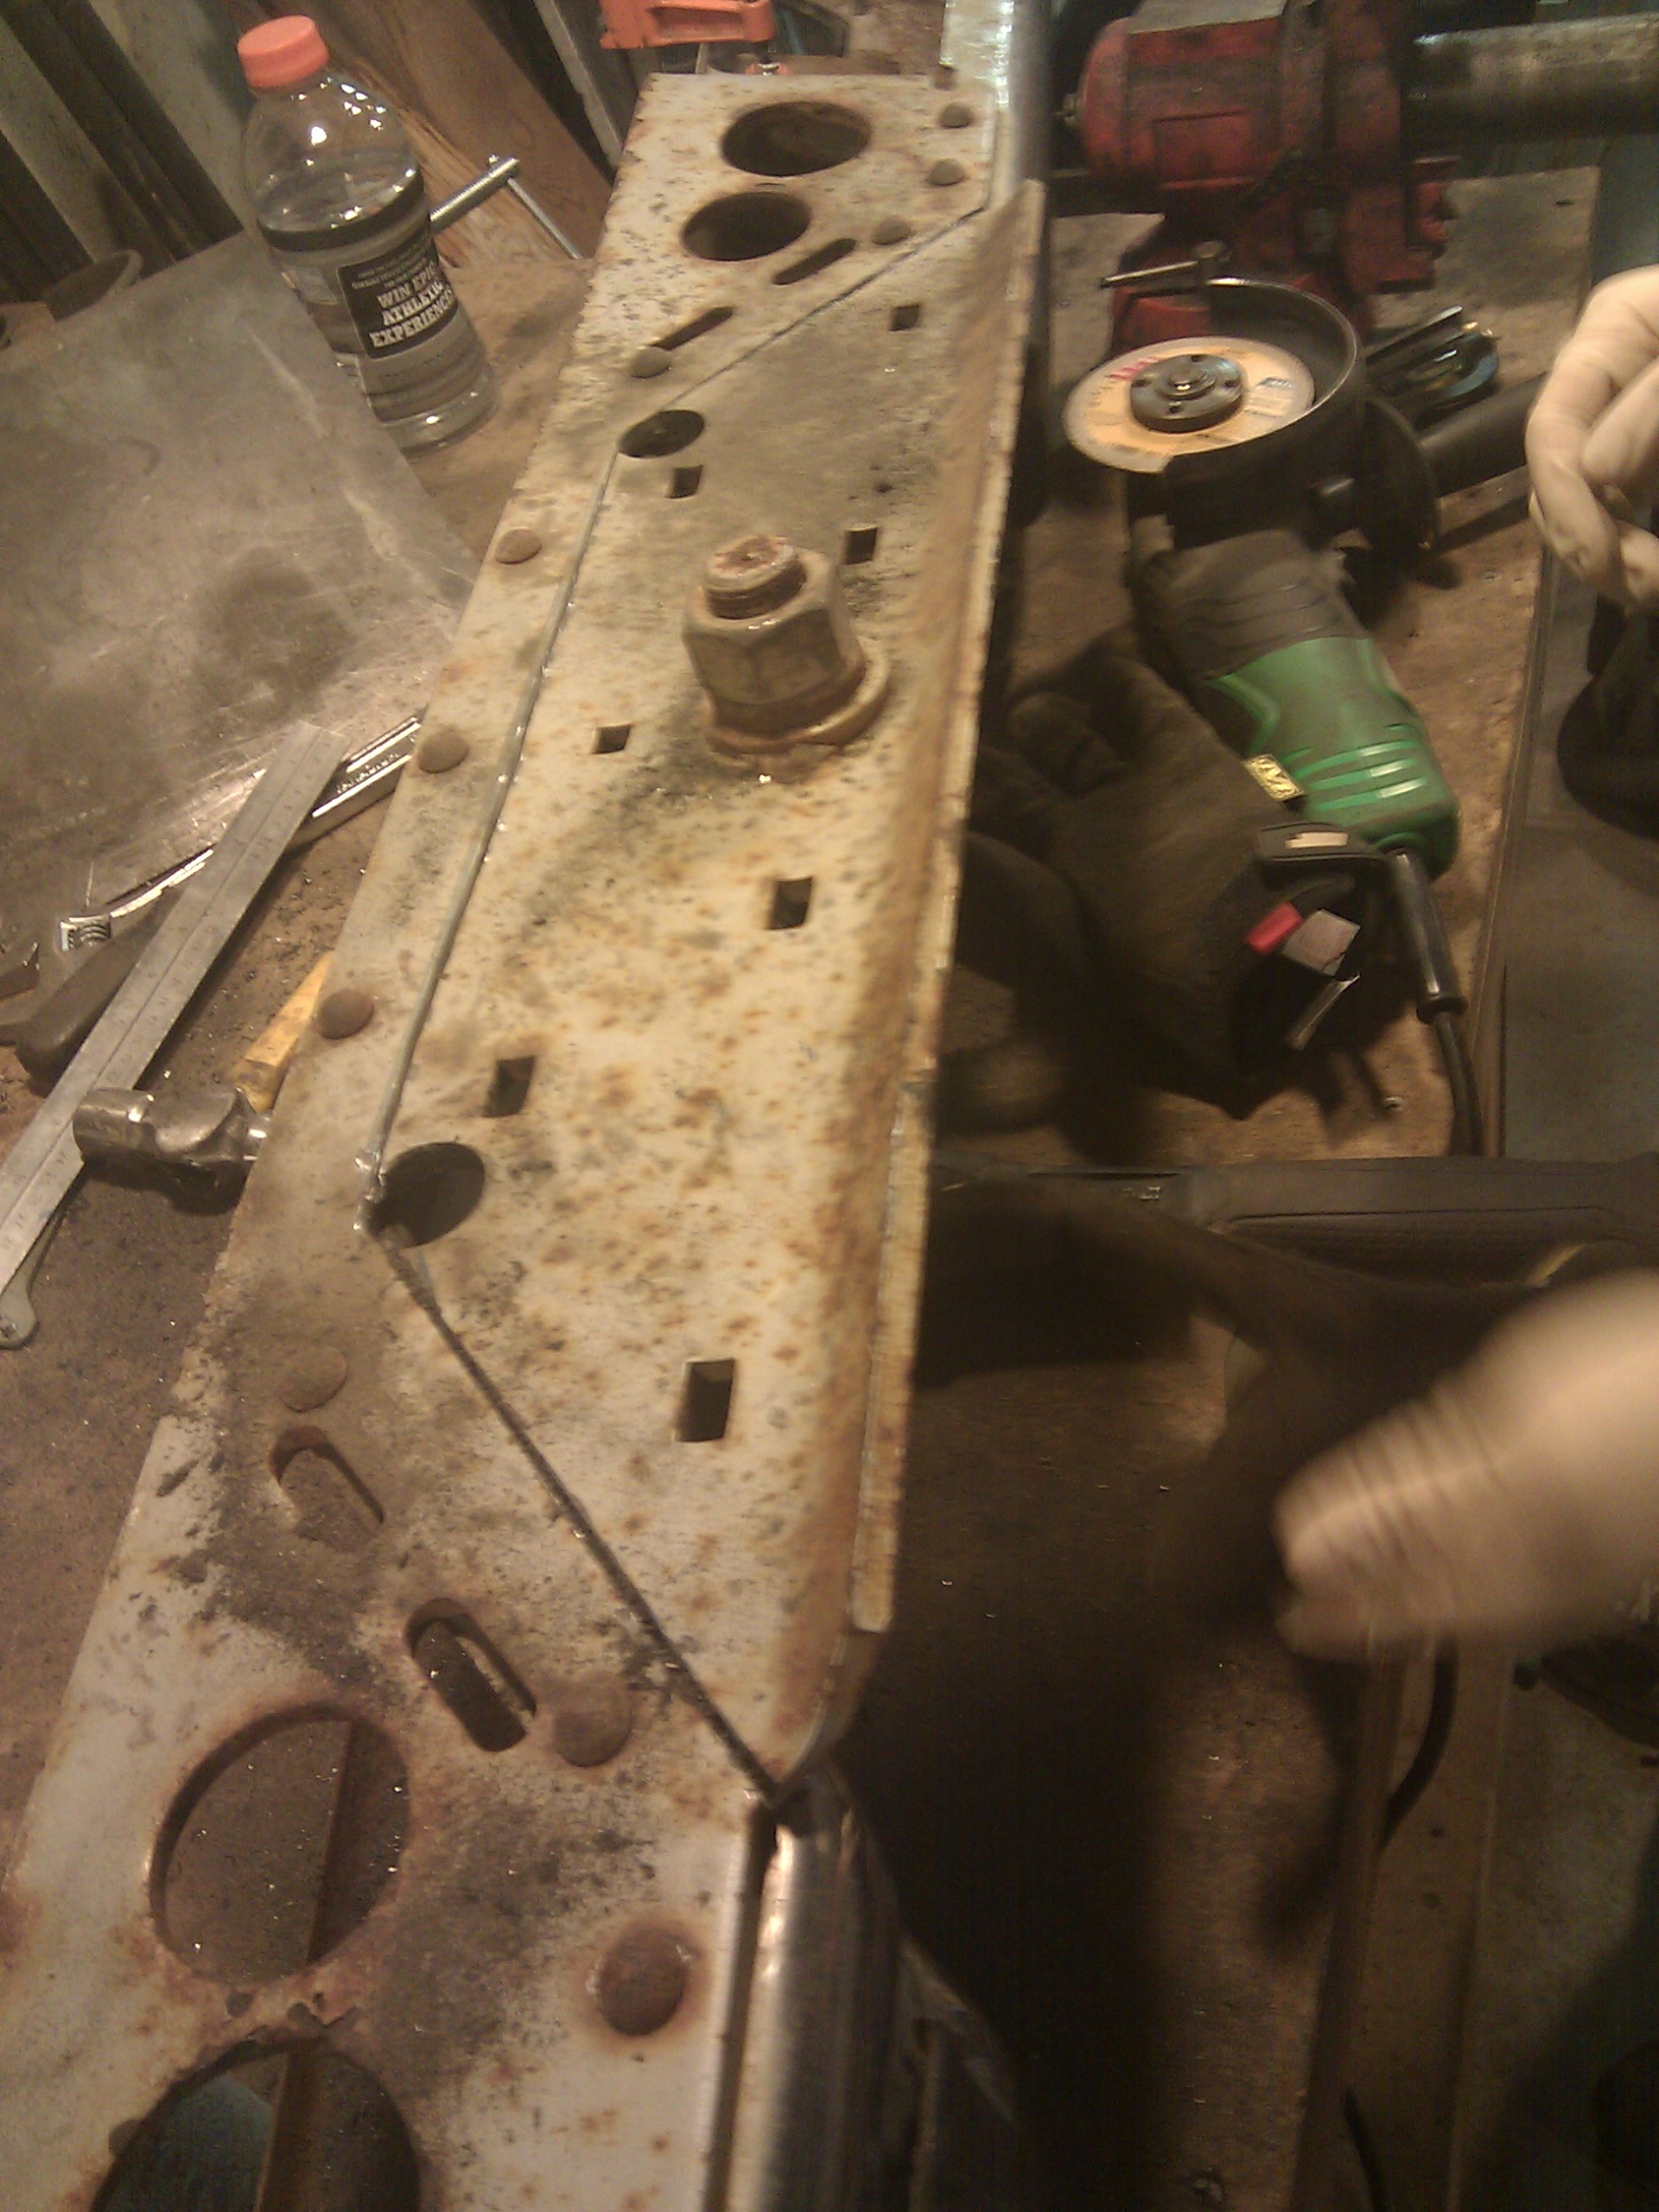
The bumper is made with a pretty hefty chrome skin and a 3/8" thick piece of plate steel bent into a U that forms the hitch part of the bumper. You can see how bent-up it is in this upside-down picture:
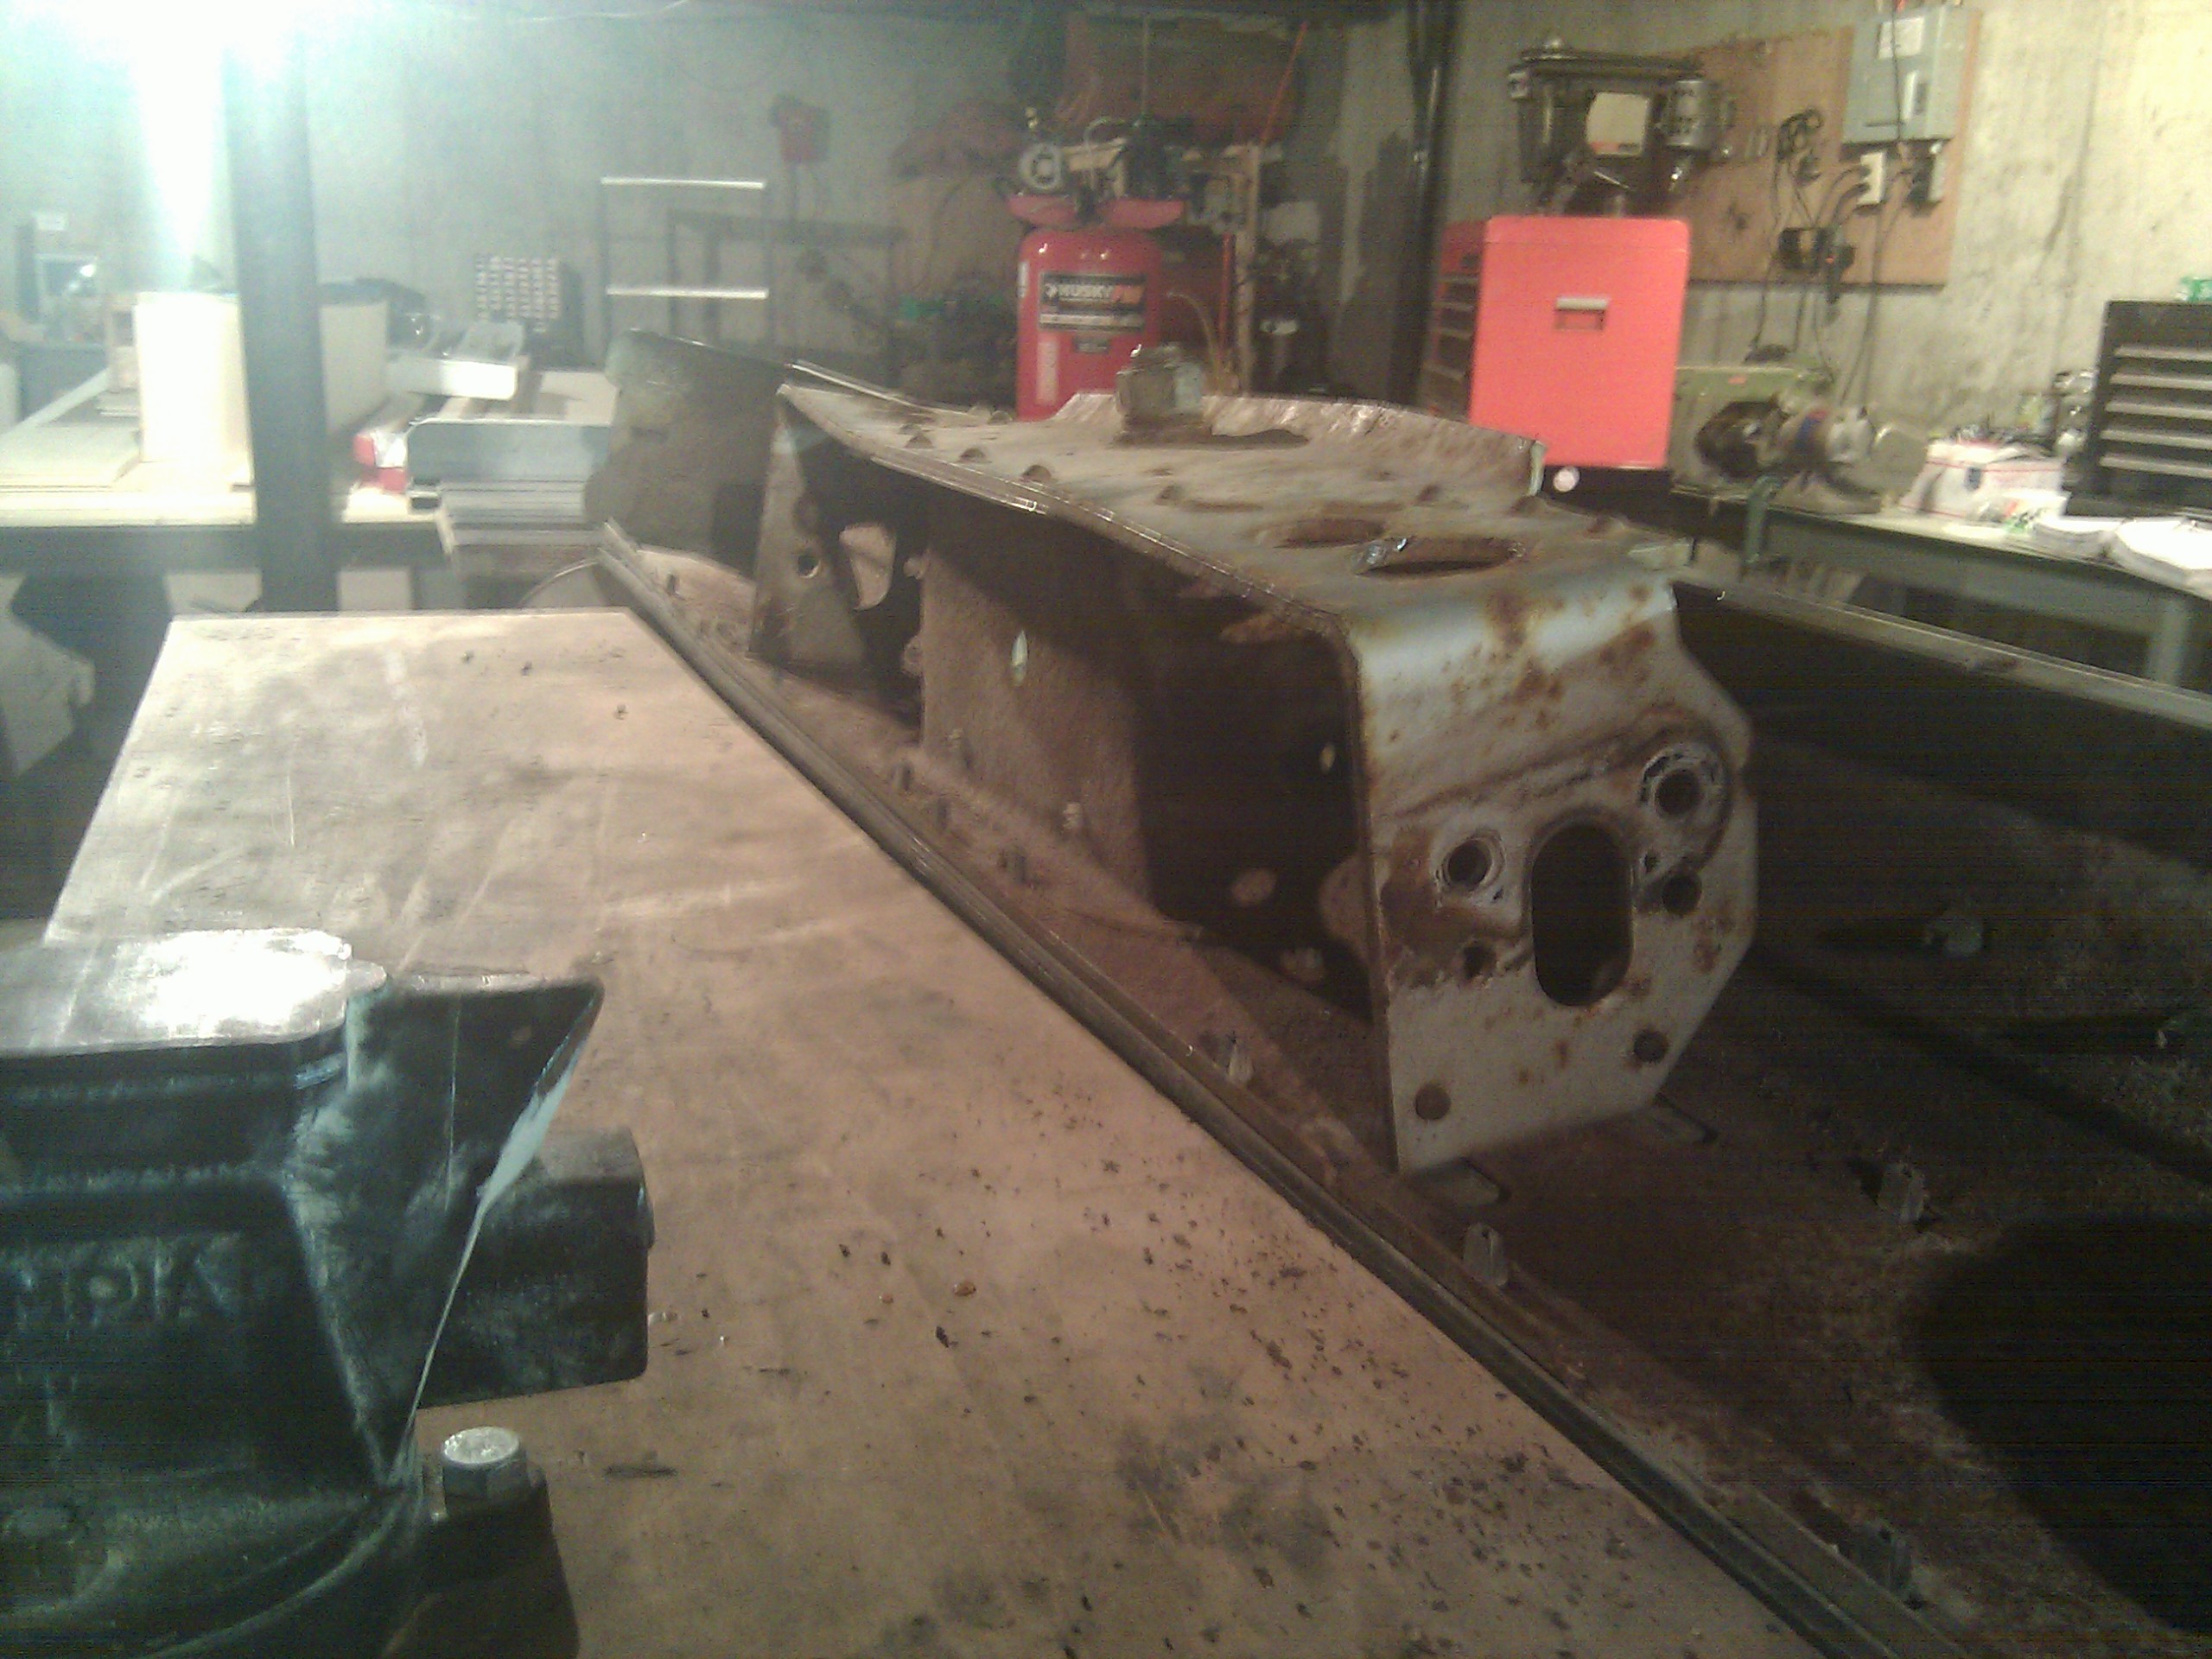
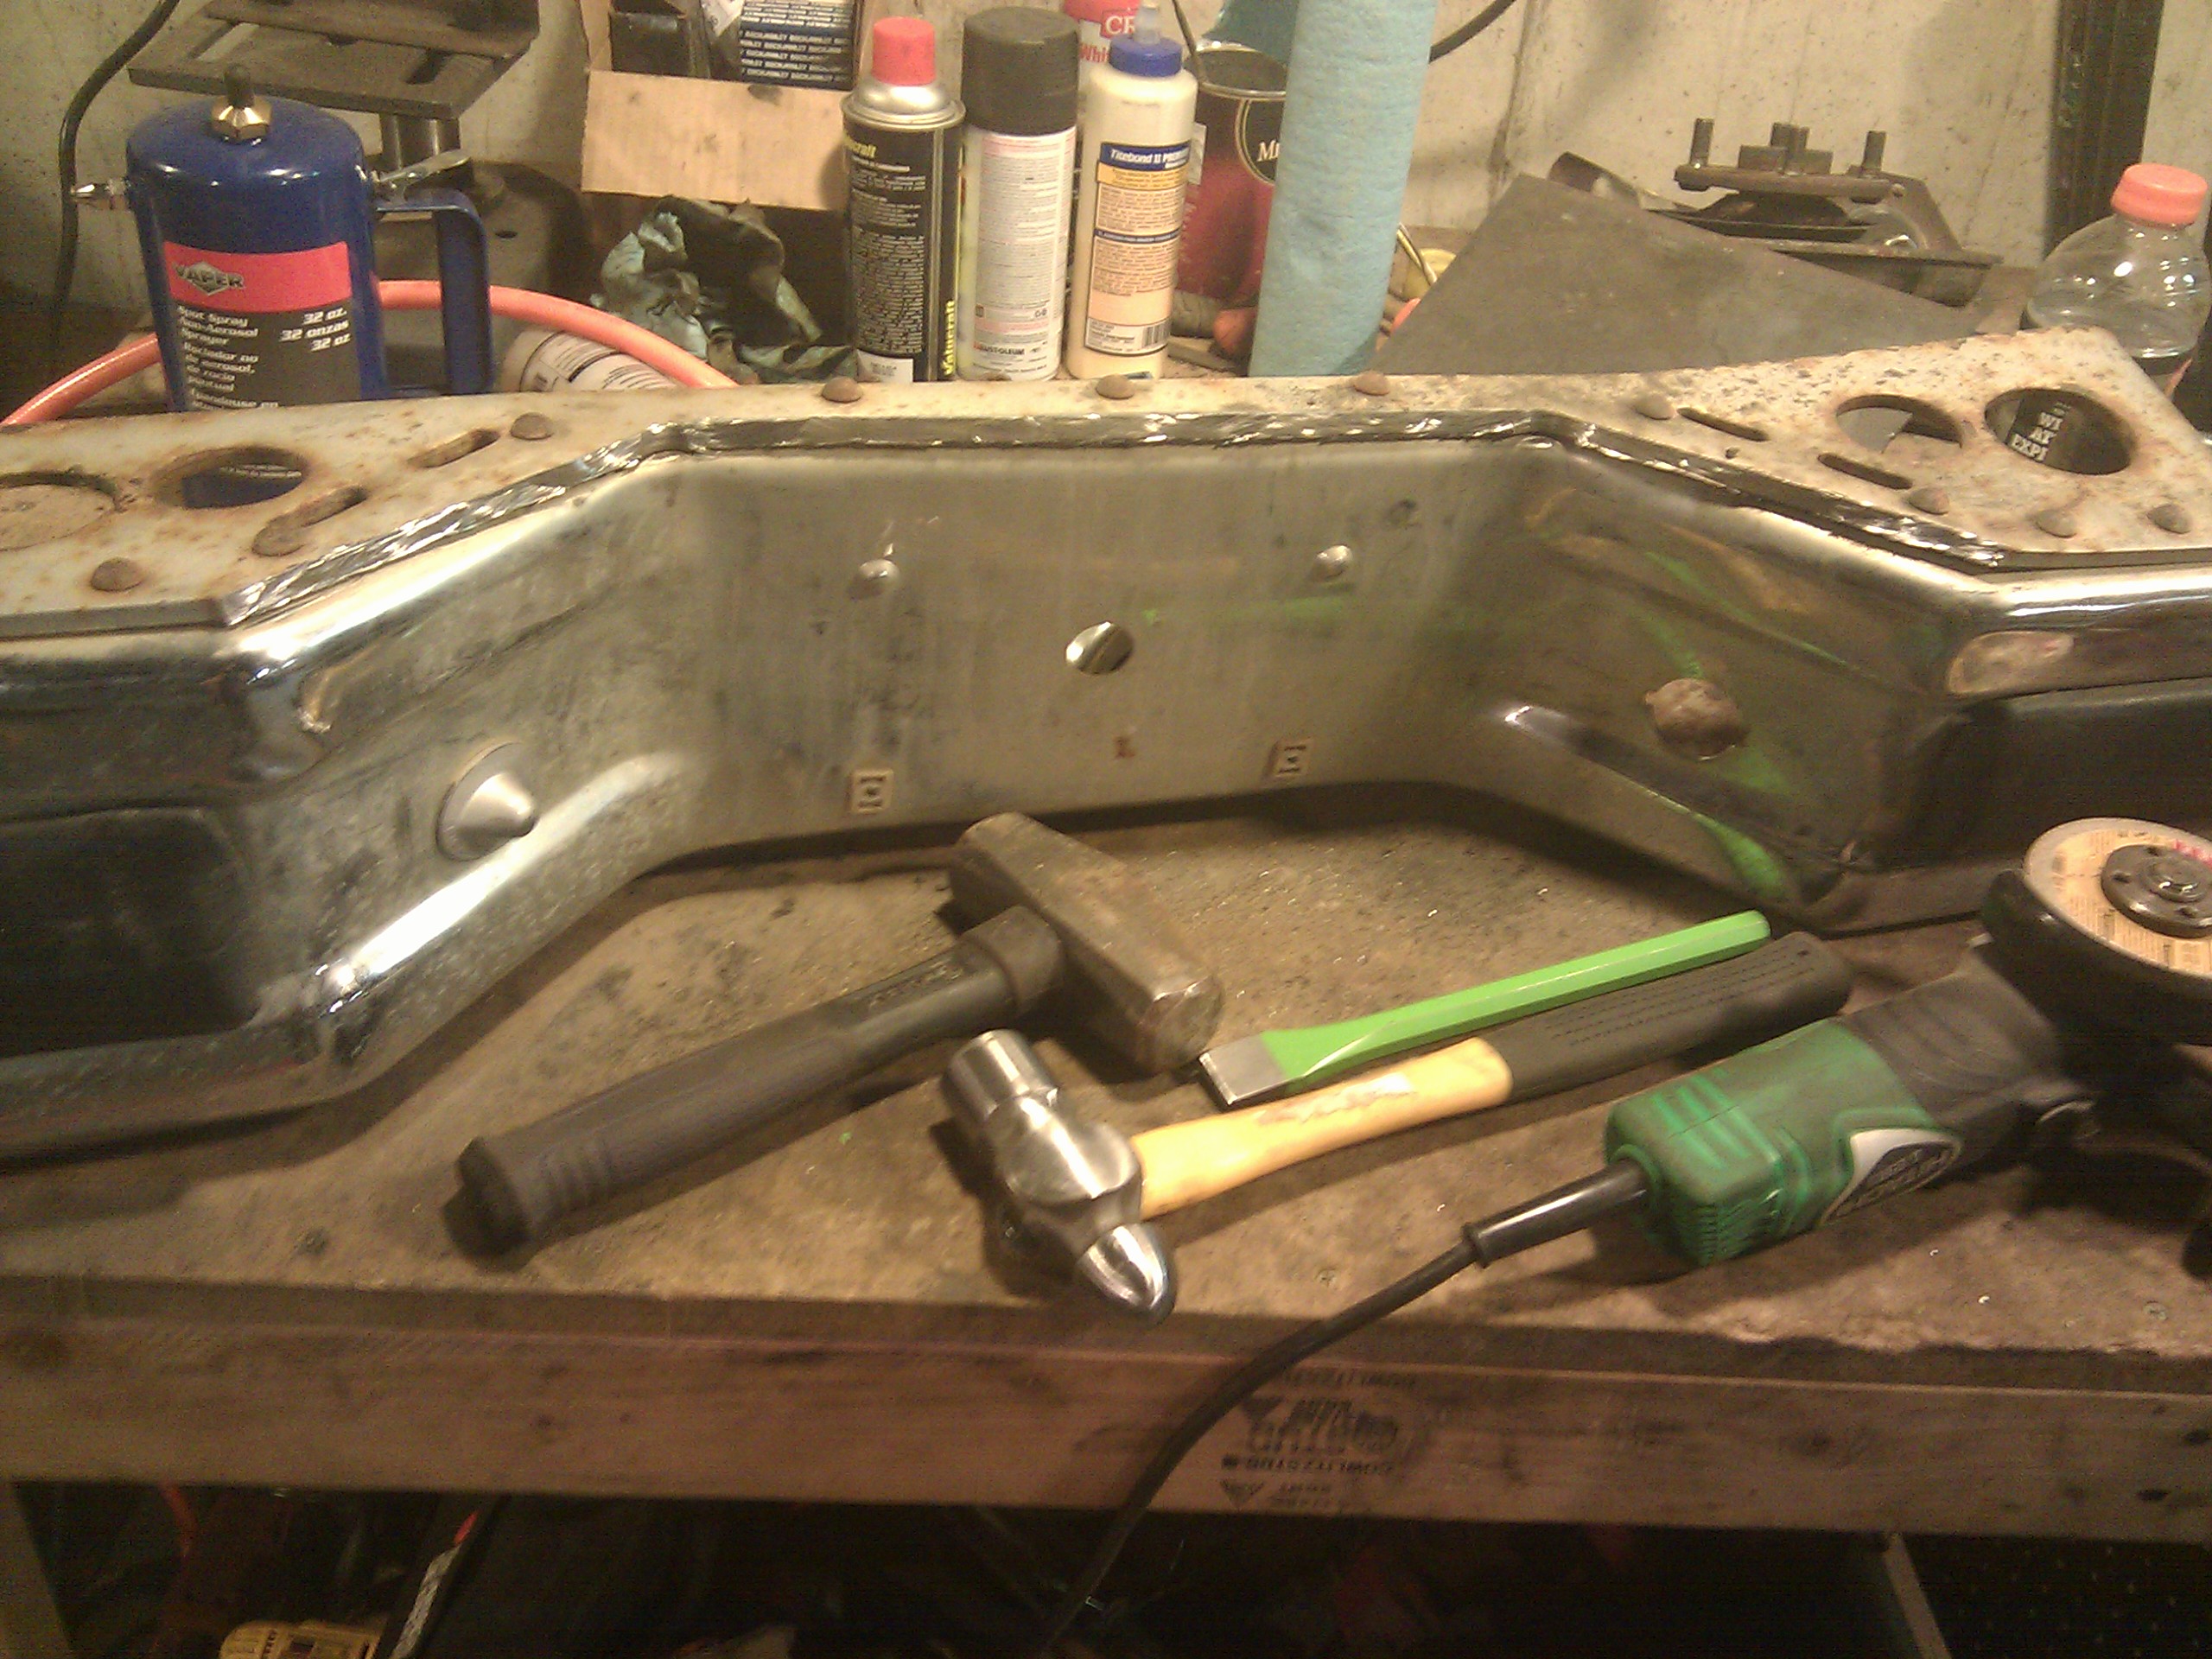
Looking at it from the back shows the damage a bit better:
It was pushed in and down, sort of like someone managed to shove something heavy into it. Maybe a trailer? Who knows.
Anyhow, I don't need the hitch part of the bumper anymore, so the plan is to get rid of that, straighten the bumper out, and reinforce it a little. I tried bending it straight with the hitch part in, but even with a 6' lever on one end I was unable to twist the bumper far enough back to get it to actually hold the shape it's supposed to.
So, I painstakingly drilled out the whole step area:
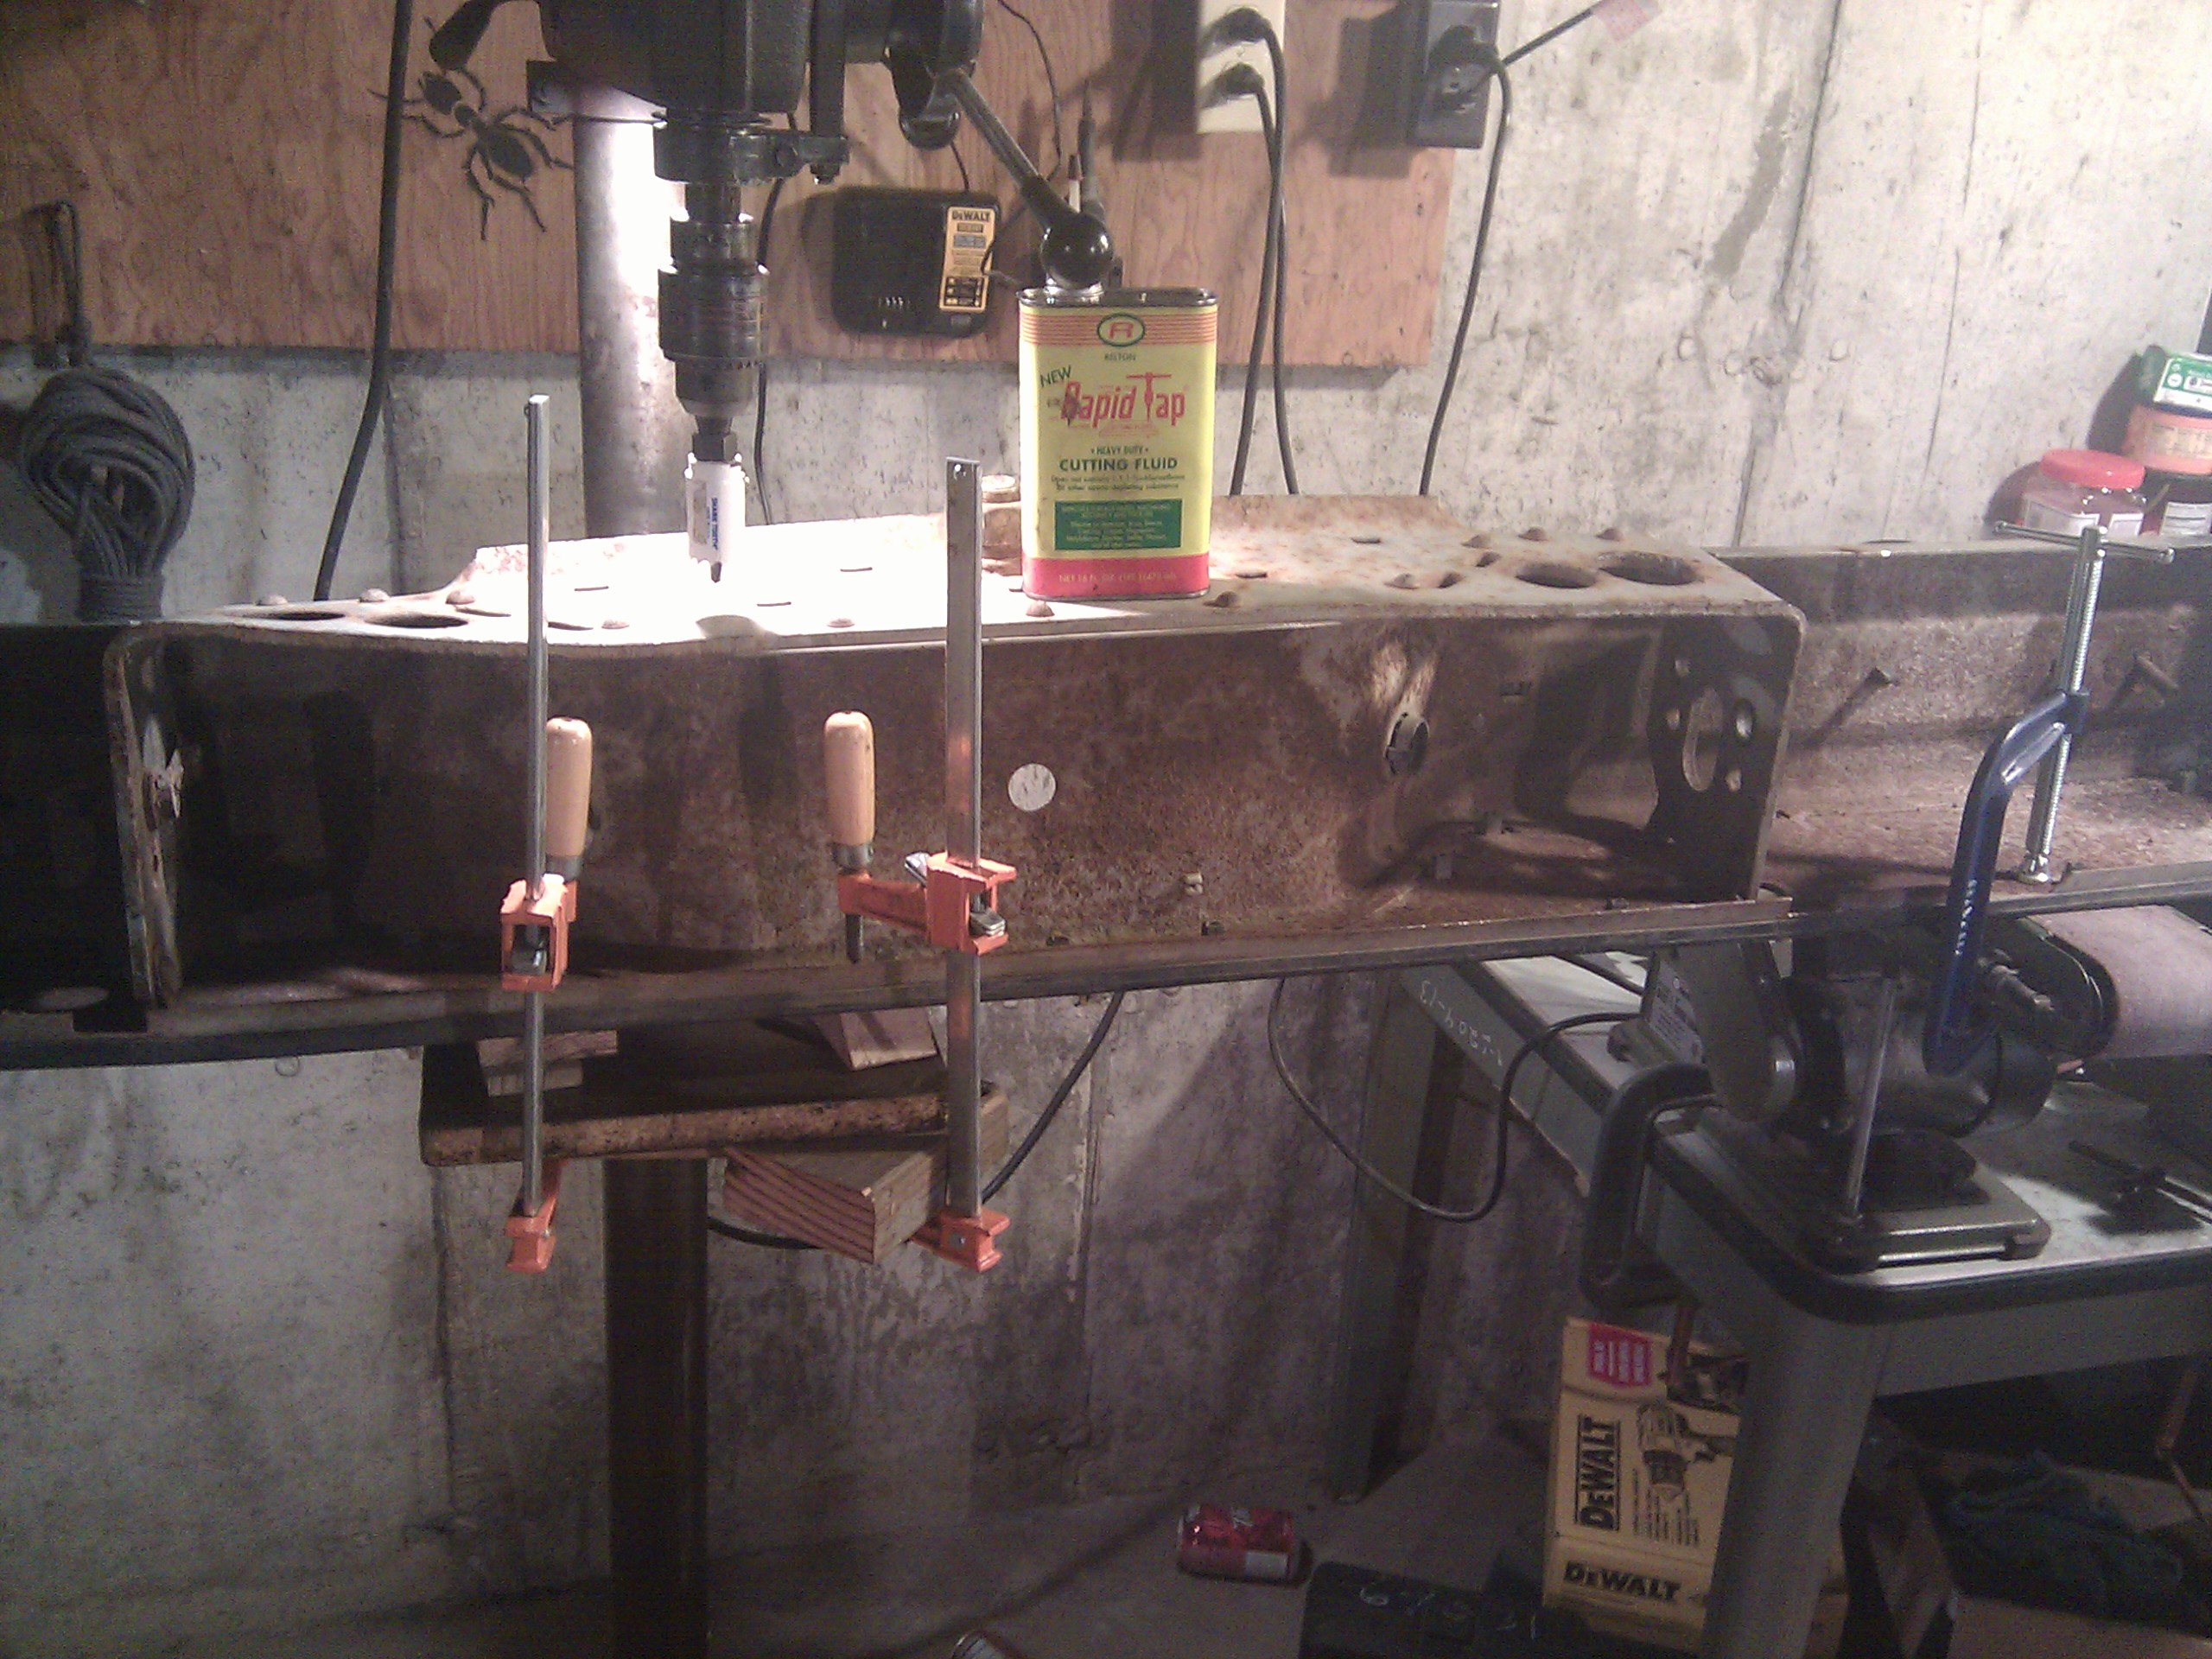
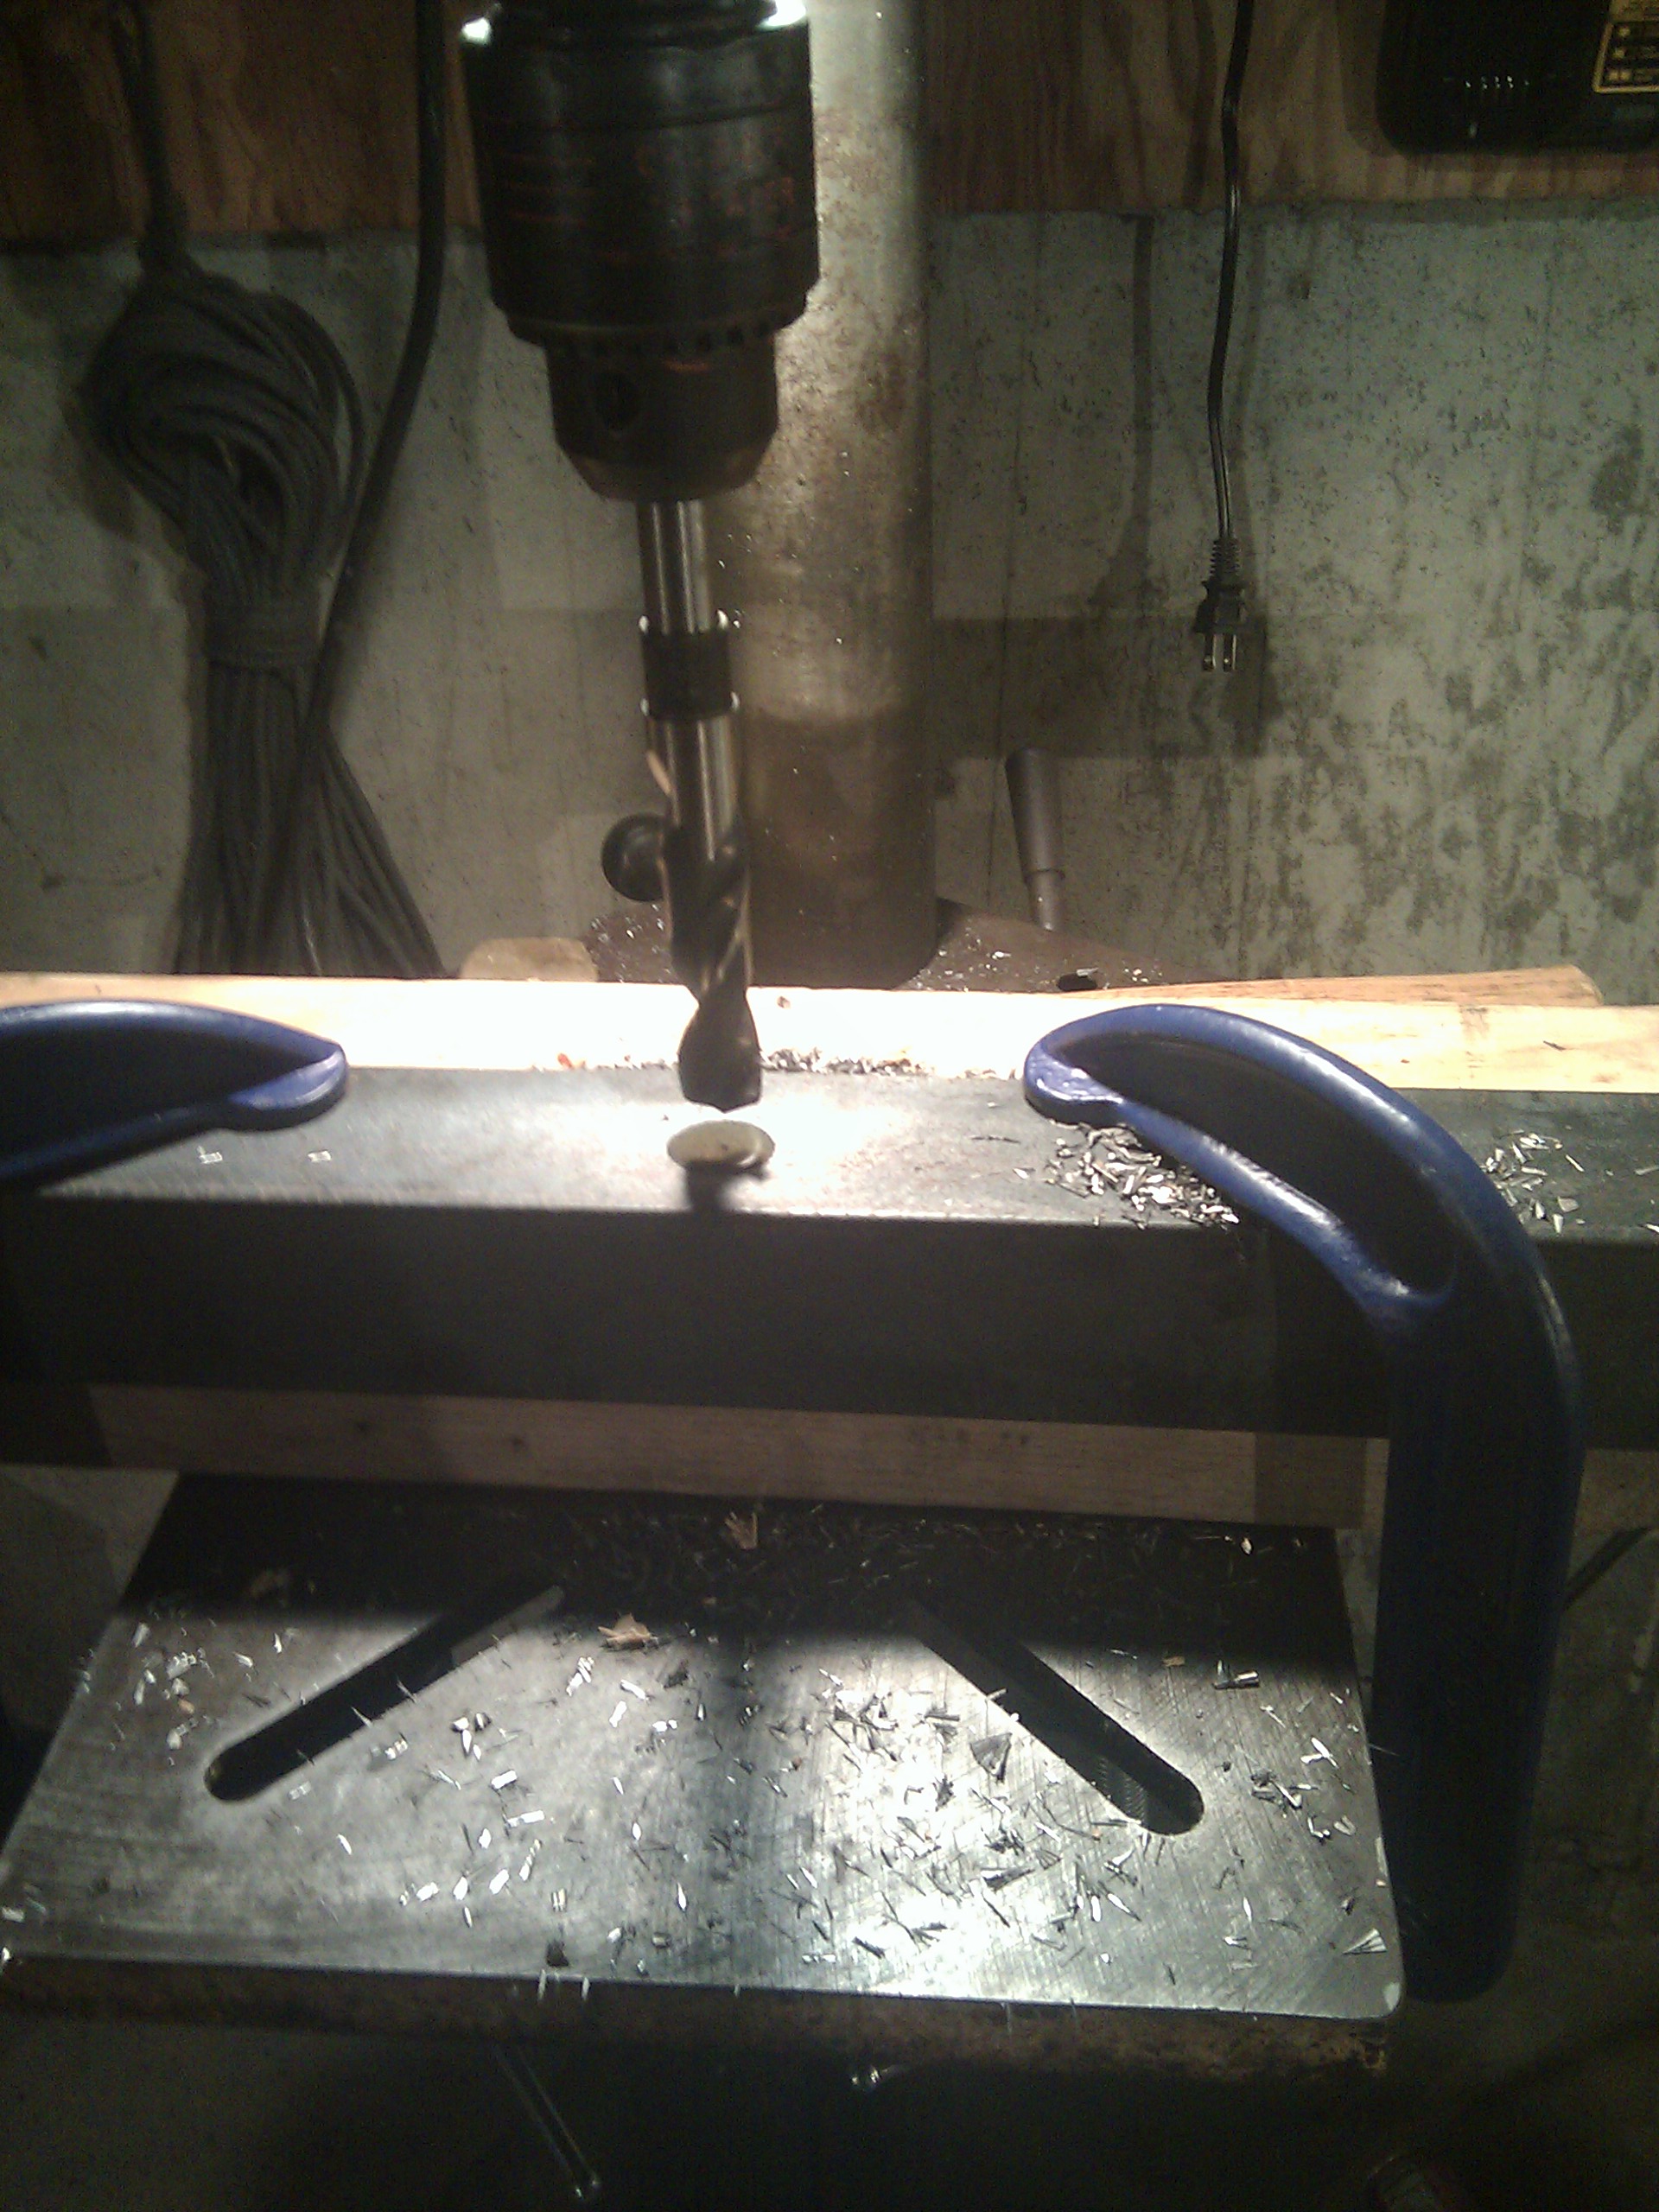
...just kidding; that would suck. I drilled a couple holes to cut between so I'd get nice chamfered corners in the bumper instead of sharp angles. Note the handy combination drill press part support and belt sander!
(This drill press will be the topic of a future post!)
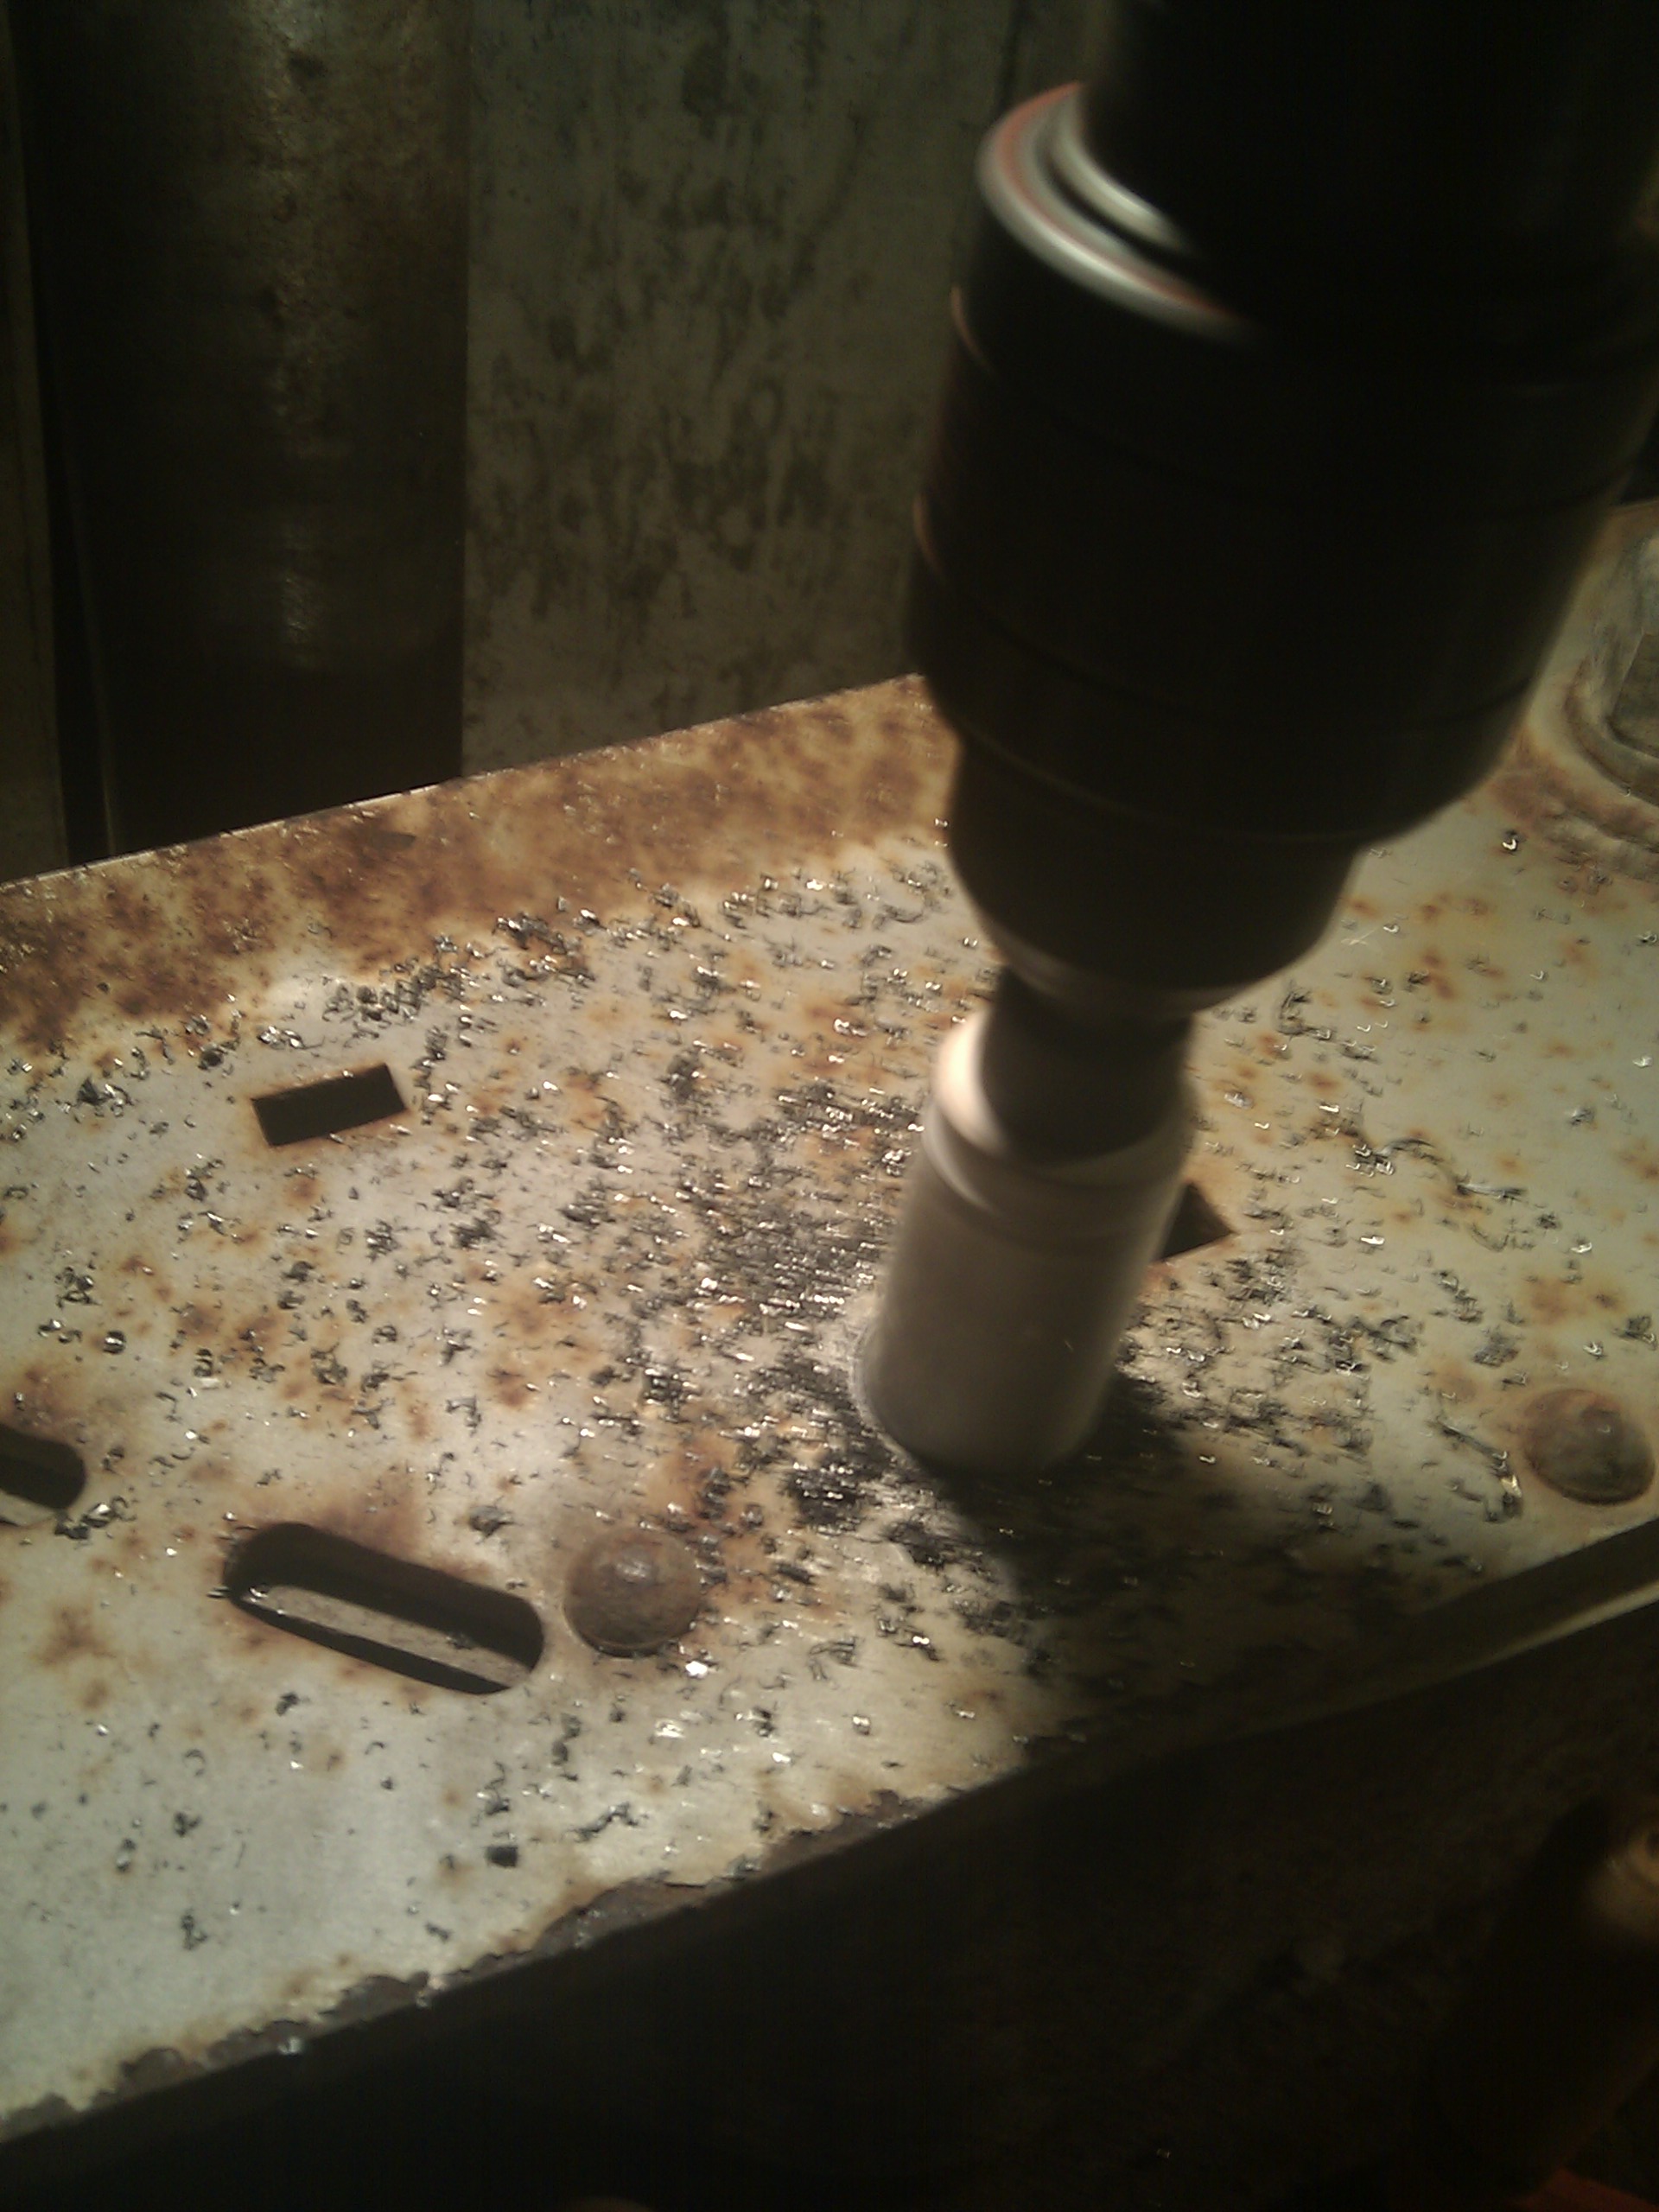
When cutting holes in steel, go slow, use a lot of lube, and wear ear protection because the bit howls like crazy.
Cutting in between the holes:
Since I didn't want to poke through and cut the bumper underneath, I carefully worked my way through the steel. You can tell you're almost through a cut when the bottom of the cut starts discoloring from the heat; thin metal doesn't sink heat as well as thick metal does.
And, out:
Now, let's see if we can straighten that kink out. (This might have worked with the hitch still in; I must confess I came up with this idea for fitting the bumper in the press after I cut the plate out.)
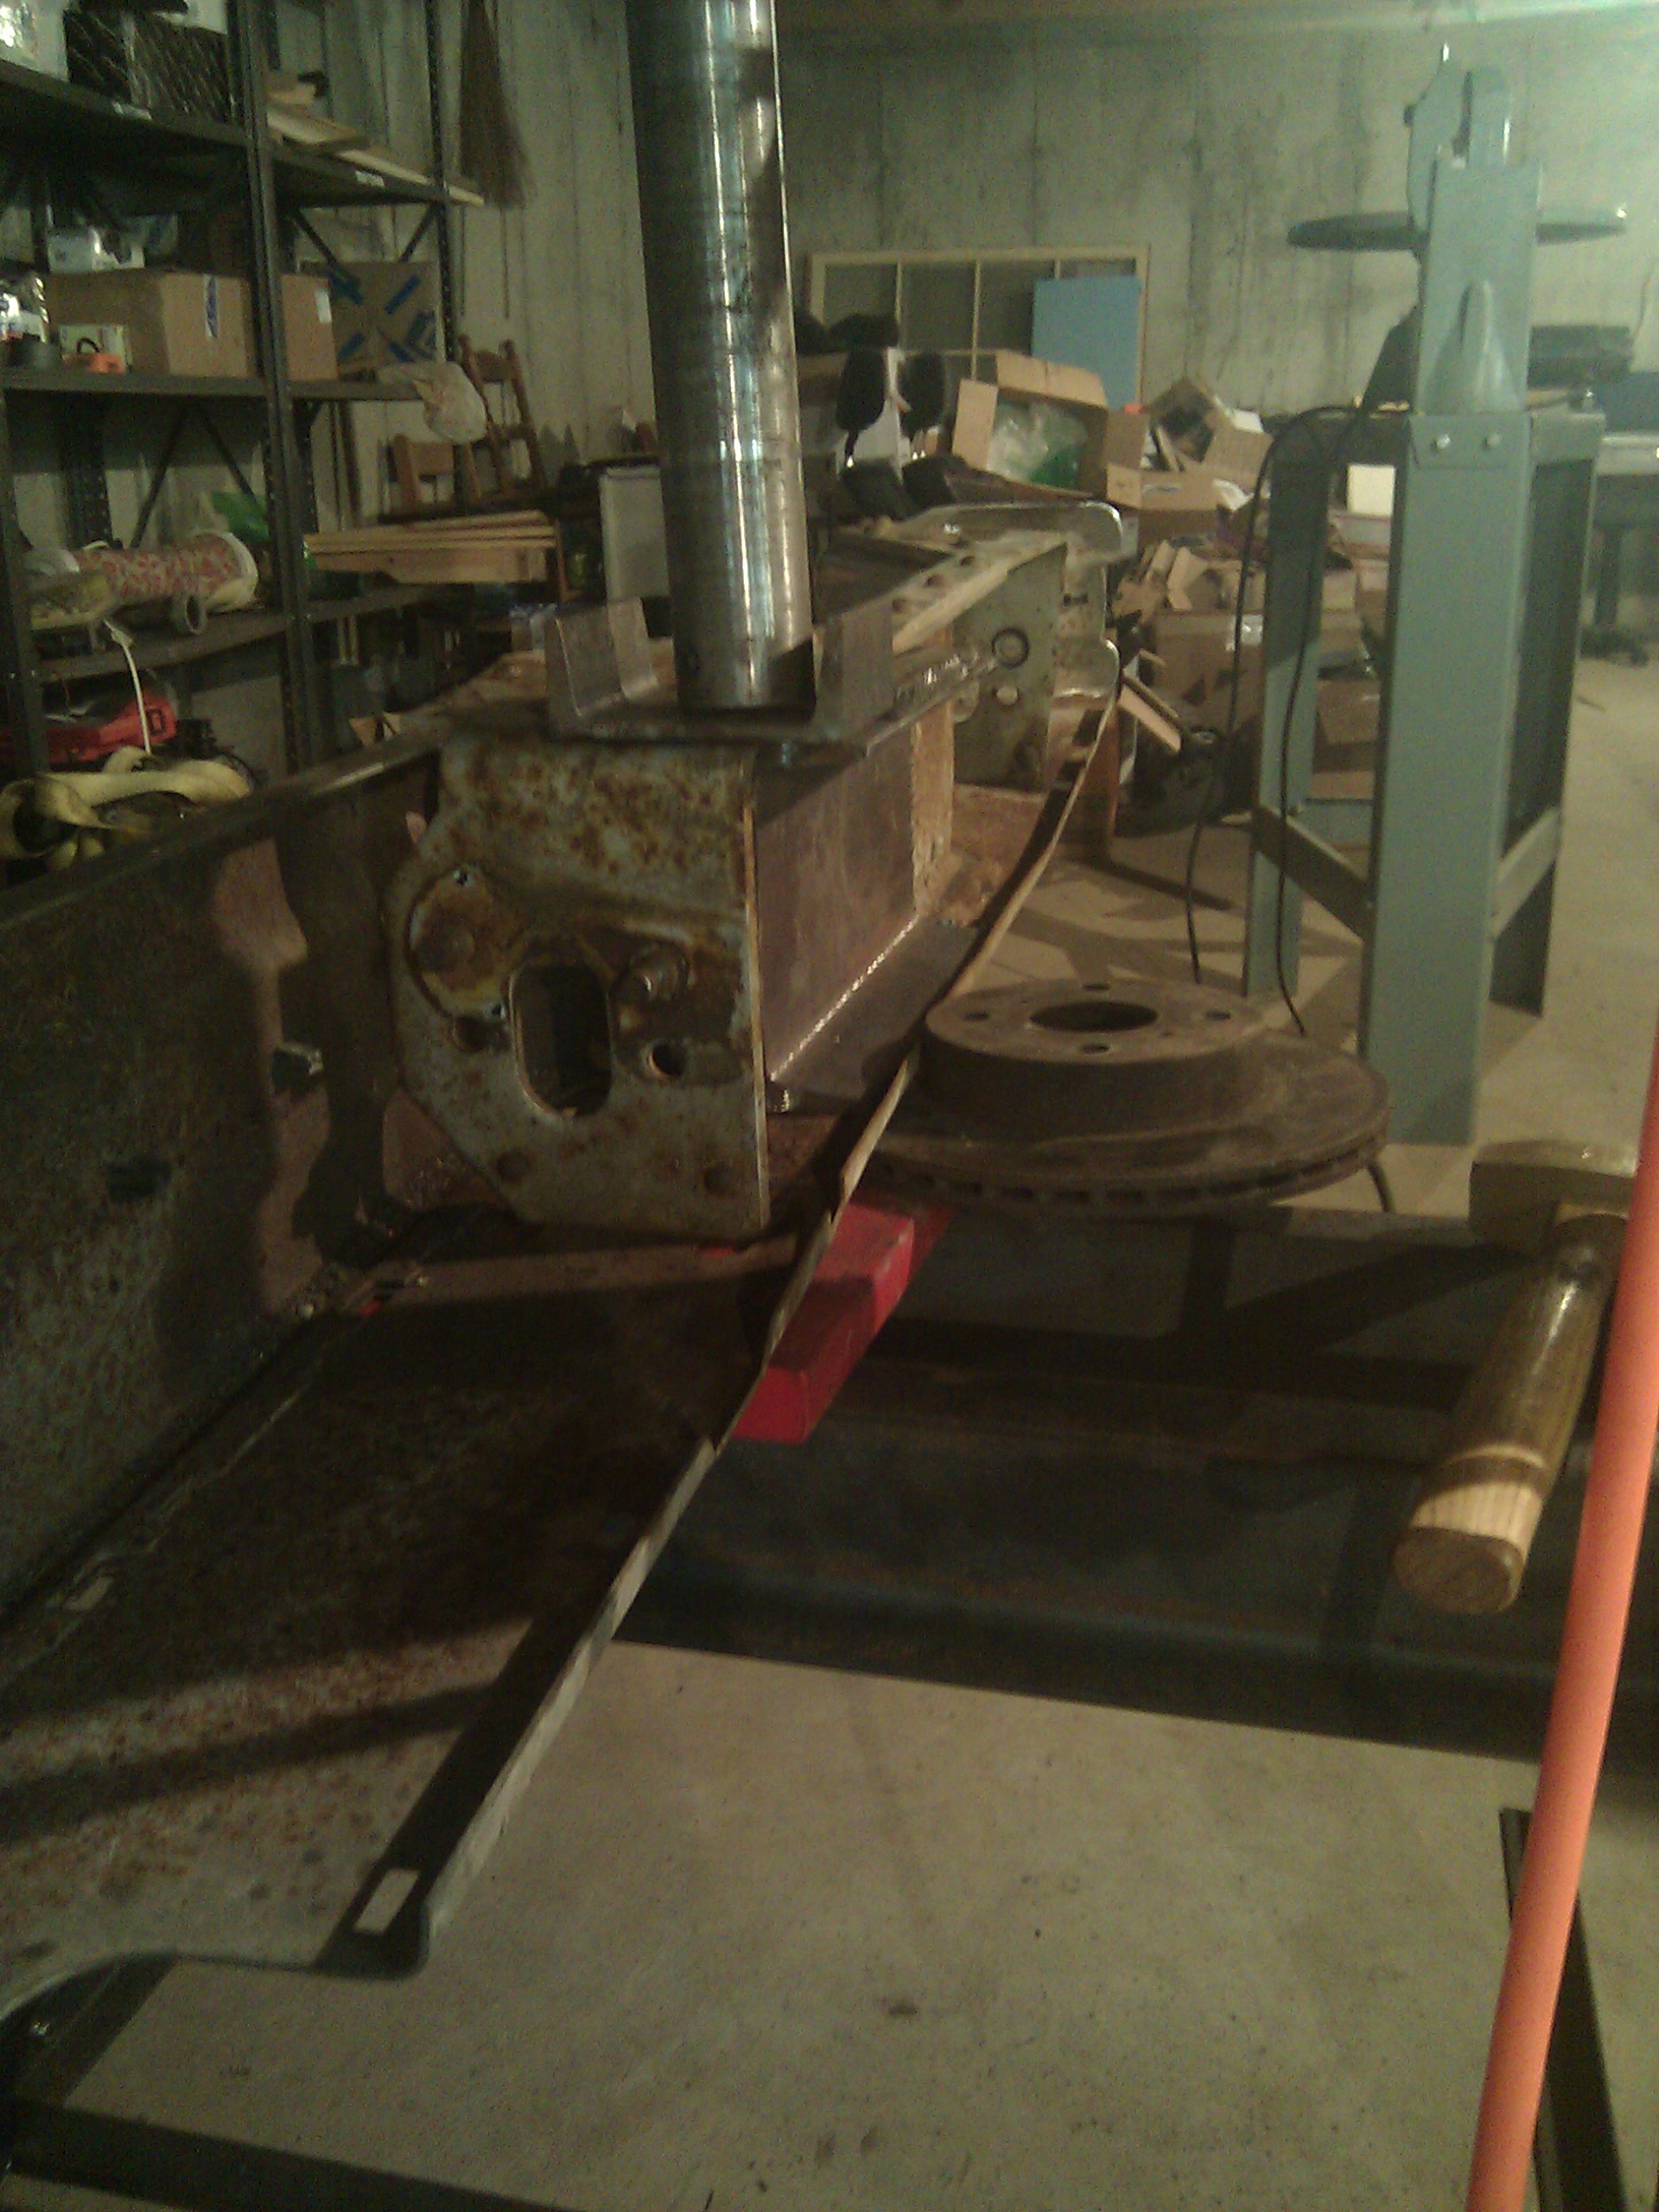
First,a little bracing:
SQUISH
Despite the awful lighting and framing, you can see that it's definitely less twisted than before. The post descending from the heavens in this picture is the ram on a 20 ton hydraulic press I built. Also, someone told me ages ago to save my brake rotors if I got a shop press. I had no clue what they meant until I started using one and discovered how nifty various scraps of steel are.
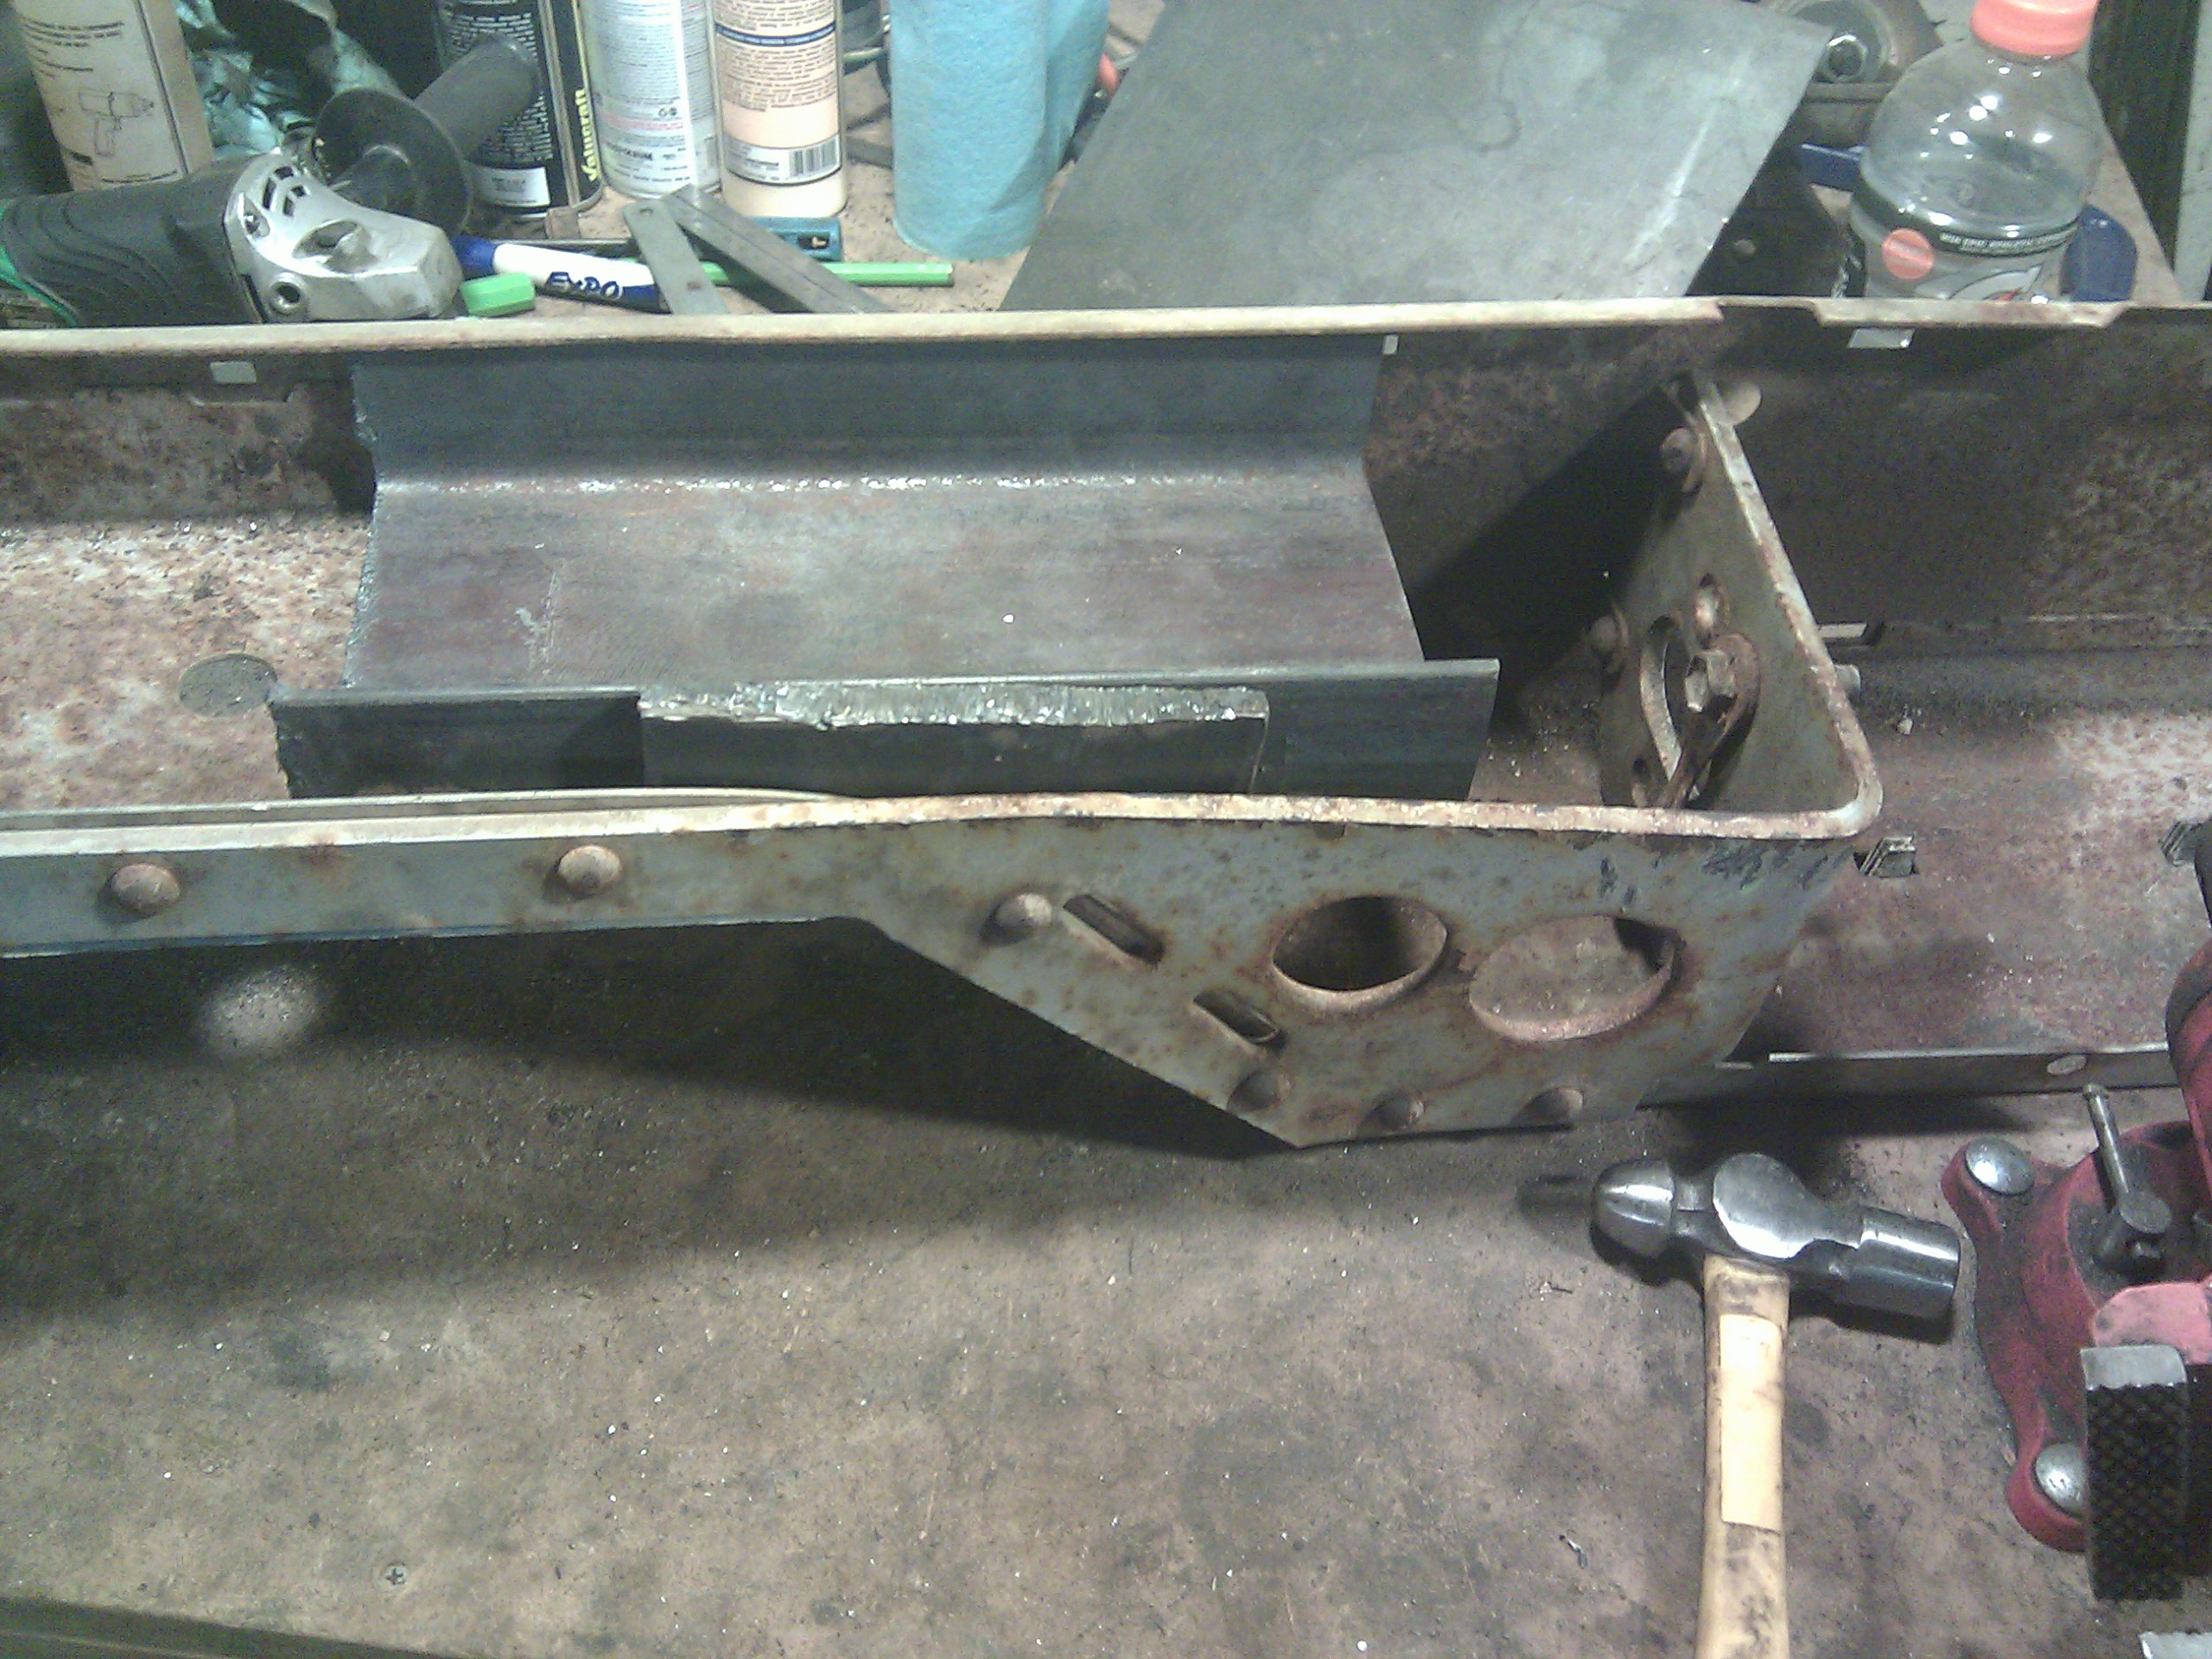
Now, time for the reinforcement: a piece of 2"x2" angle iron, 1/4" thick.
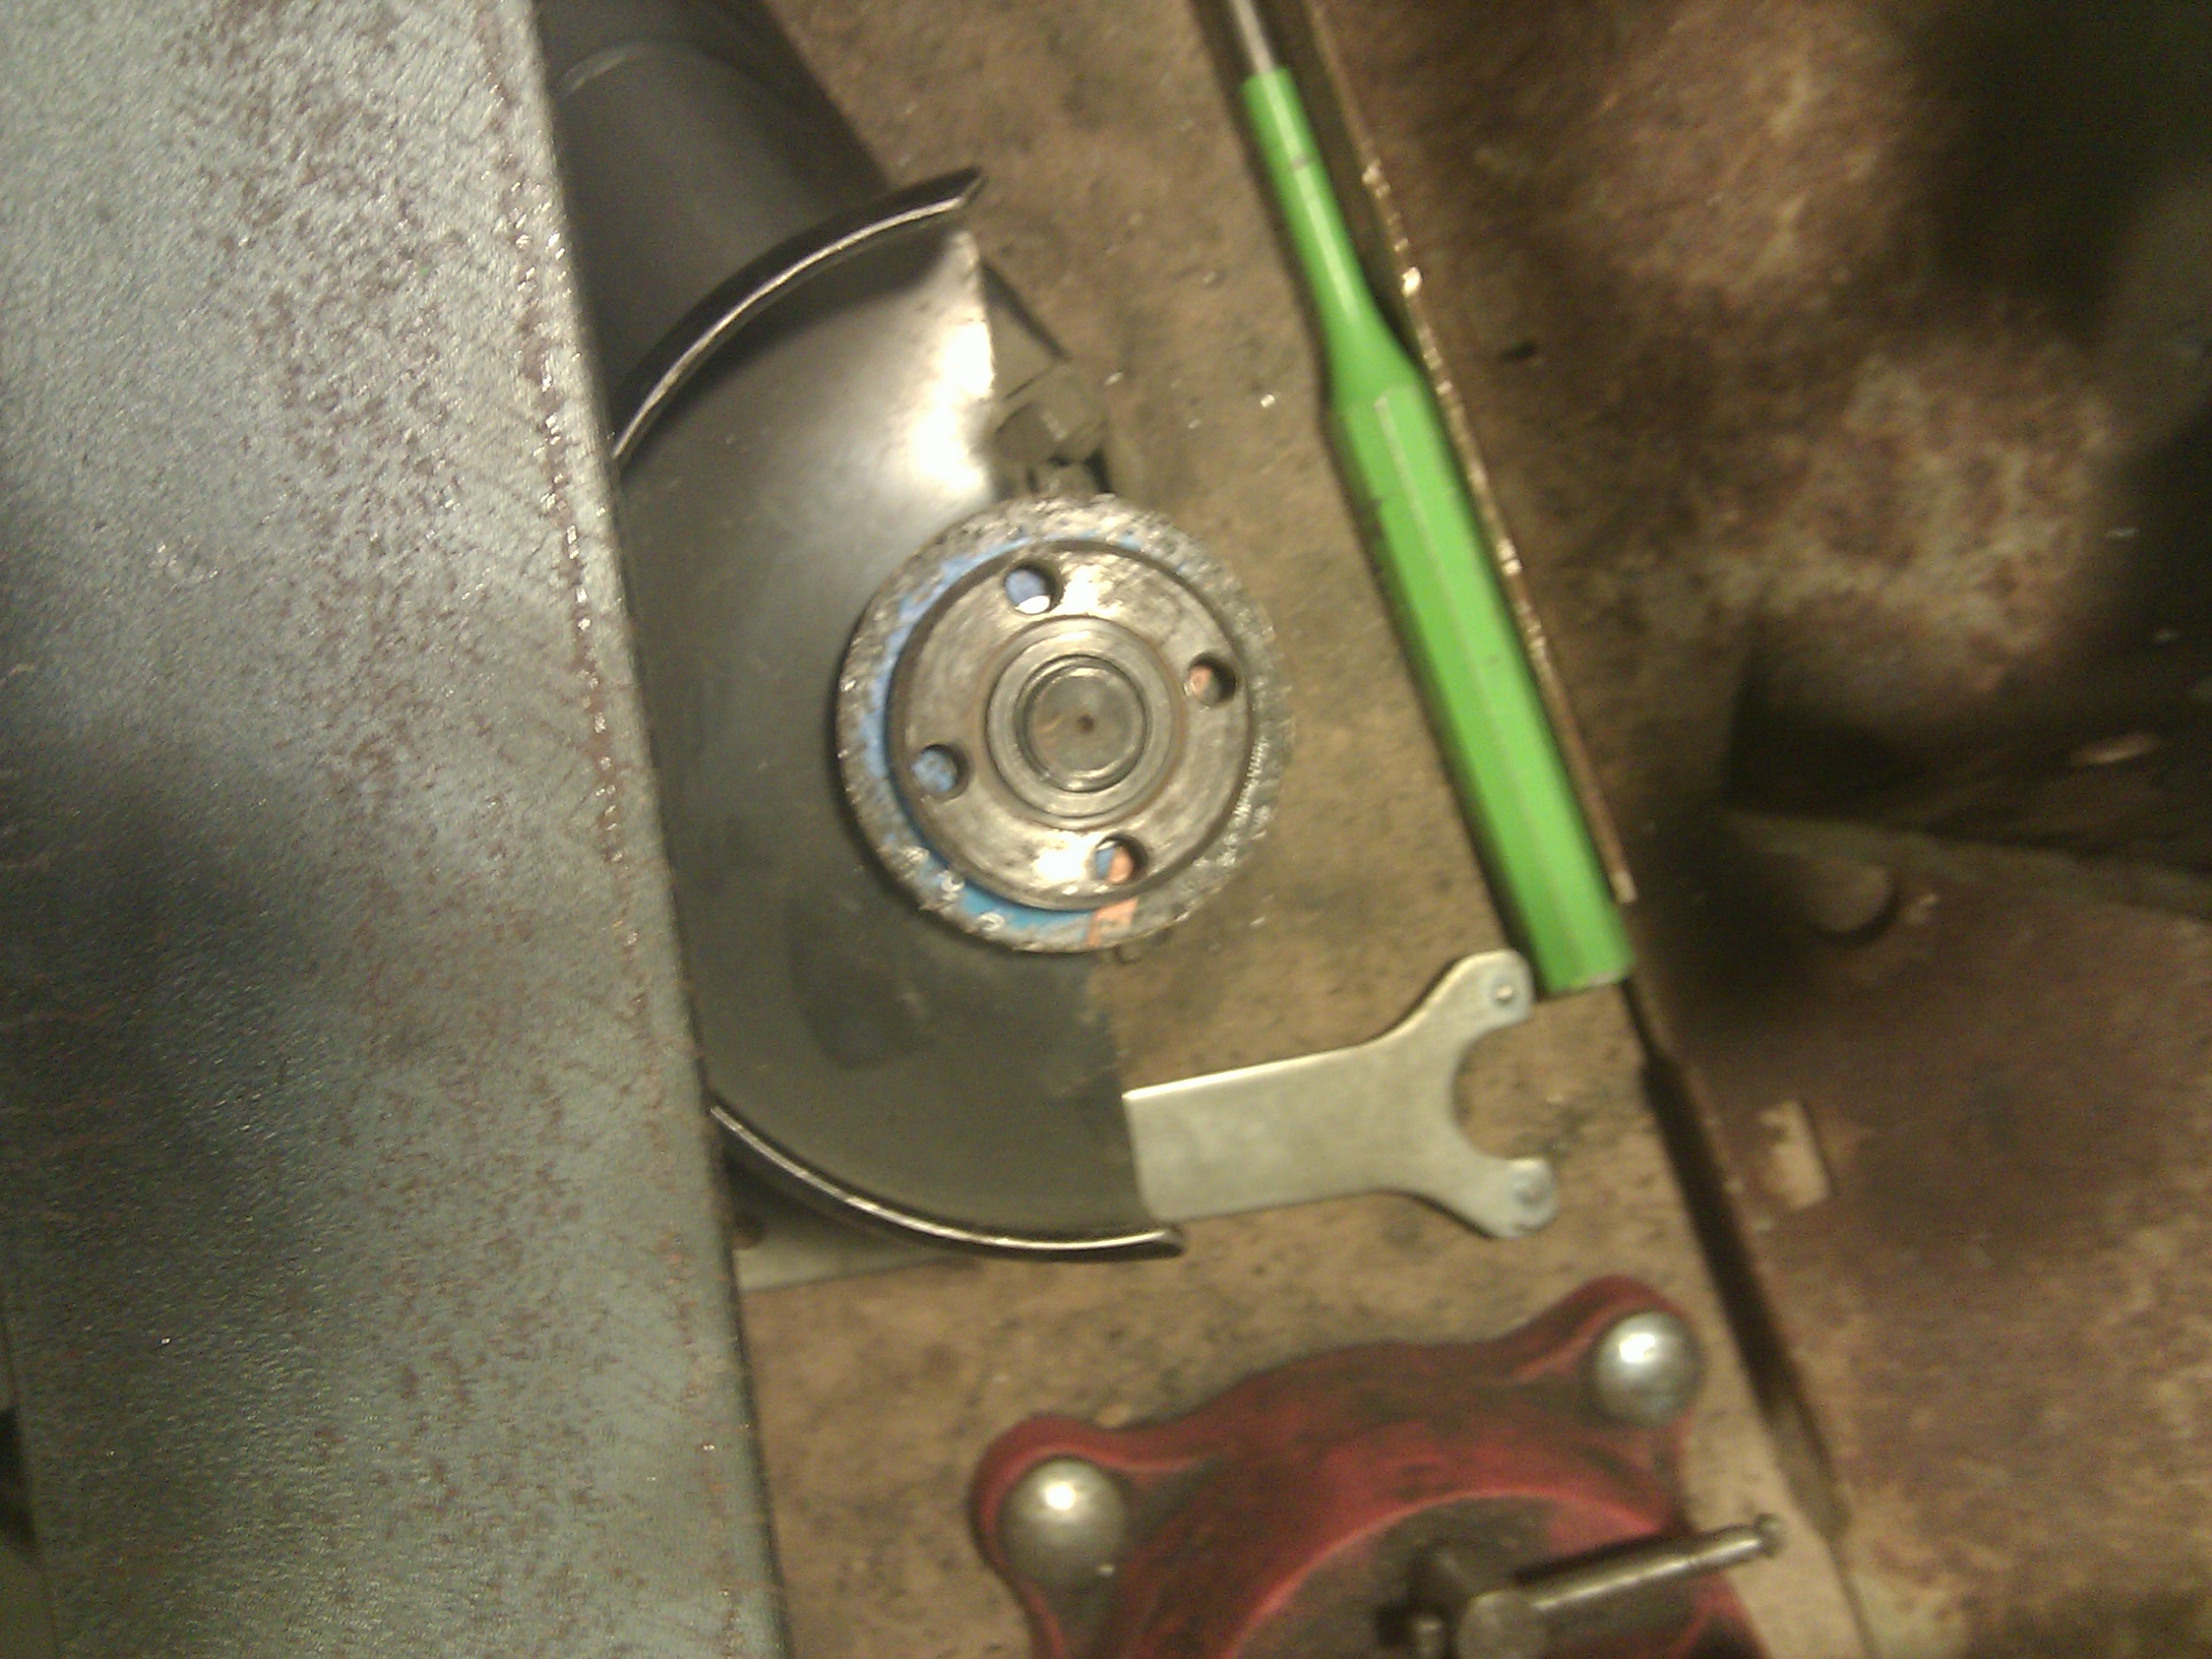
Harbor Freight cutoff discs: good 'til the last drop!
Drilling to clear the rivets with a proper bigass dril bit. I think this one's 21/32nds?
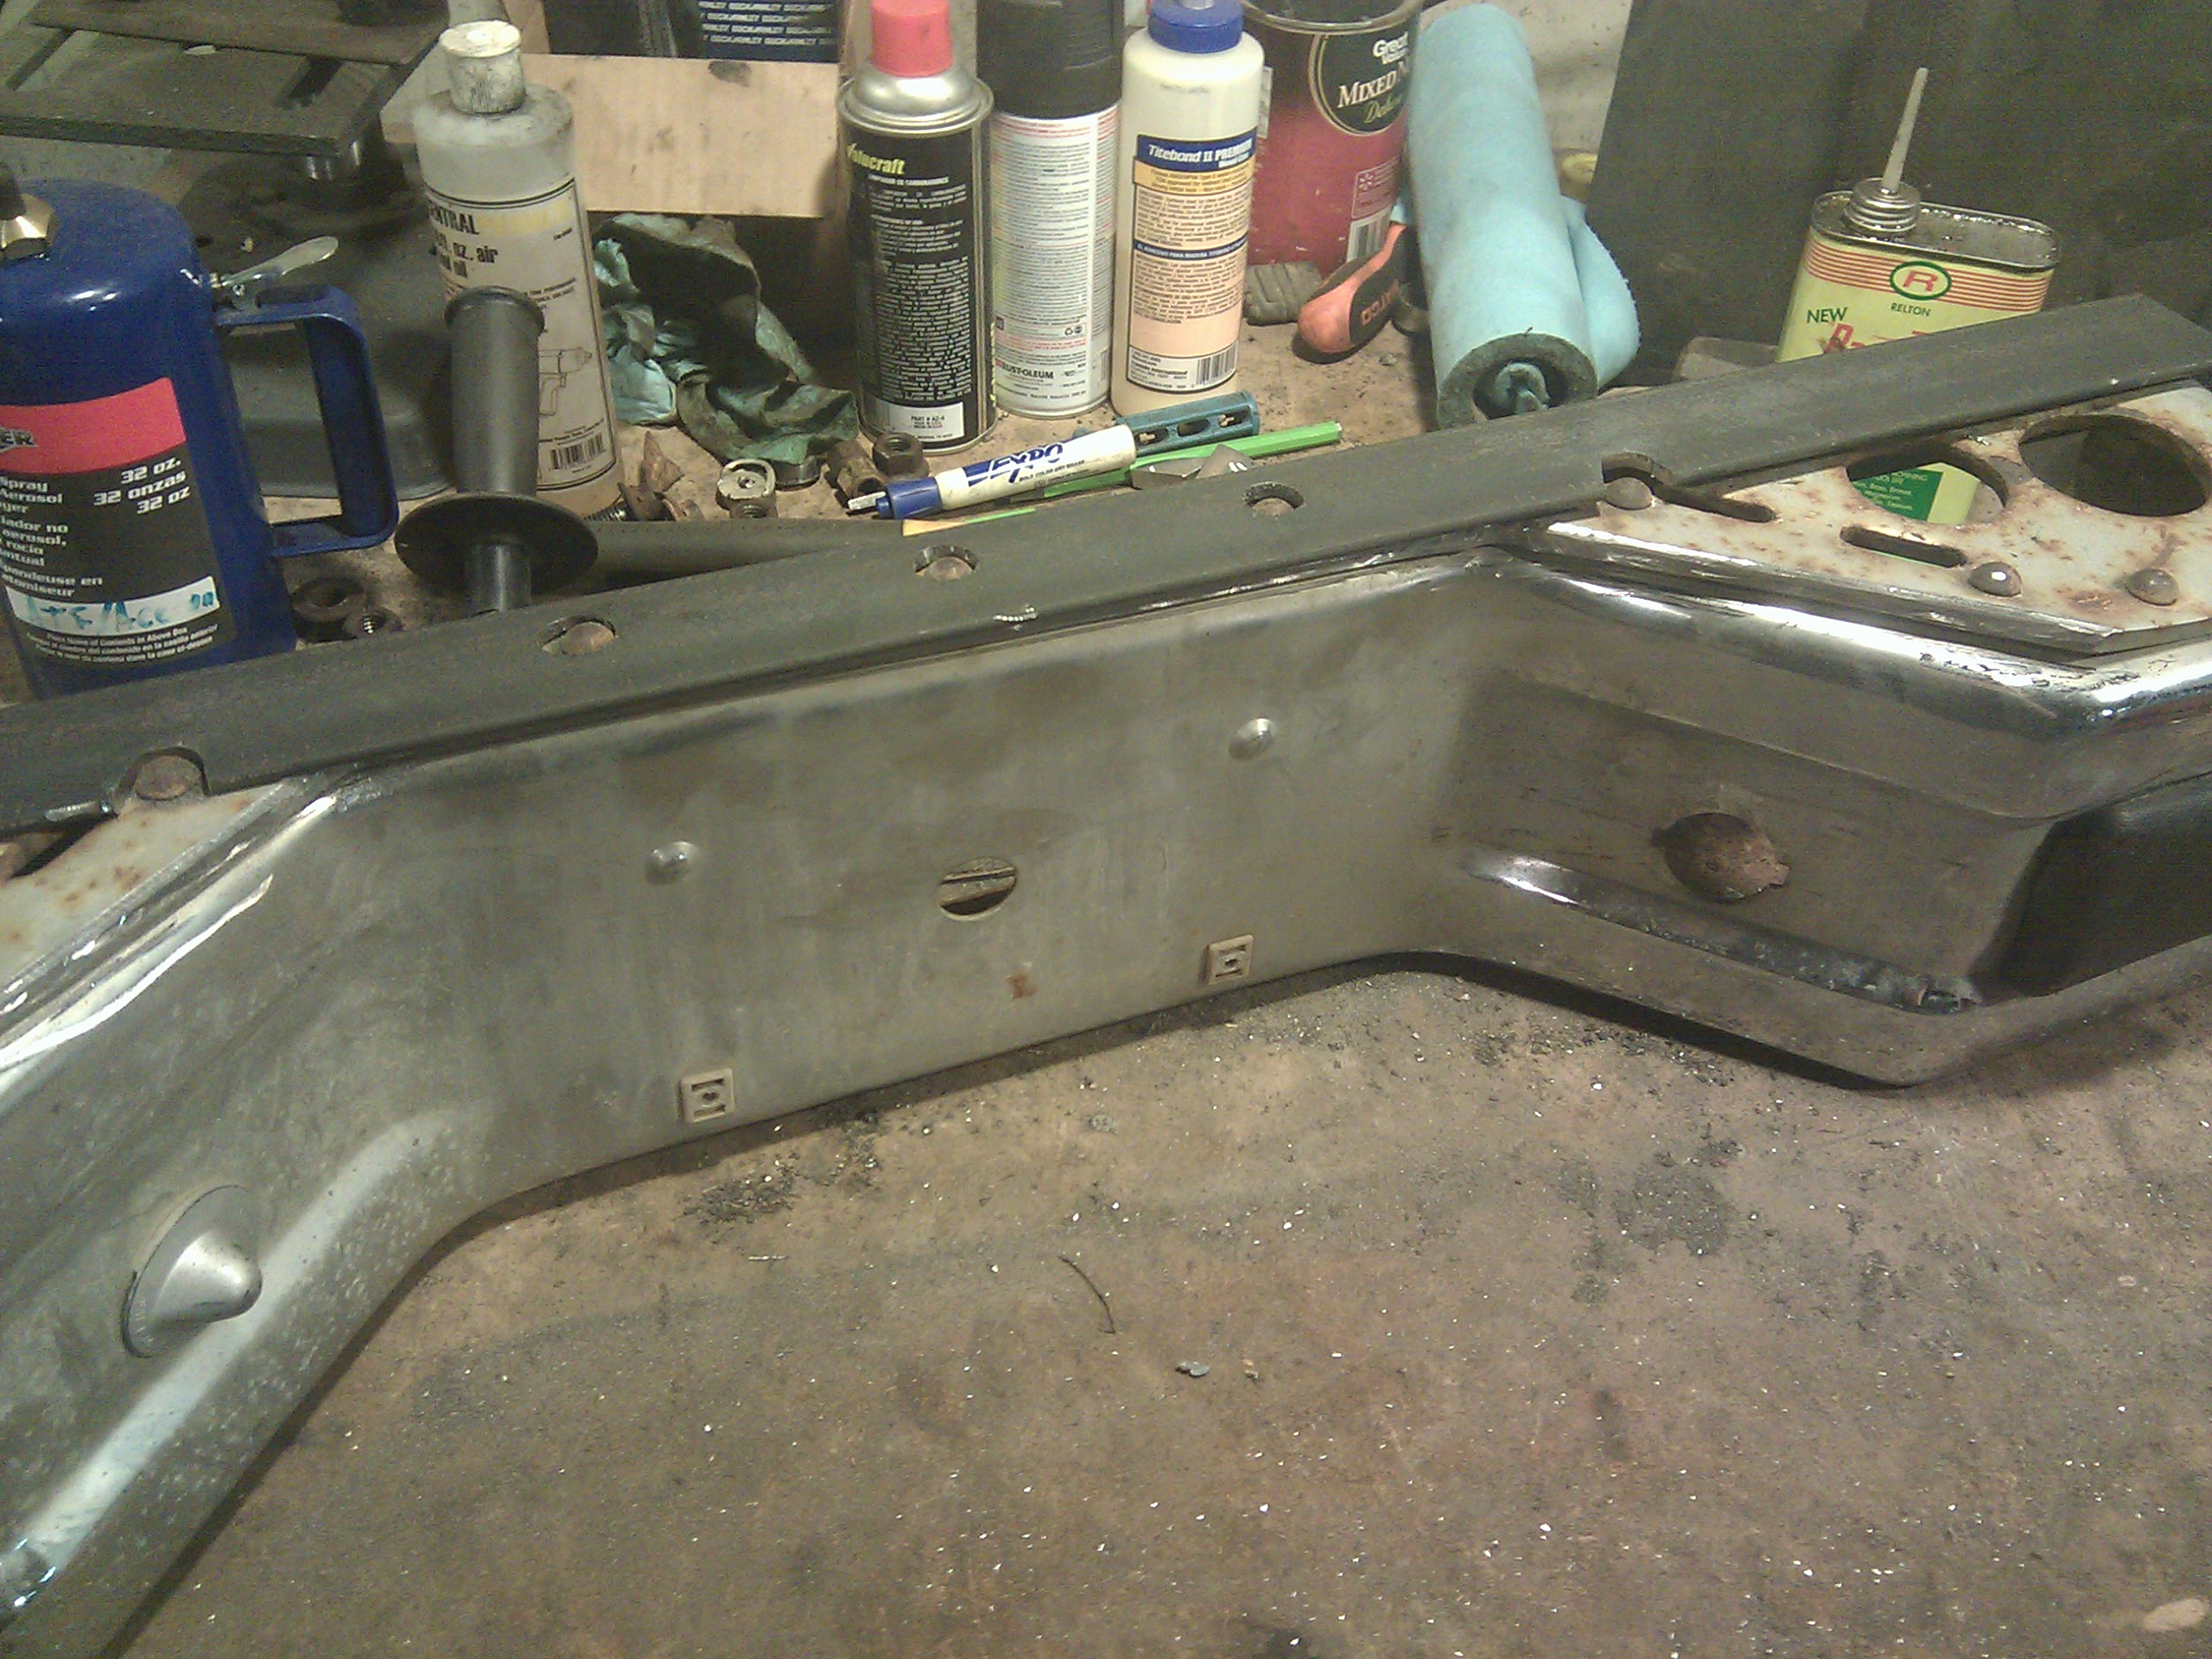
A bit of grinding and it fits:
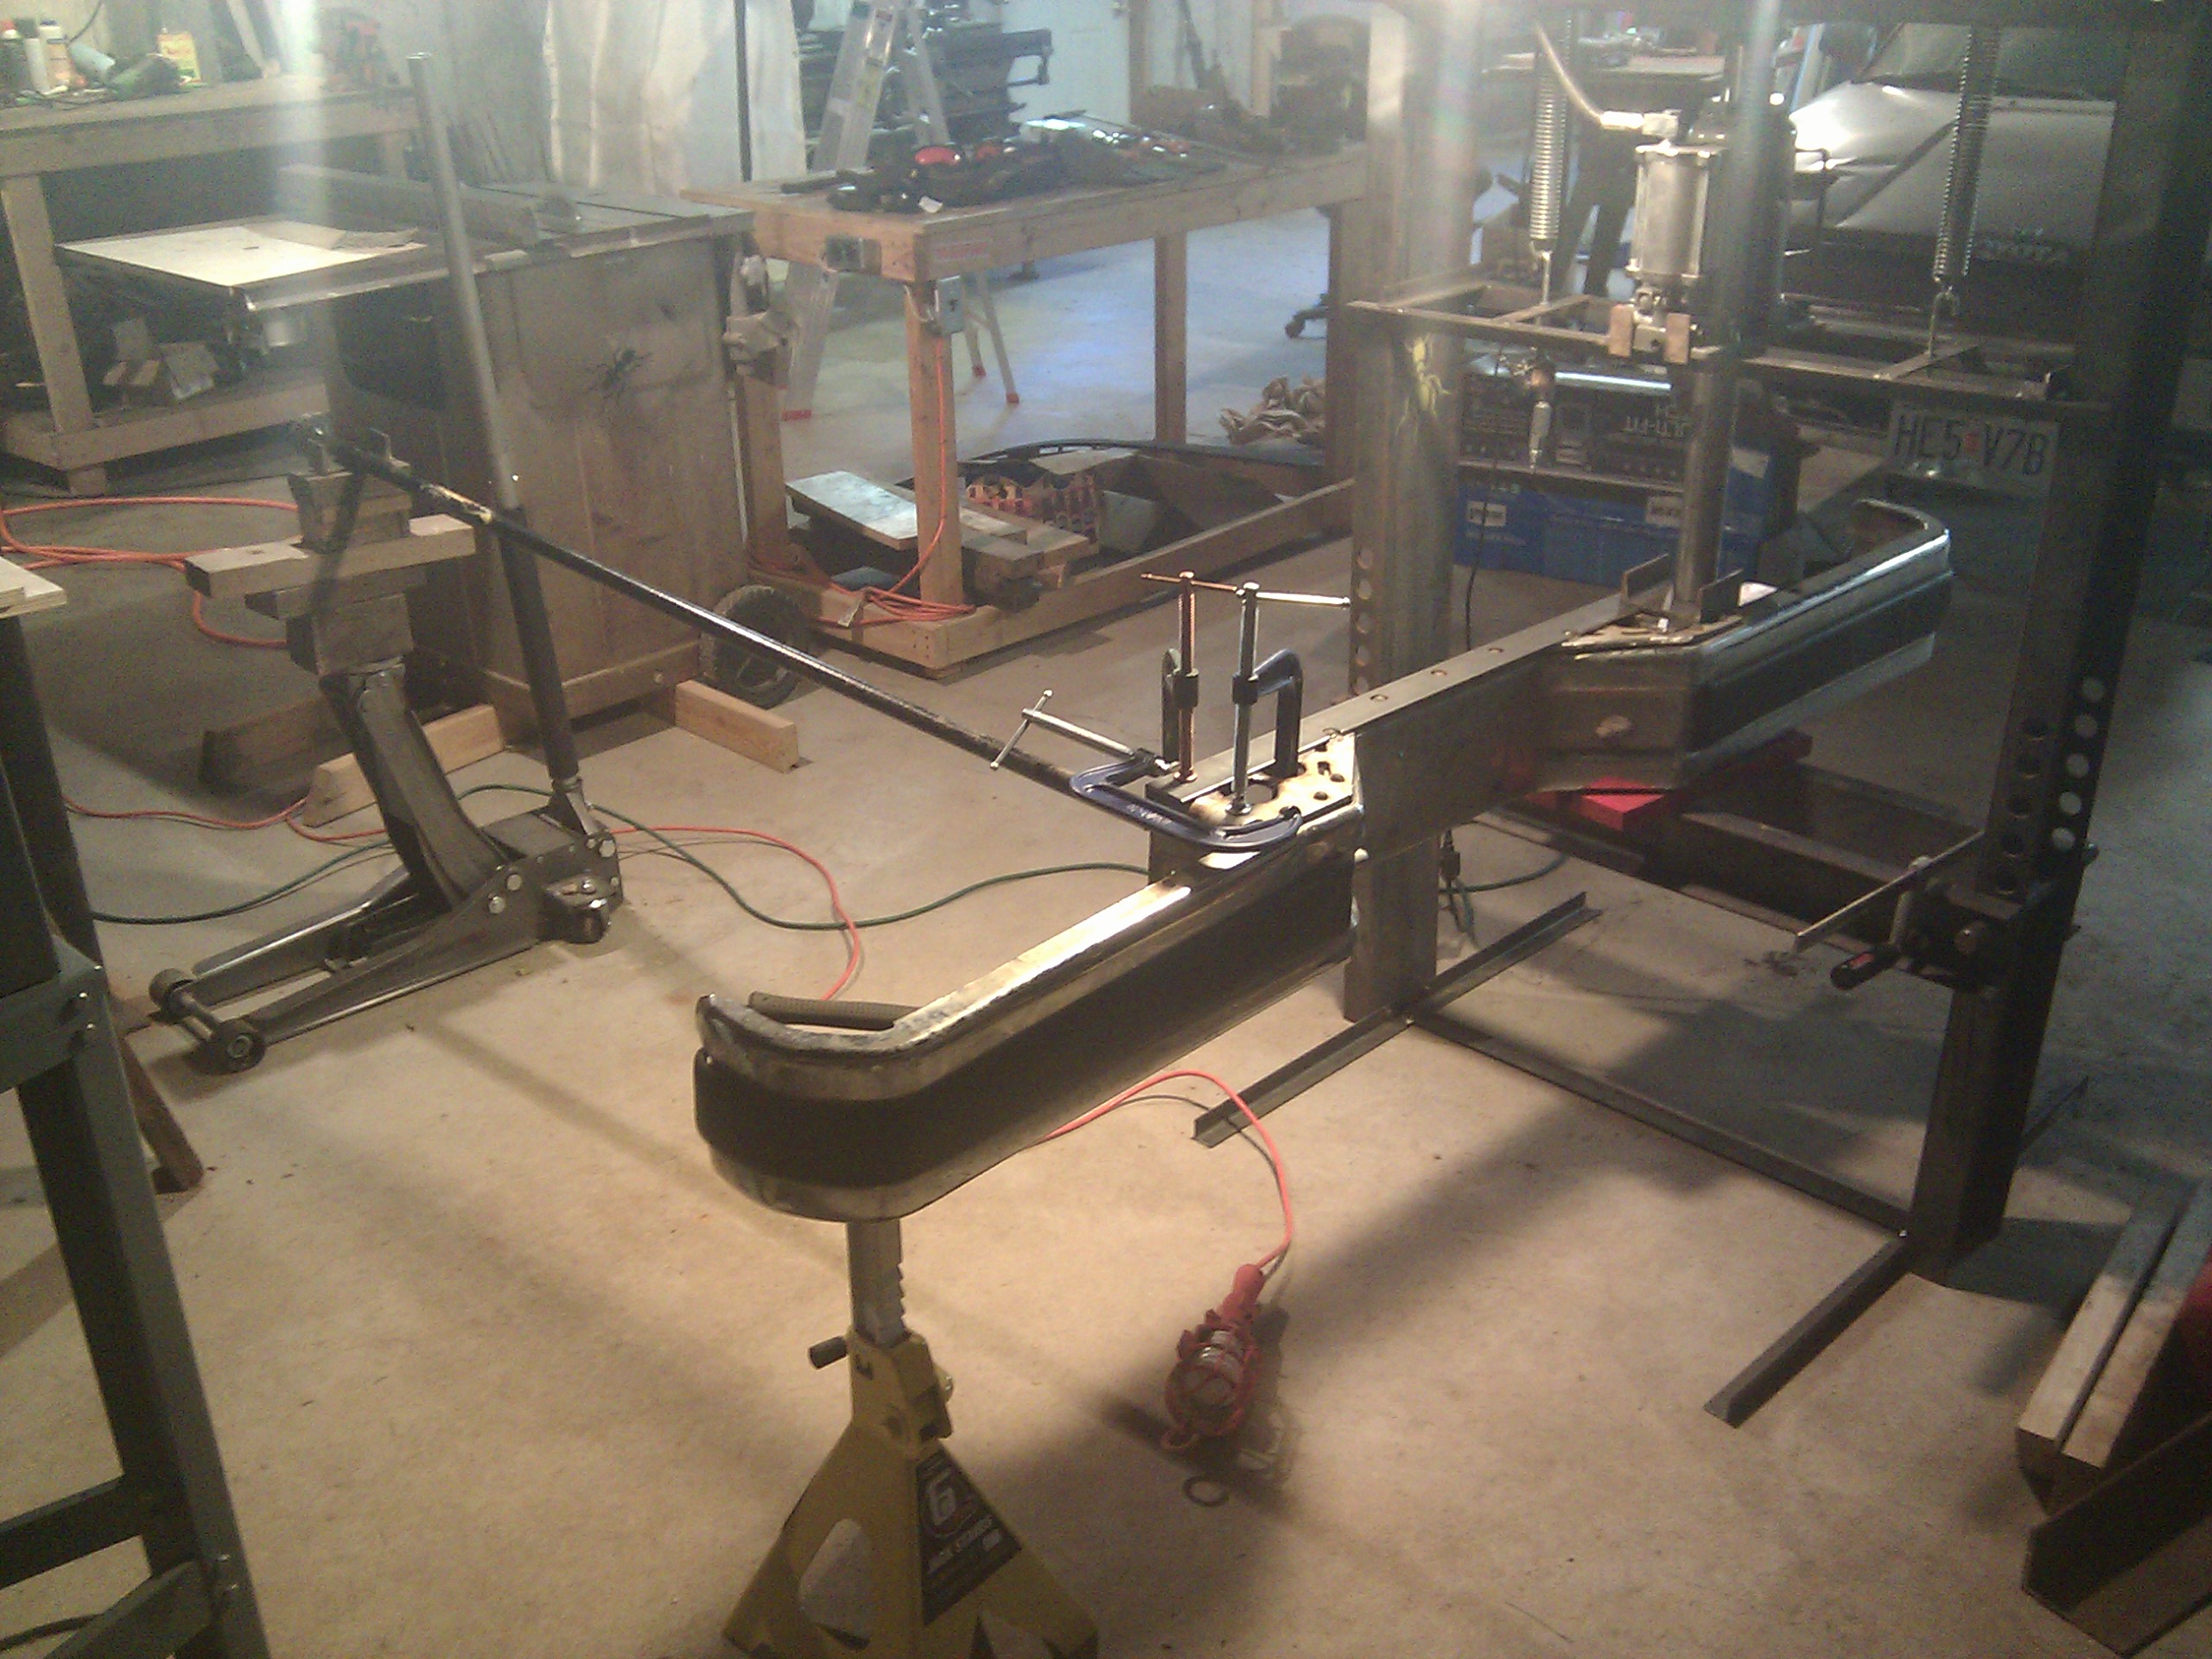
Another trick to getting bent things straight is to clamp them into shape, then weld bracing onto them. This extremely high-tech clamp system features the hydraulic press, a floor jack, a jackstand, and a really long lever:
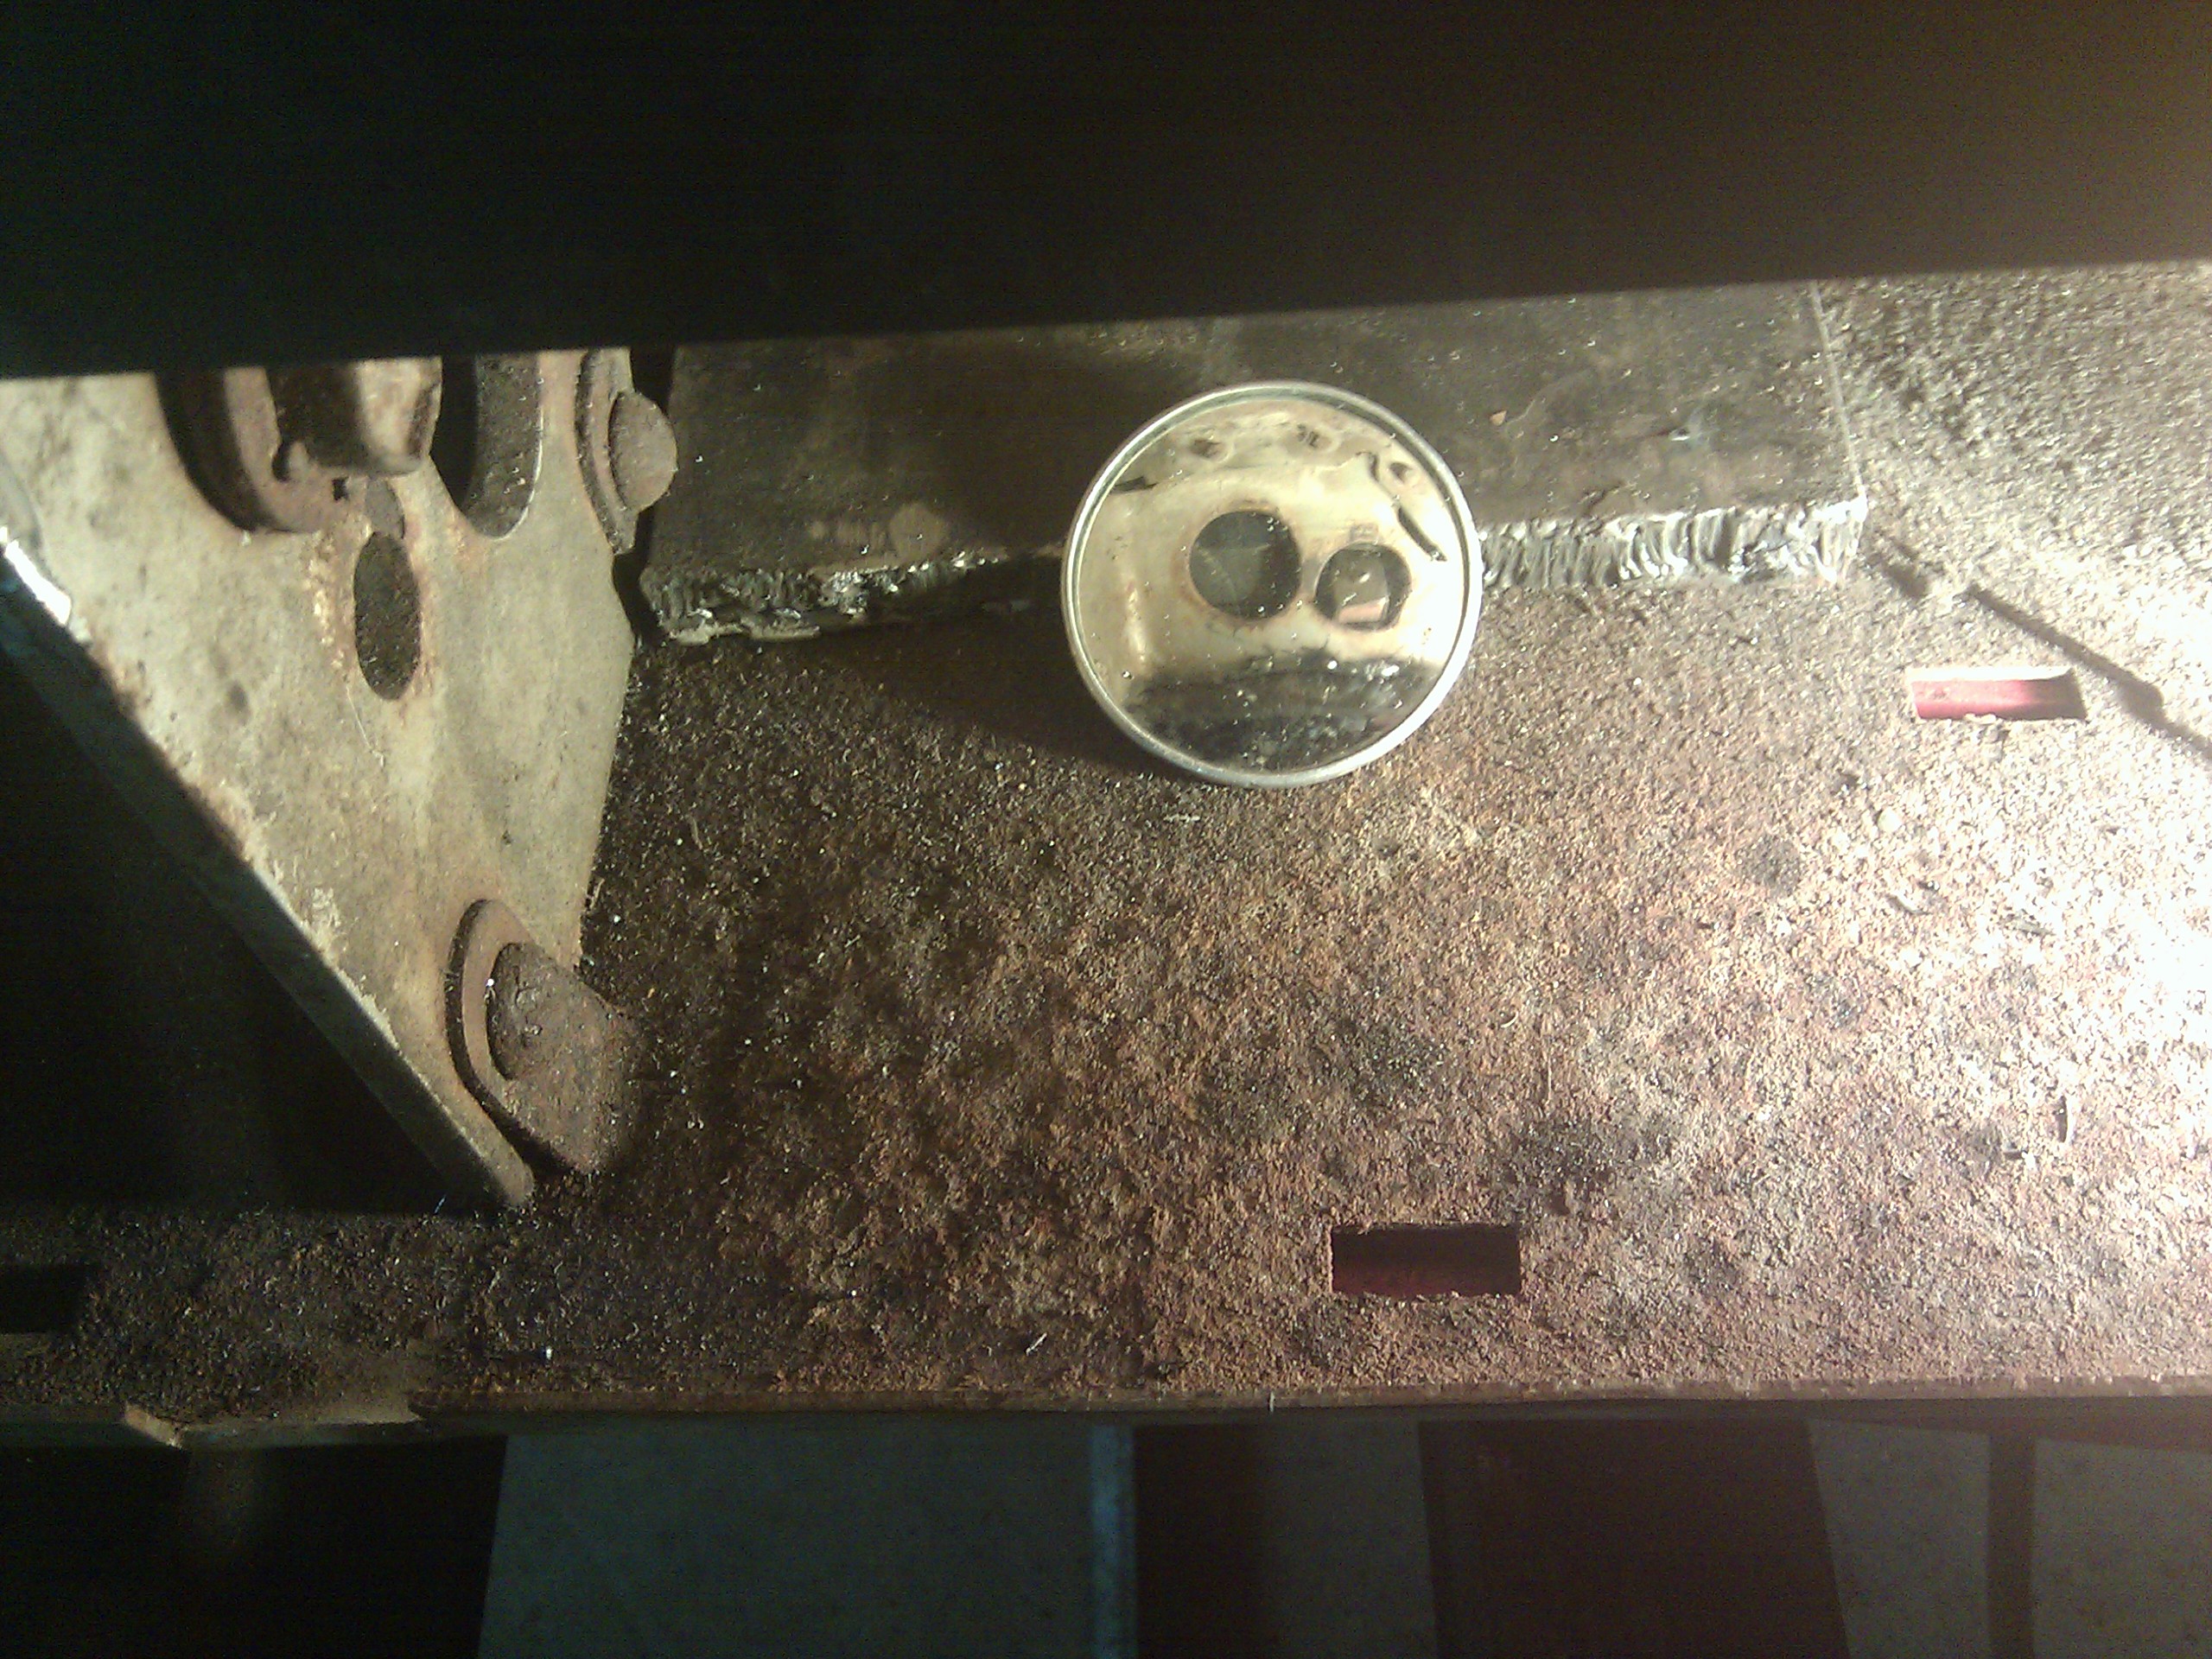
I welded the flat parts in position and did a little vertical up work on the ends. Then things got tricky: an overhead root pass on one part, and this guy:
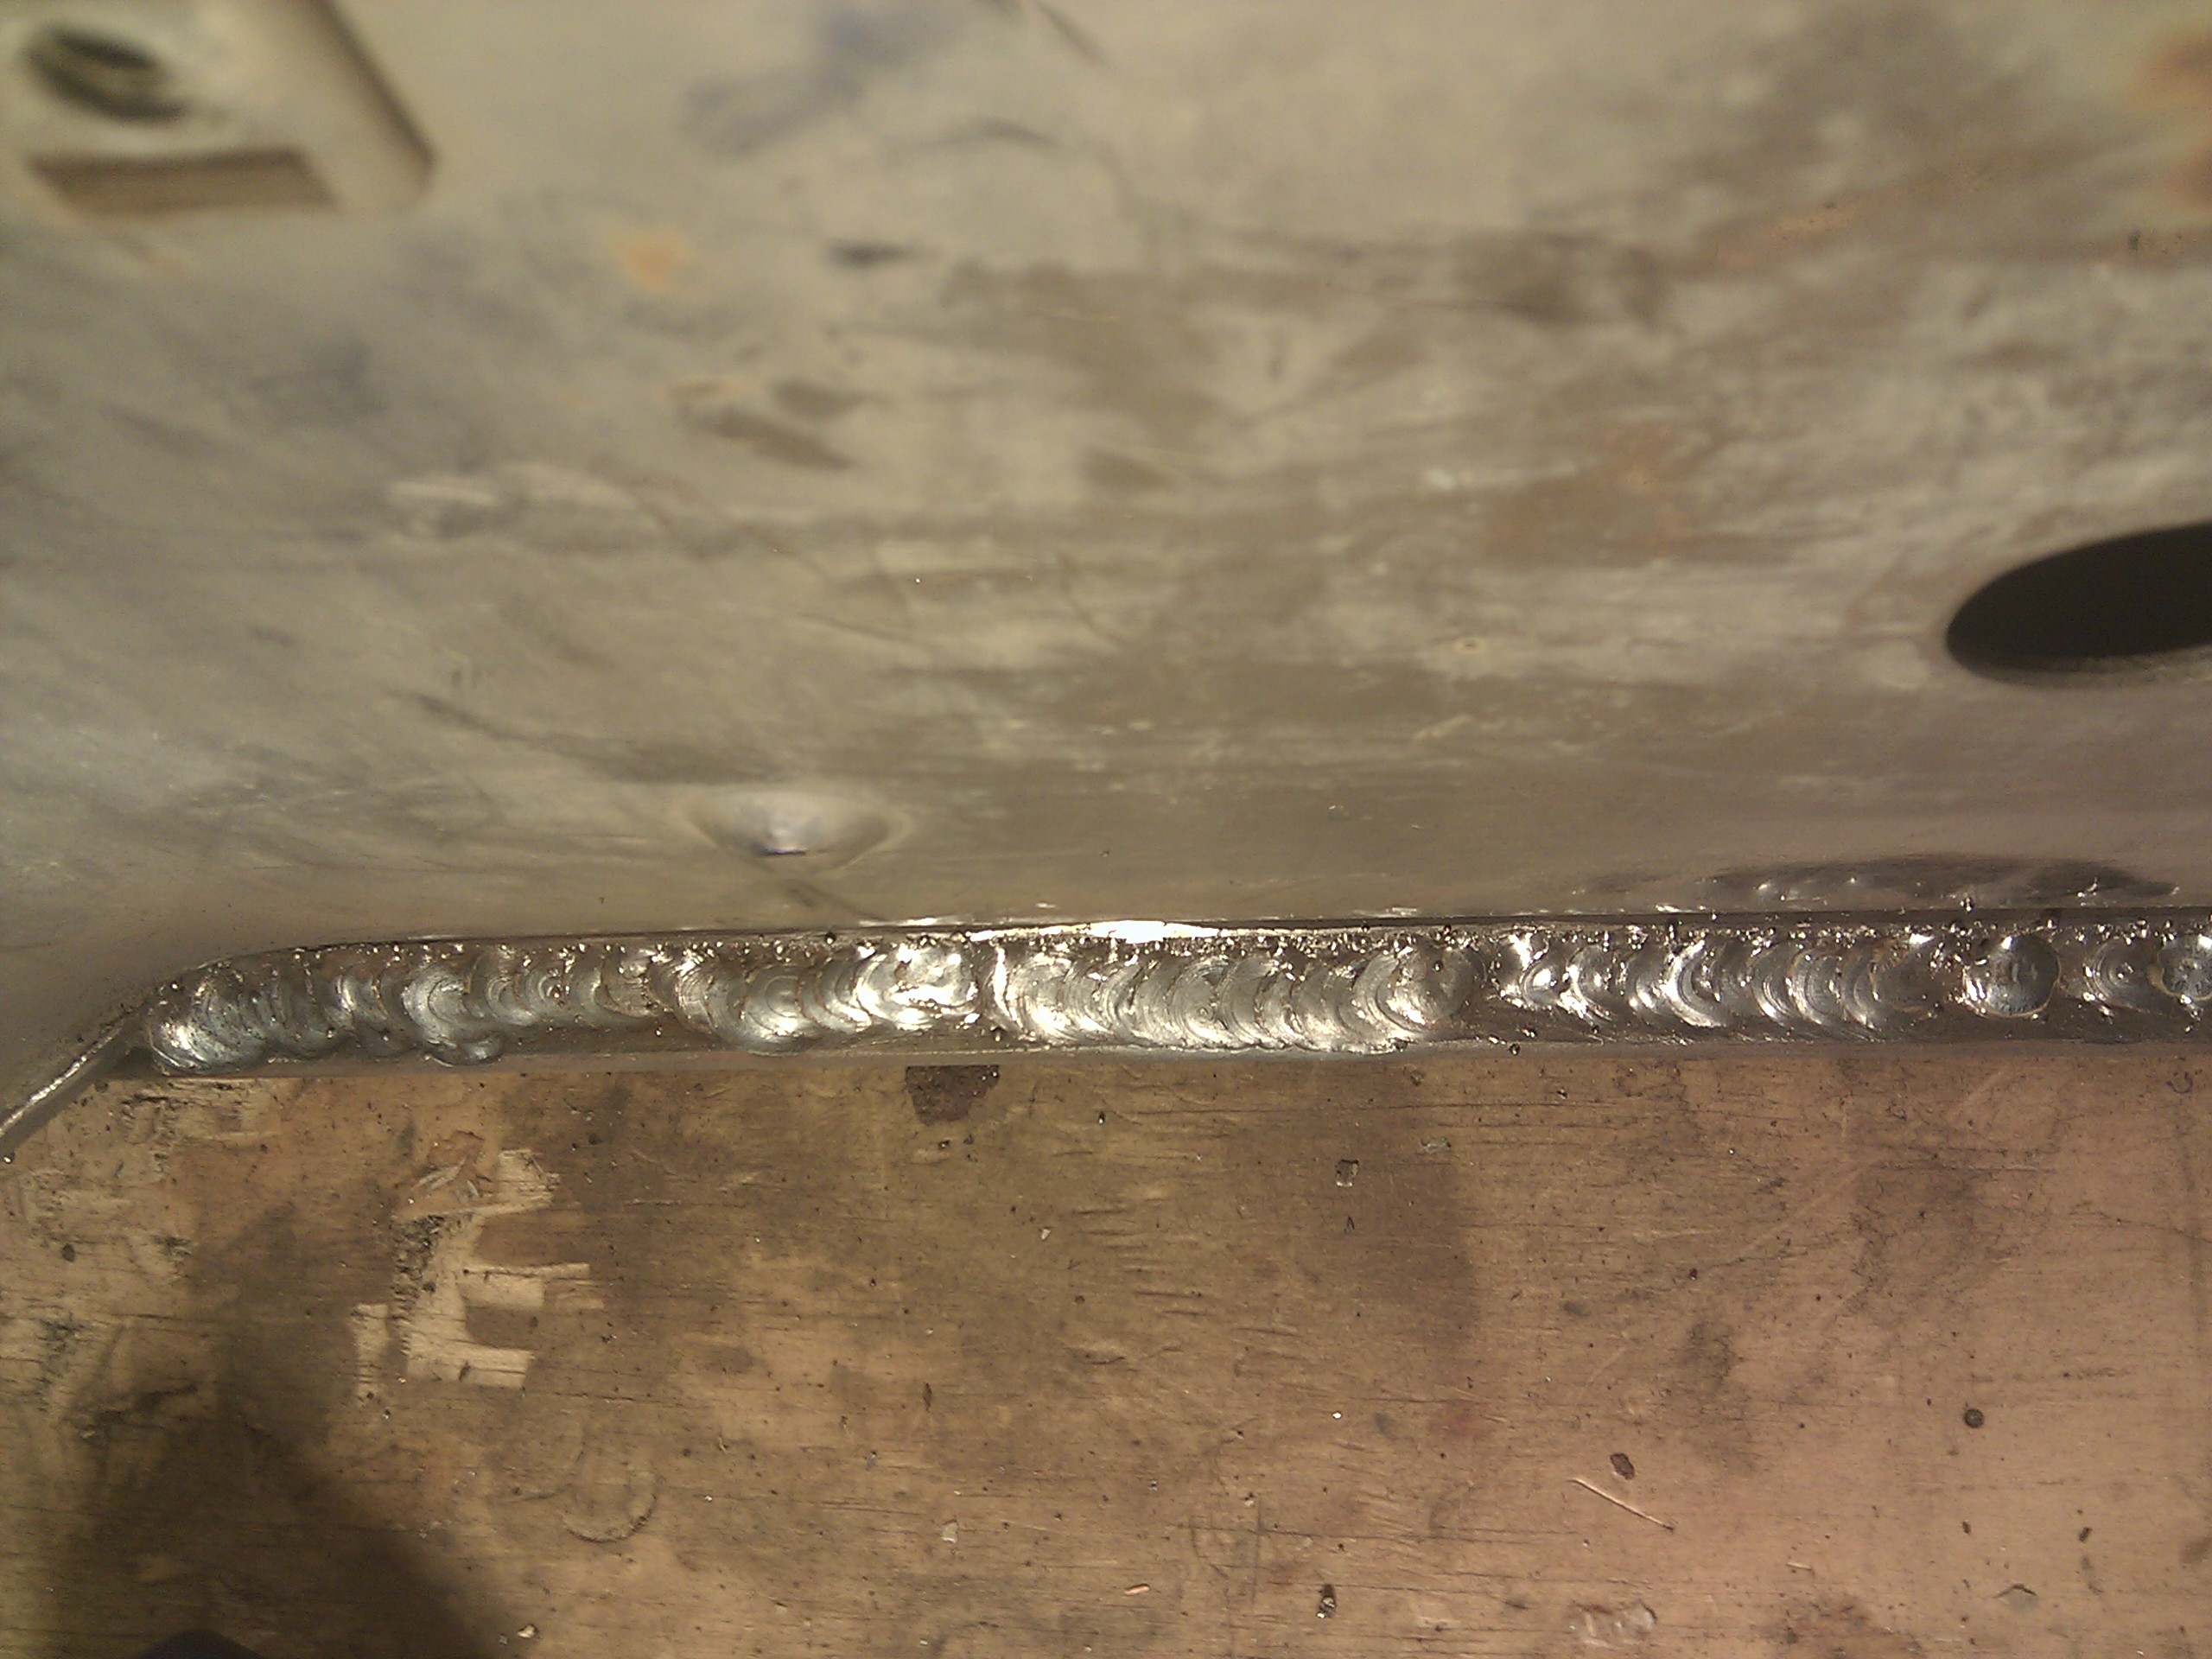
I just did a couple of tacks, since I am not nearly good enough to weld overhead in a mirror. Then I flipped it over and did a finish pass across the root pass, which came out pretty well:
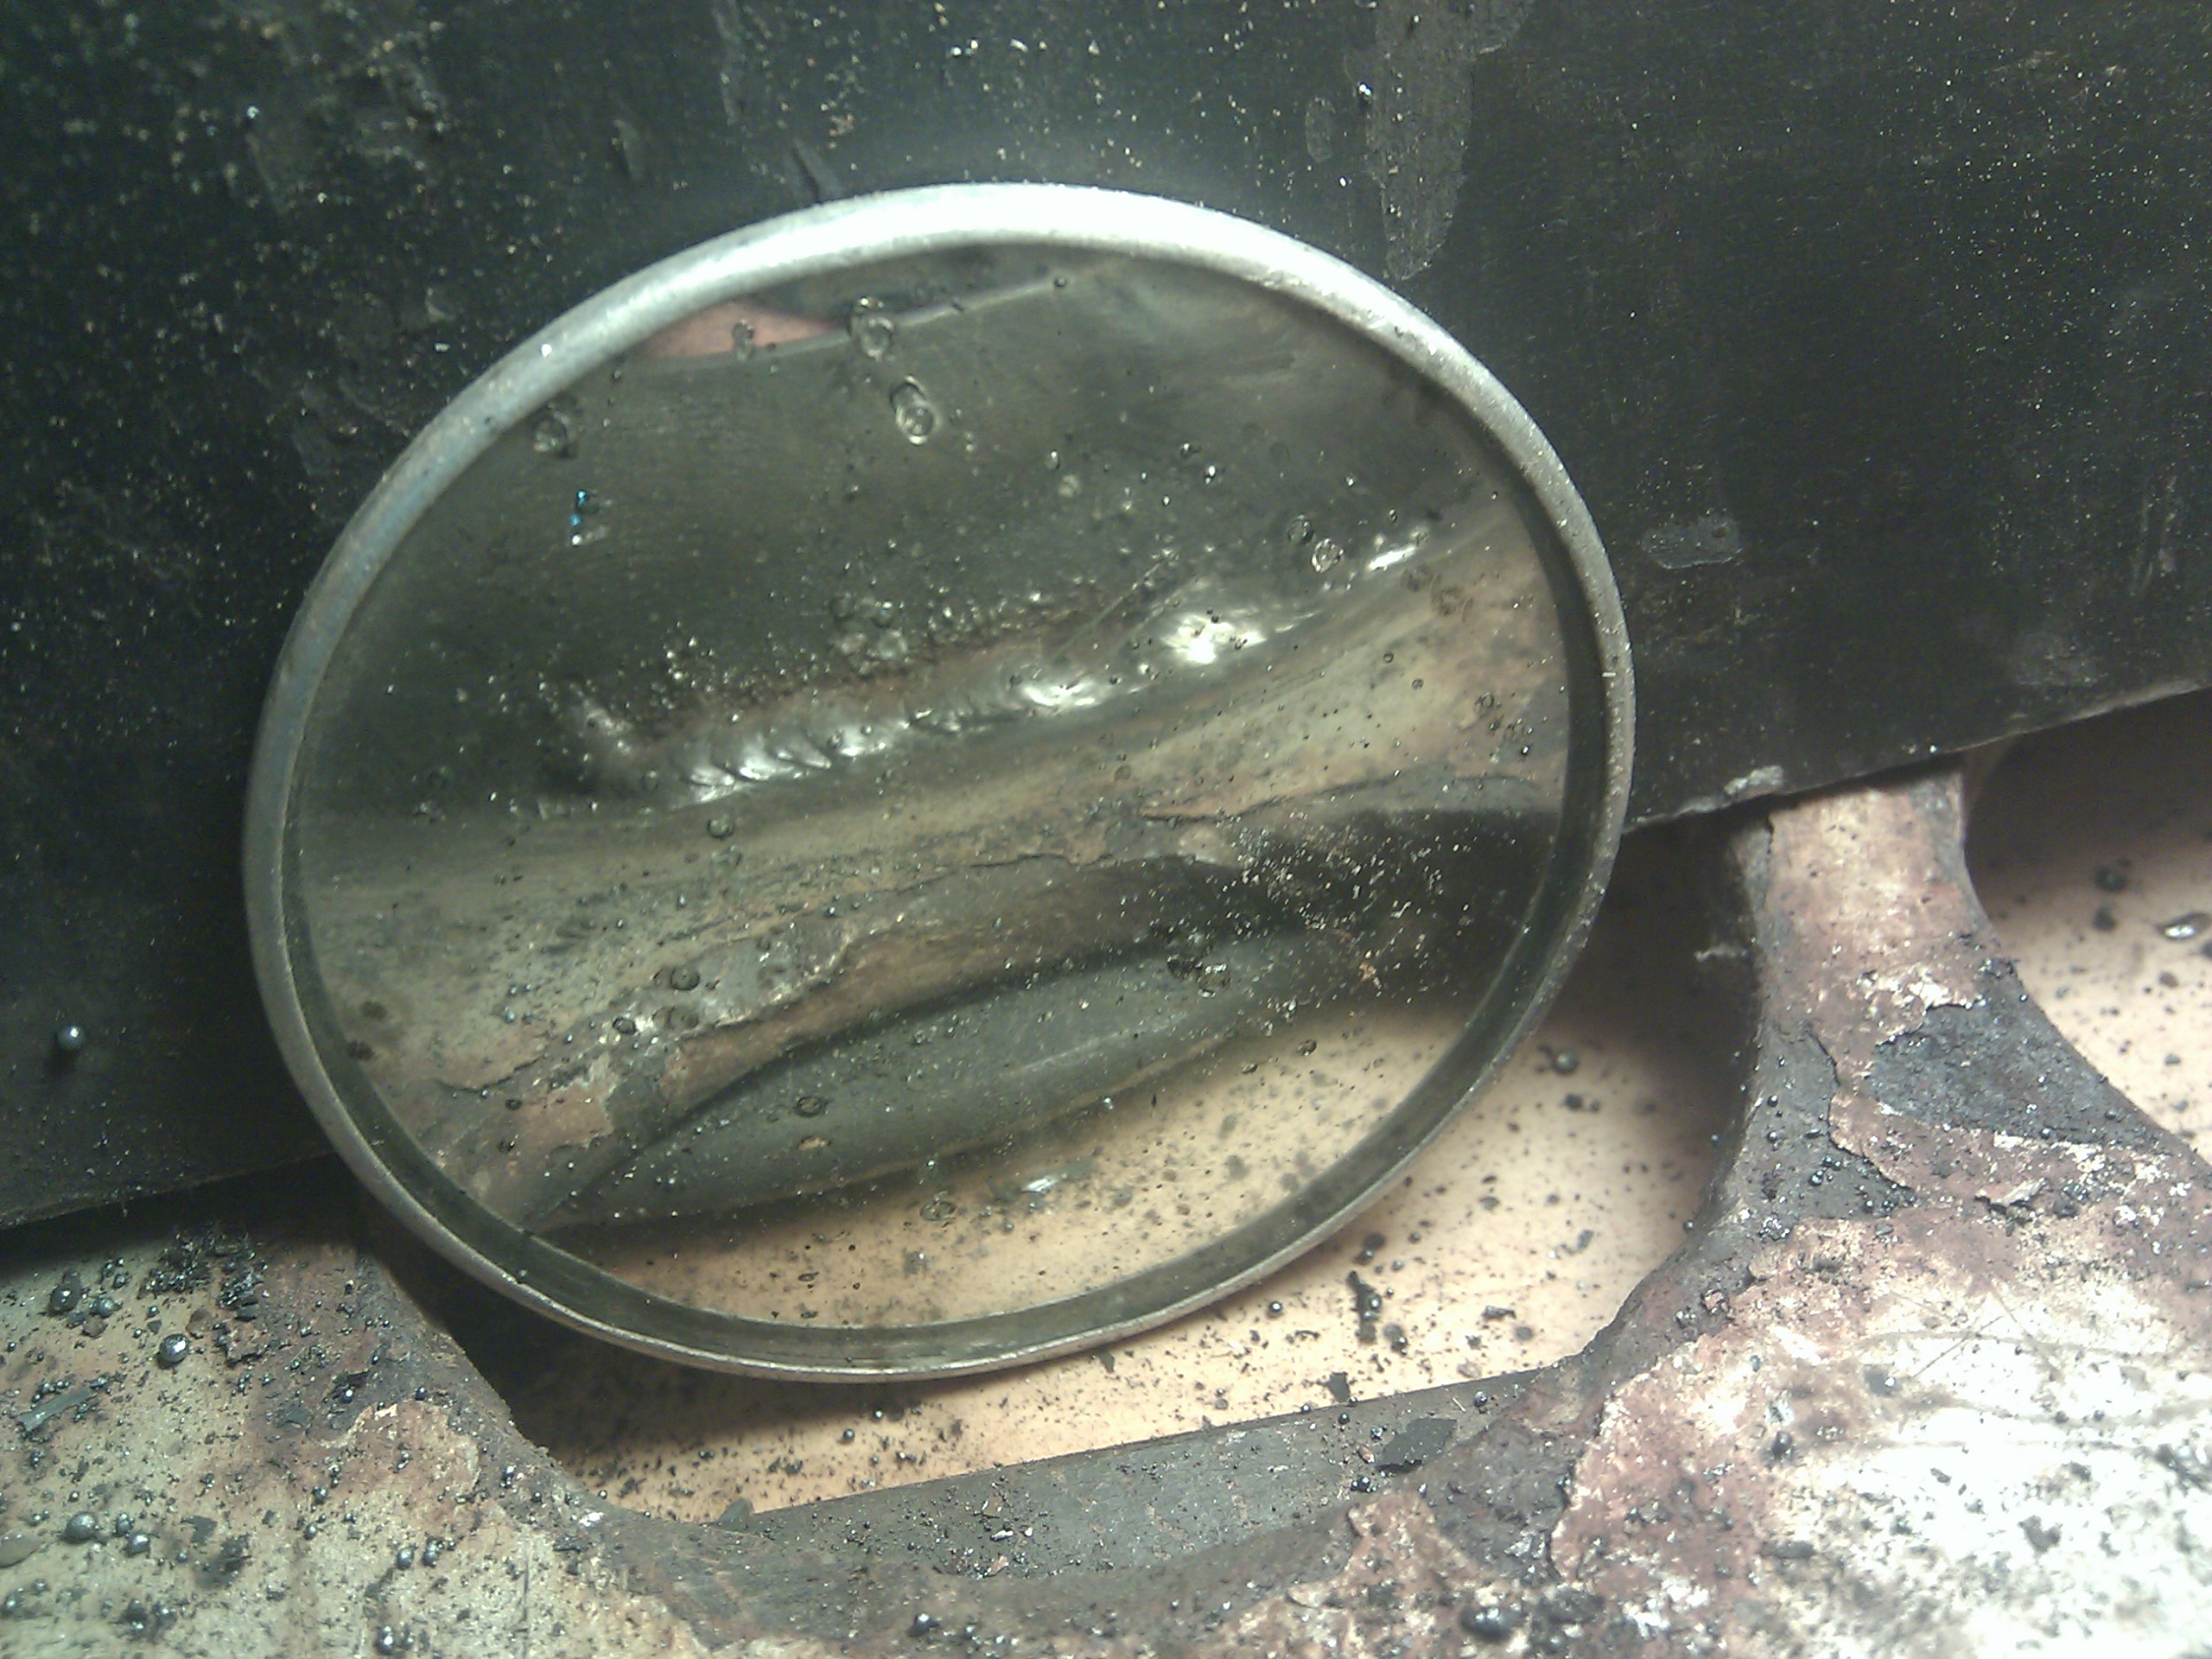
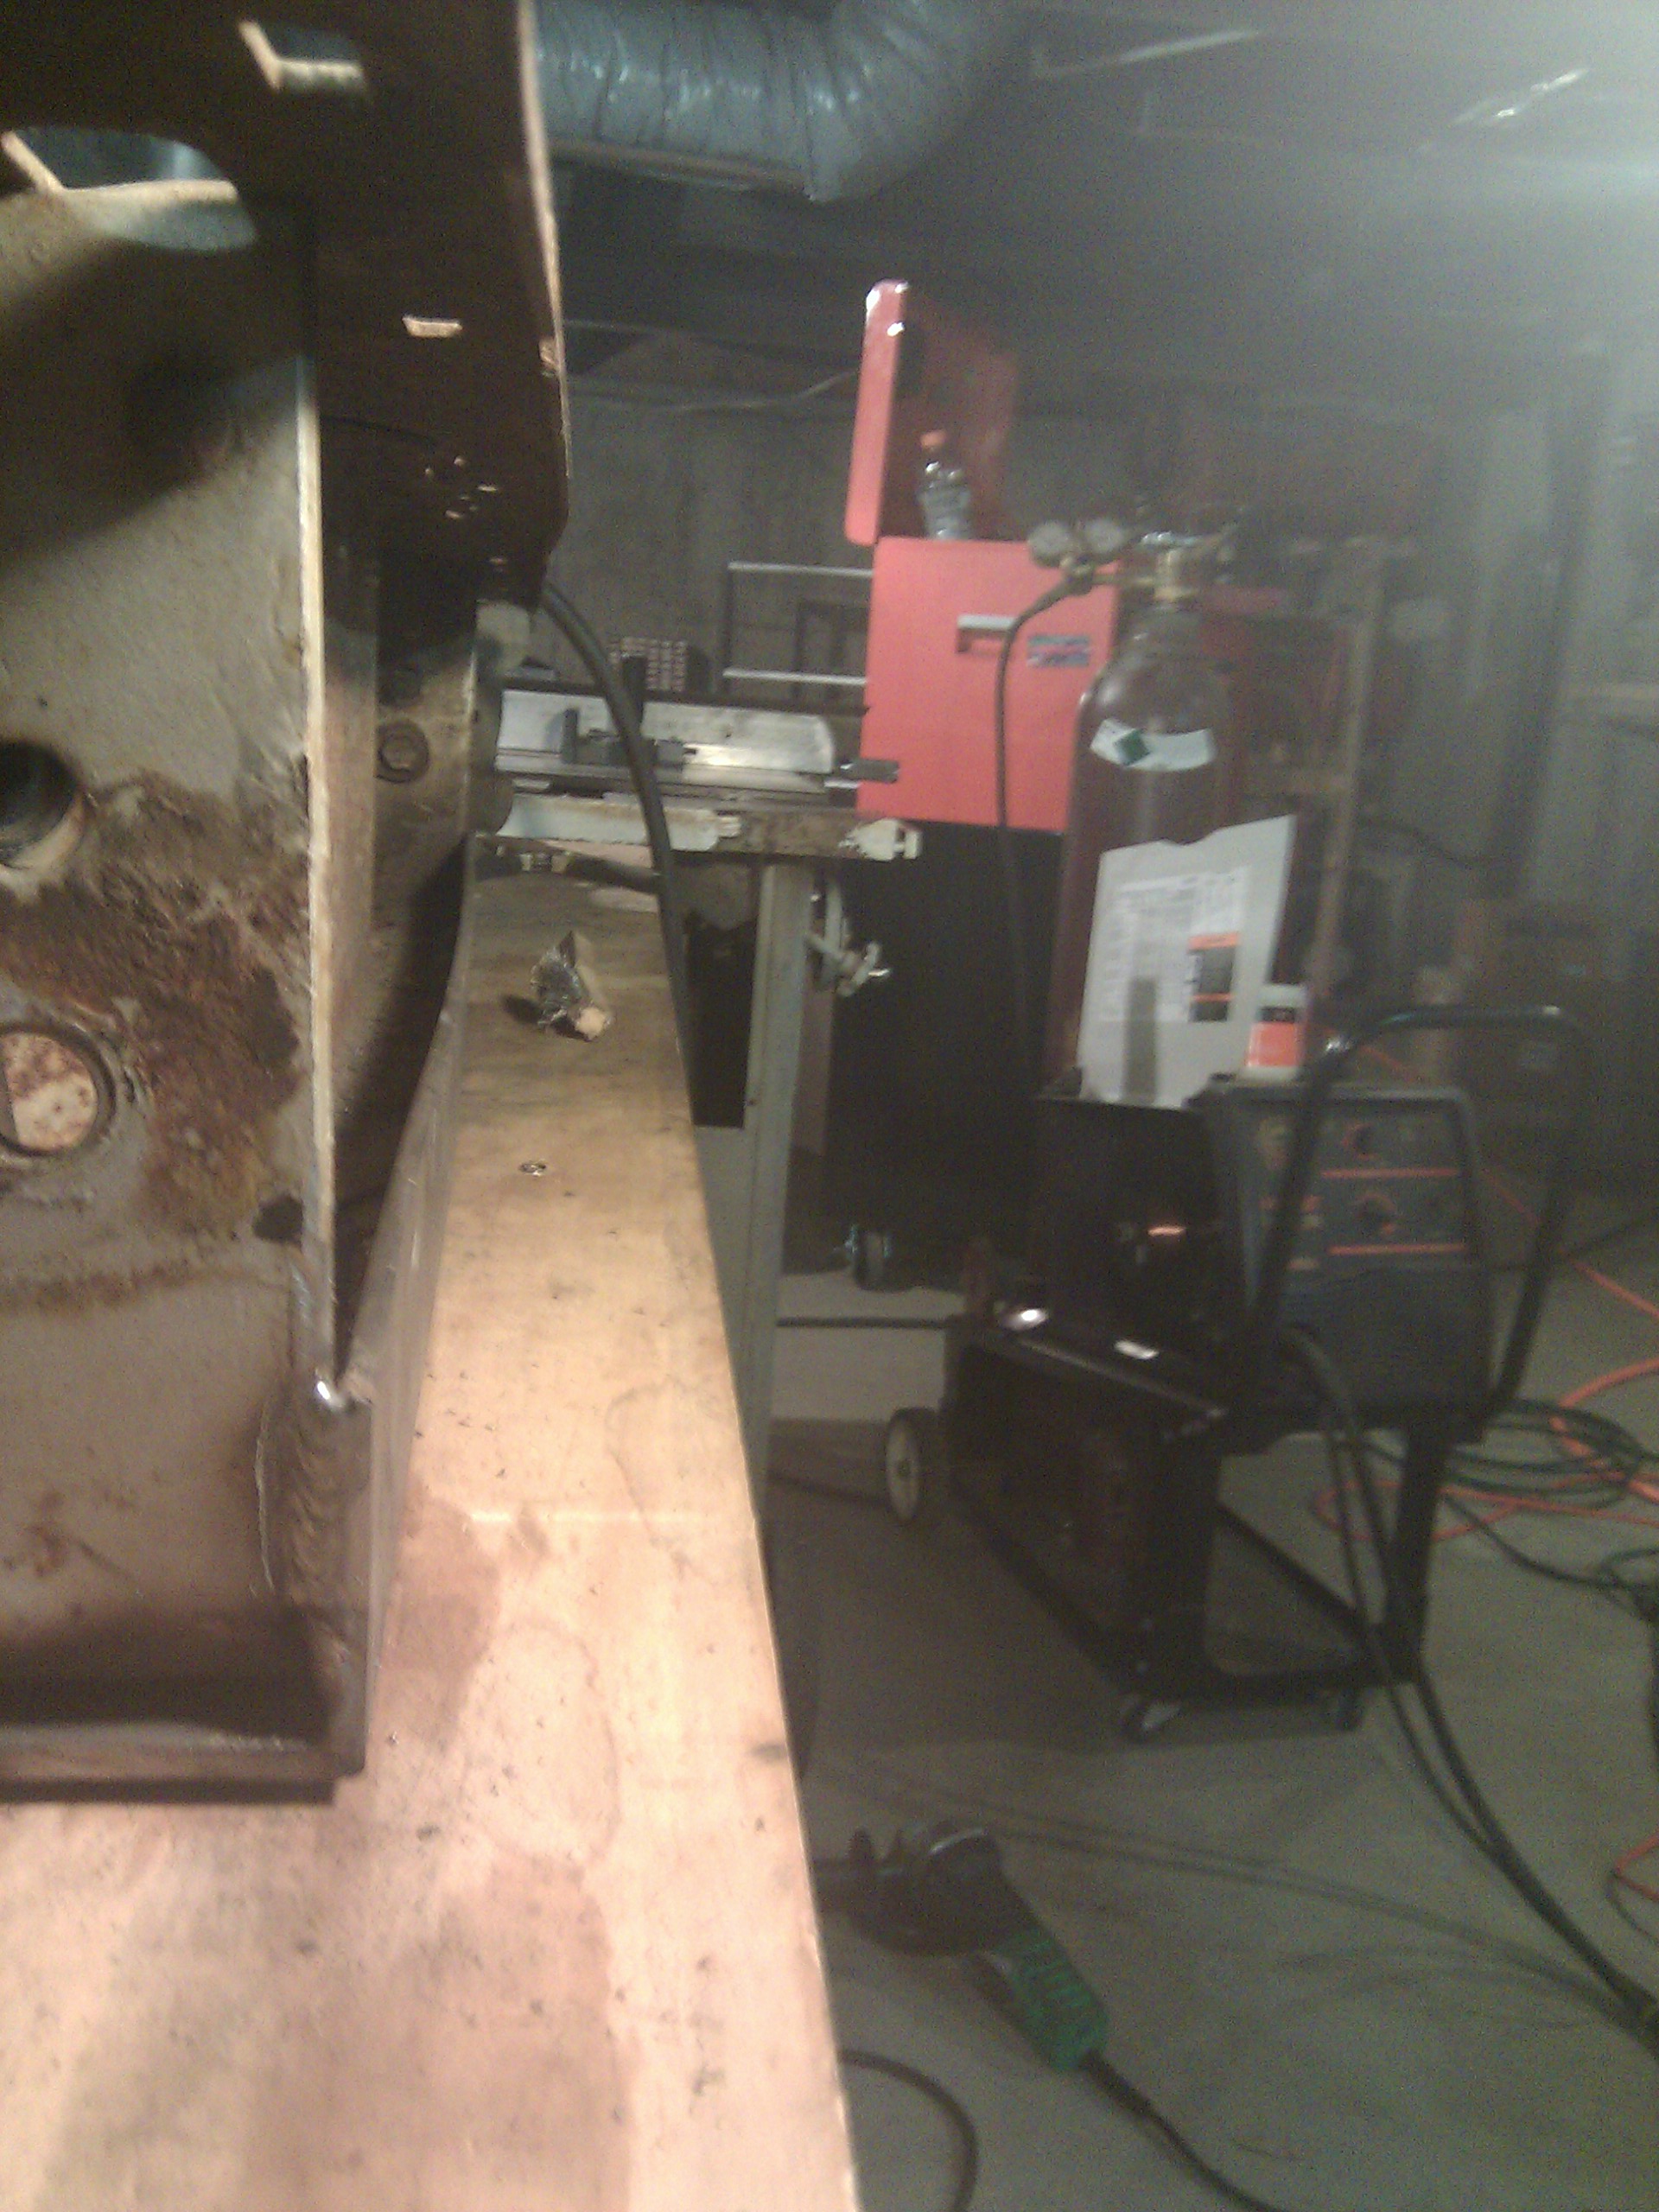
I also laid down some better welds on the parts I tacked using a mirror. Welding in a mirror is pretty easy, just do the opposite of whatever you normally do:
After all this, it's straight enough for a beater truck:
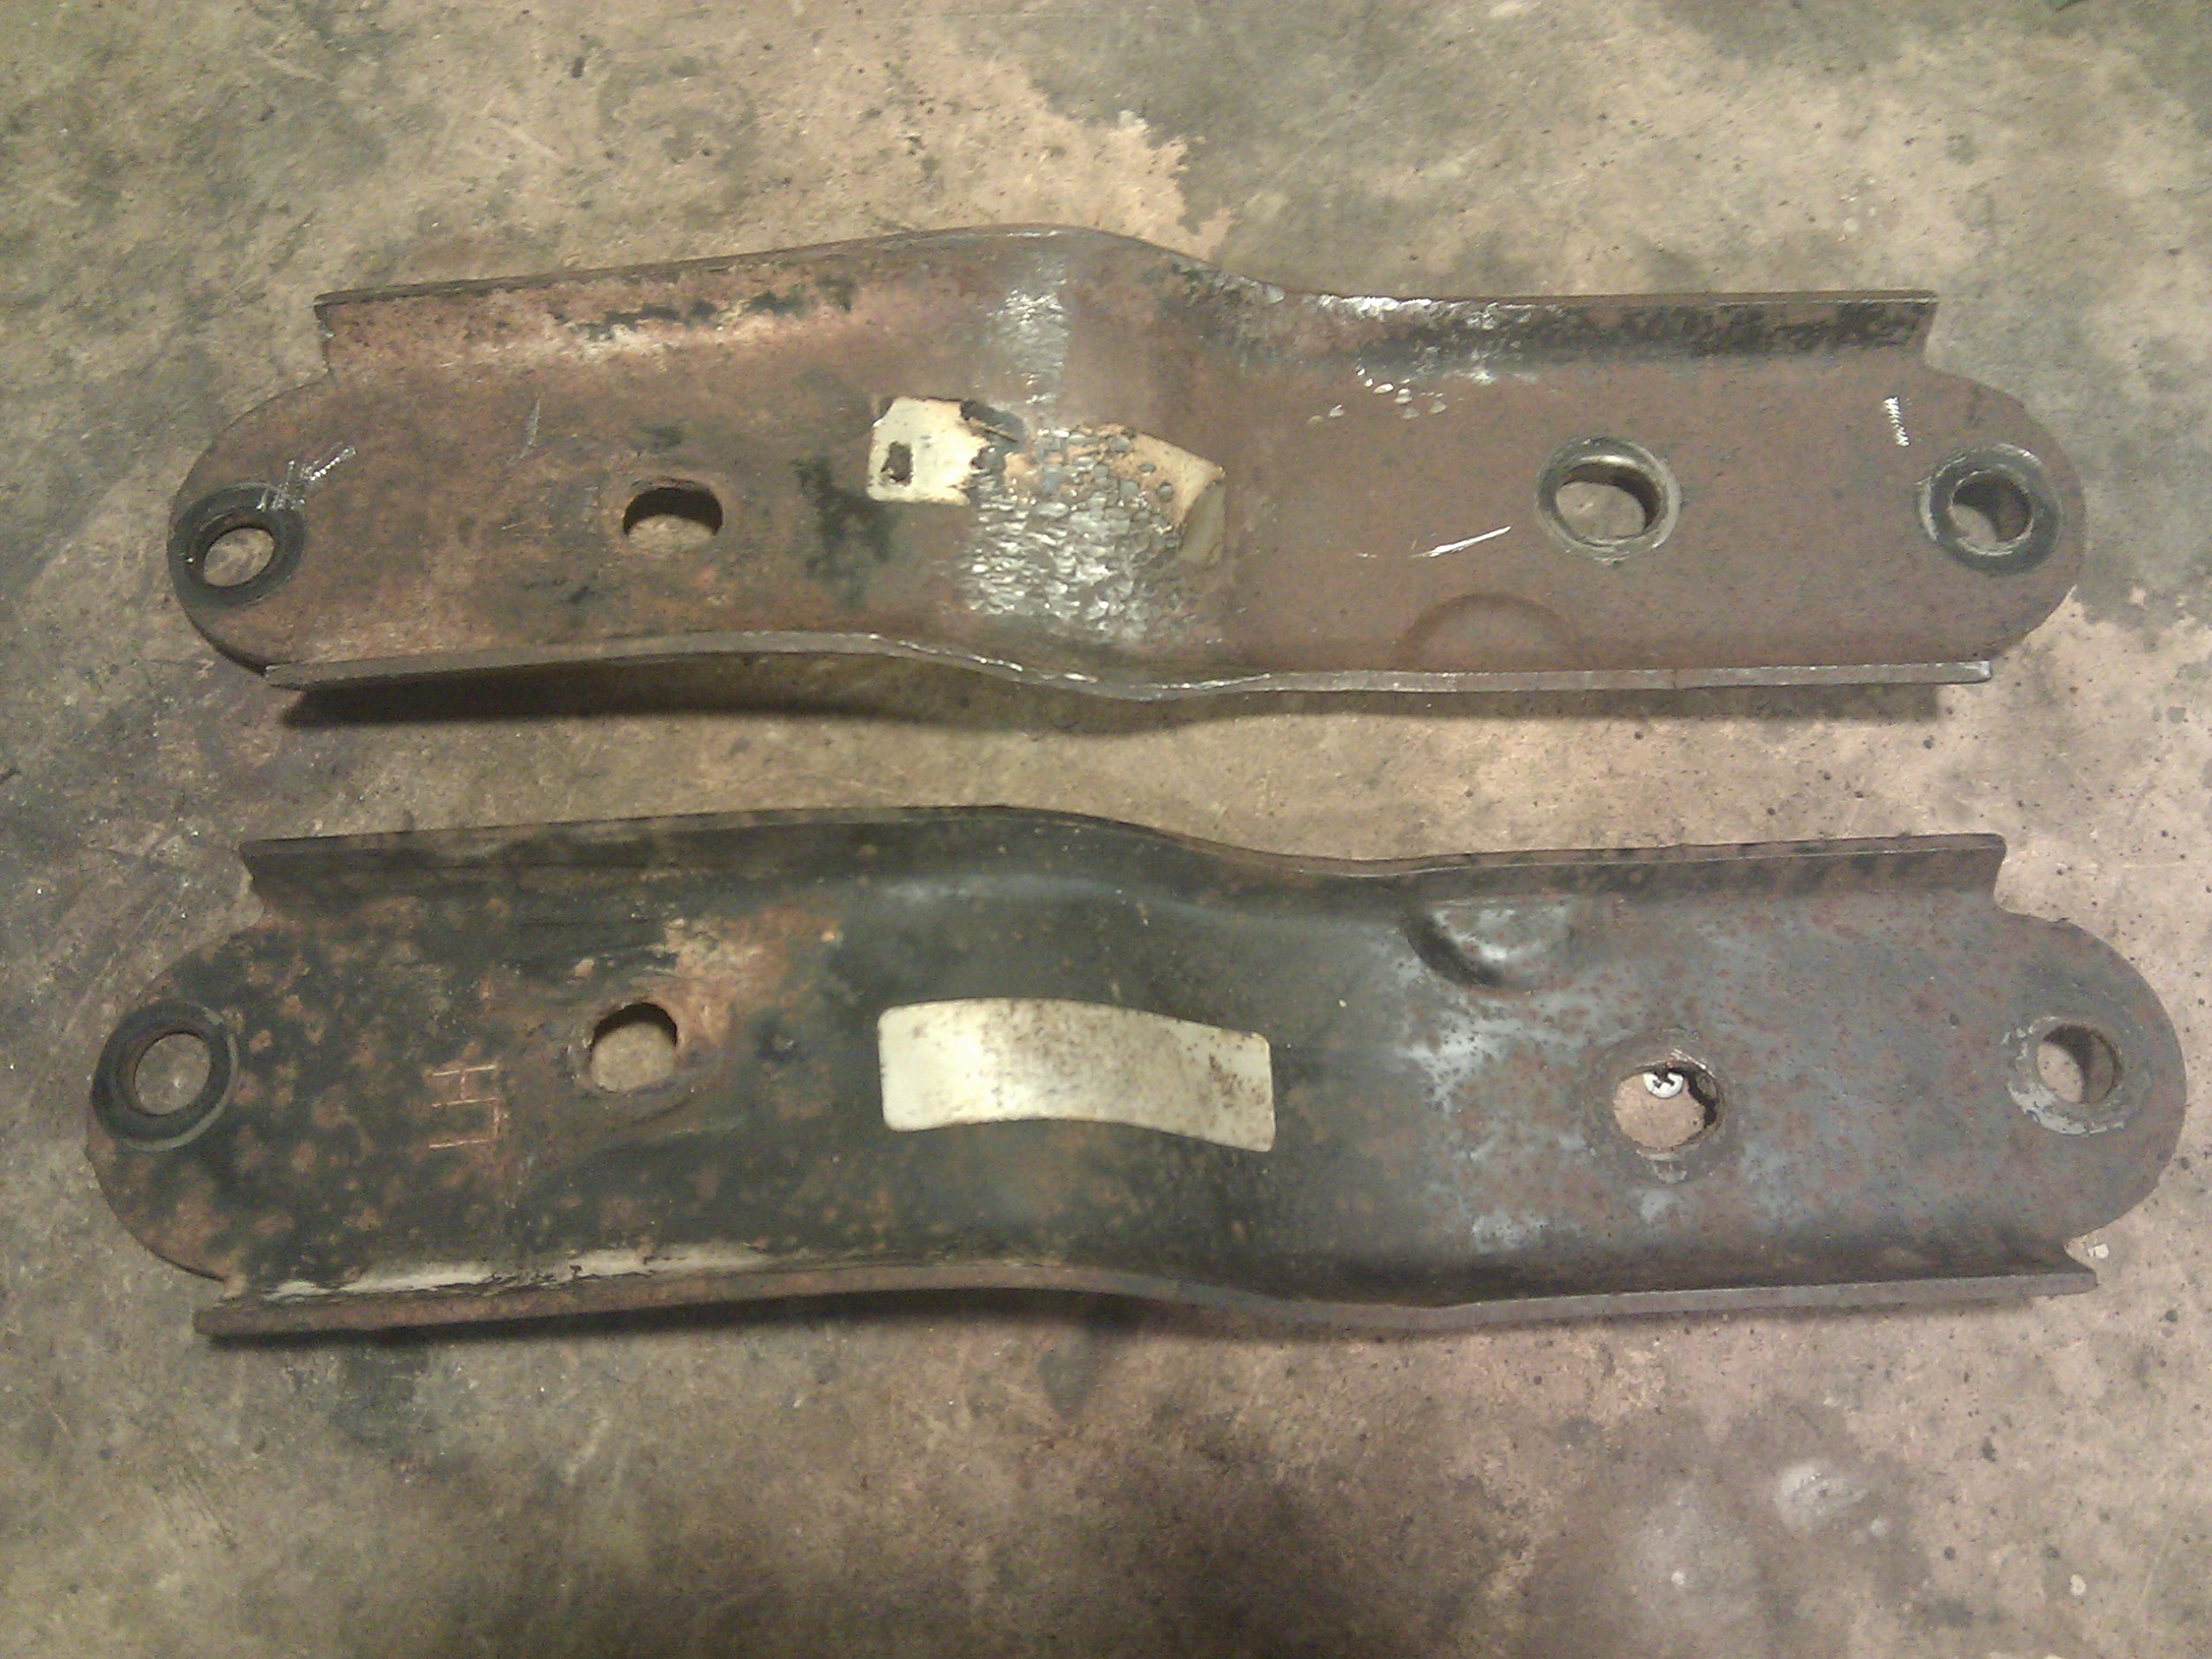
Now, for the mounting brackets. It has two that go pretty much straight back from the U I cut up to the frame, and two that sit diagonally from the ends of the bumper to the frame. I regret not taking before pictures of the straight bracket; it was folded in and down. I managed to straighten it out through a few passes through the press. (Side note: C clamps are not meant to provide 20 tons of clamping force. Expect a future project where I attempt to revive the one I broke.) Here's the after, damaged bracket on top:
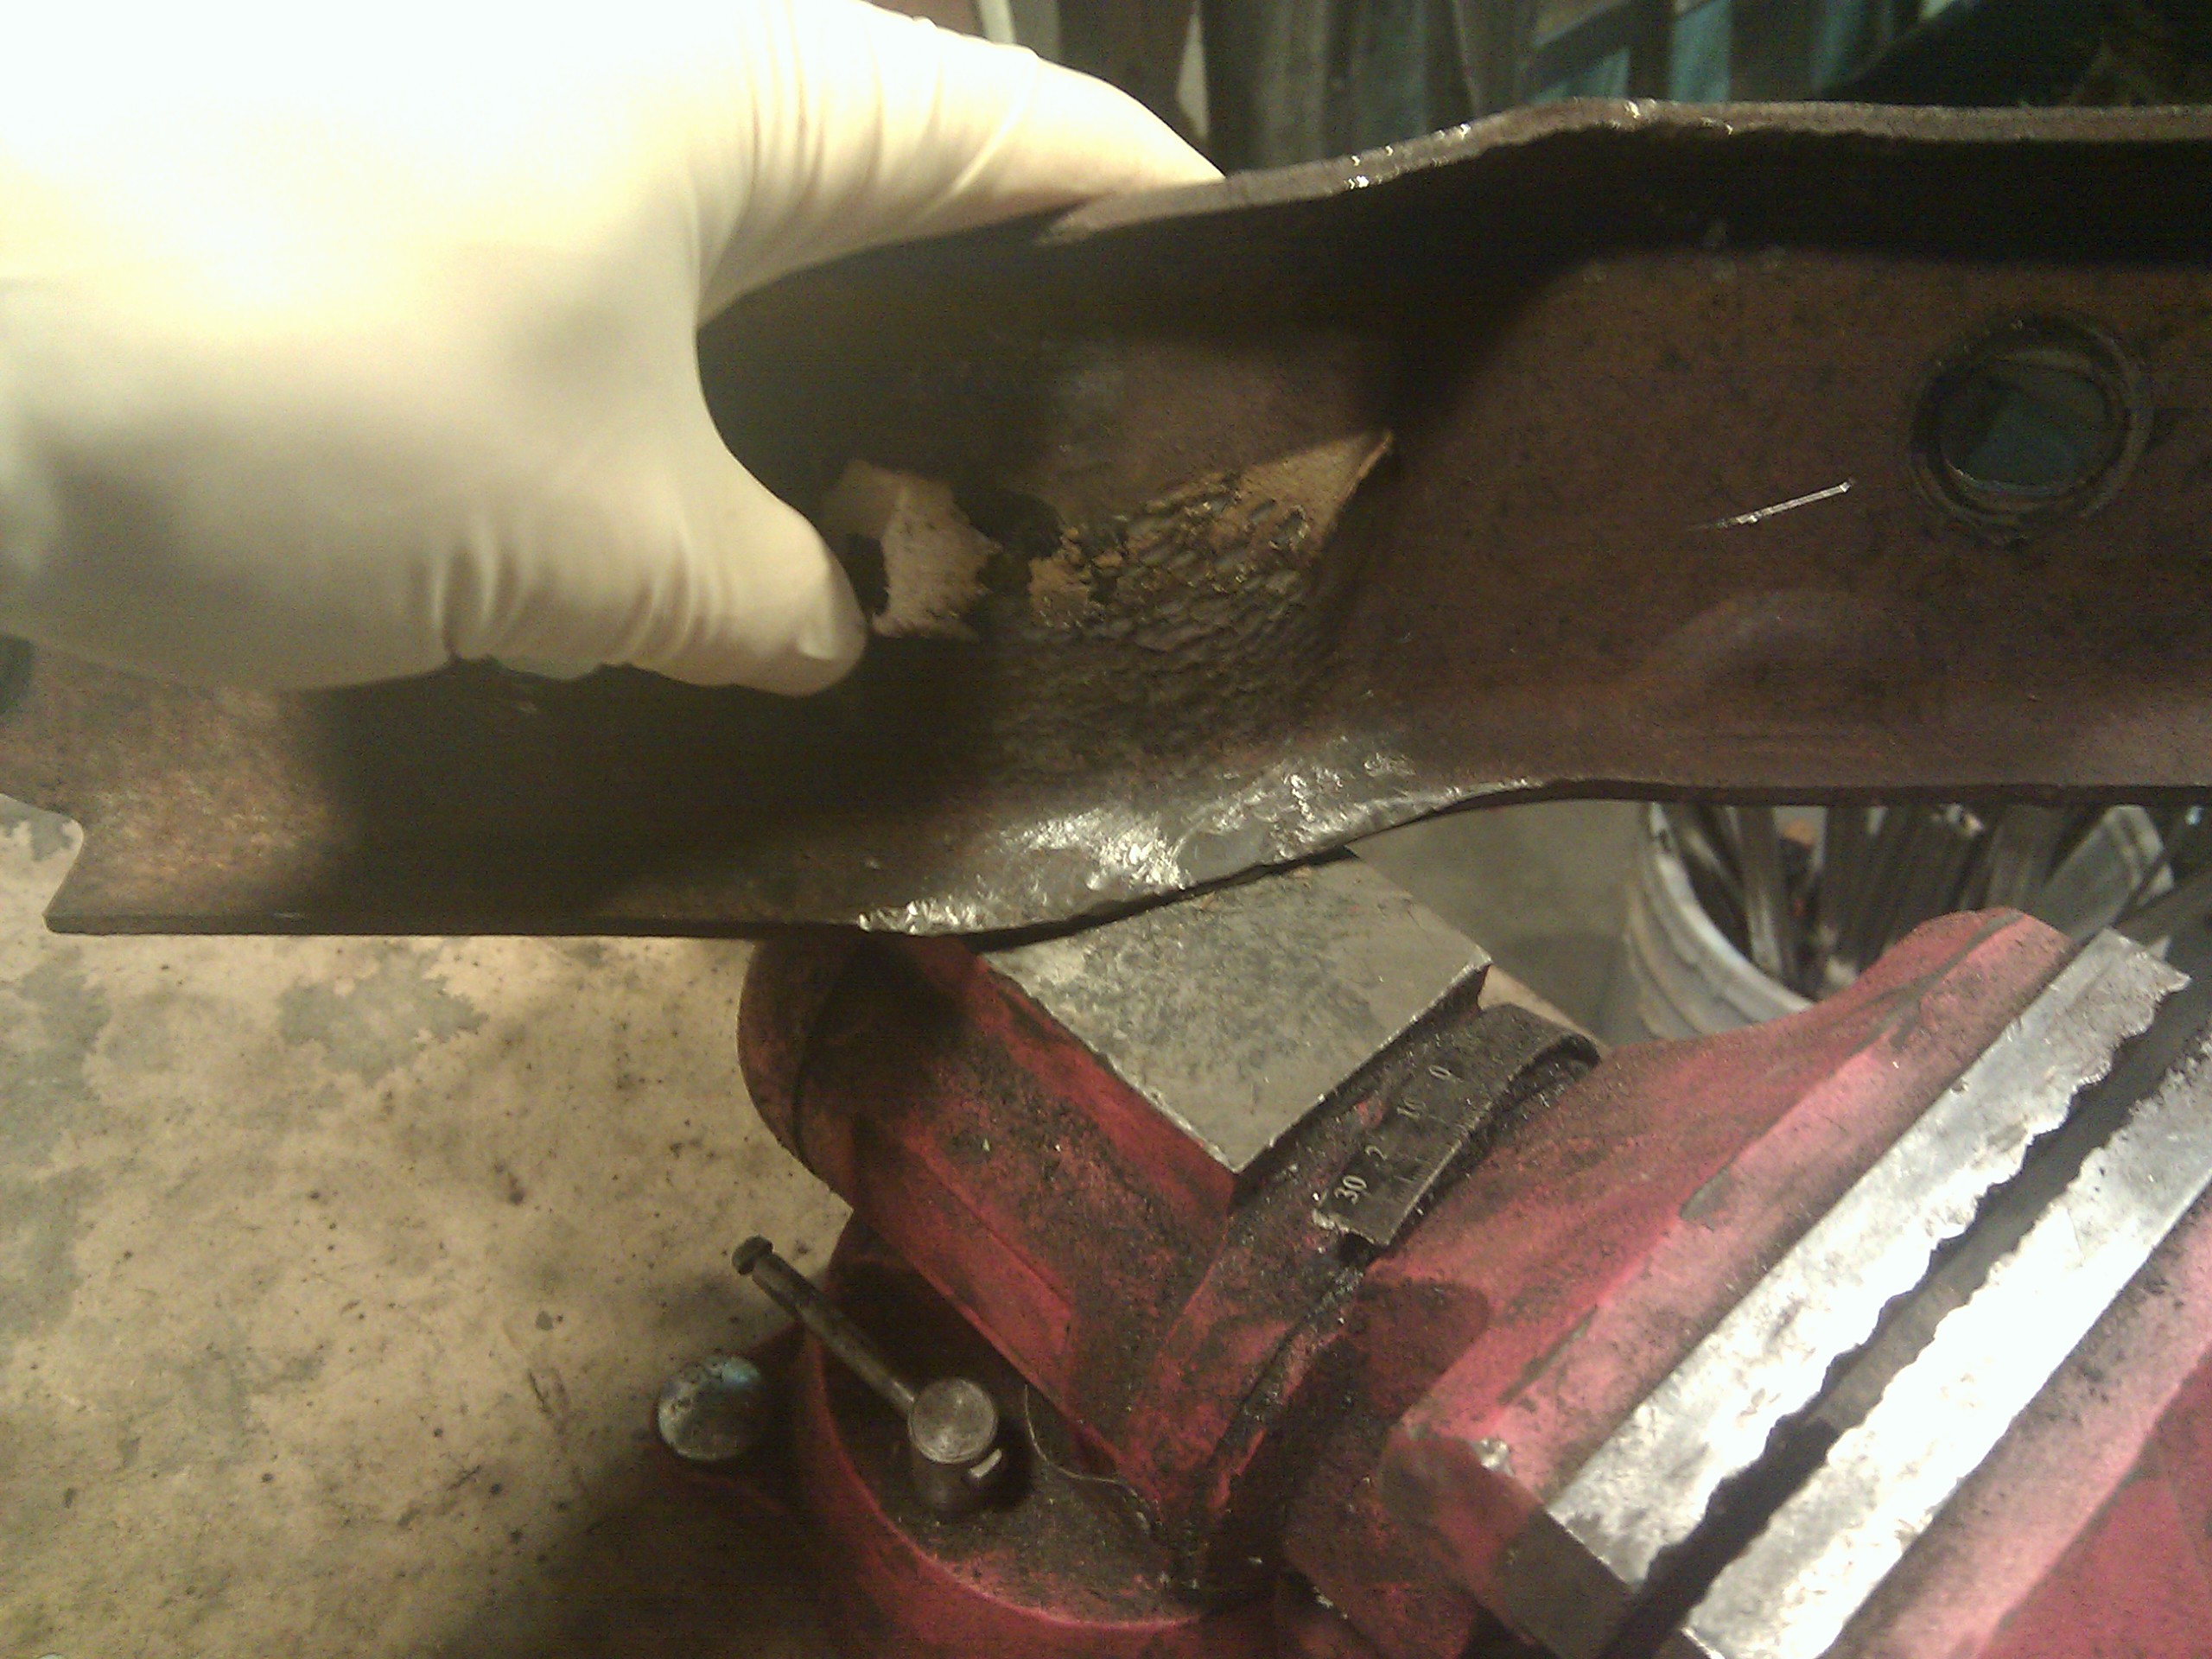
Here's a trick from the sheet metal/body work field: if you've got a big fold or some other situation where the metal has been stretched as it bent, you've got to shrink it back to fix the crease. In this case, there was a pretty significant one on the bottom lip. I held it against my 'anvil' like so:
and hammered on the un-bent part to effectively force the stretched crease back into line.
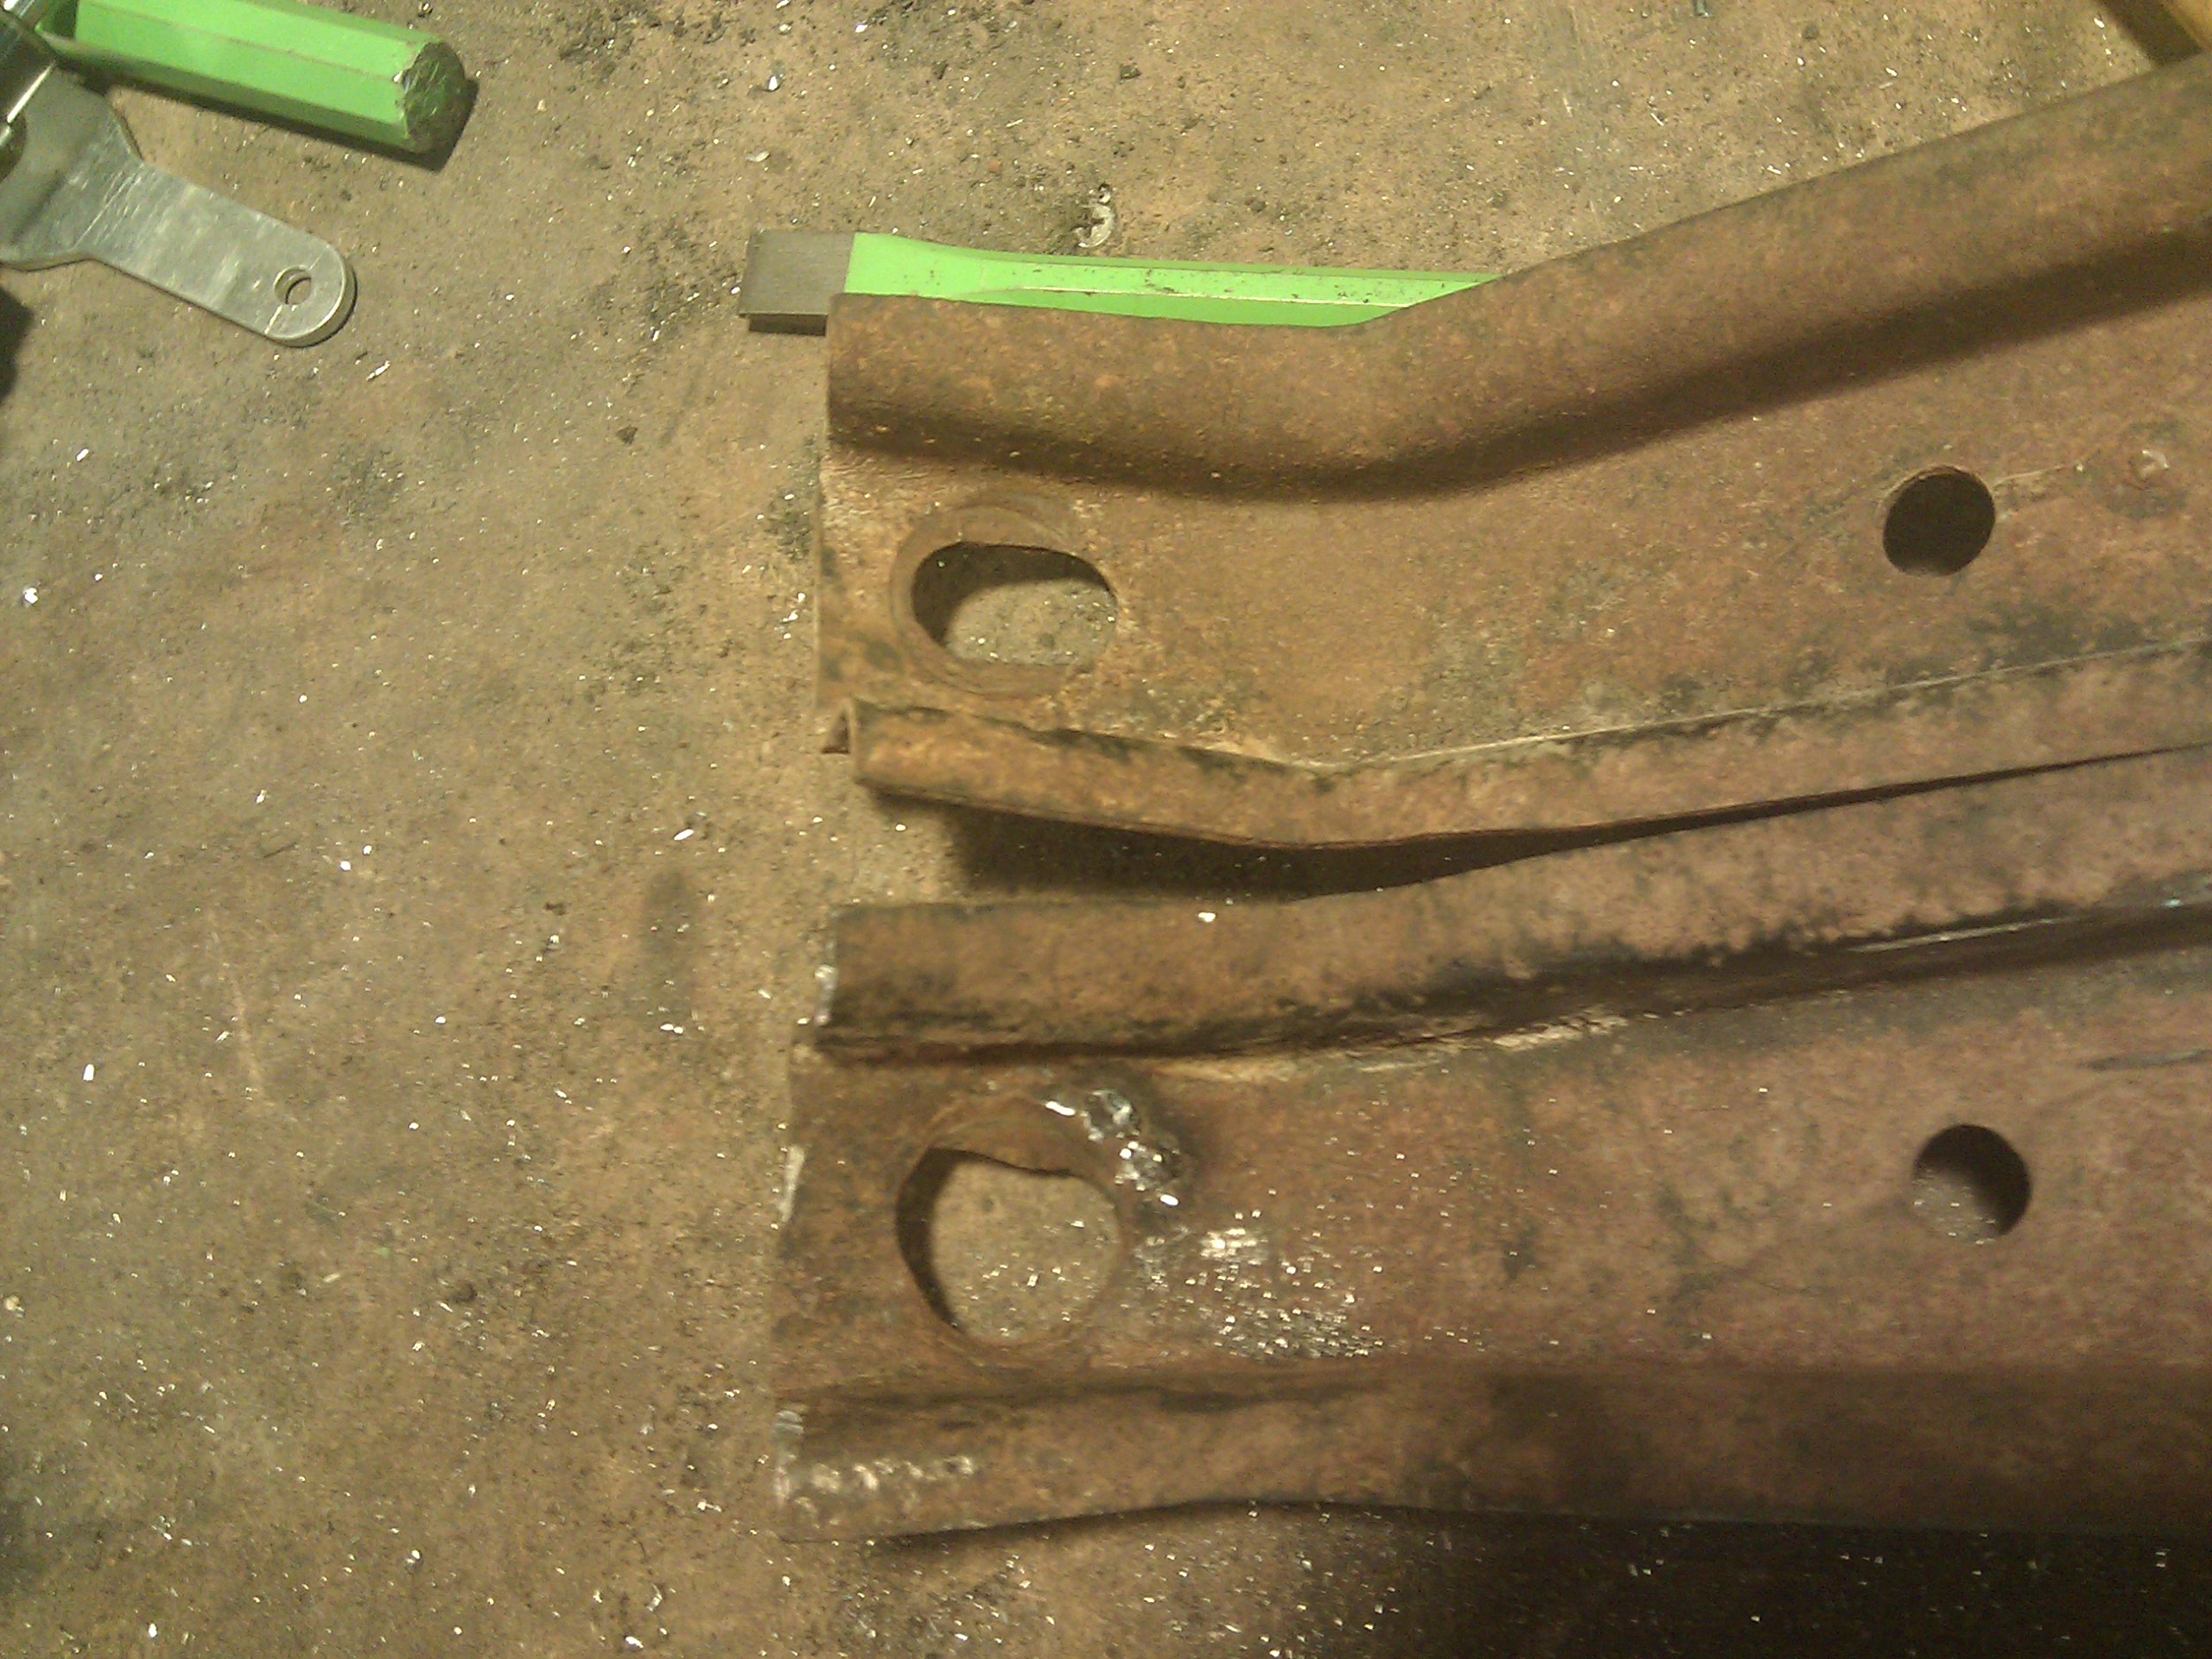
The diagonal bracket was mostly unscathed except for the frame bolt hole (good one on top):
The bit of weld goober there is from me welding the nut to it since it was folded over in a way where I couldn't get a socket over the nut to undo it.
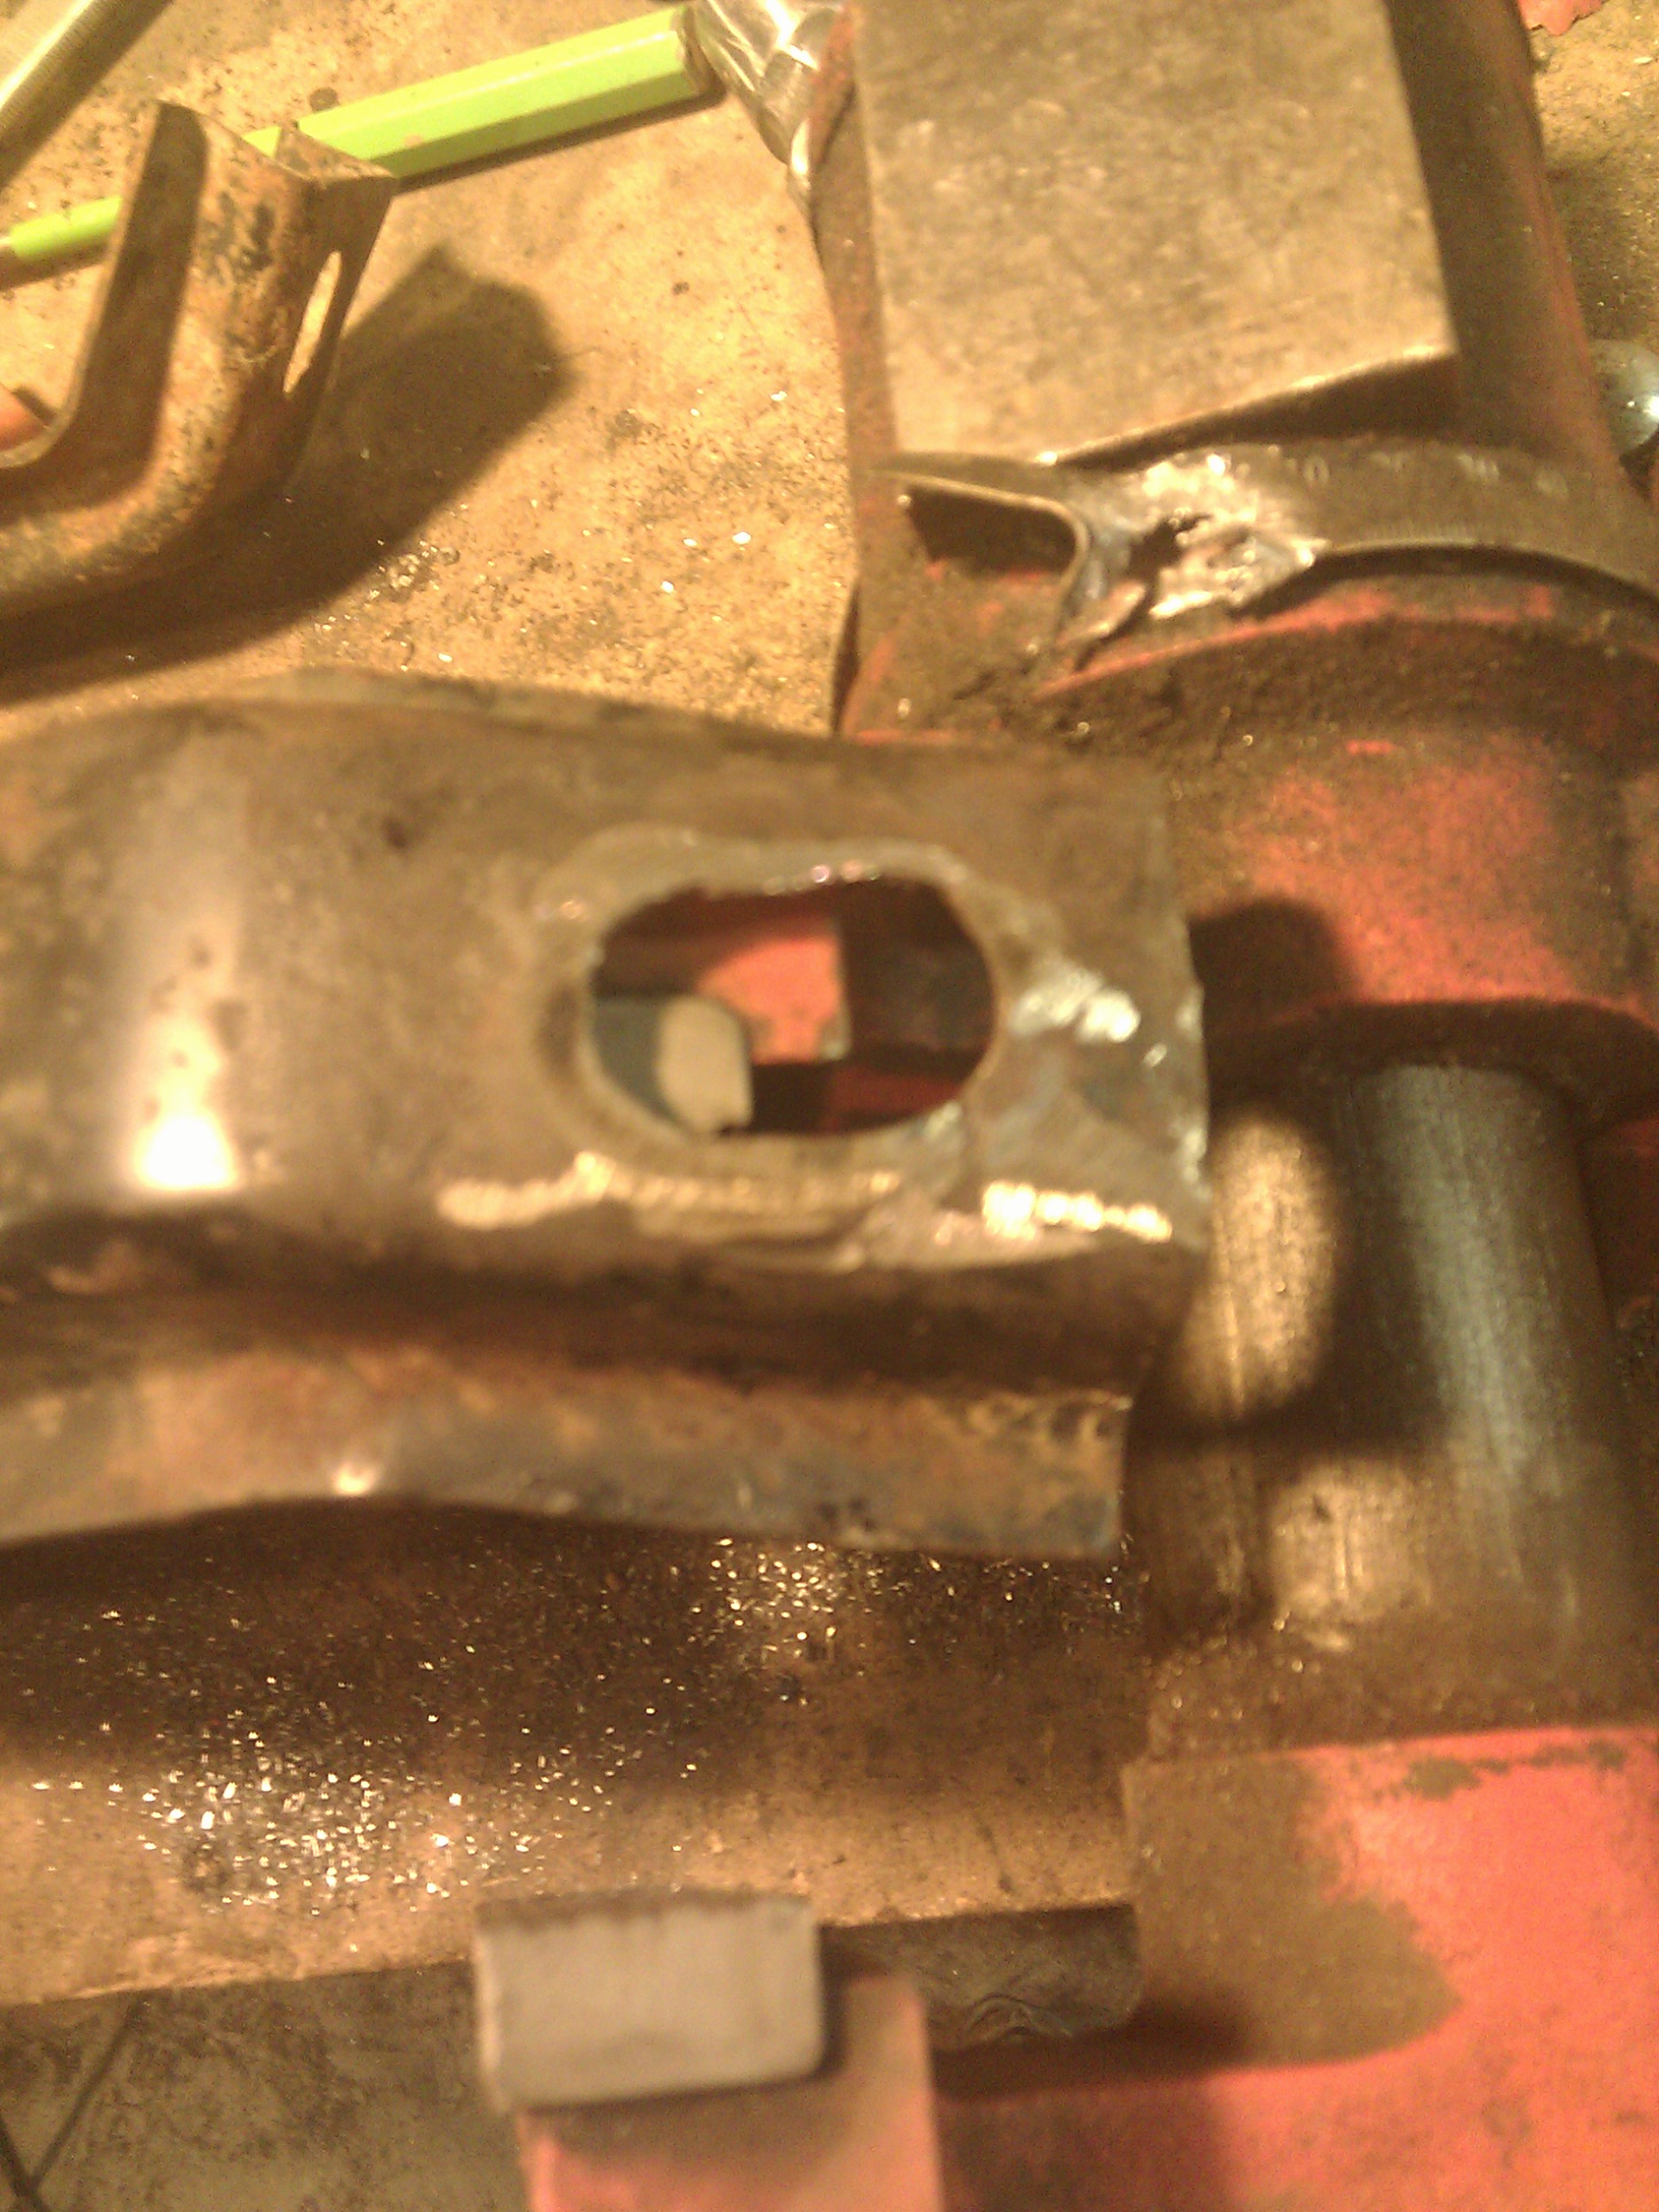
A bit of hammering and grinding later and it's at least relatively flat:
I made a patch/reinforcement from an old saw blade:
Note: don't do this. Saw blades are really damn hard to drill and weld.
I fit everything up and despite using my best calibrated eyeball, nothing seemed to quite line up, and the straight brackets were about 1/2" too close together to fit over the fender rails. At this point I was pretty worn out, so I went to bed, got up the next morning, went to mount the bumper, and discovered that my plates don't expire for another year.
C'est la vie.
I tweaked the repaired straight bracket a bit more in the press and managed to get everything installed. Once fit onto the truck, all the brackets magically lined up. Note the use of precision adjustment tools.
And that's that.
(I also painted it but the only thing more boring than watching paint dry is looking at pictures of paint drying on the internet.)
Overall, this was not worth the effort I put into it, even though I did save the $50 or whatever for a used bumper. I did get to learn a few new tricks, though, so I'm happy anyway.
Dude how do you not have an oxyacetylene rig. 1/4" plate with a hole saw? FUCK EVERYTHING ABOUT THAT. Brazing tip, 5 lb sledge and a drift and that shit woulda been donezo. f'n boilerplate gets downright submissive when you turn that shit cherry red. And since you're getting medieval on it anyway, you don't even need to worry about the temper.
I've been hesitant to spend $500 on that, but I've got some brazing to do in the near future, so I'm watching Craigslist for one now. Also, look back at one of the pictures with the press in it. See all those holes? I drilled every damn one of those with a hole saw on an even shittier drill press. I think it took me a whole day, plus to make sure I had them all lined up I was actually drilling through four 1/4" pieces stacked up. Compared to that, a couple holes through some 3/8" plate just flies right by.
Shoot. You should have just mounted a massive 2x4 on there, say it's a bumper, and called it a day. ;) Seriously though, how long did all of this take you? That seems a hell of a lot of work when going to a pull and pay for a new bumper might have been easier. Not that I mind though, cause your write up is fantastic.
A 2x4 you say? Too rich for my blood; I'll just chain a piece of this tree I cut down on there! I think this took me about a day all said and done. Going to a pull and pay would have been a lot easier, but where's the fun in that? It doesn't hurt that I'm only out about $8 for that angle iron.
