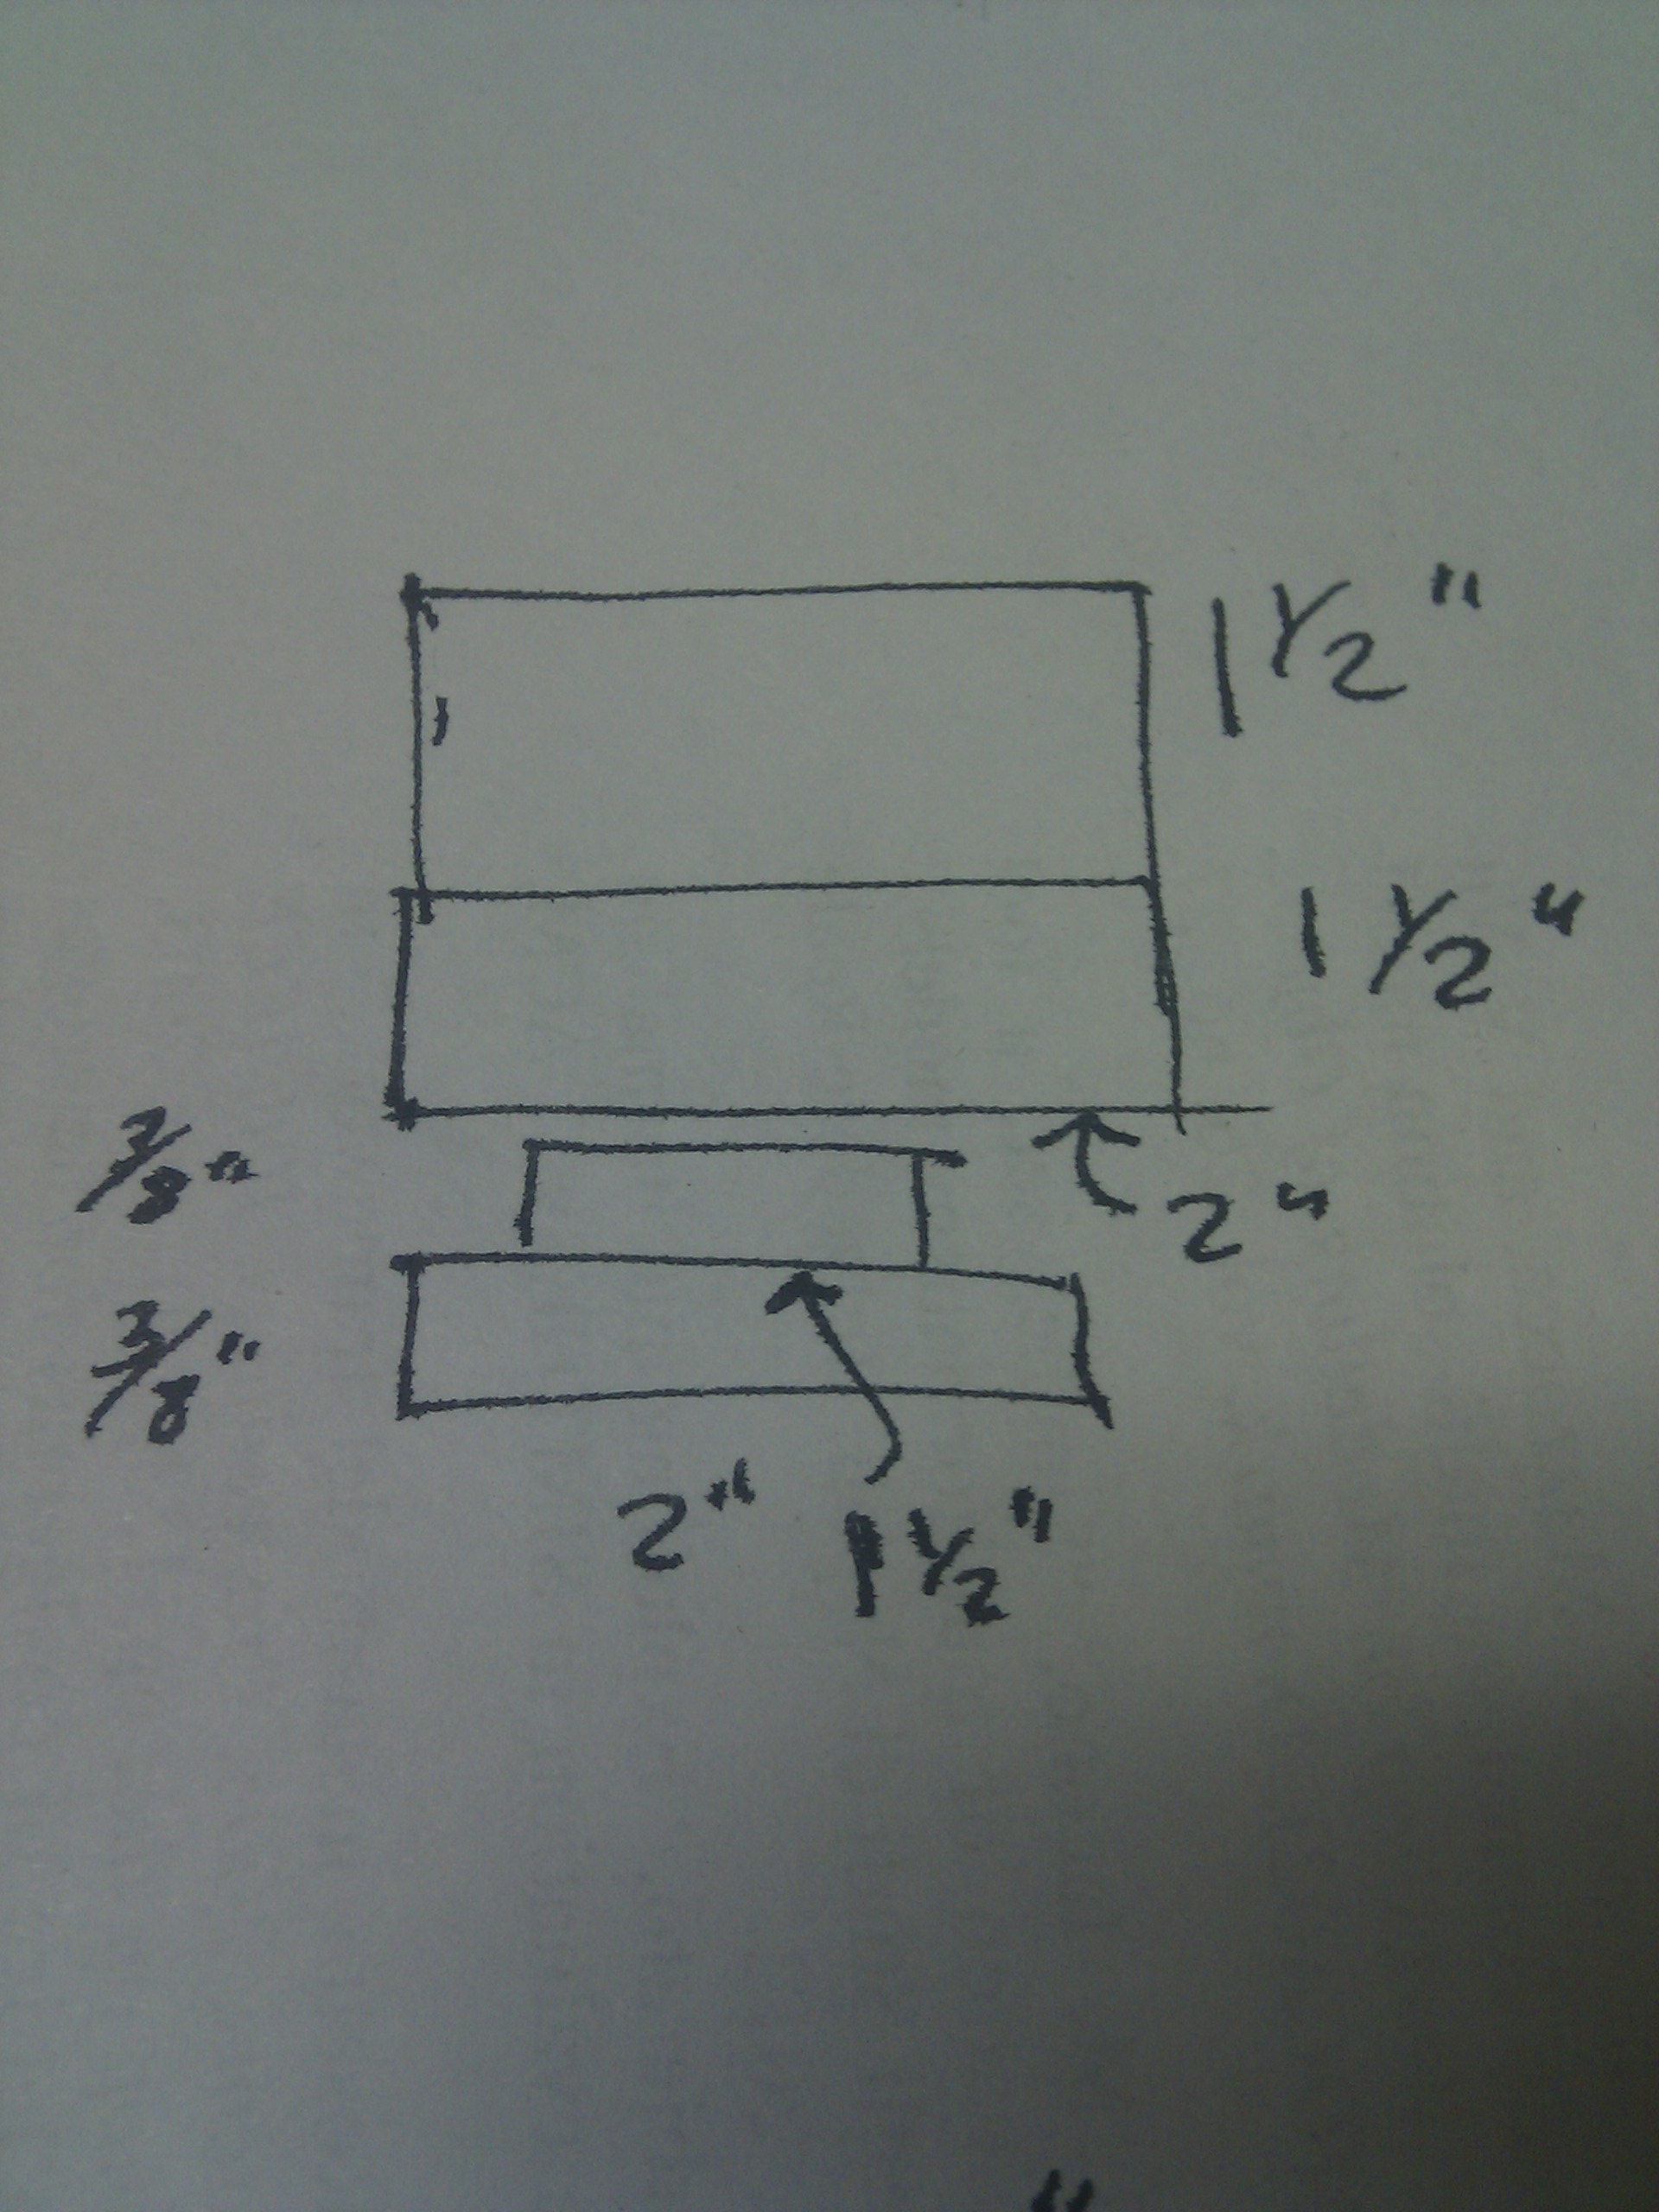
So, last shopski I posted a picture of my next project:
I fully admit this picture is pretty vague, which is fine since I didn't even follow it very well. It is a boring bar holder for holding a boring bar like this:
I got a set of these with 3/4" shanks for a ridiculous price and I need one to bore a hole on a part I need to make for the Rabbit. People want absurd money for used holders and I couldn't find one that would fit my lathe well.
So, obviously, I made one from scratch. This seems to be a recurring theme...
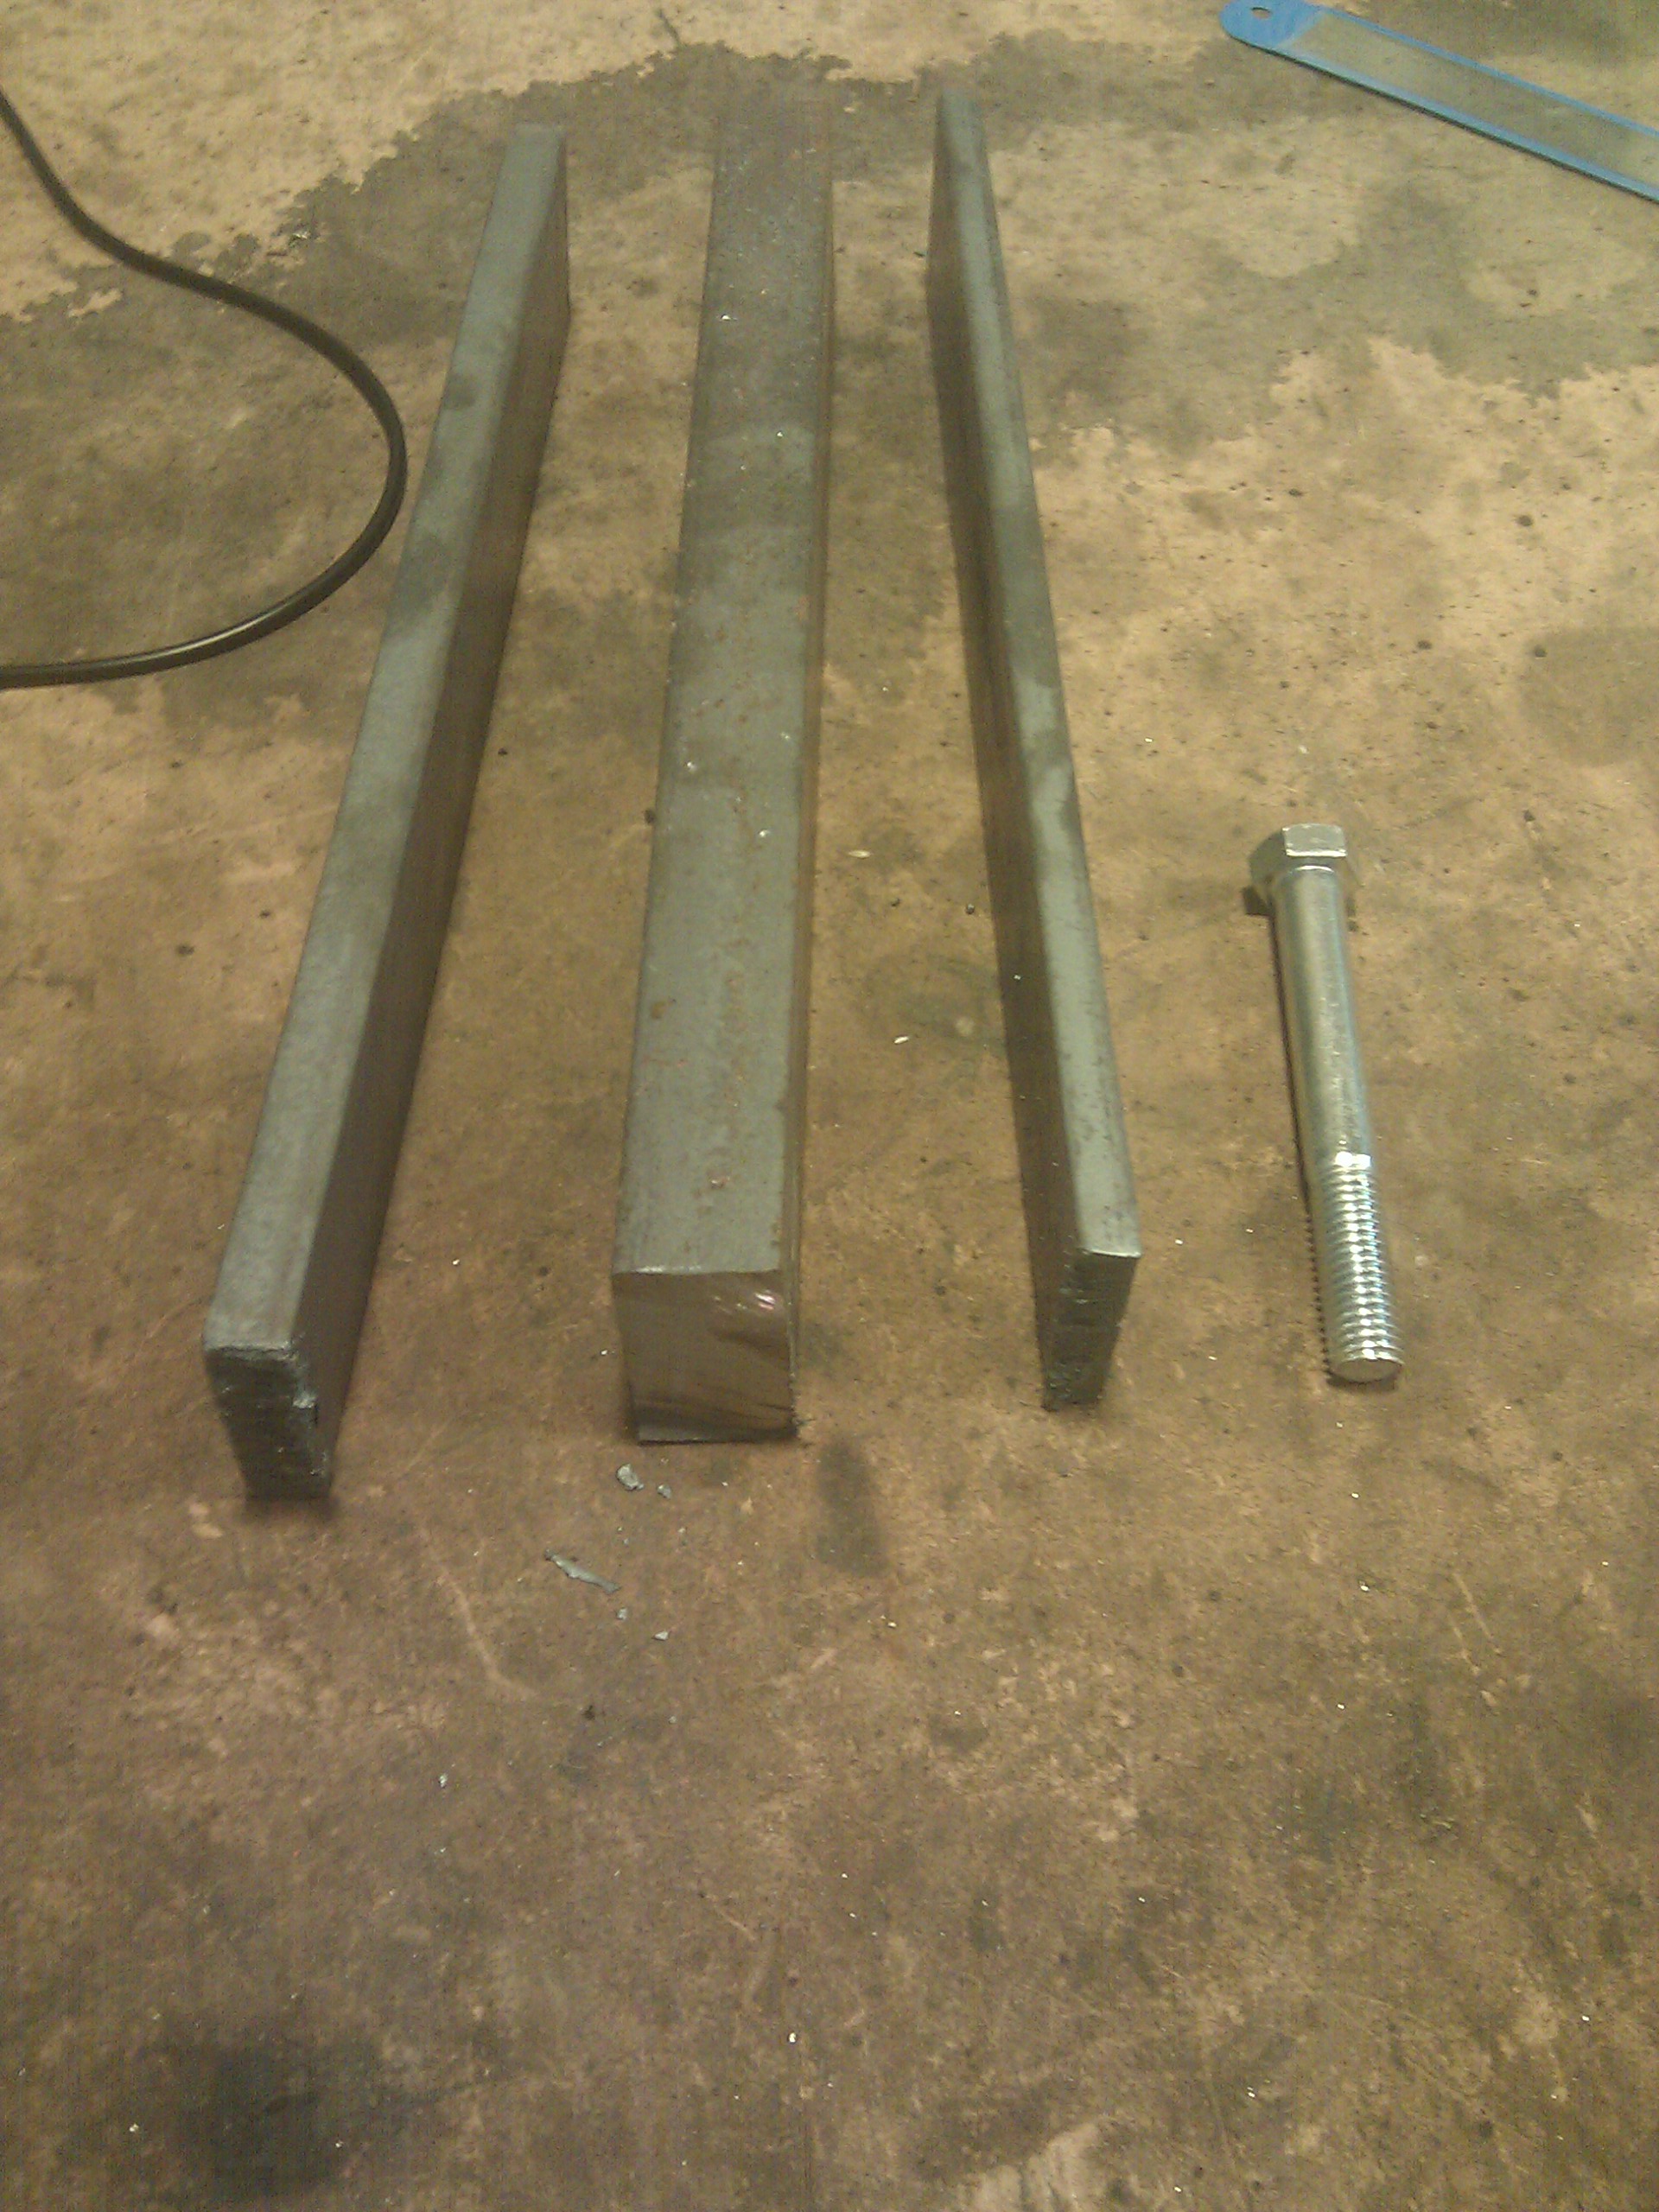
About $20 worth of scratch:
That's a piece of 1"x2" steel, a piece of 1/2"x2" steel, a piece of 3/8"x2" steel, and a 4" long bolt. The plan is to make a stack of steel and drill a 3/4" hole in it to hold the boring bar. This will be slightly complicated by the fact that I don't have a 3/4" drill.
So I started off by laying out sort of what I wanted. I need to get some Dykem or something but in the meantime, blue dry erase marker works pretty well:
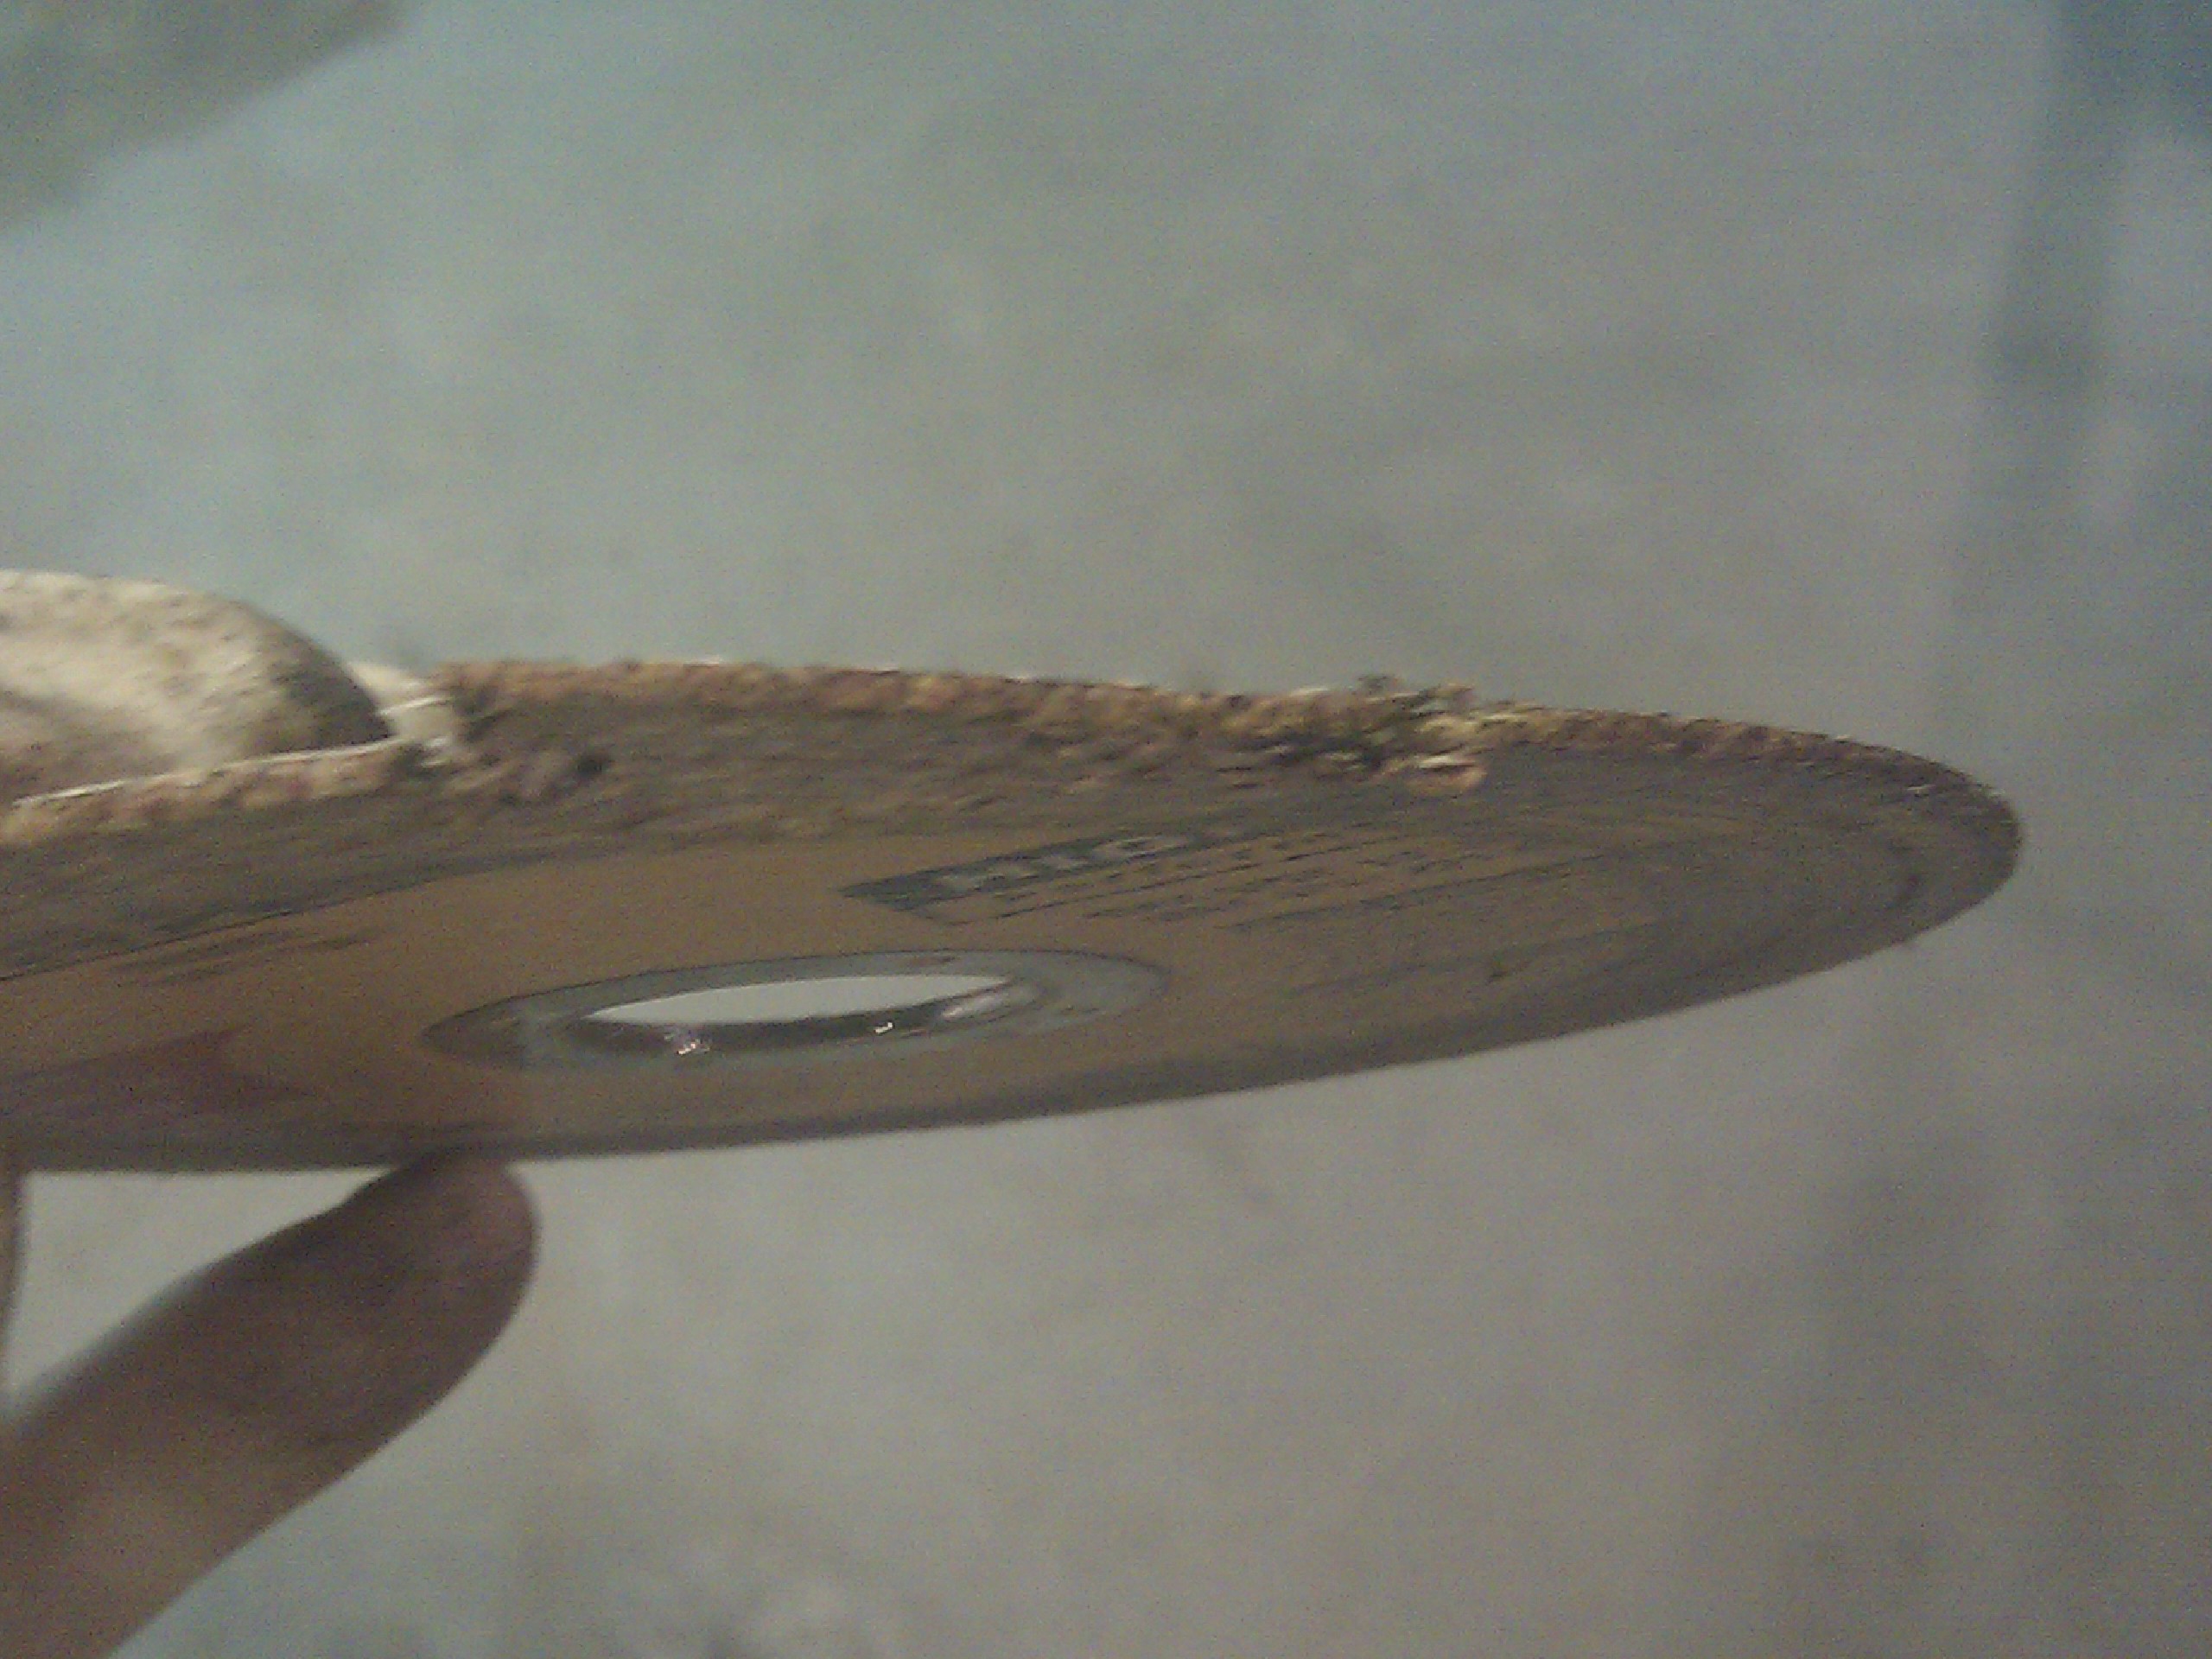
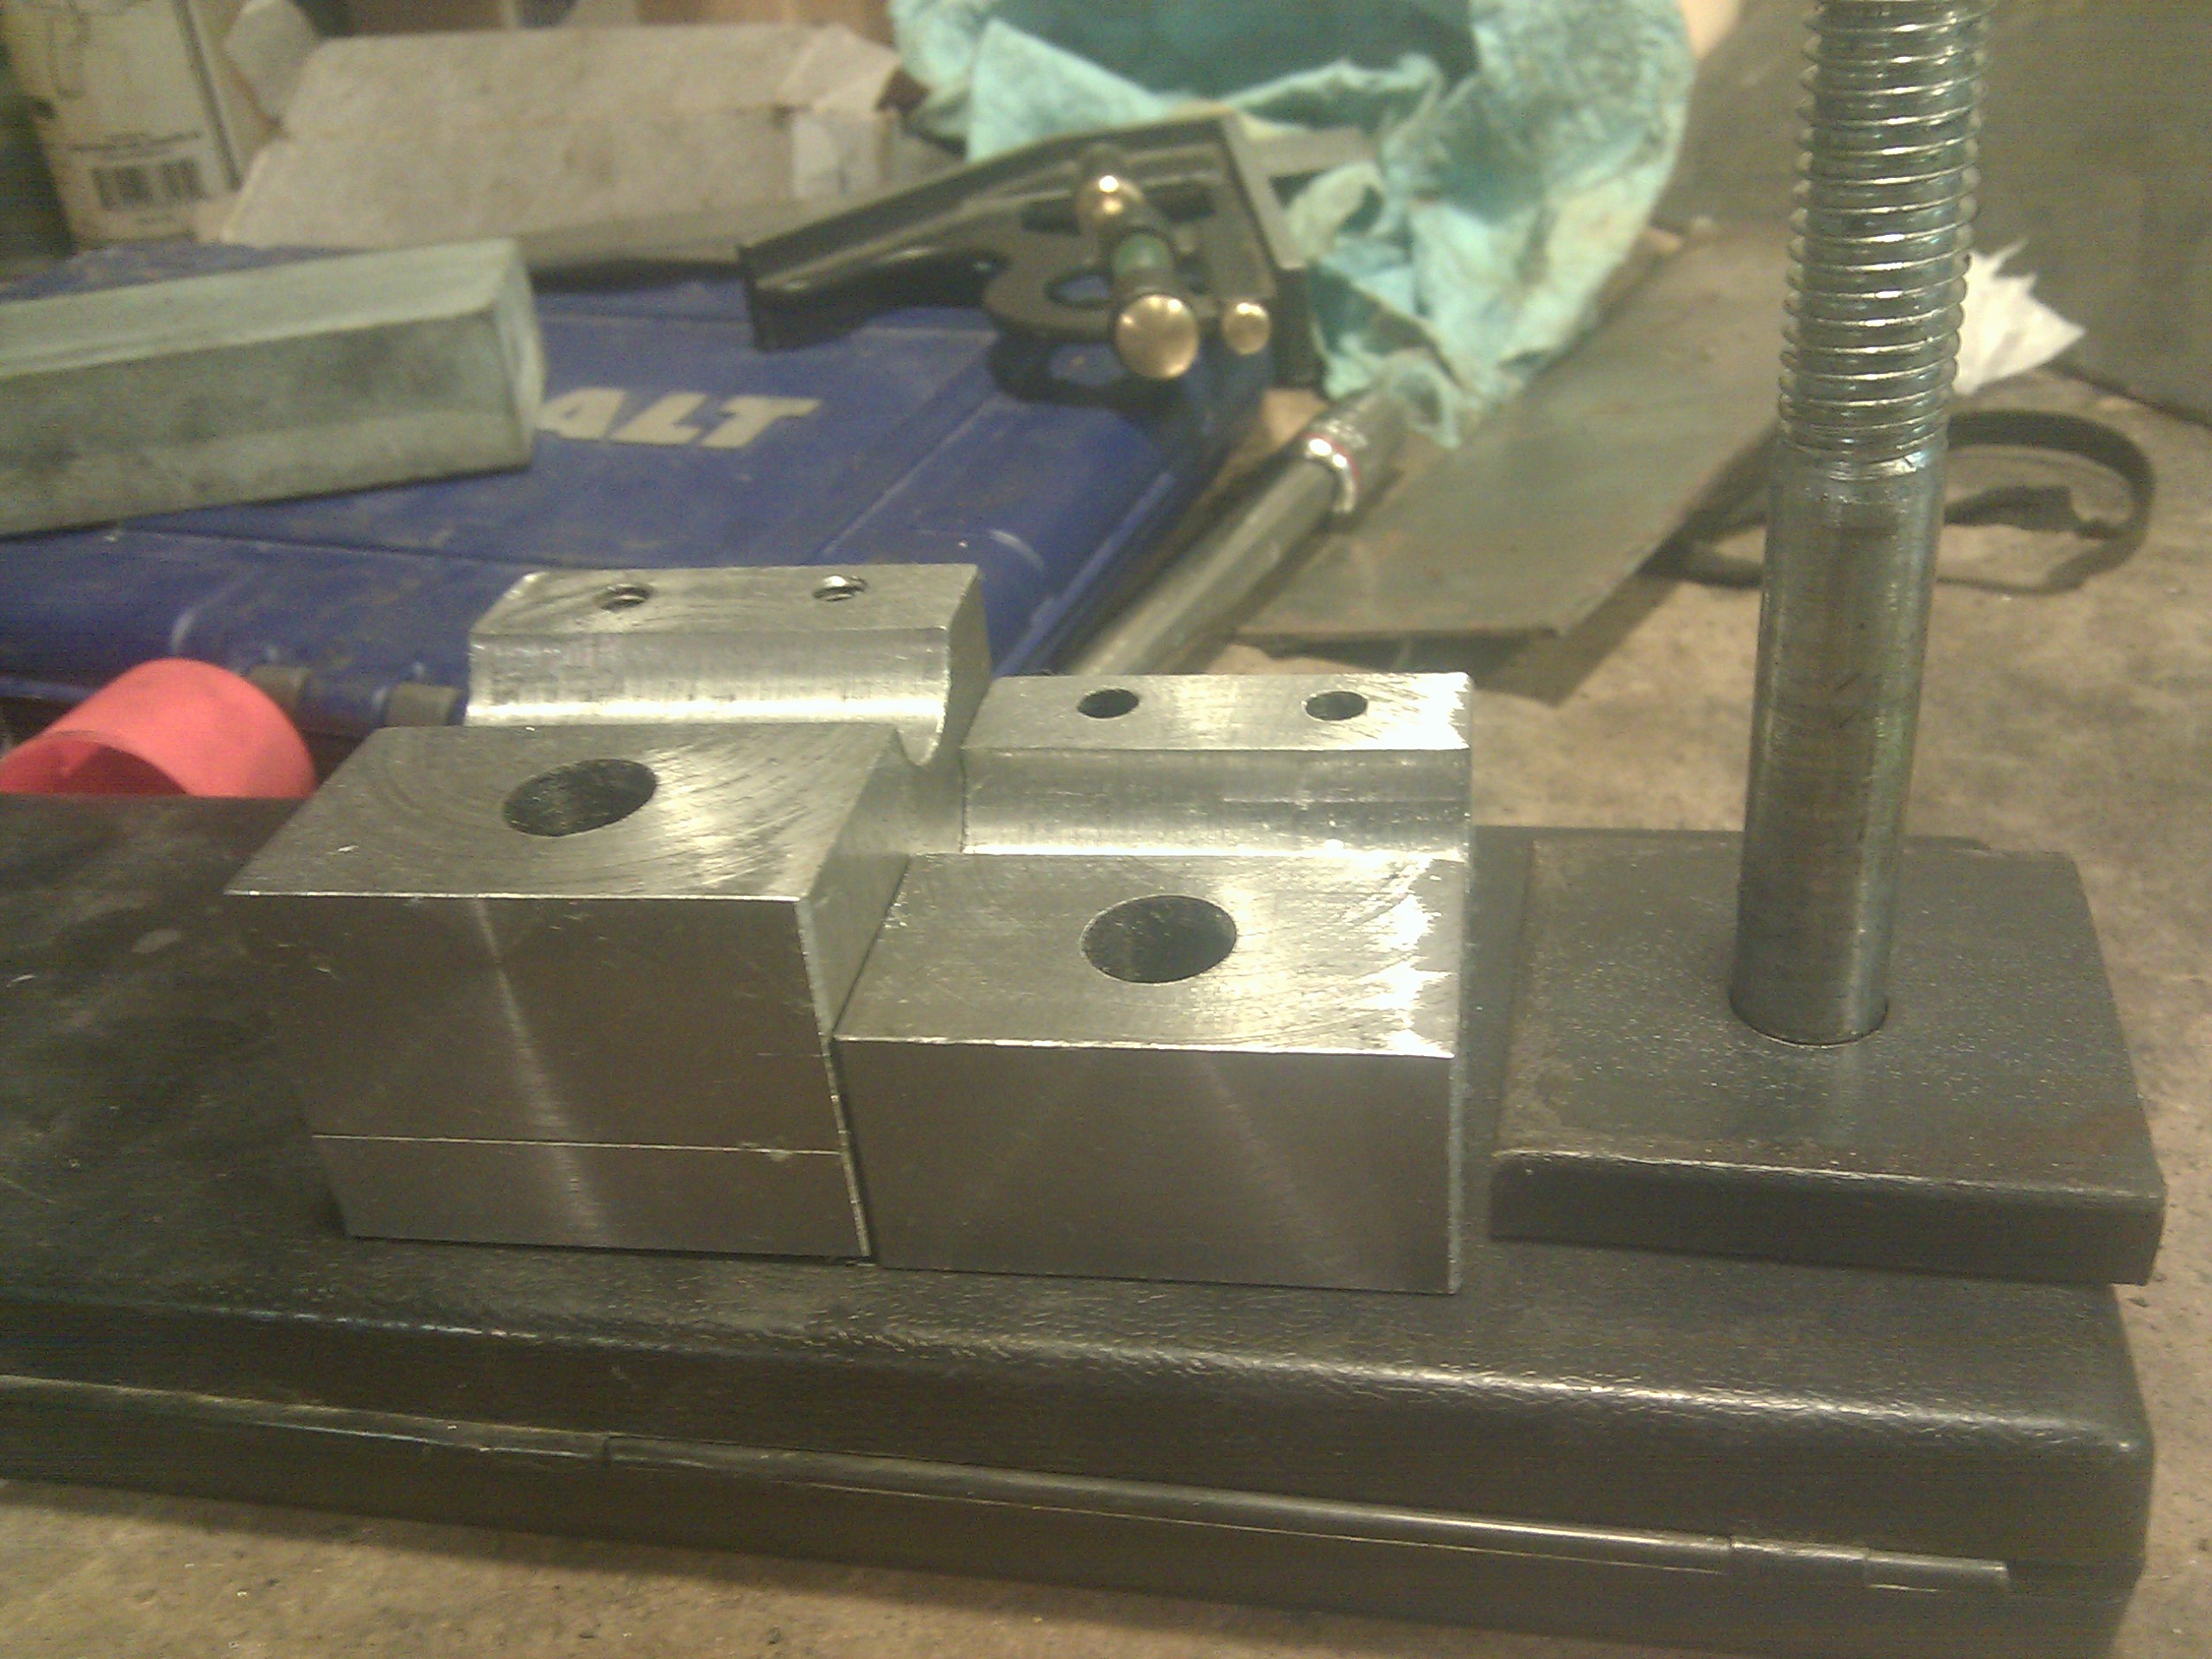
Next I cut my parts: one piece of the 3/8" steel, one piece of the 1/2" steel, and two pieces of the 1" steel. I did all this with an angle grinder; the 1" steel is too thick to cut in one pass, so I did one pass down one side, then tried to cut through the other side, but the blade caught and this happened:
I thanked the shop gods that that was the worst of it and proceeded to cut the rest of the way with a hacksaw. (In case you aren't aware: those cutoff discs can really fuck you up if they break while spinning; I'm sure you can find pictures of the results on the internet but I'll spare you the eyebleach unless you really want to know.) Hacksawing wasn't the worst since I had the piece solidly clamped in a vise and could really lean on the saw.
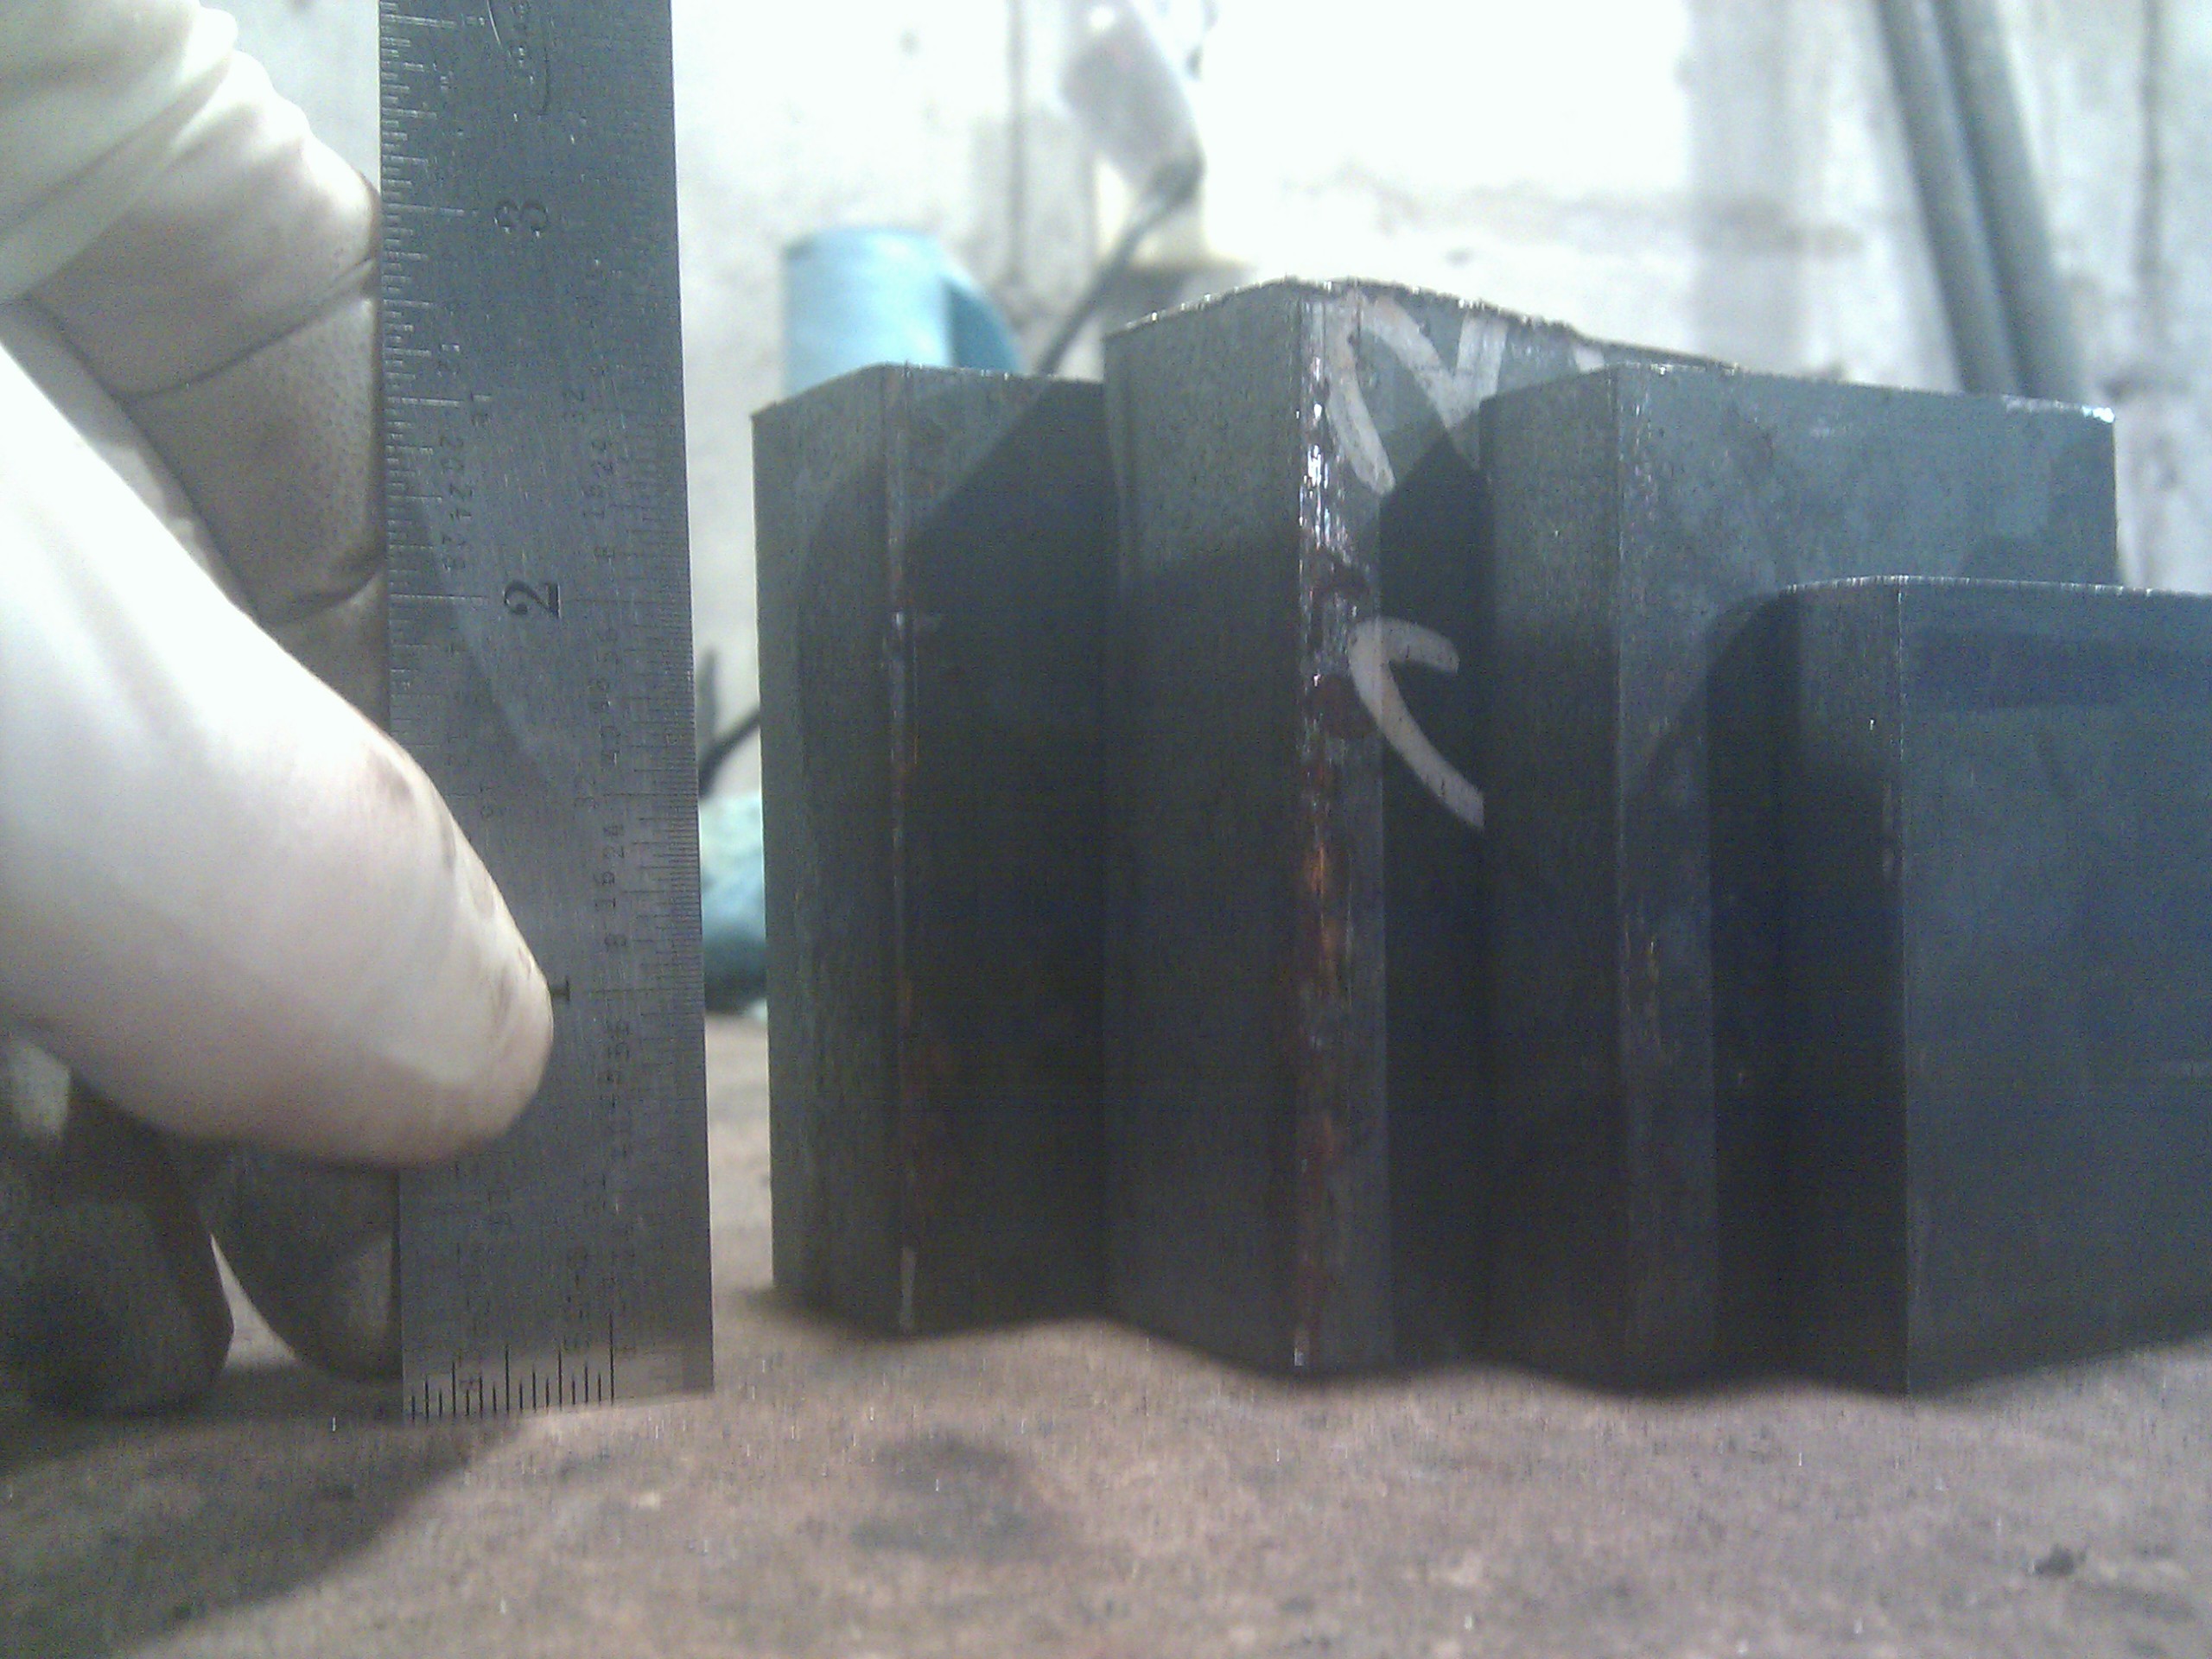
The resulting parts:
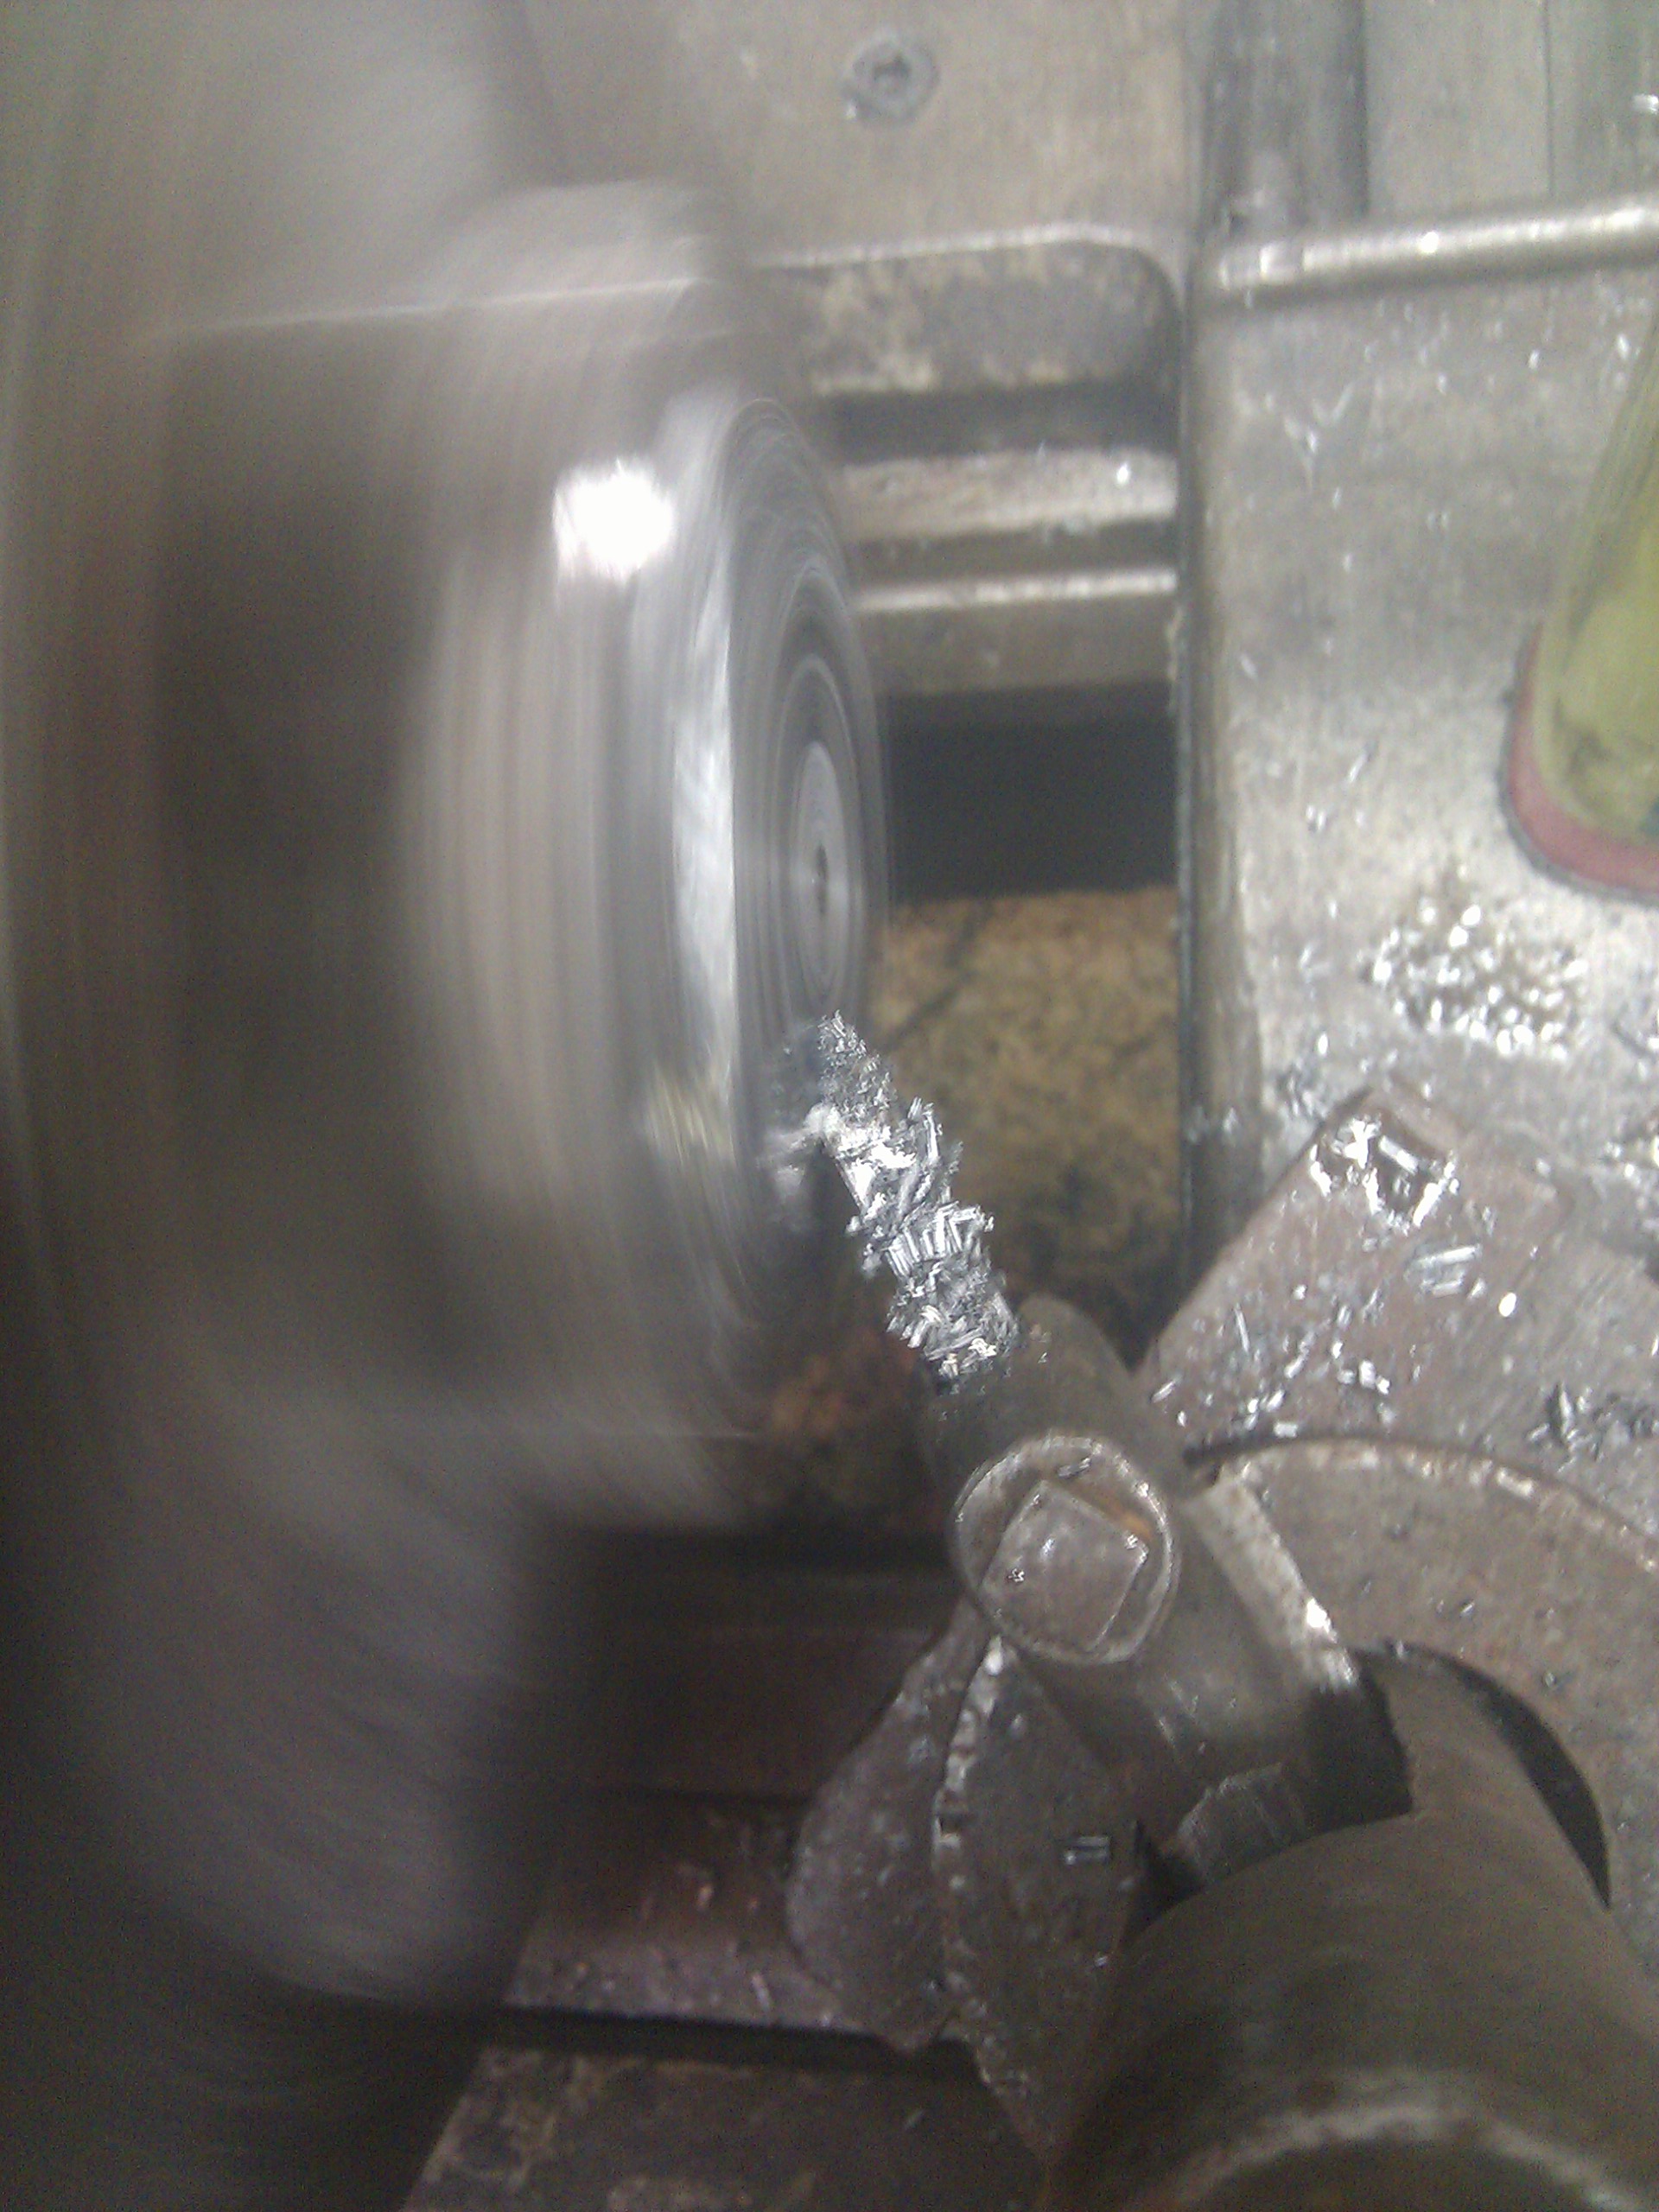
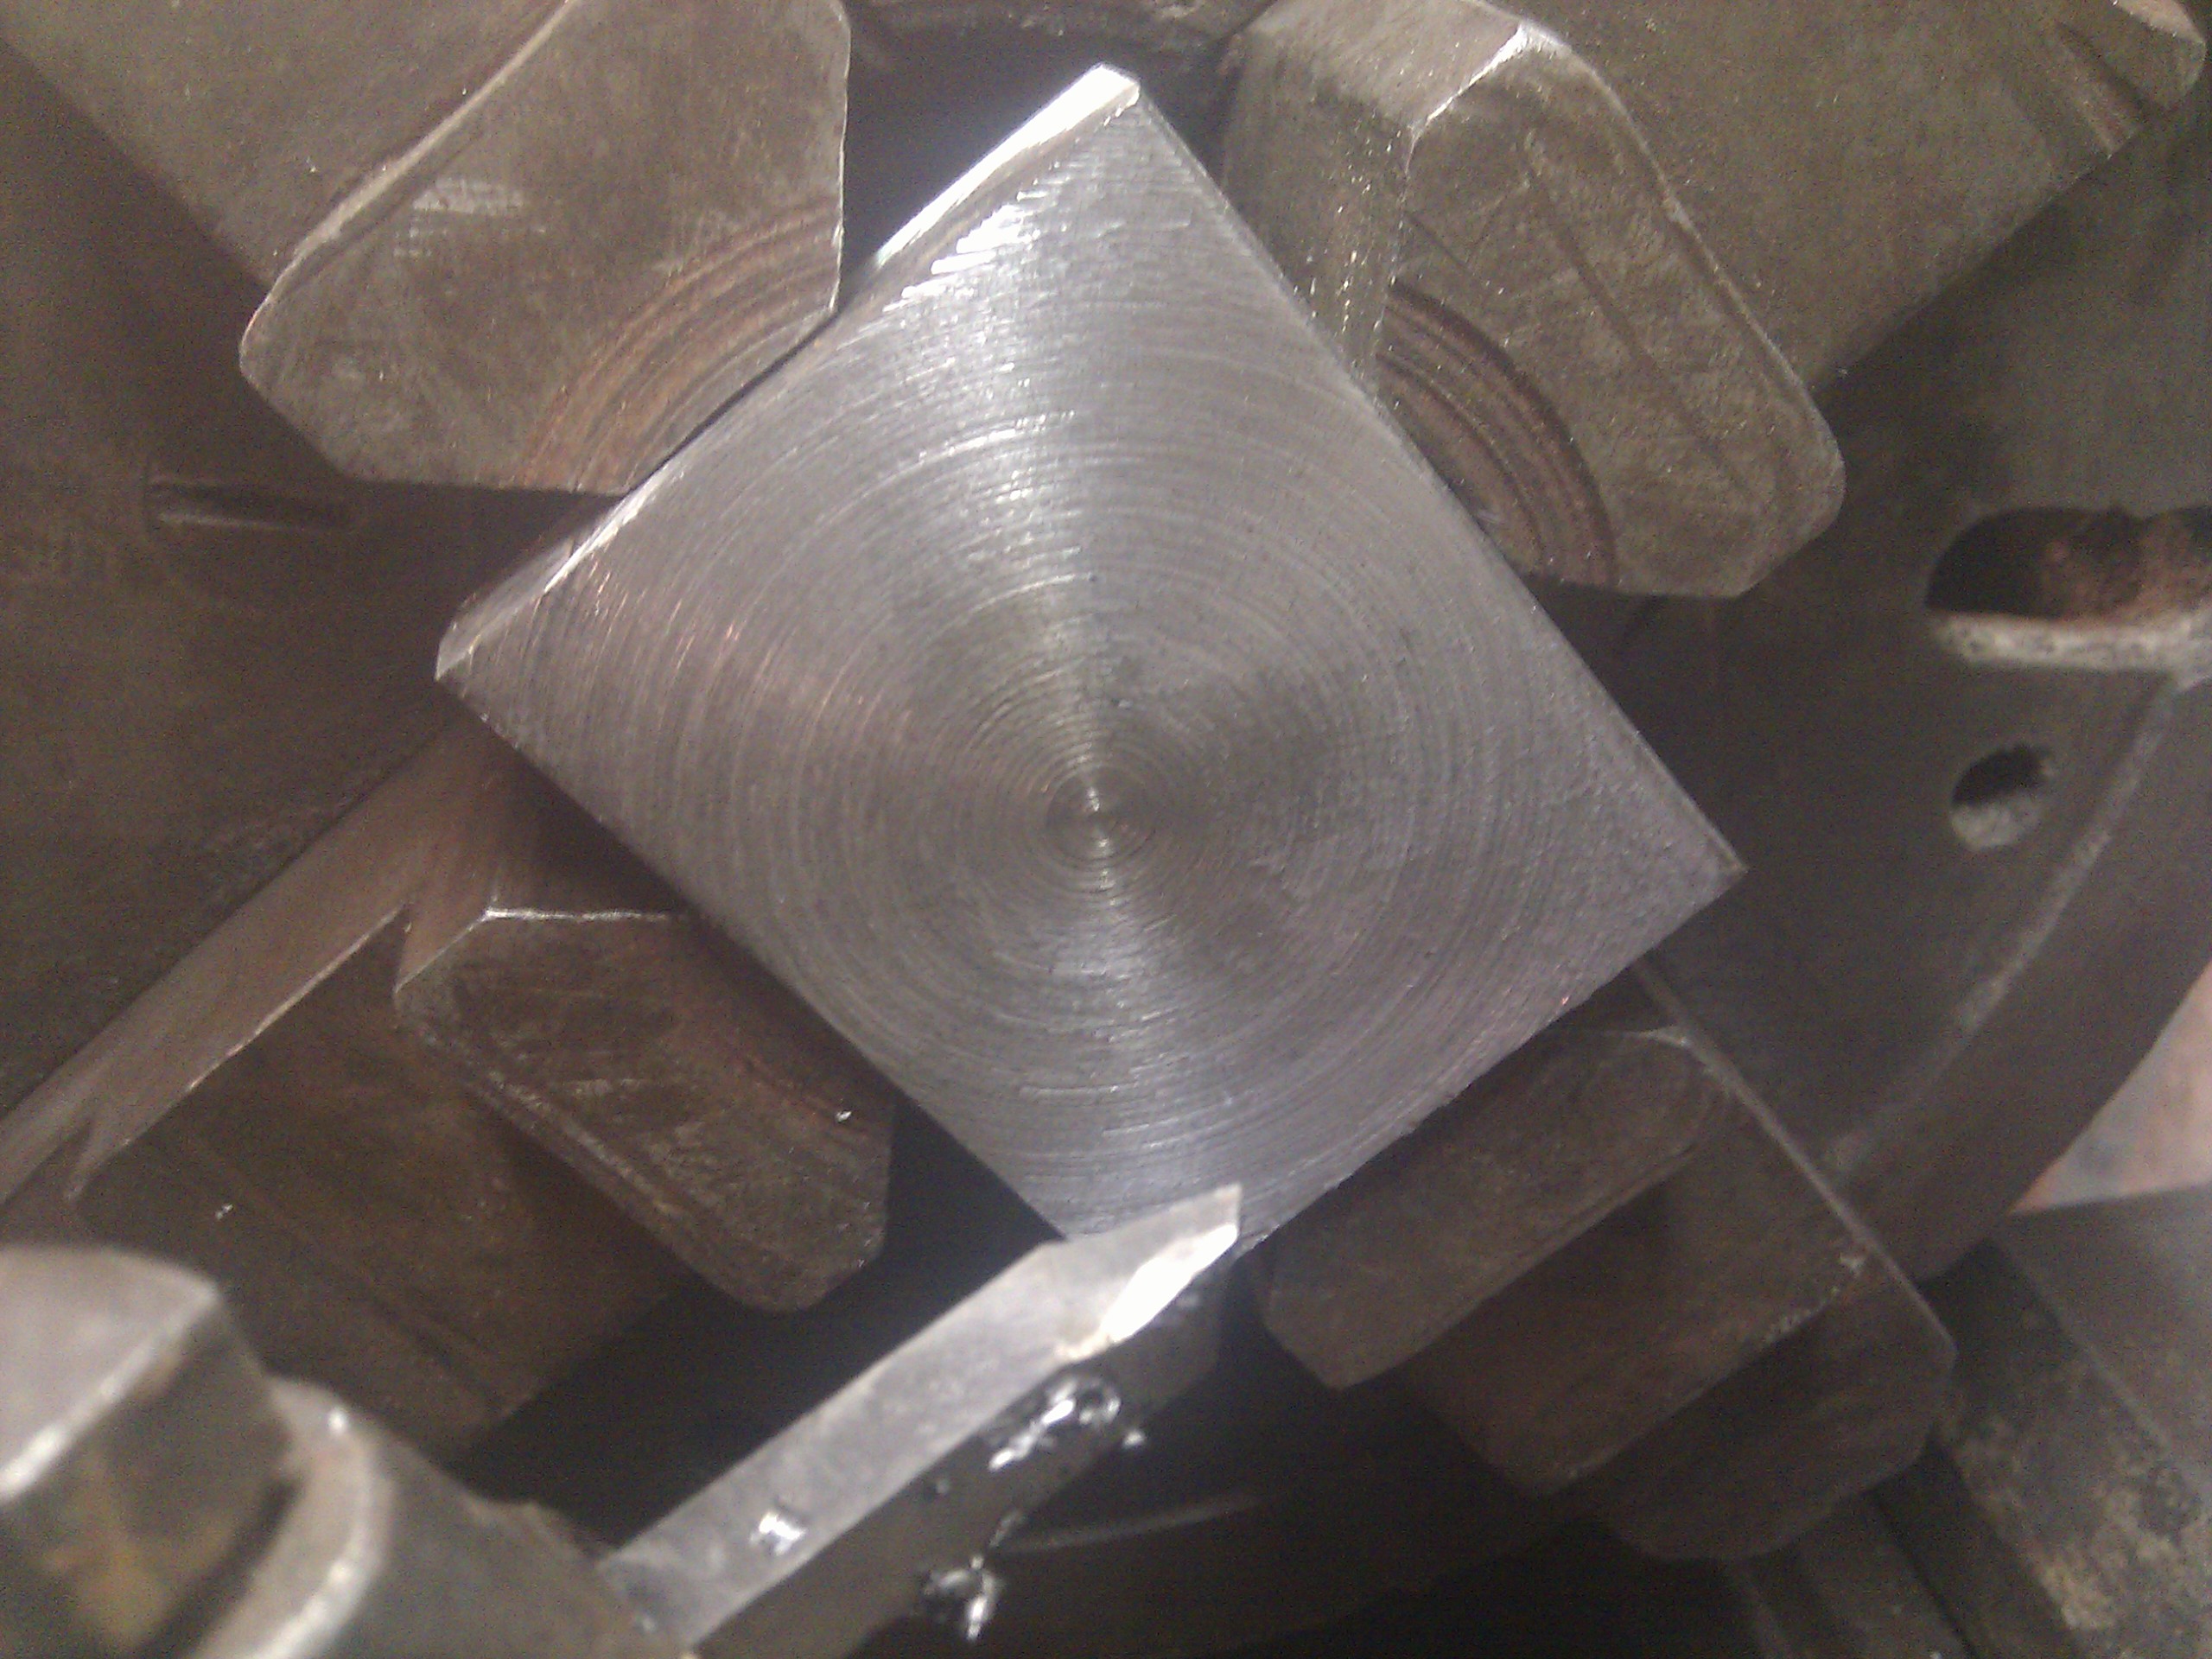
Then I faced them in the lathe. Hot rolled steel like what I can get locally is not very square or flat, so if you want it to be, you have to machine it yourself. Usually you'd use a mill with a facing endmill for this, but I don't have one of those, so I chucked them up in the 4-jaw chuck and turned them on the lathe.
Working out how to fixture this stuff so it'd sit flat and fit in the jaws was tricky:
I figured out how to use the power crossfeed for this part. It's pretty neat to be able to set up a part, start the cut, pull a lever, and watch the lathe do the rest of it by itself...and this machine is a century old! Here's a terrible video of how this works:
The knob I turn on the apron engages the crossfeed and the lever I pull then starts feeding.
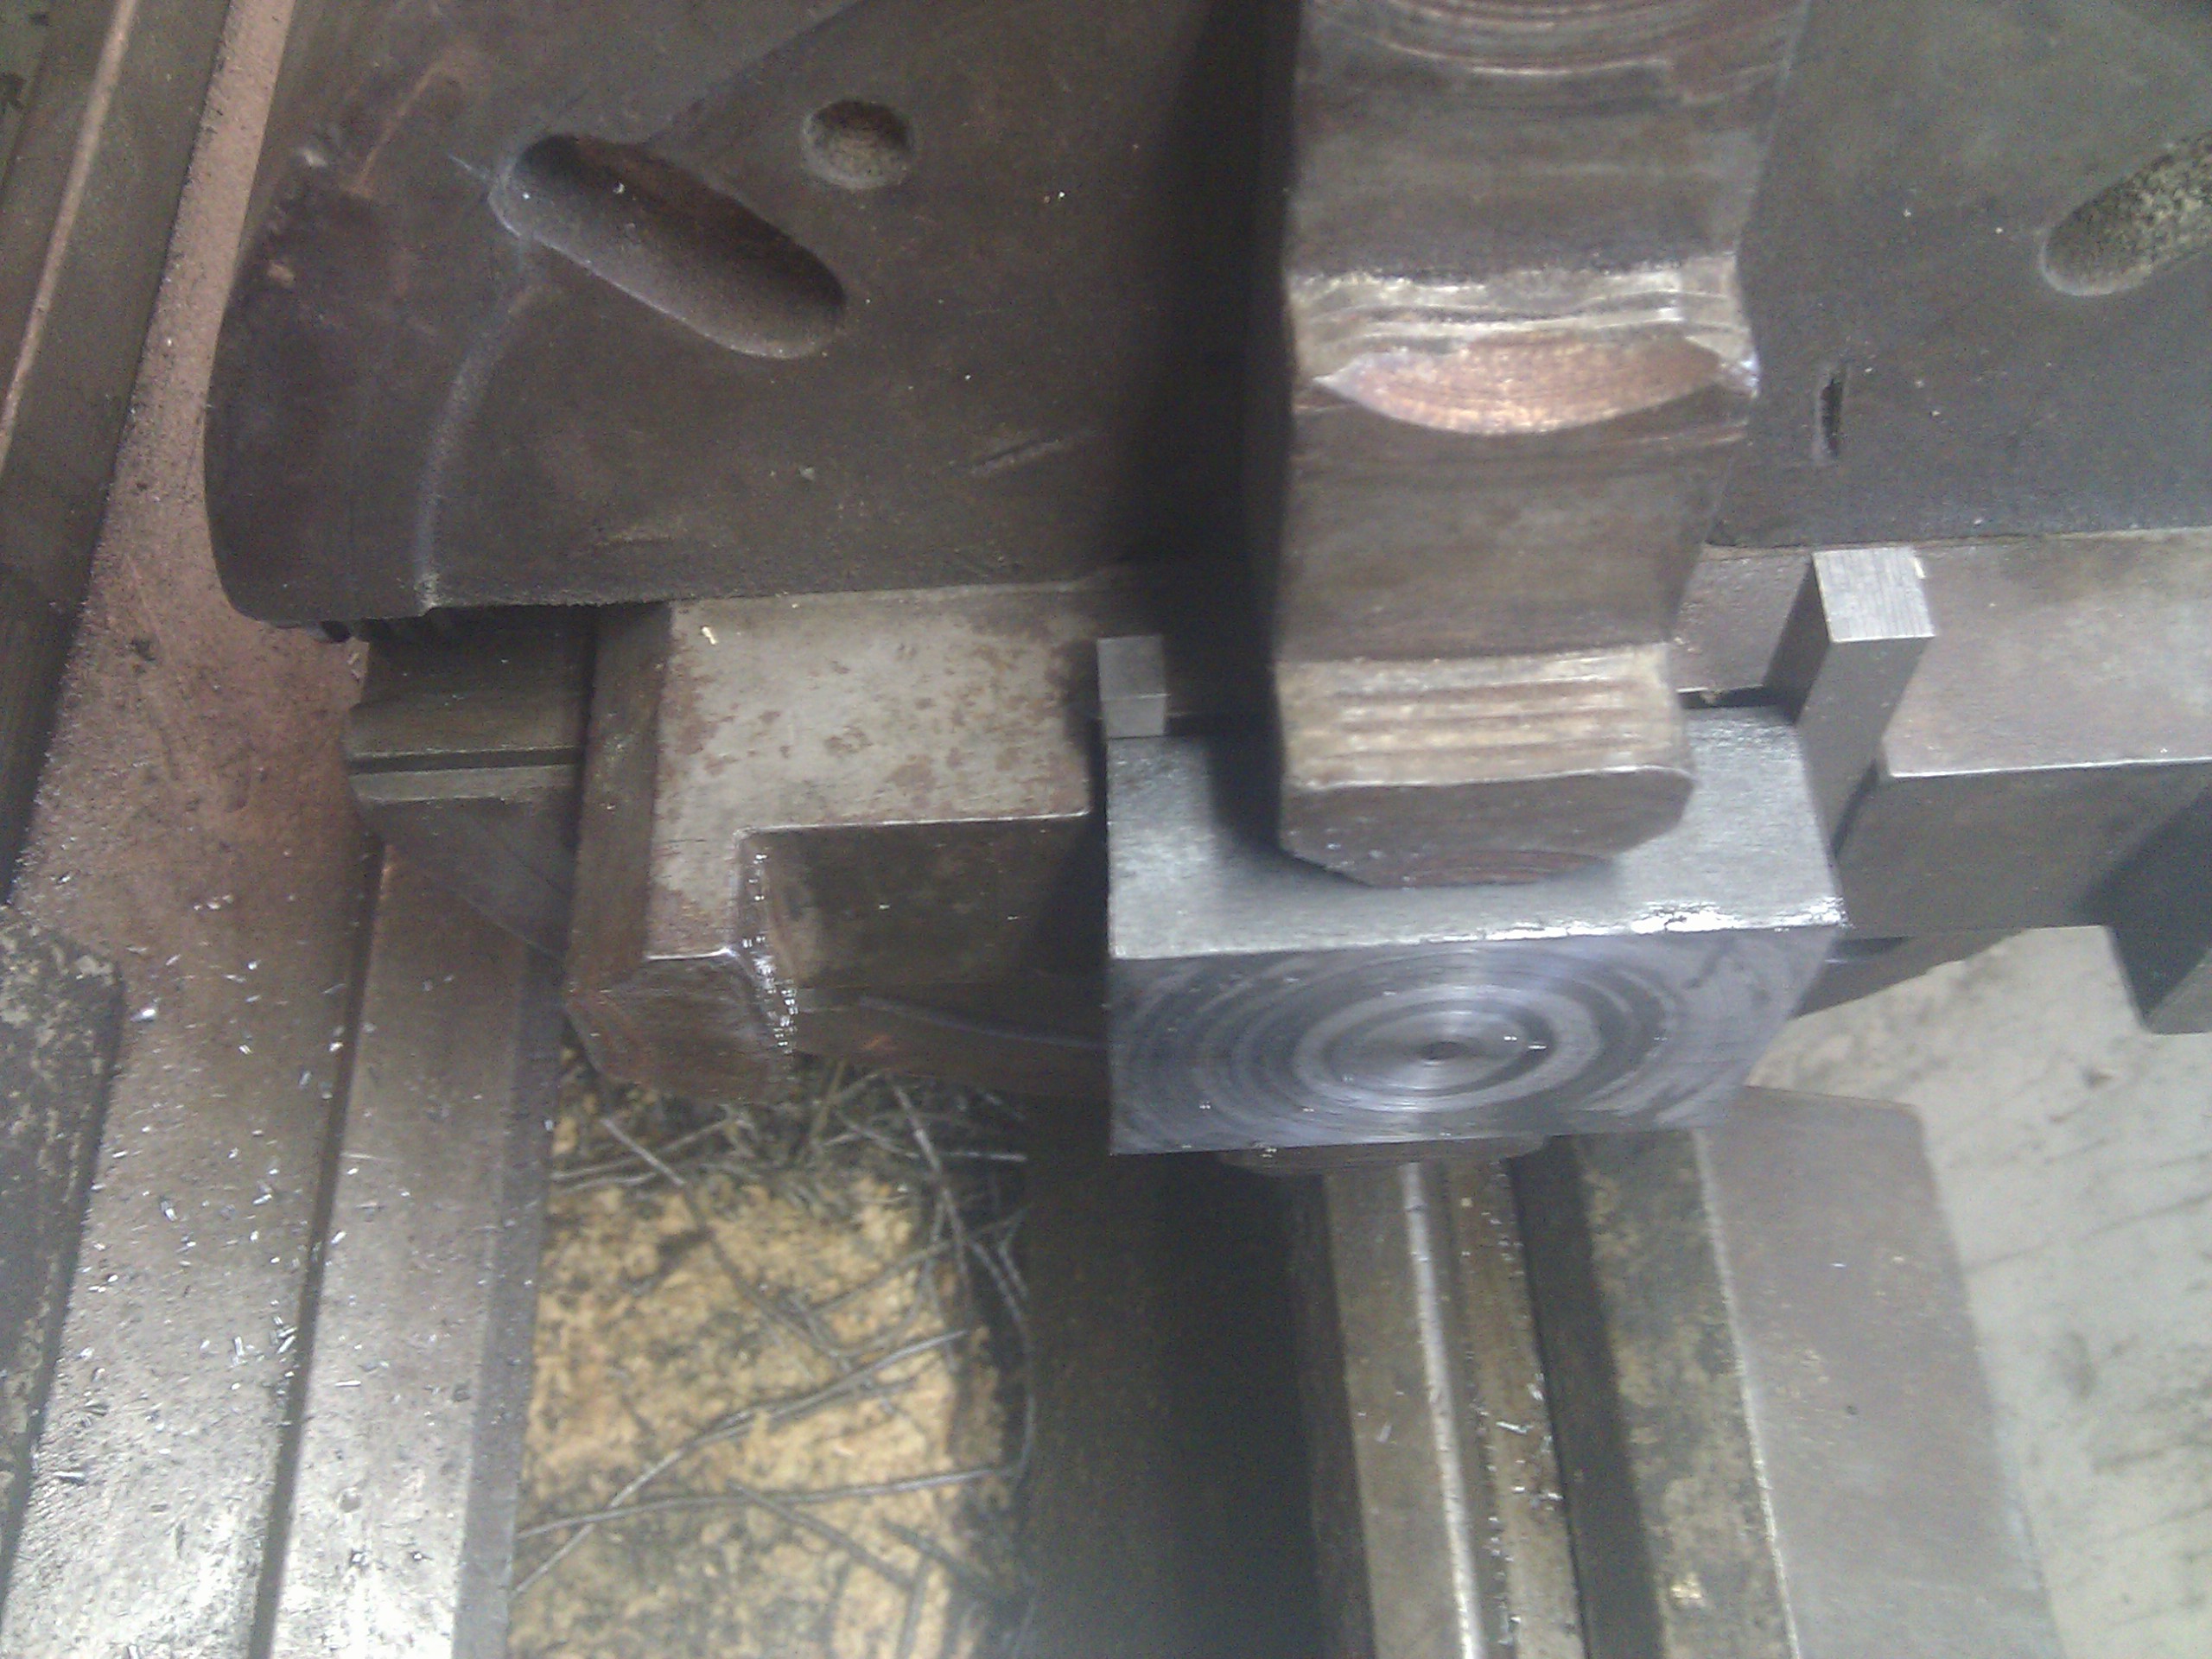
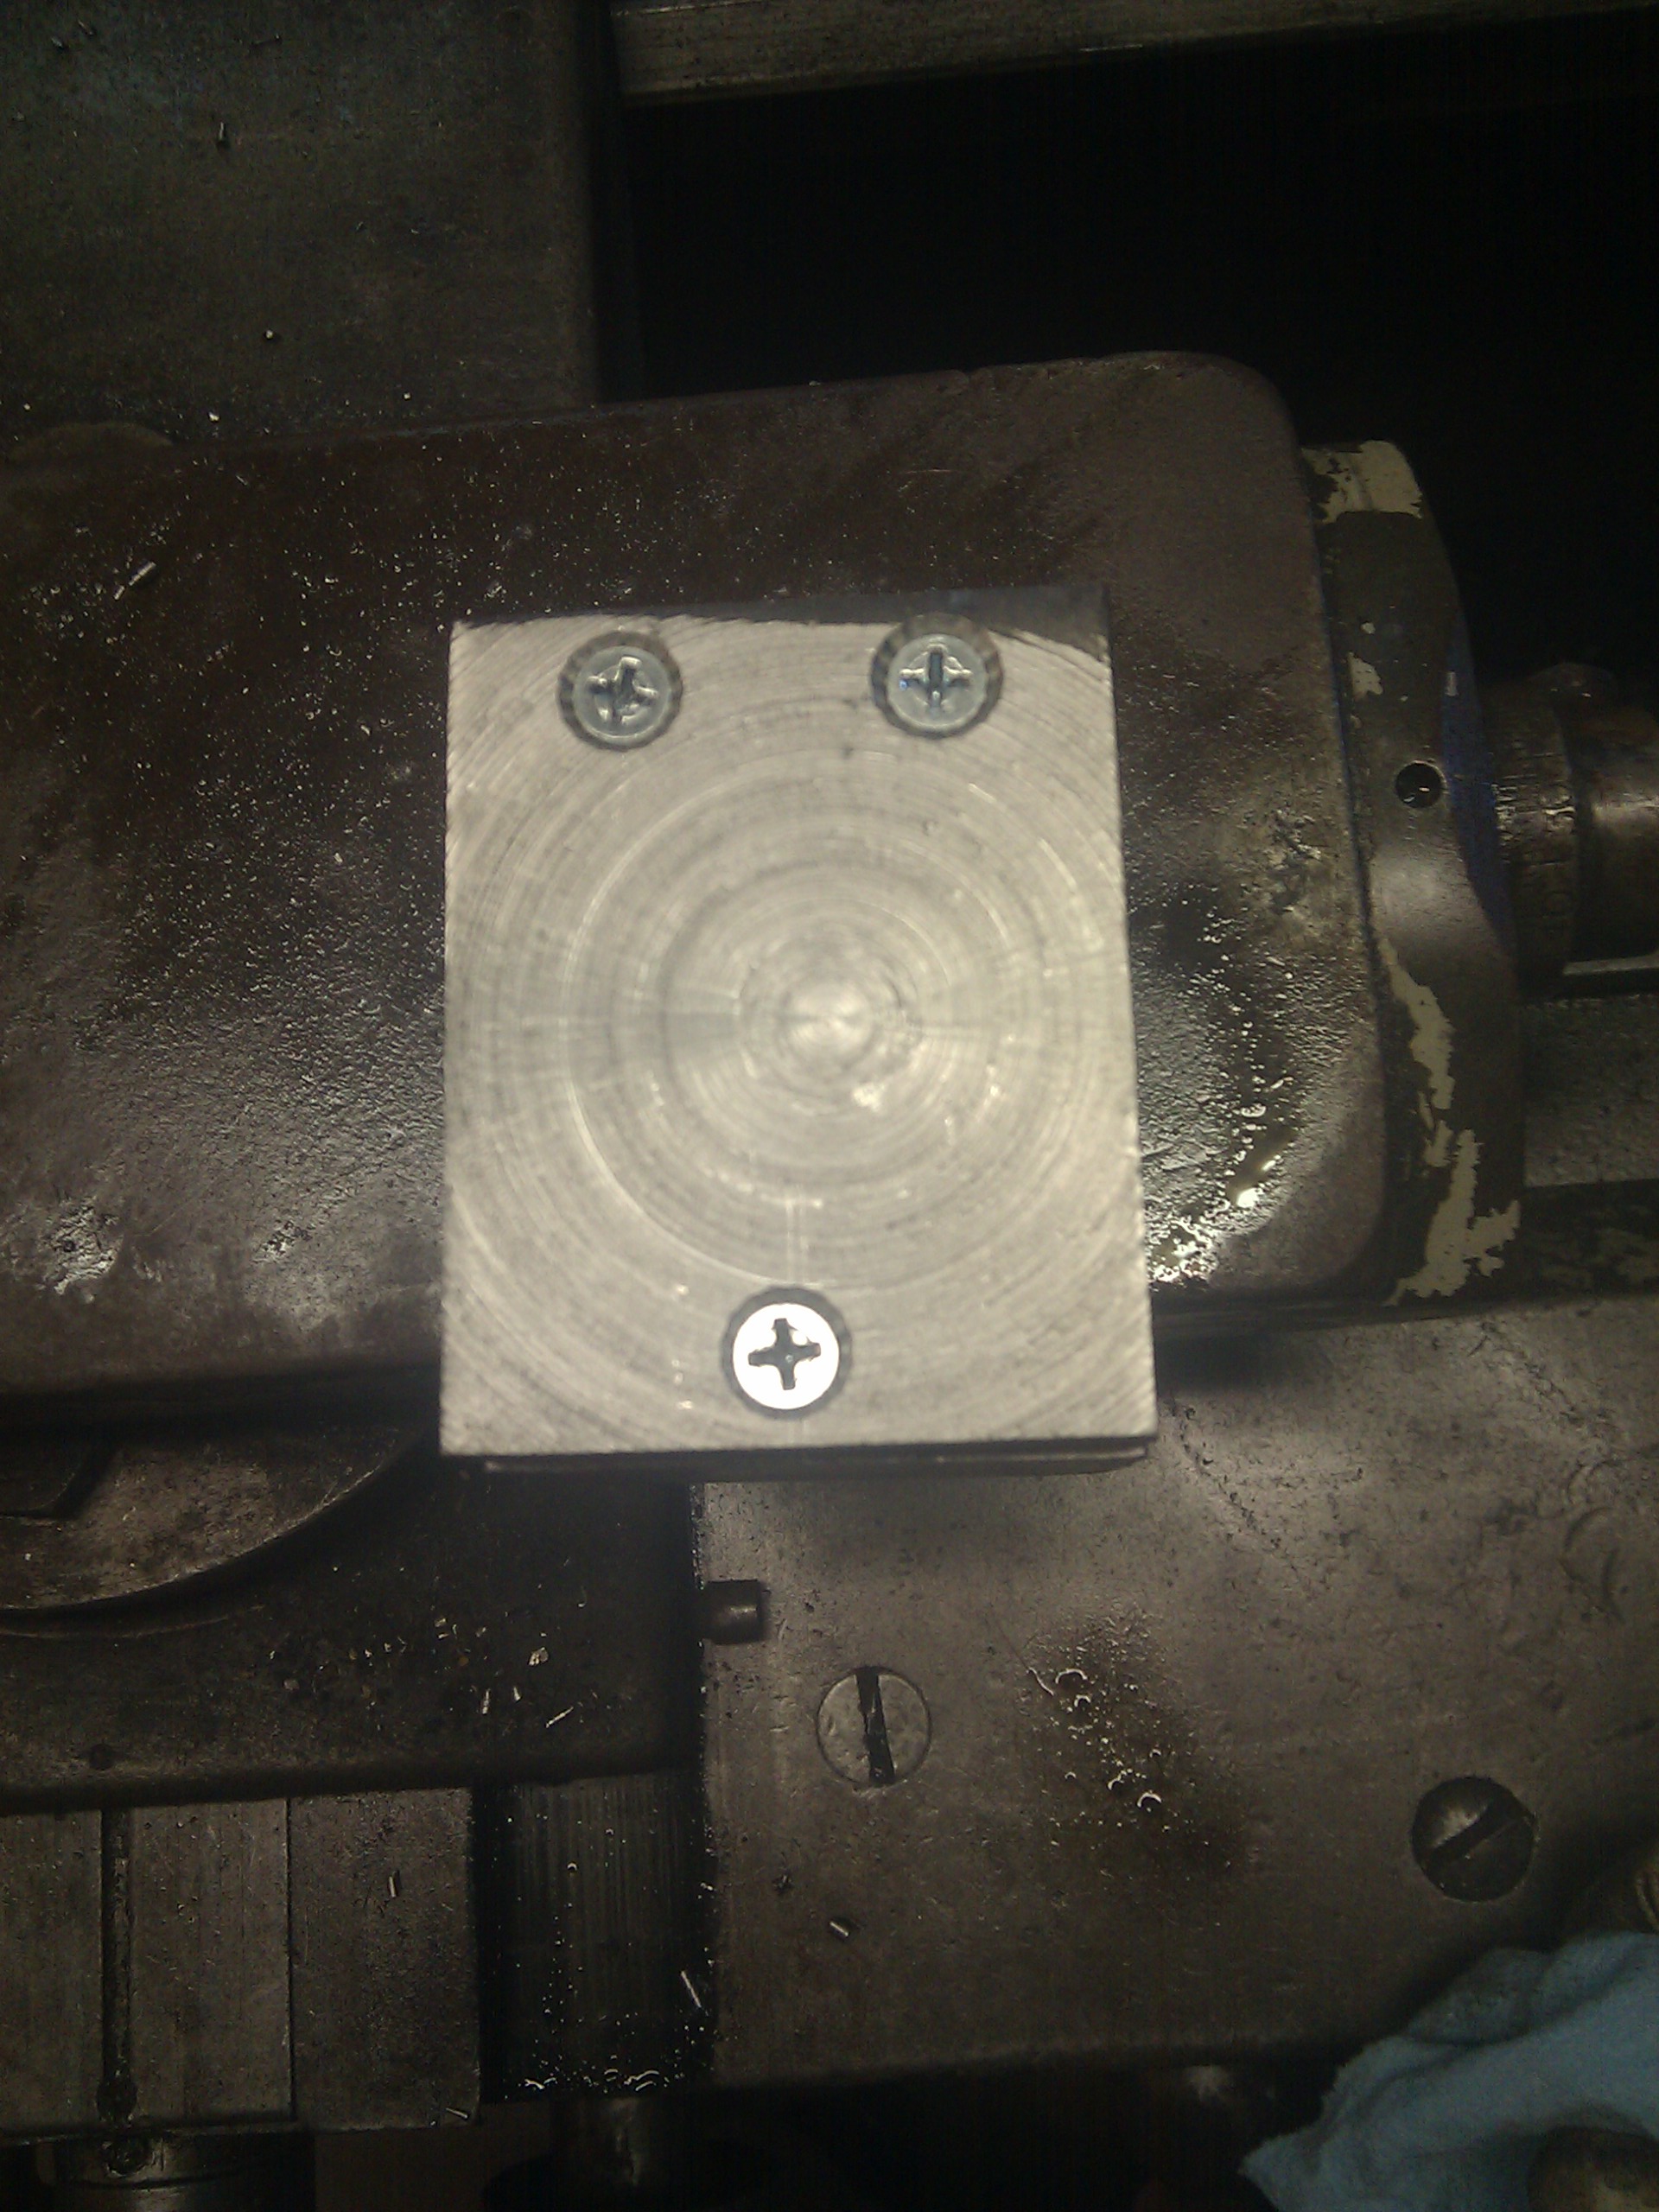
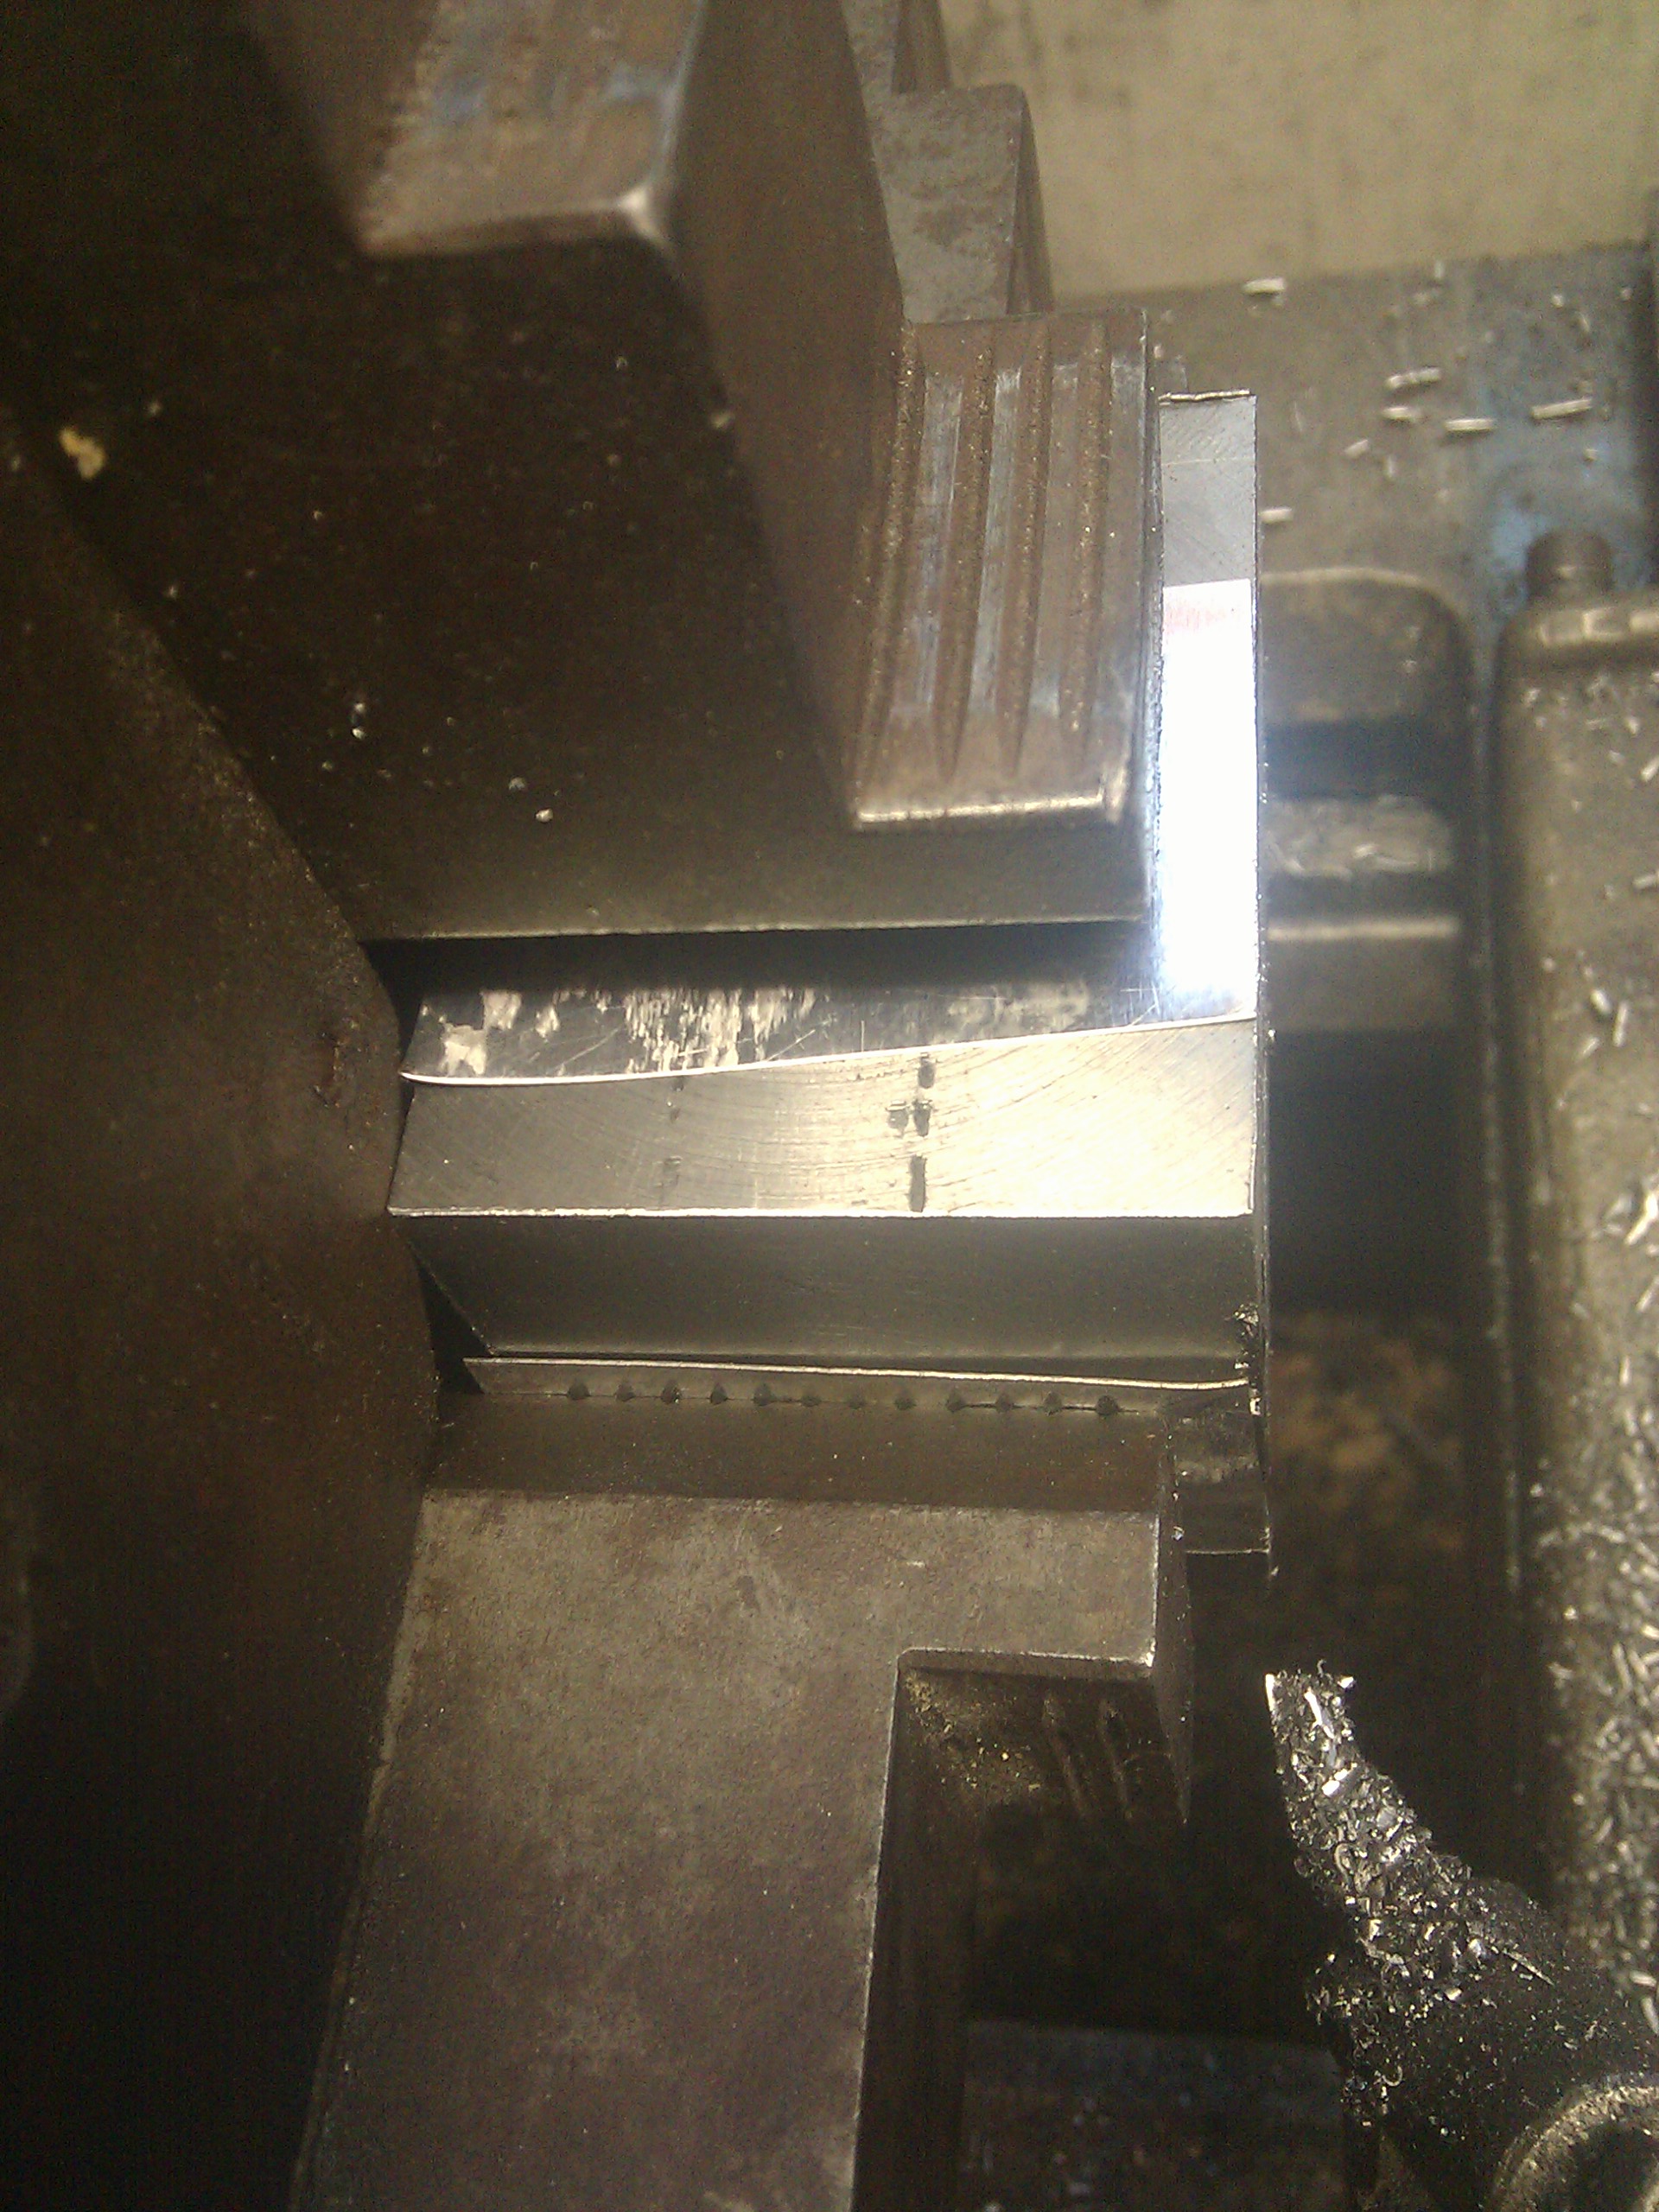
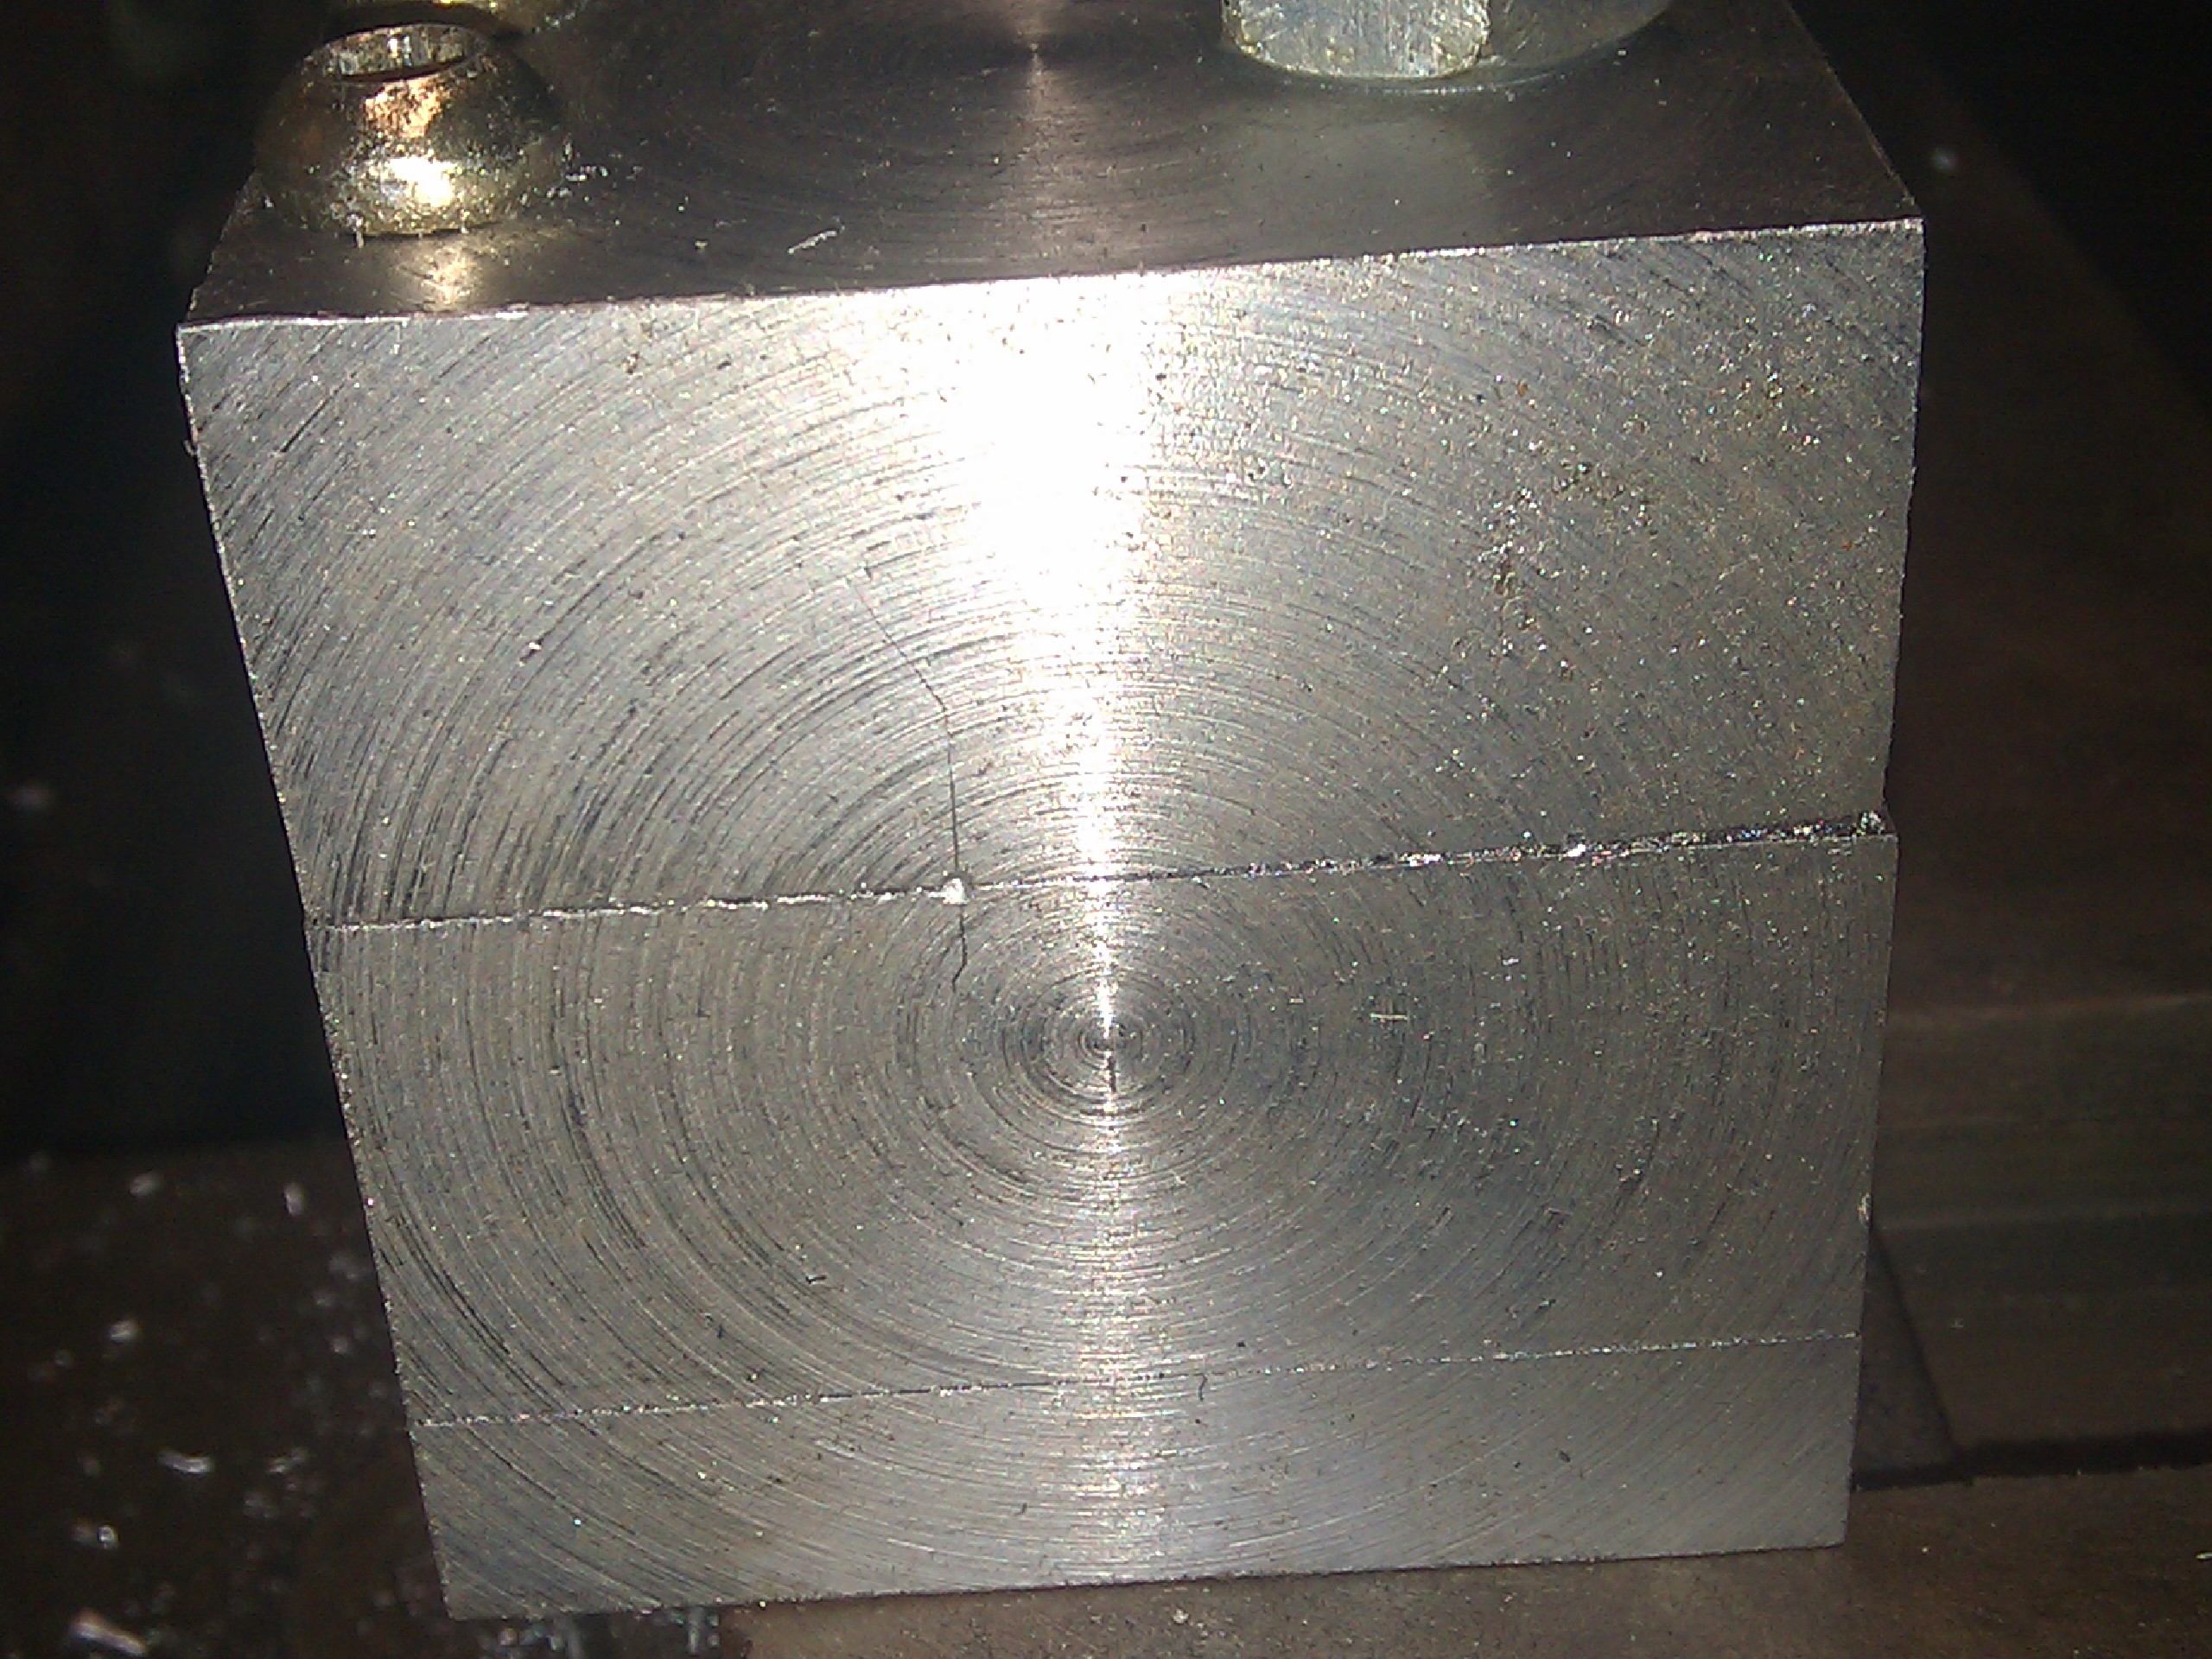
After facing everything, the part line between the two 1" blocks lined up perfectly with the center line on the lathe:
Eventually I'll bore a hole through there to hold the boring bar, but I've gotta do a few other things first.
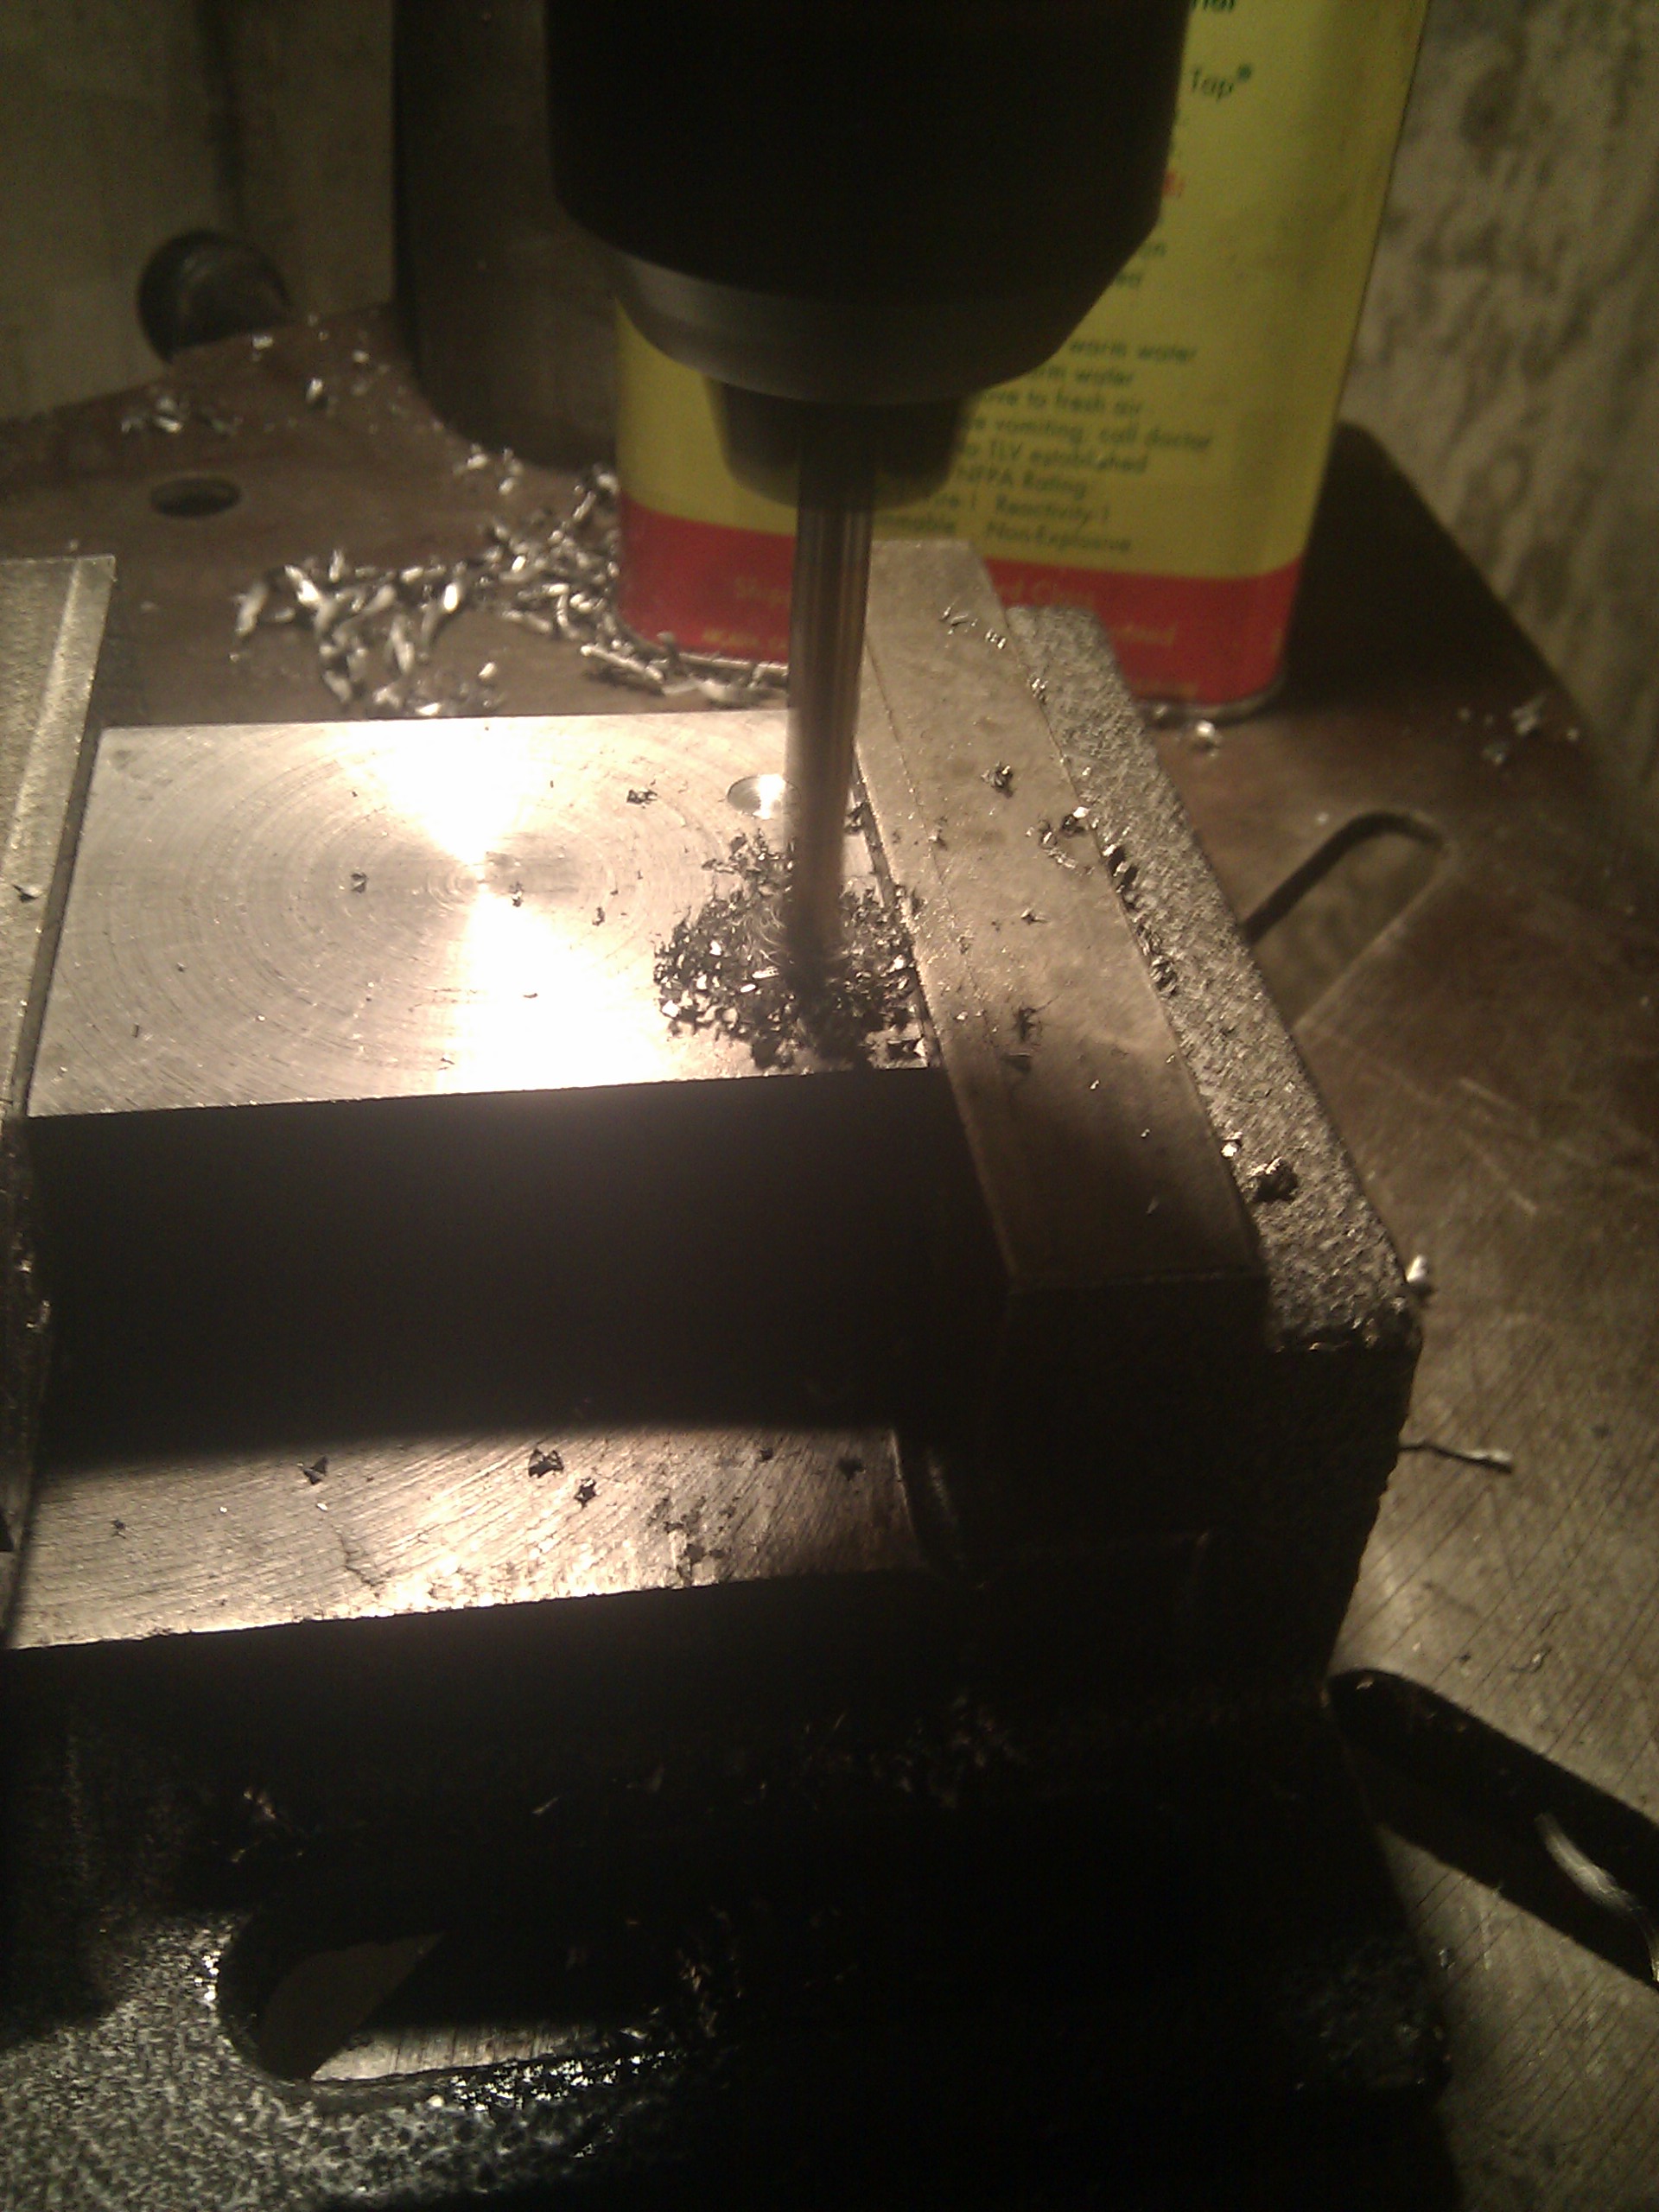
I needed a couple screws that I could use to clamp down on the boring bar, so I drilled two holes through one of the 1" blocks, then clamped that block above the lower block and put two divots in the lower block where the holes in the top block are:
Drill the lower block with a smaller bit:
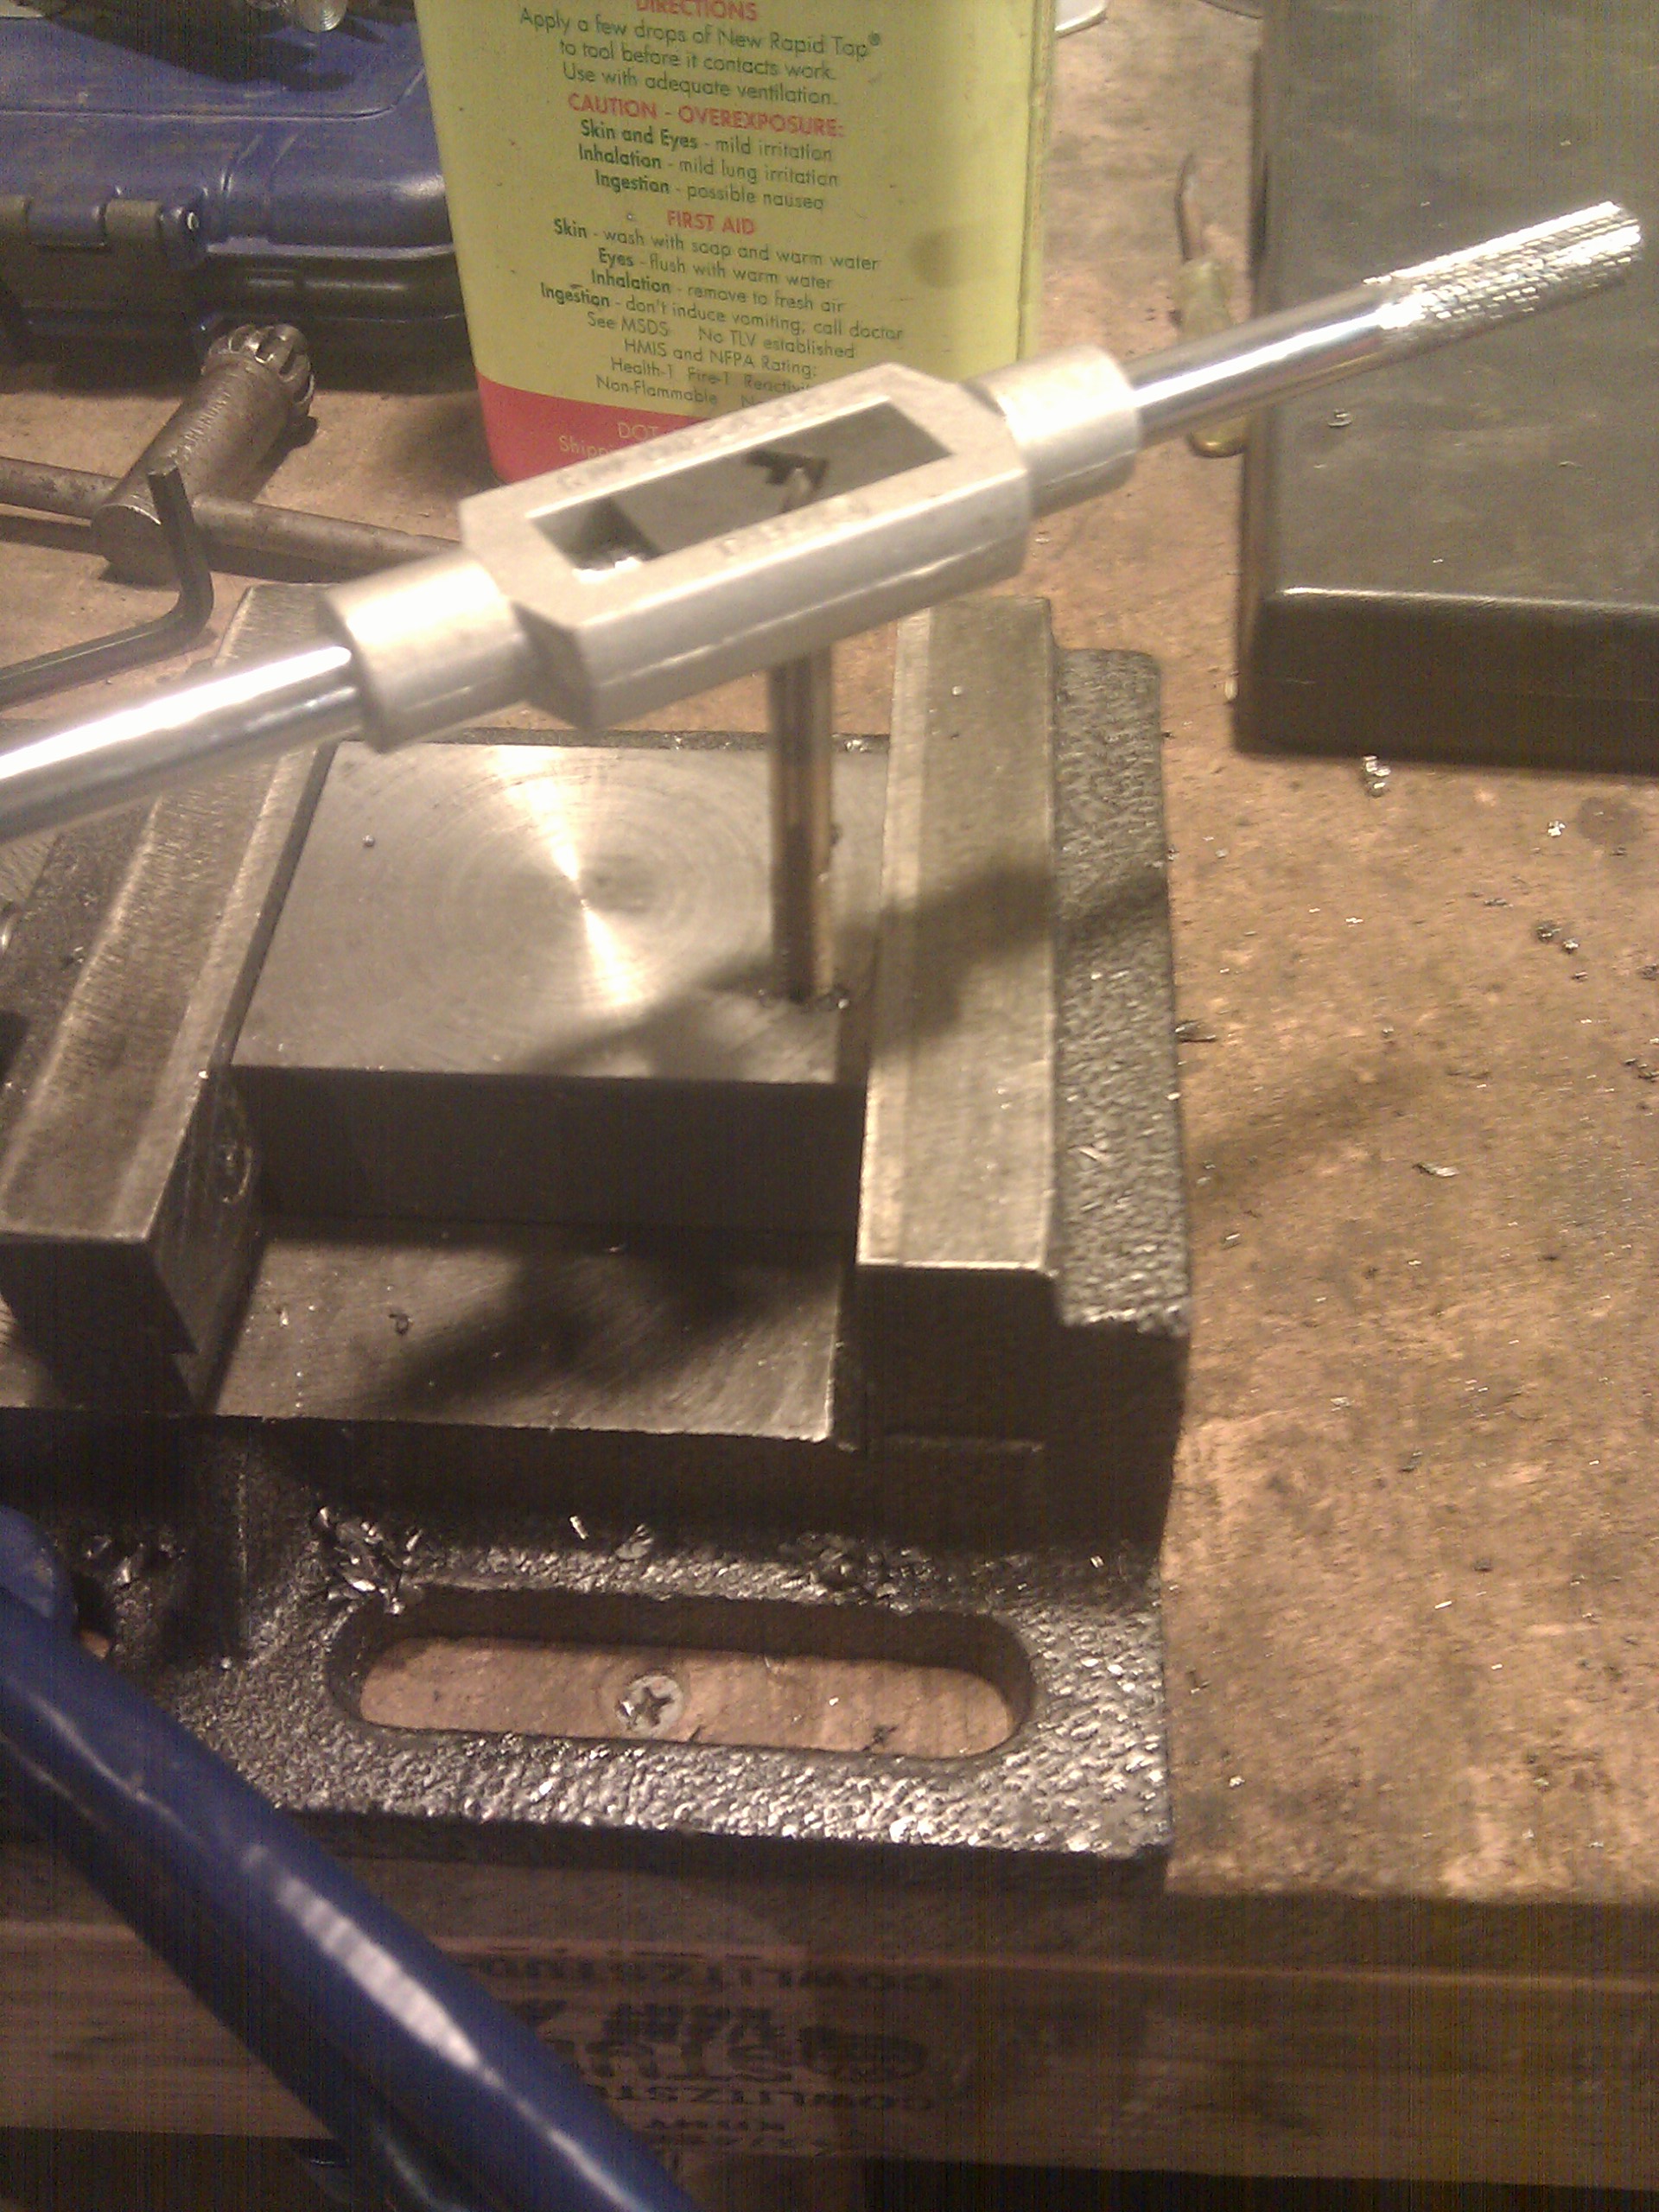
Then, tap the holes in the lower block for the screws I've got:
Clamping screws done:
Now, the 1" blocks are too short to reach the centerline, as shown in the original drawing. I've got a 1/2" block to use as a spacer, so I'll screw it to the bottom block.
Drill:
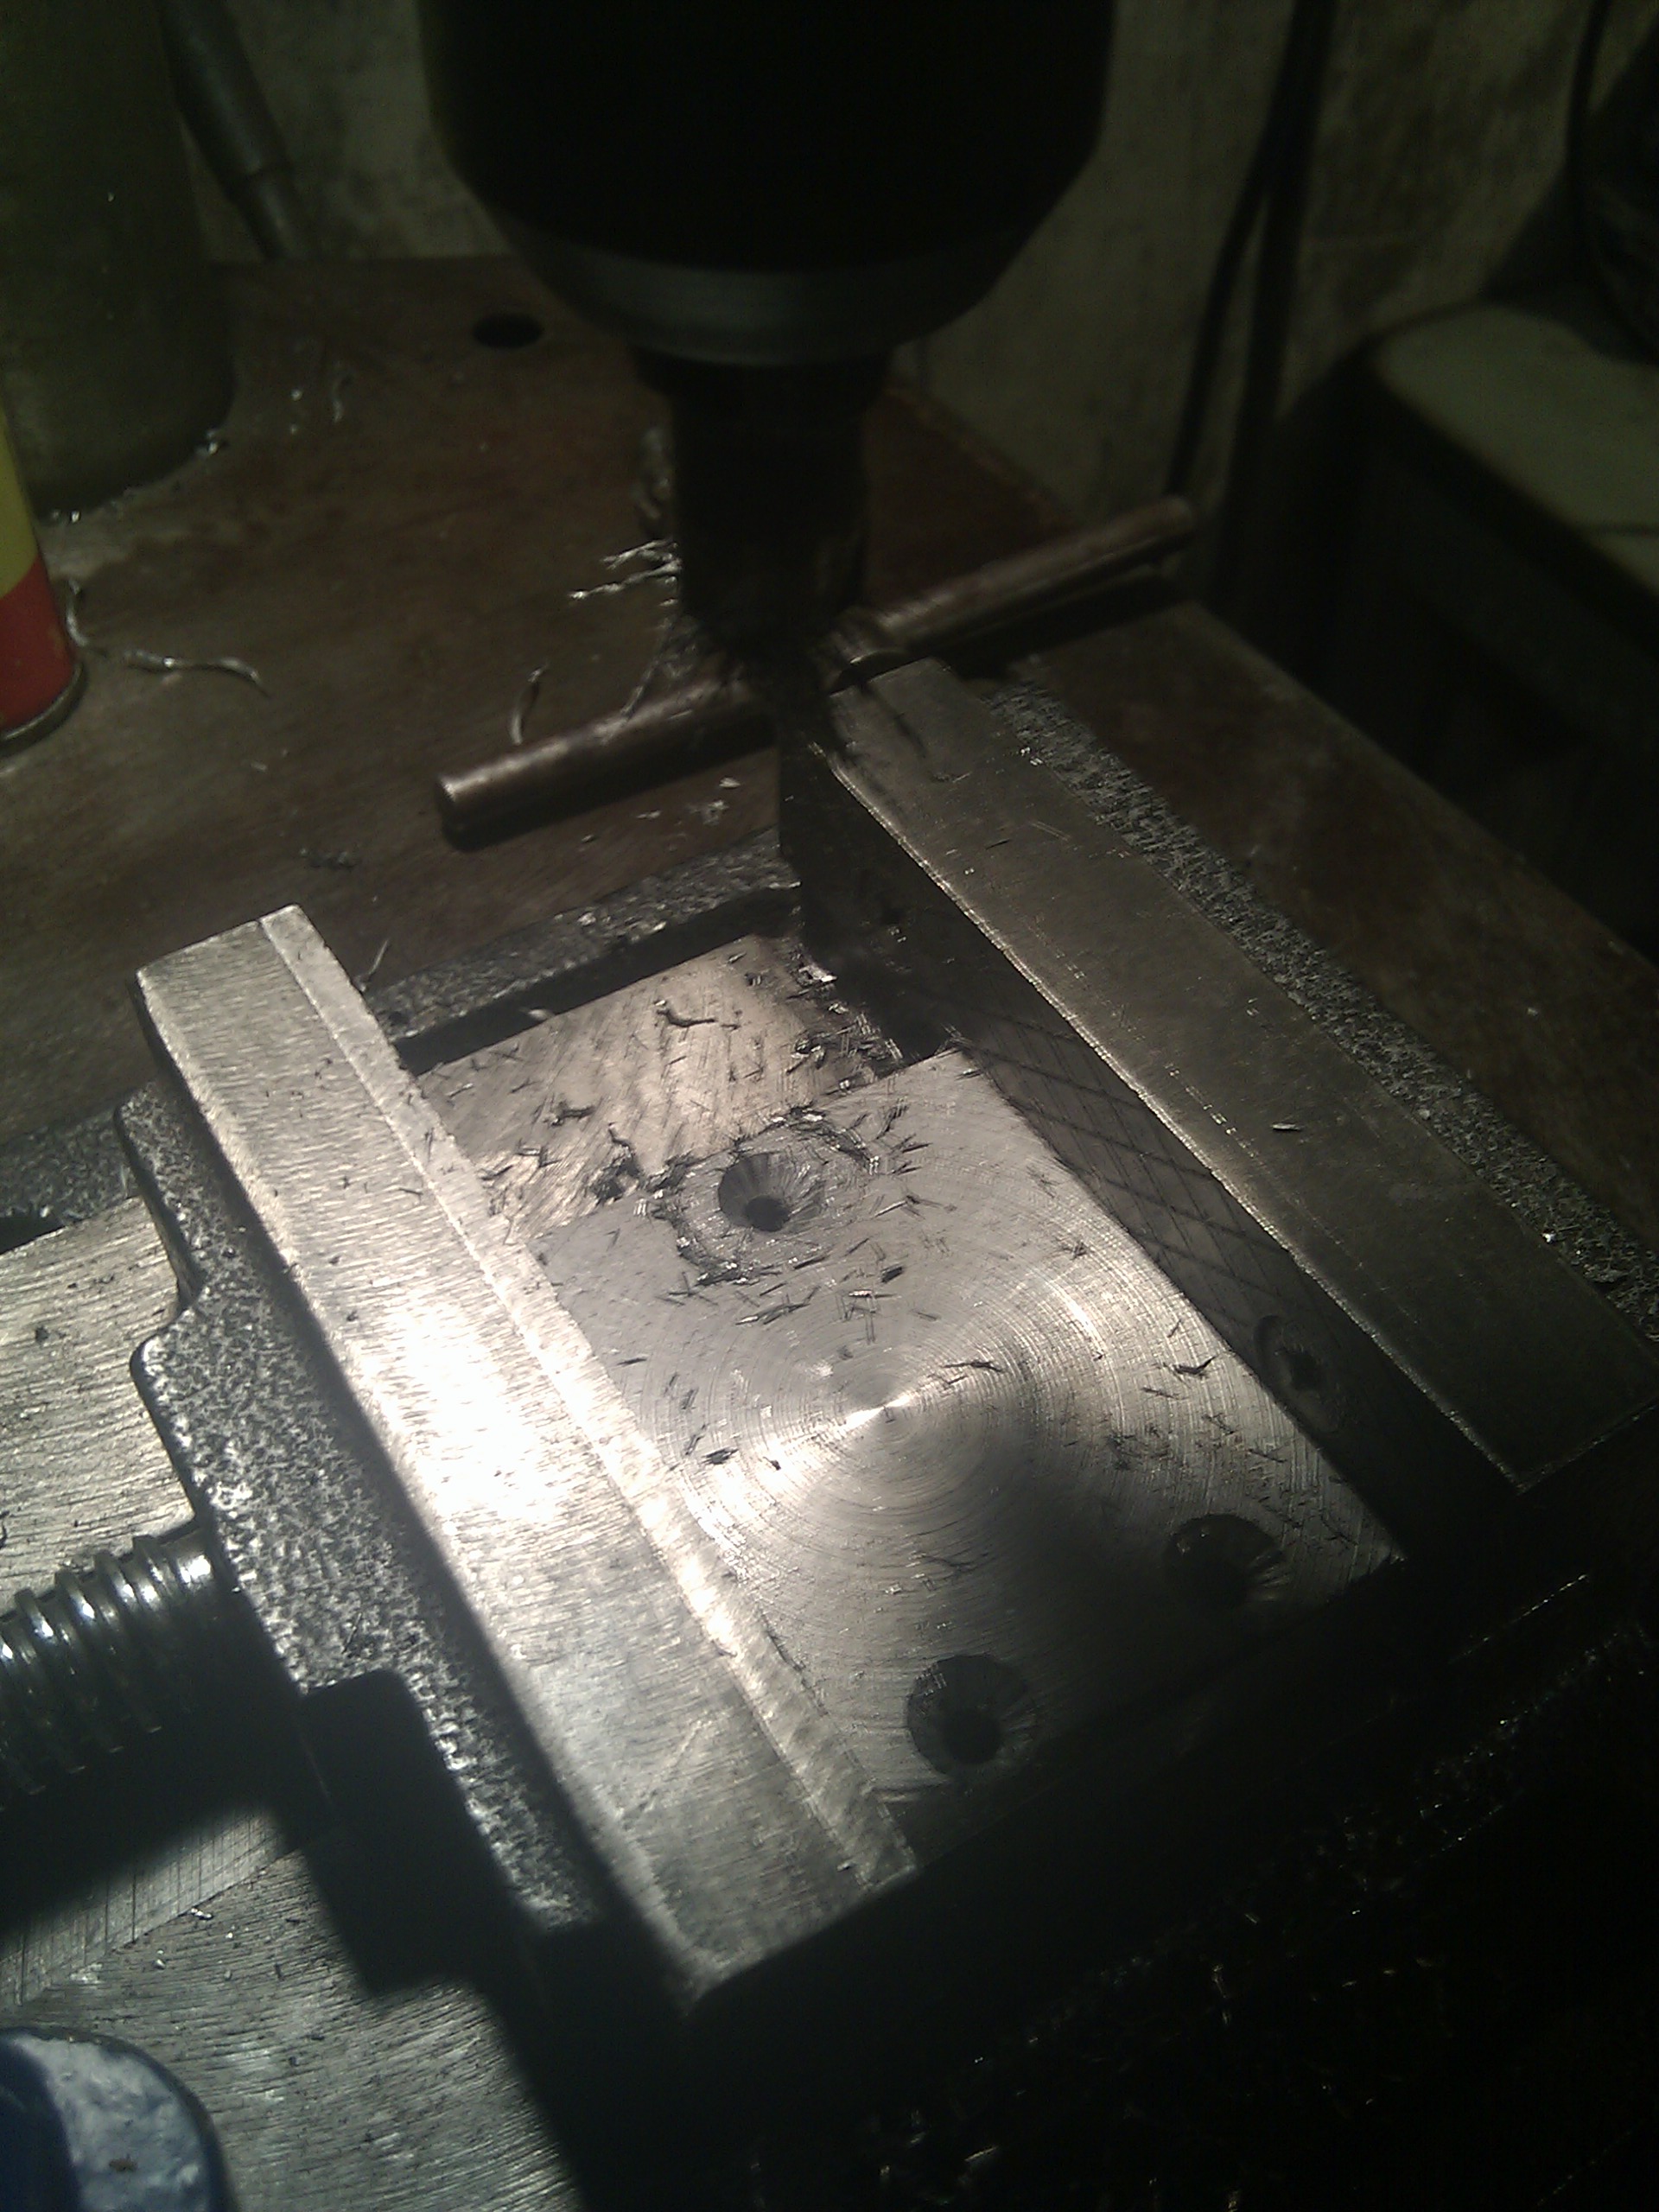
Countersink:
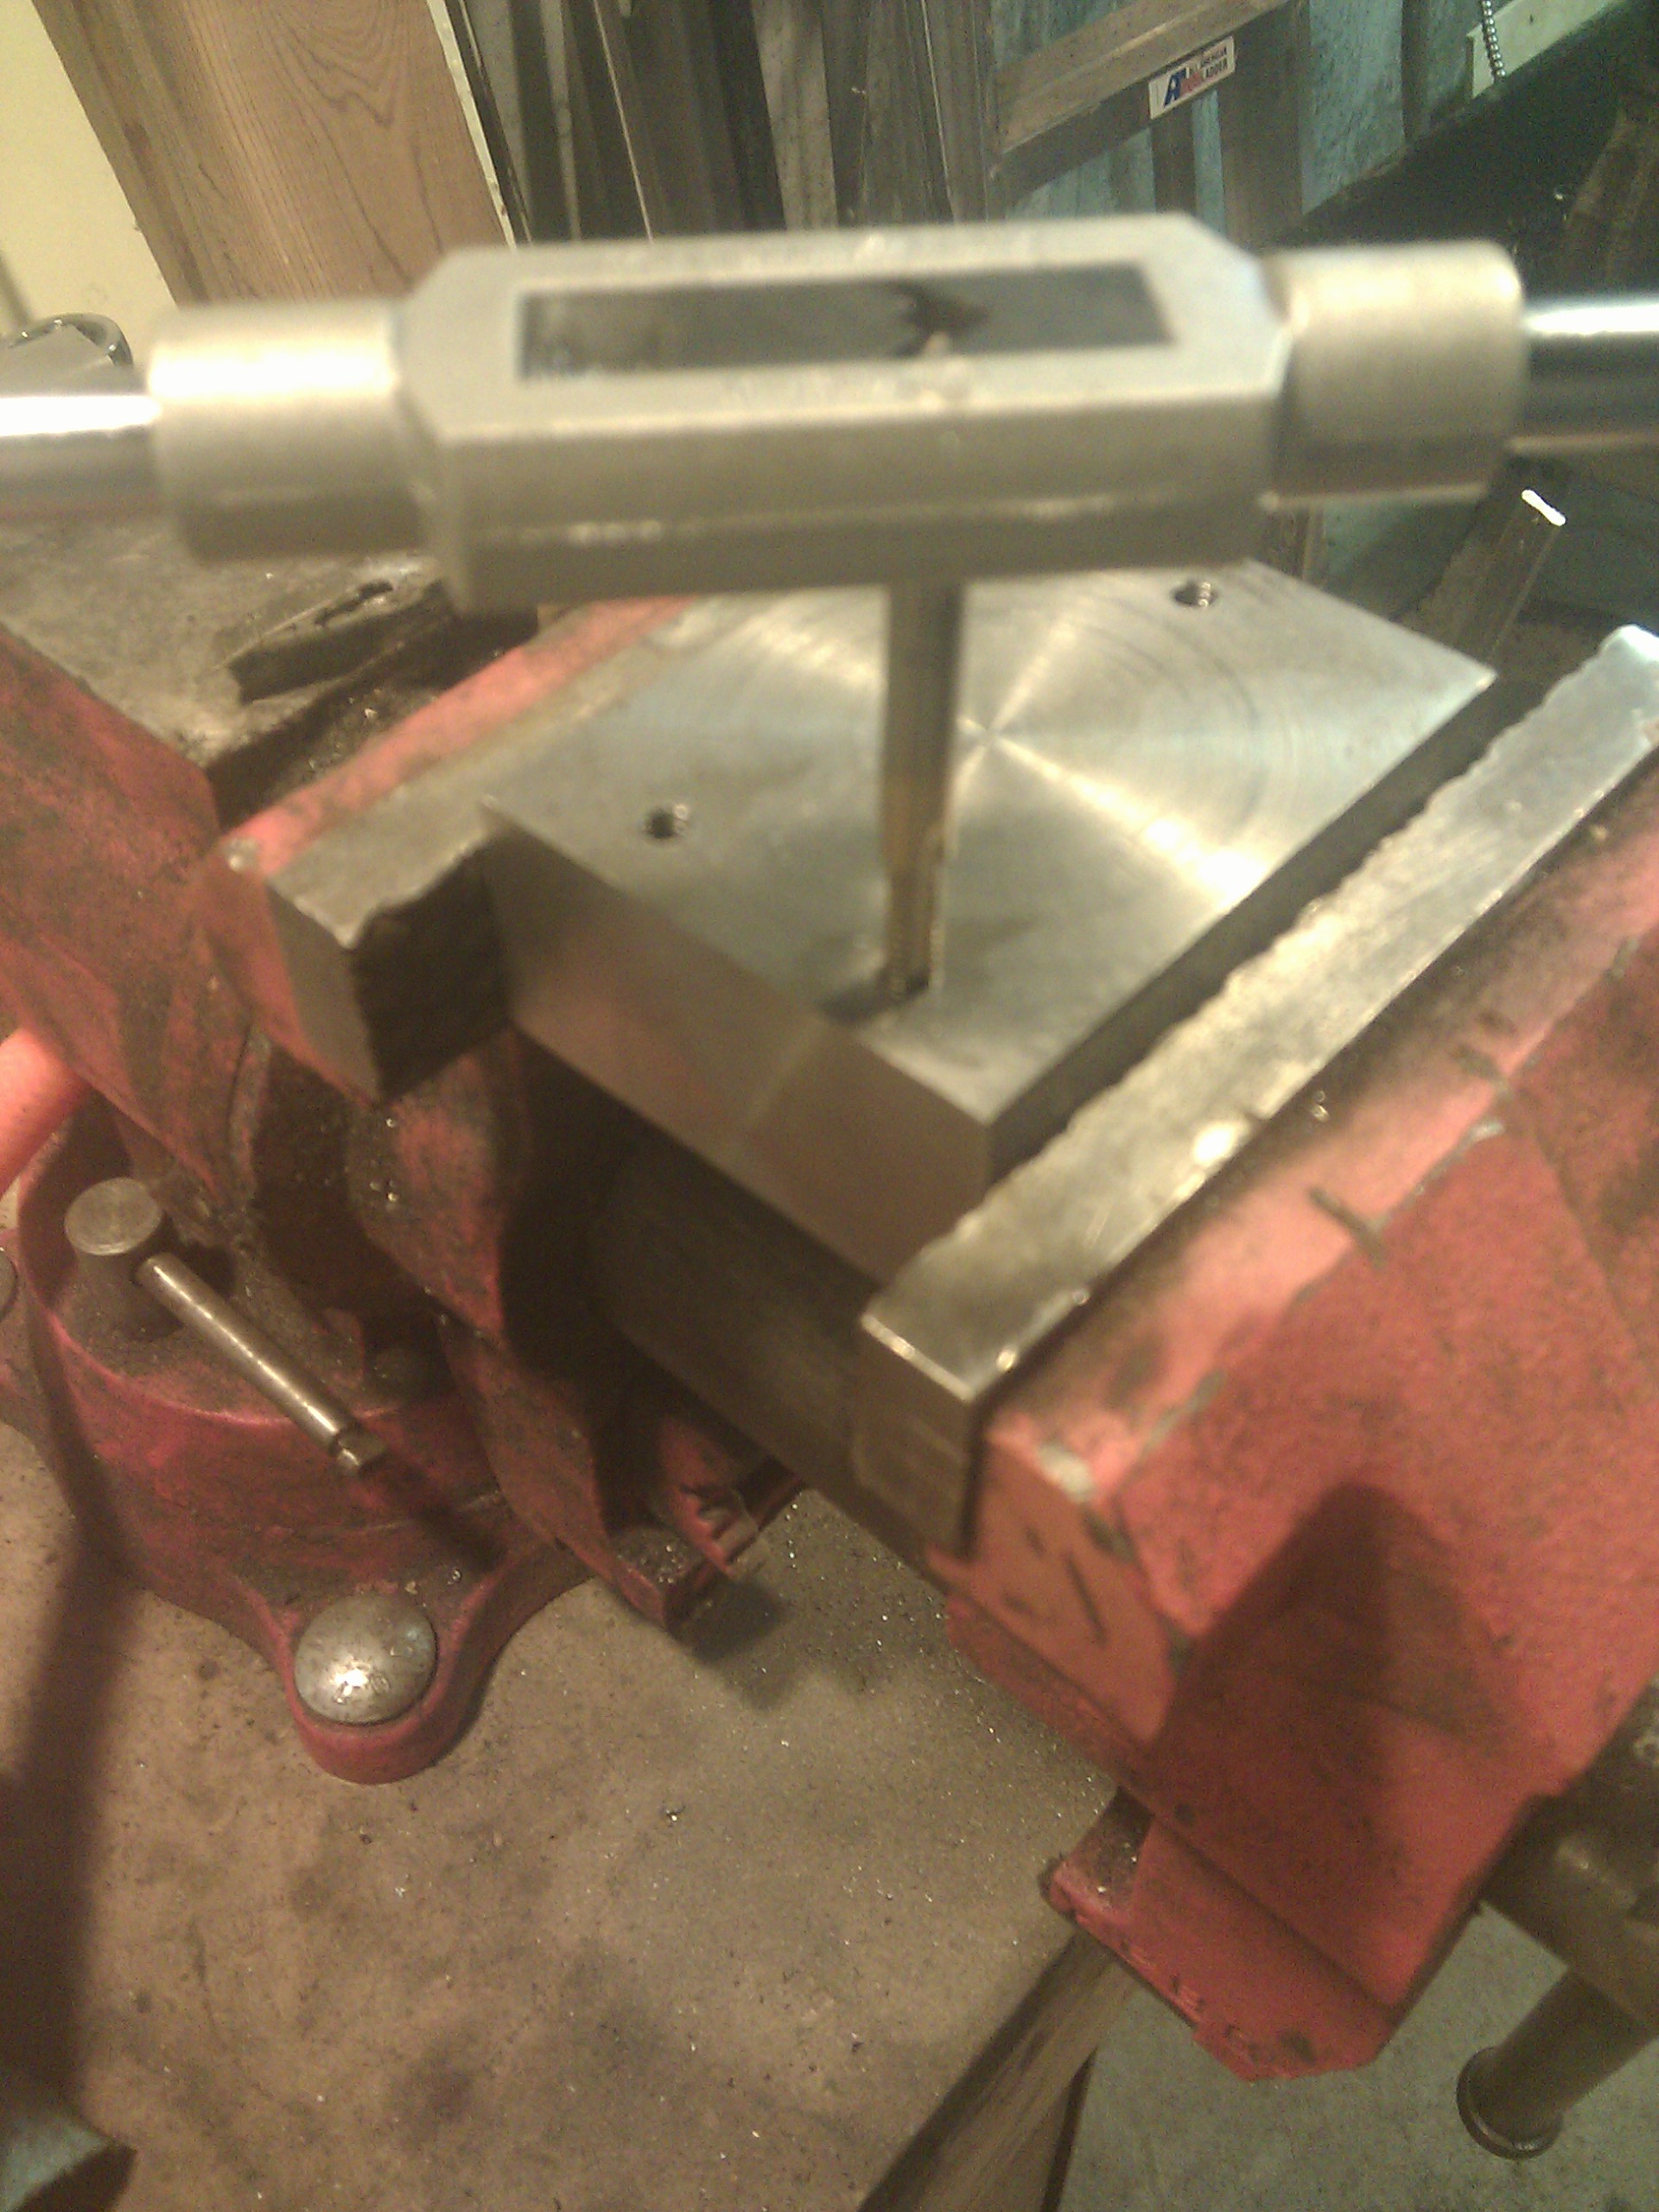
Drill the lower block with a smaller bit and tap:
The three holes are placed to miss the clamp screws and the center screw that I will use to hold this to the lathe's T-slot:
Now that I can attach all three blocks together, I can face the sides of the block:
I learned to use bits of aluminum flashing to keep the jaws from marring my nice faces:
(A little too late; you can see some bite marks on one of the faces...)
Now, to drill the hole for the 1/2" bolt that's going to hold this thing to the lathe's T-slot. Since I have to go through 2 and a half inches of steel, I opted to drill this hole on the lathe instead of in a drill press. The magic of a 4-jaw chuck is that each jaw moves independently, so you can chuck up things off-center.
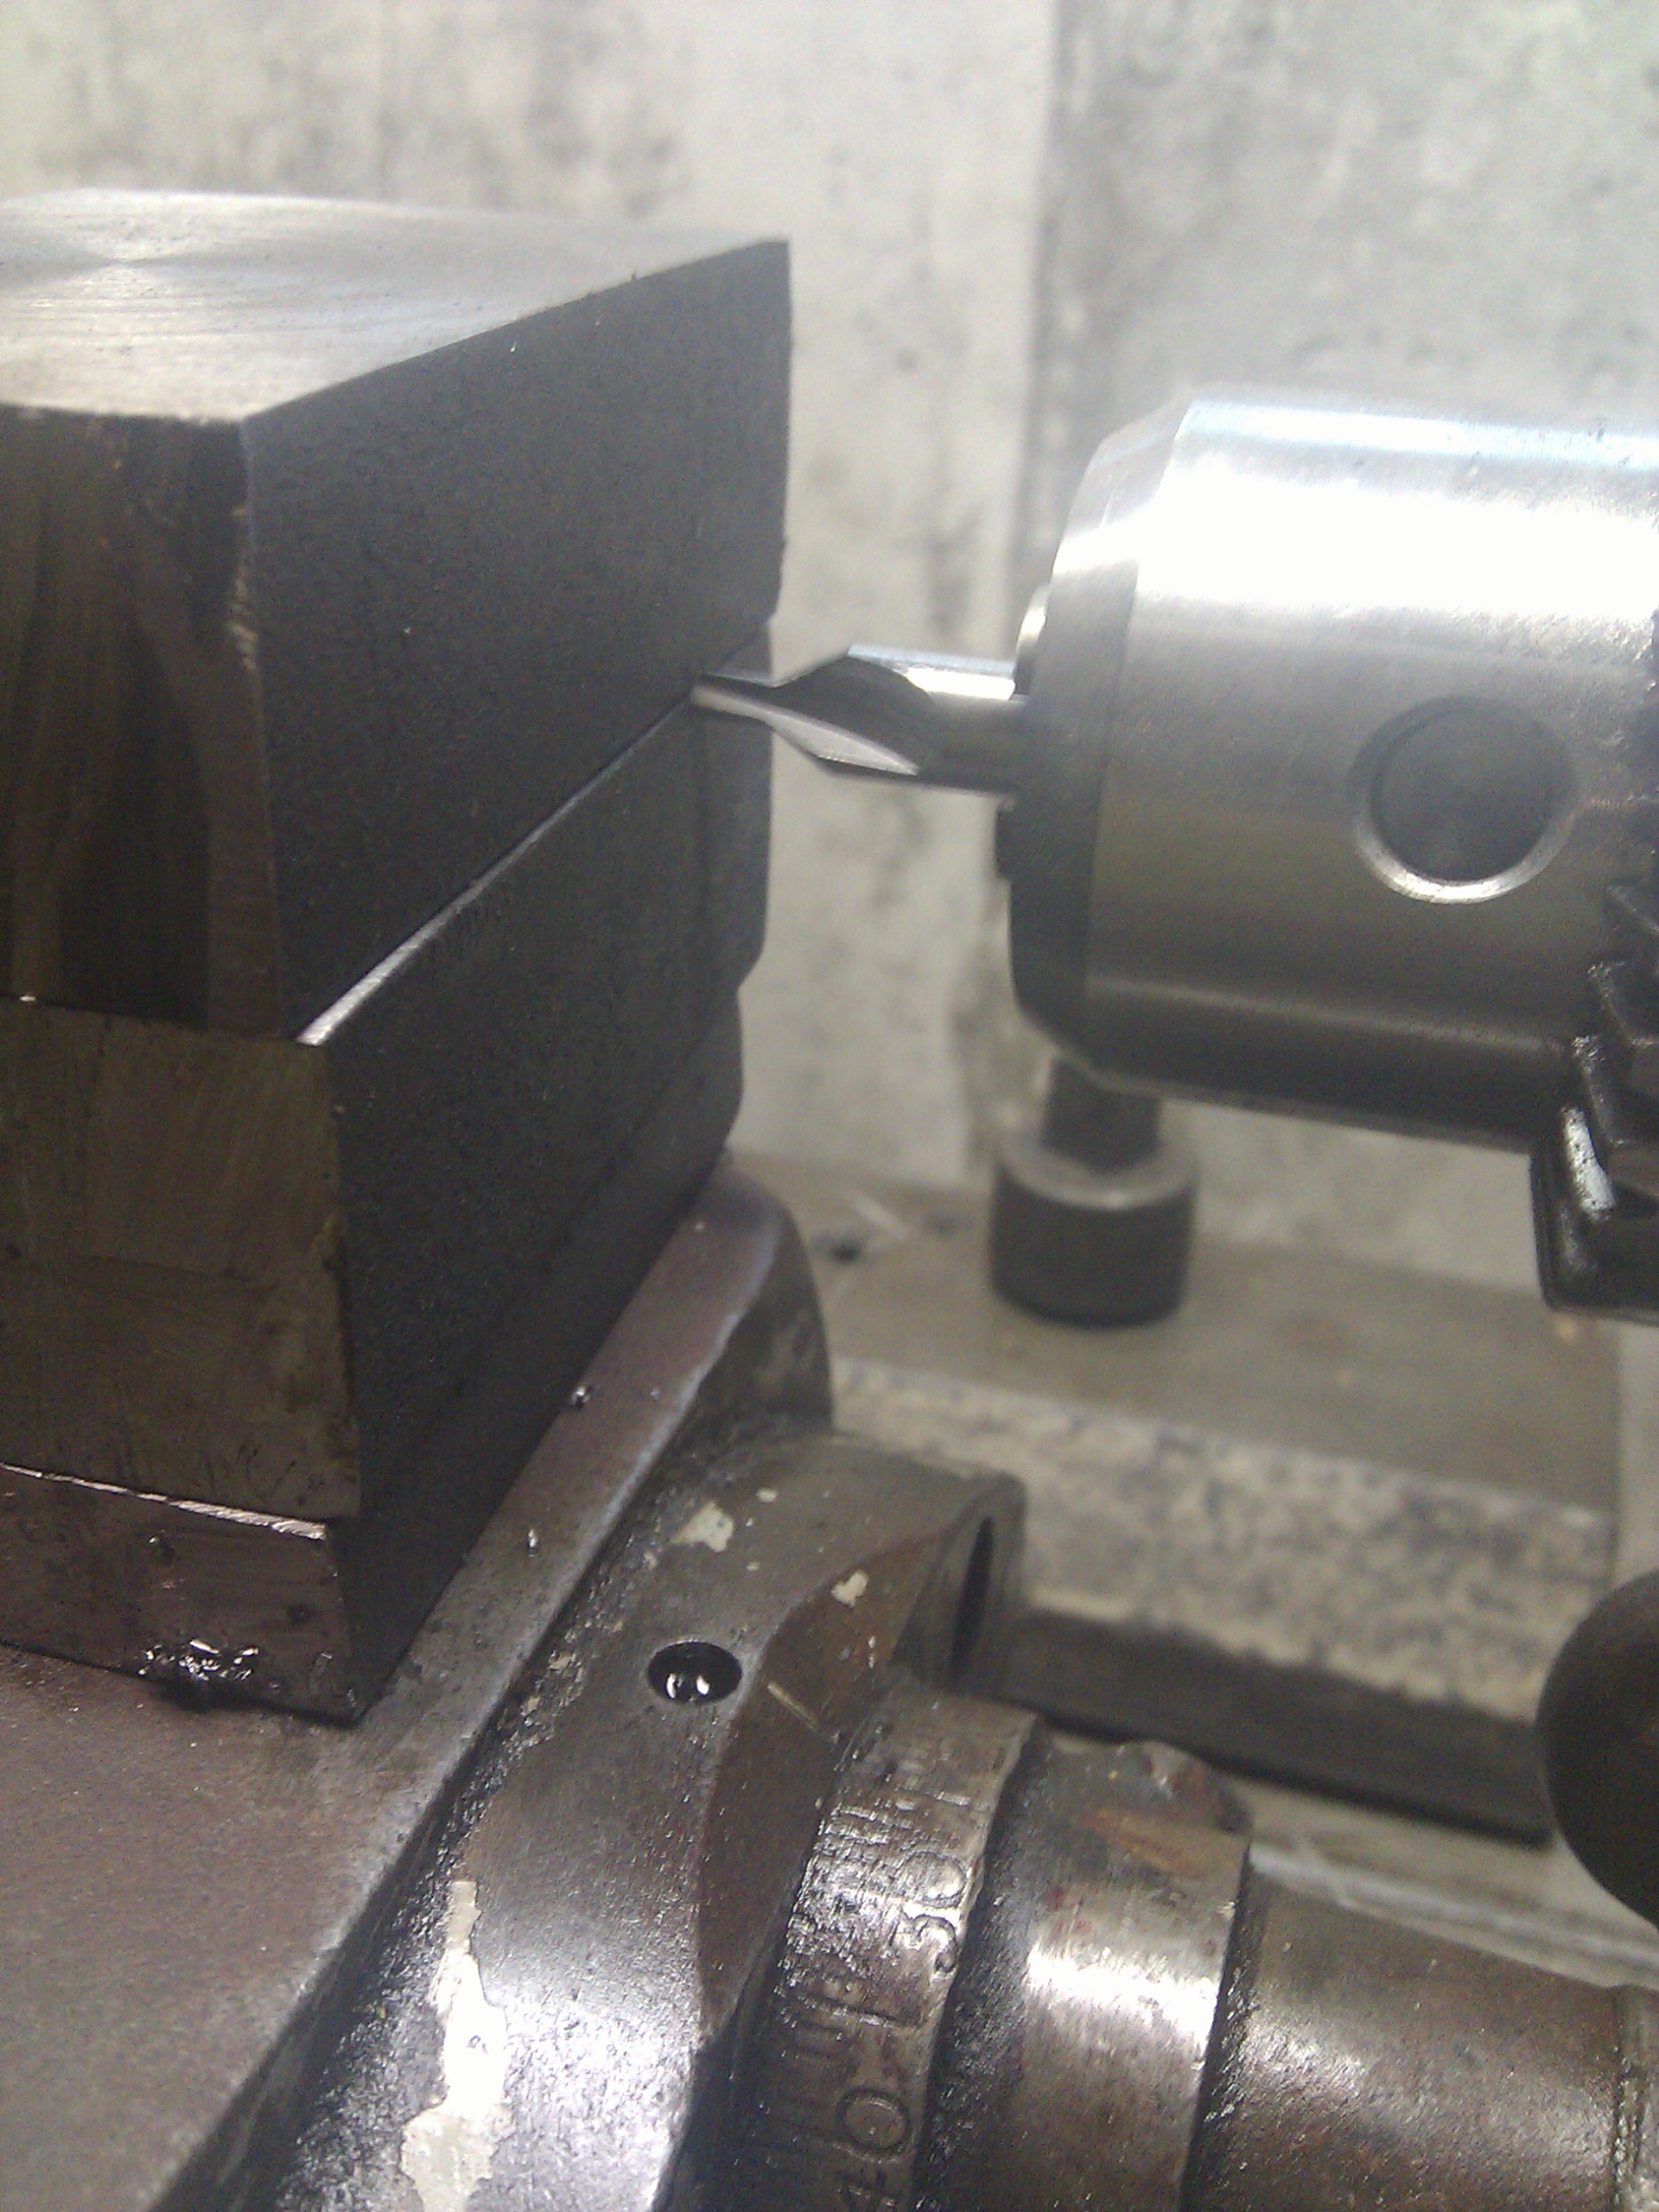
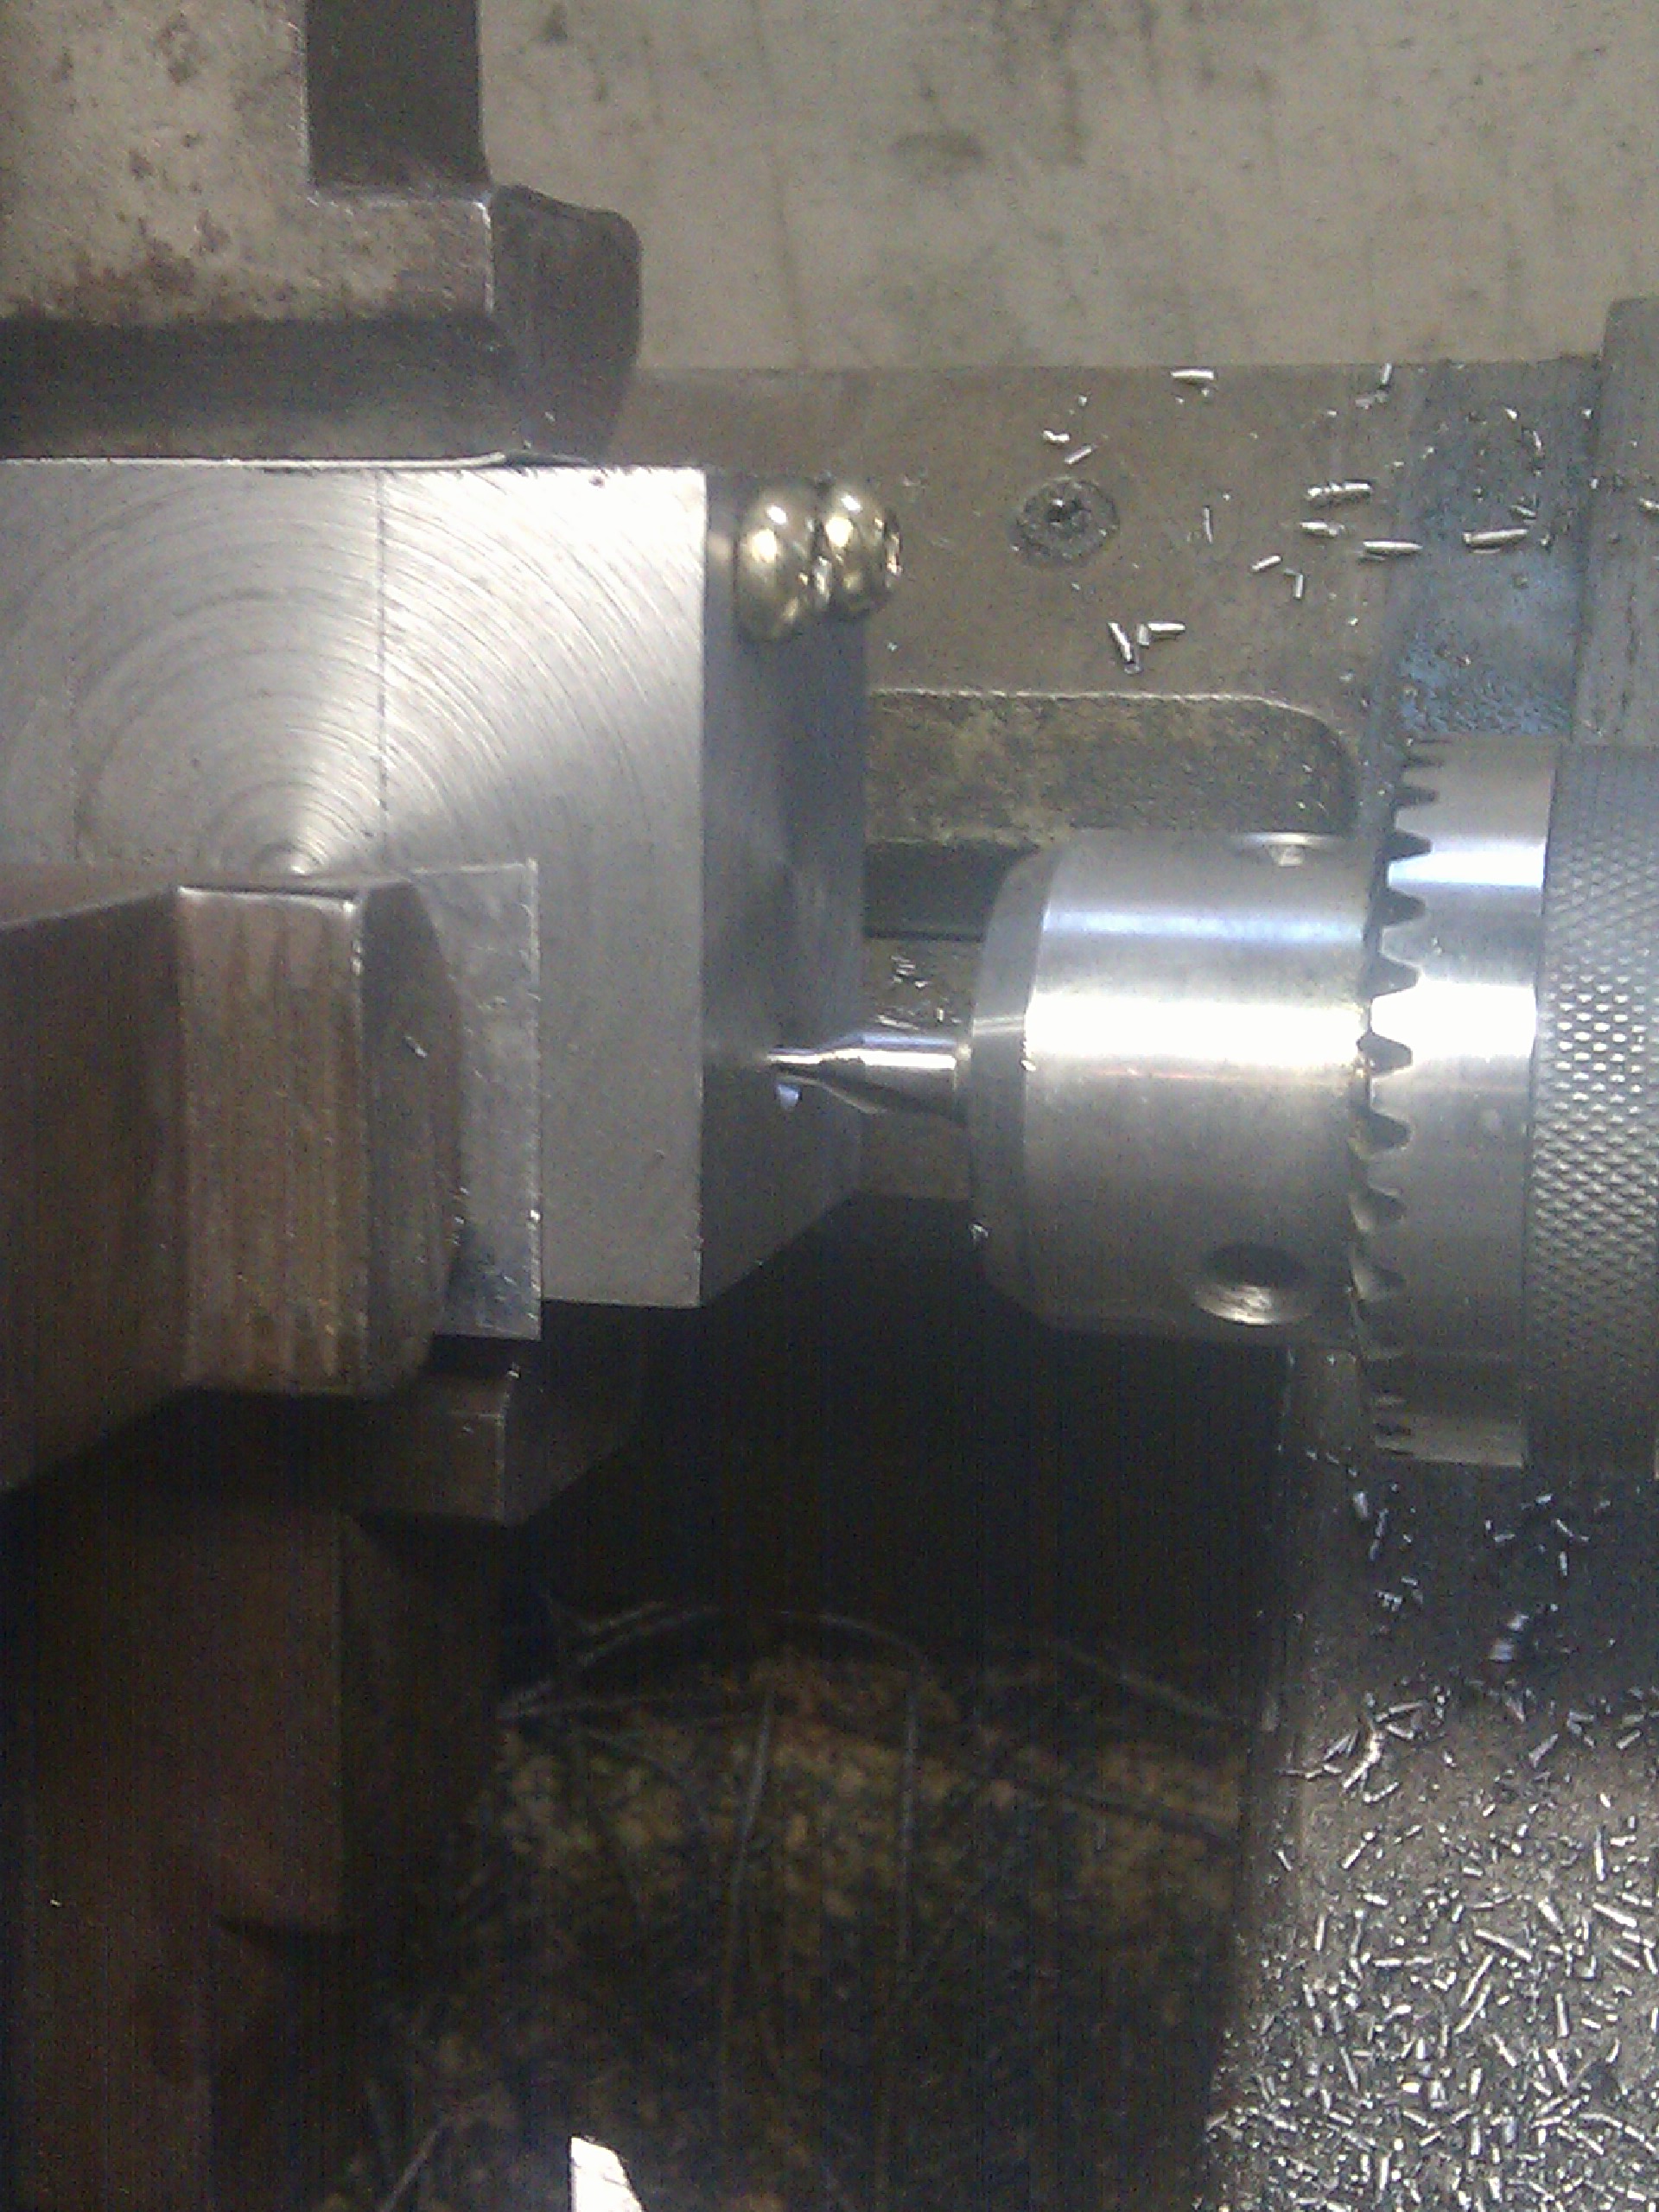
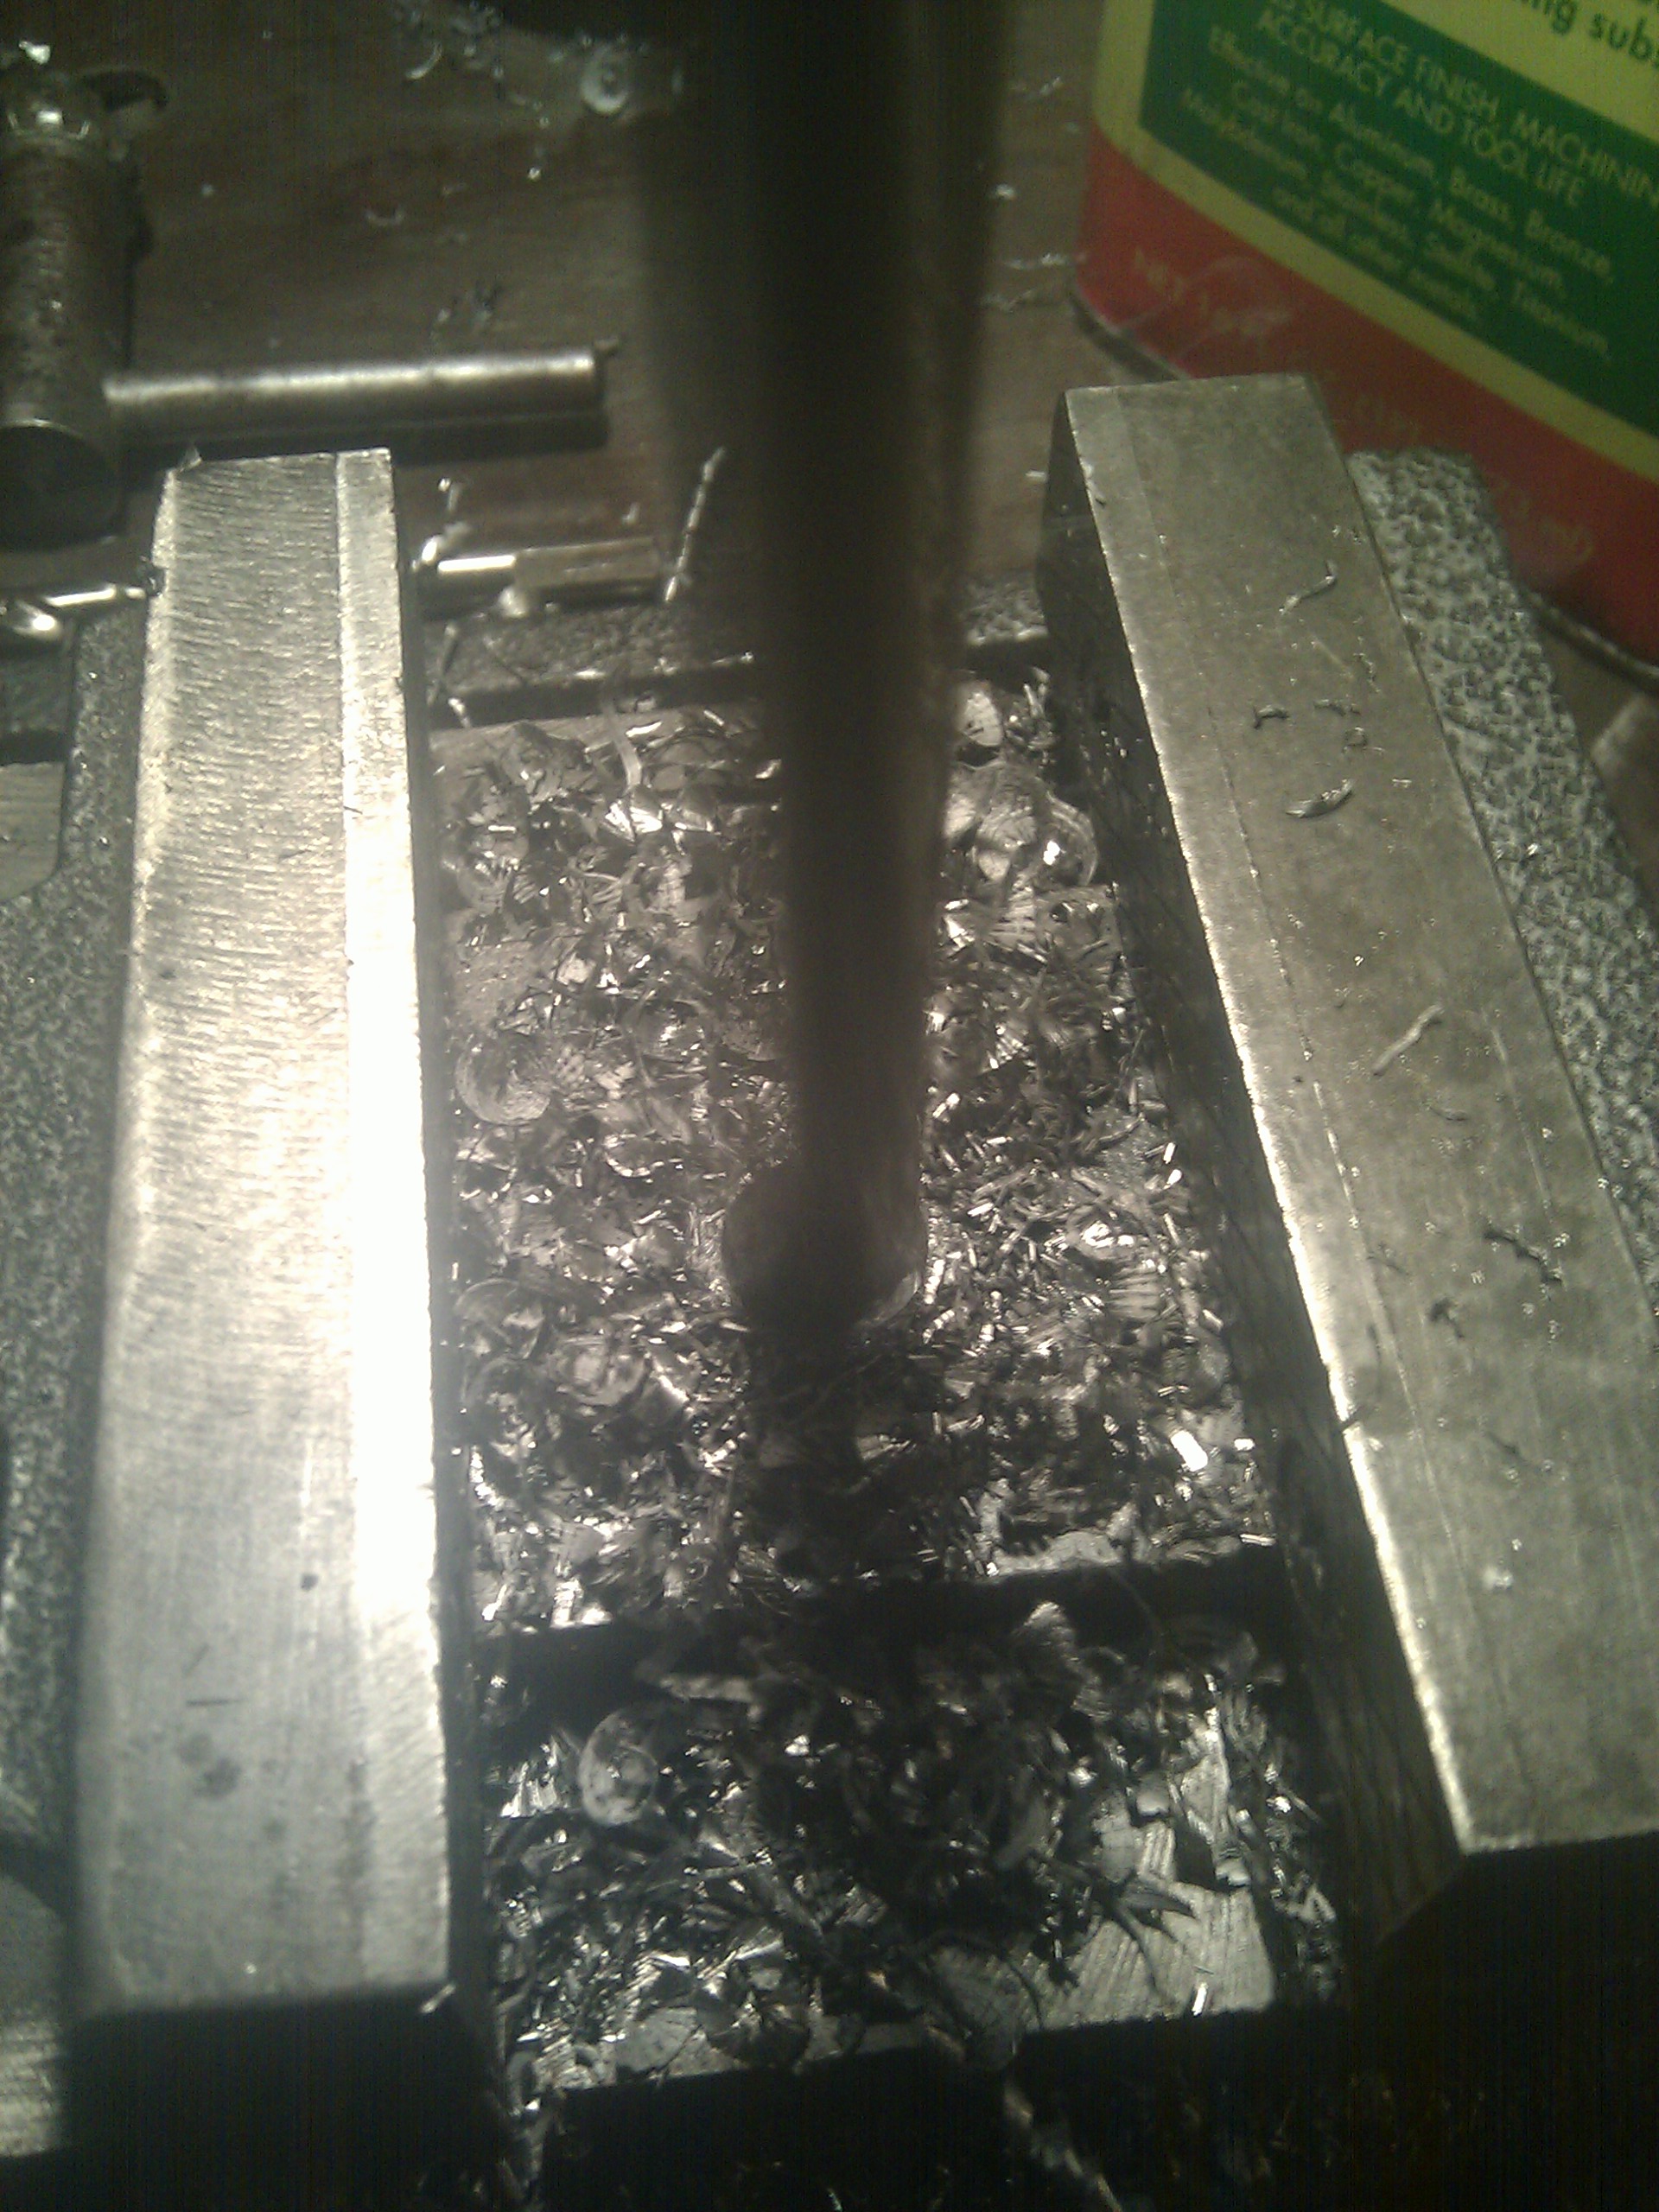
To drill a hole on a lathe, first you've gotta use a short countersink bit to give the drill bit something to center on, otherwise it'll snap:
(Notice how the block is off-center.)
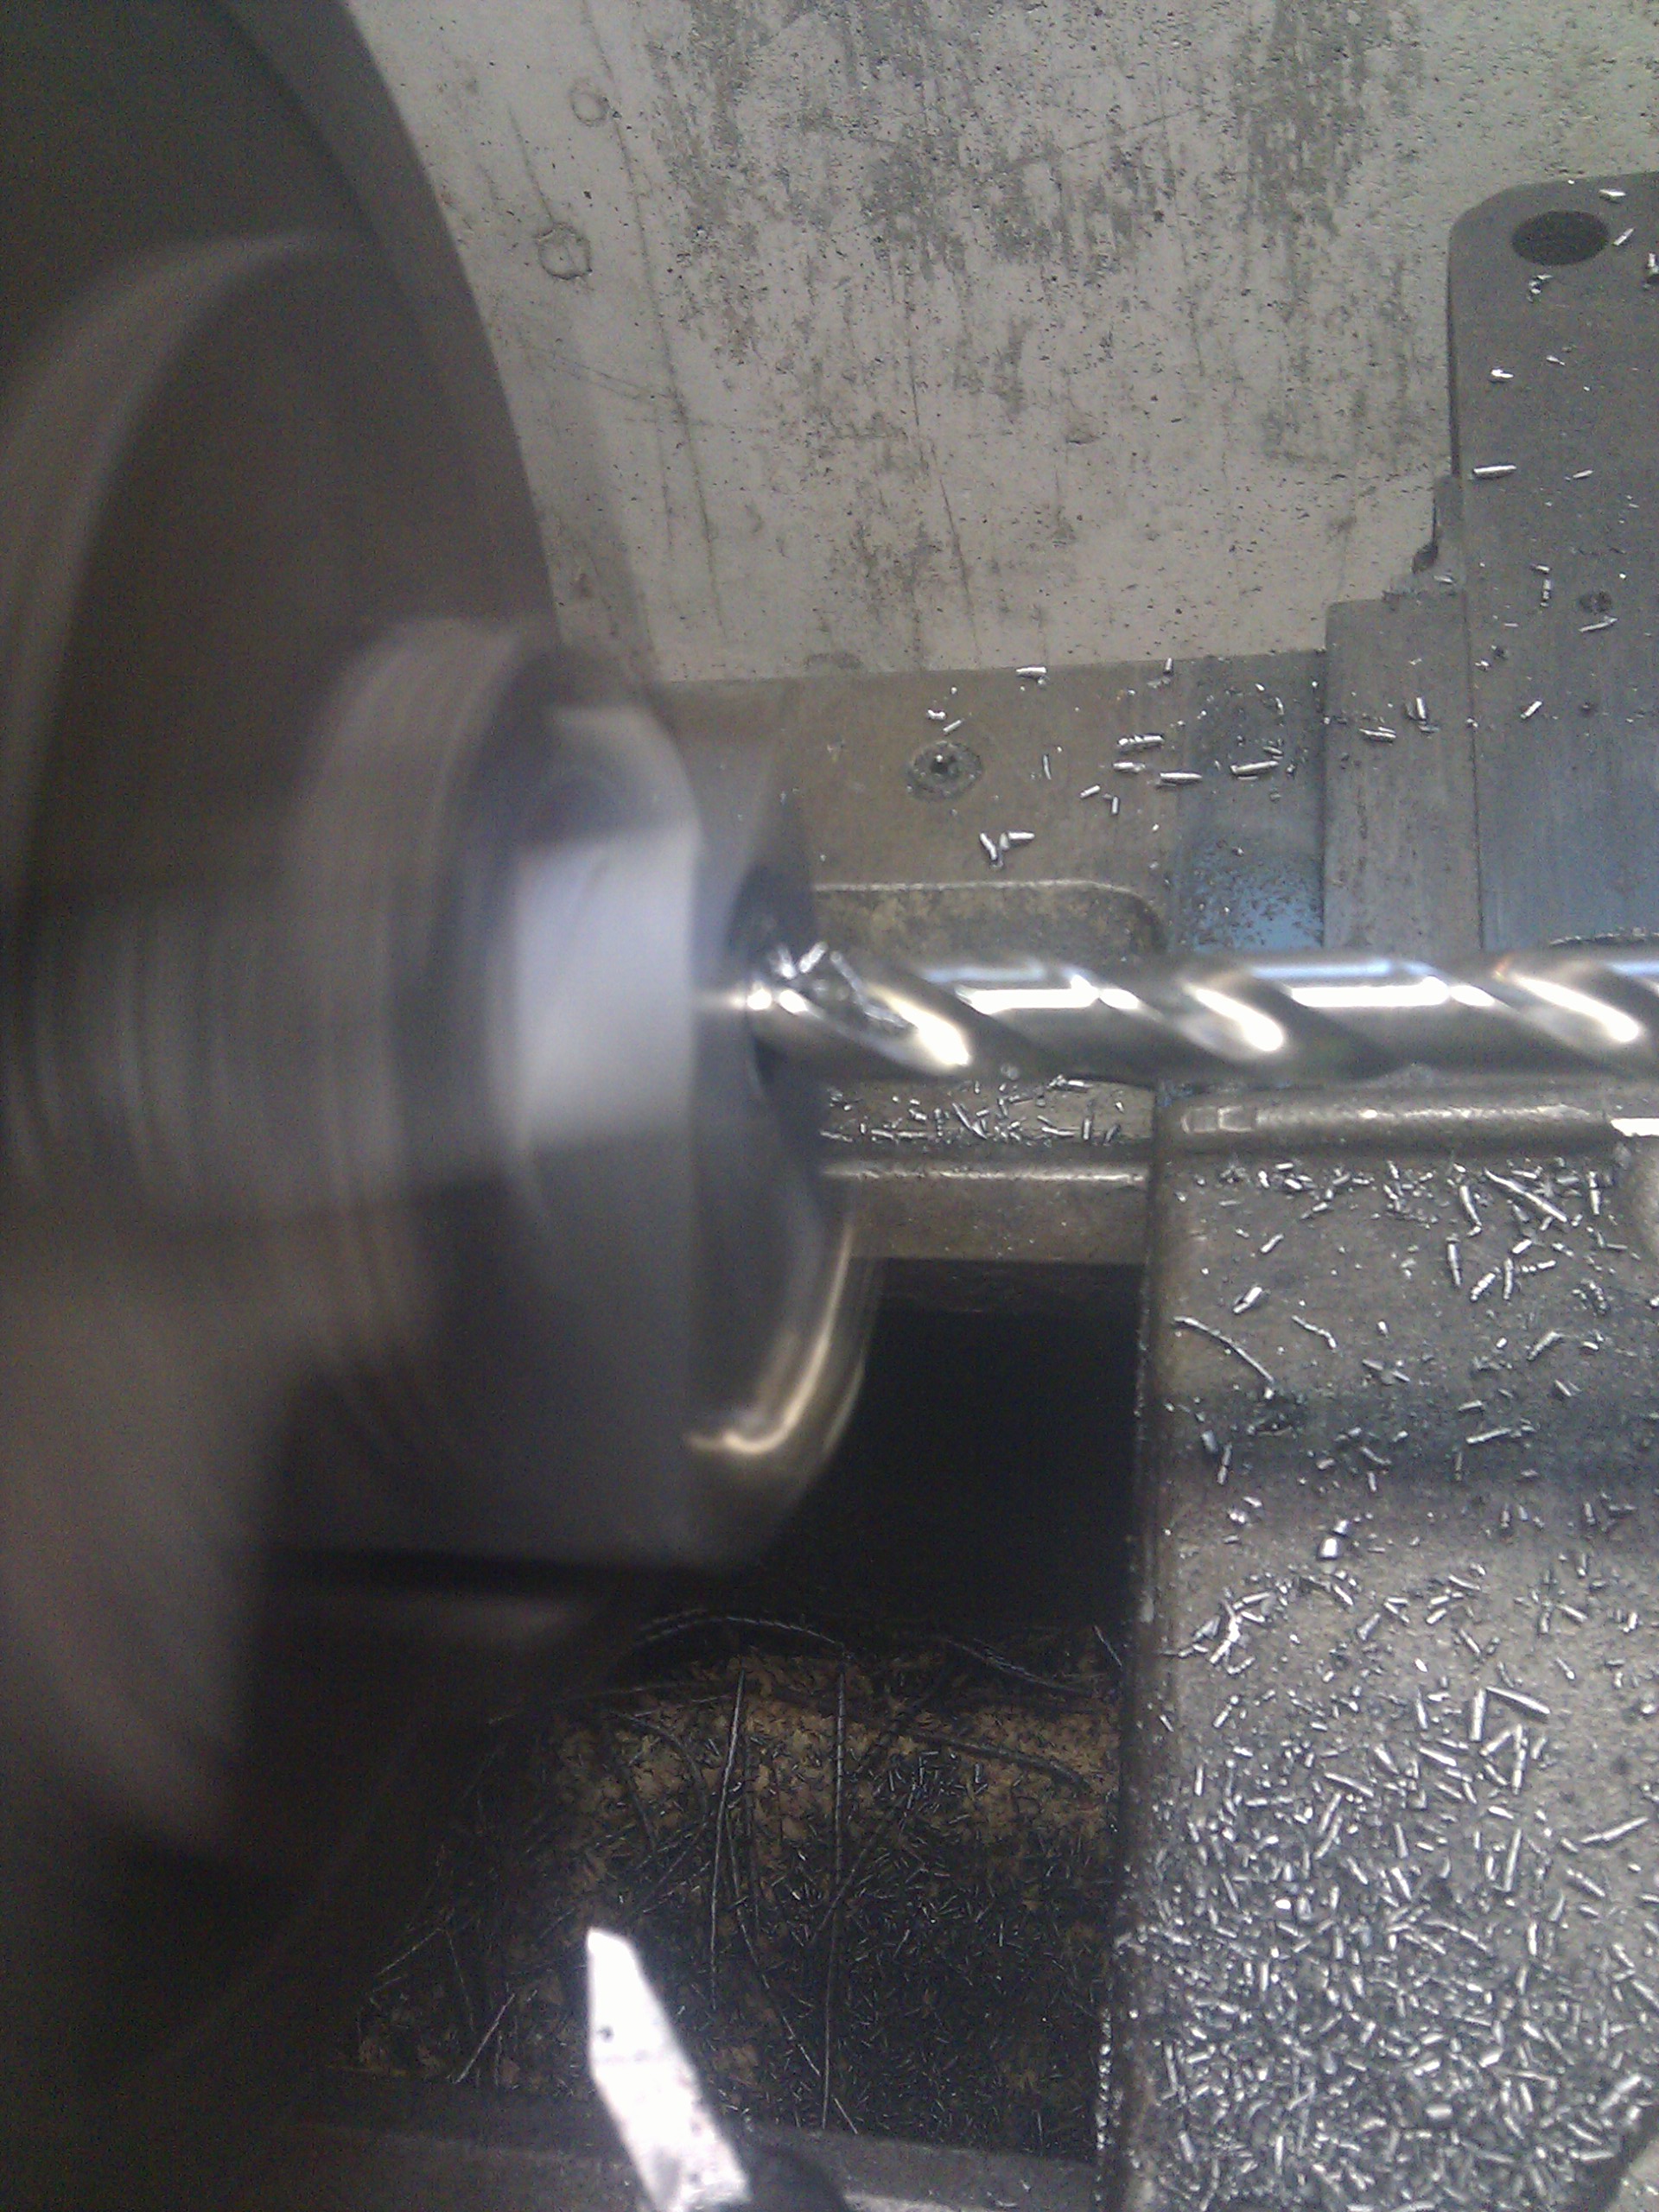
Next, put a 1/2" drill bit in the tailstock and go to town. My wife did this one:
Now that I've got a hole for the bolt, time to build the lower plate that fits in the T-slot. Drill a 1/2" hole:
General idea of what I'm going for:
But, since my T-slot is only 3/8" tall, I'm going to have to cut that bolt head off and weld it in place. I figured I would use my new cutoff bit on the lathe for this. Now, 4-jaw chucks are awesome because you can hold a part any way you can dream of and they can get a part dead-on center. However, centering parts in a 4-jaw sucks because you end up spending a whole bunch of time adjusting it back and forth until it's dead on. I need the bolt to be pretty close to dead-on center to use the cutoff on it, and I've got a few more operations that are going to need something held on center in the chuck.
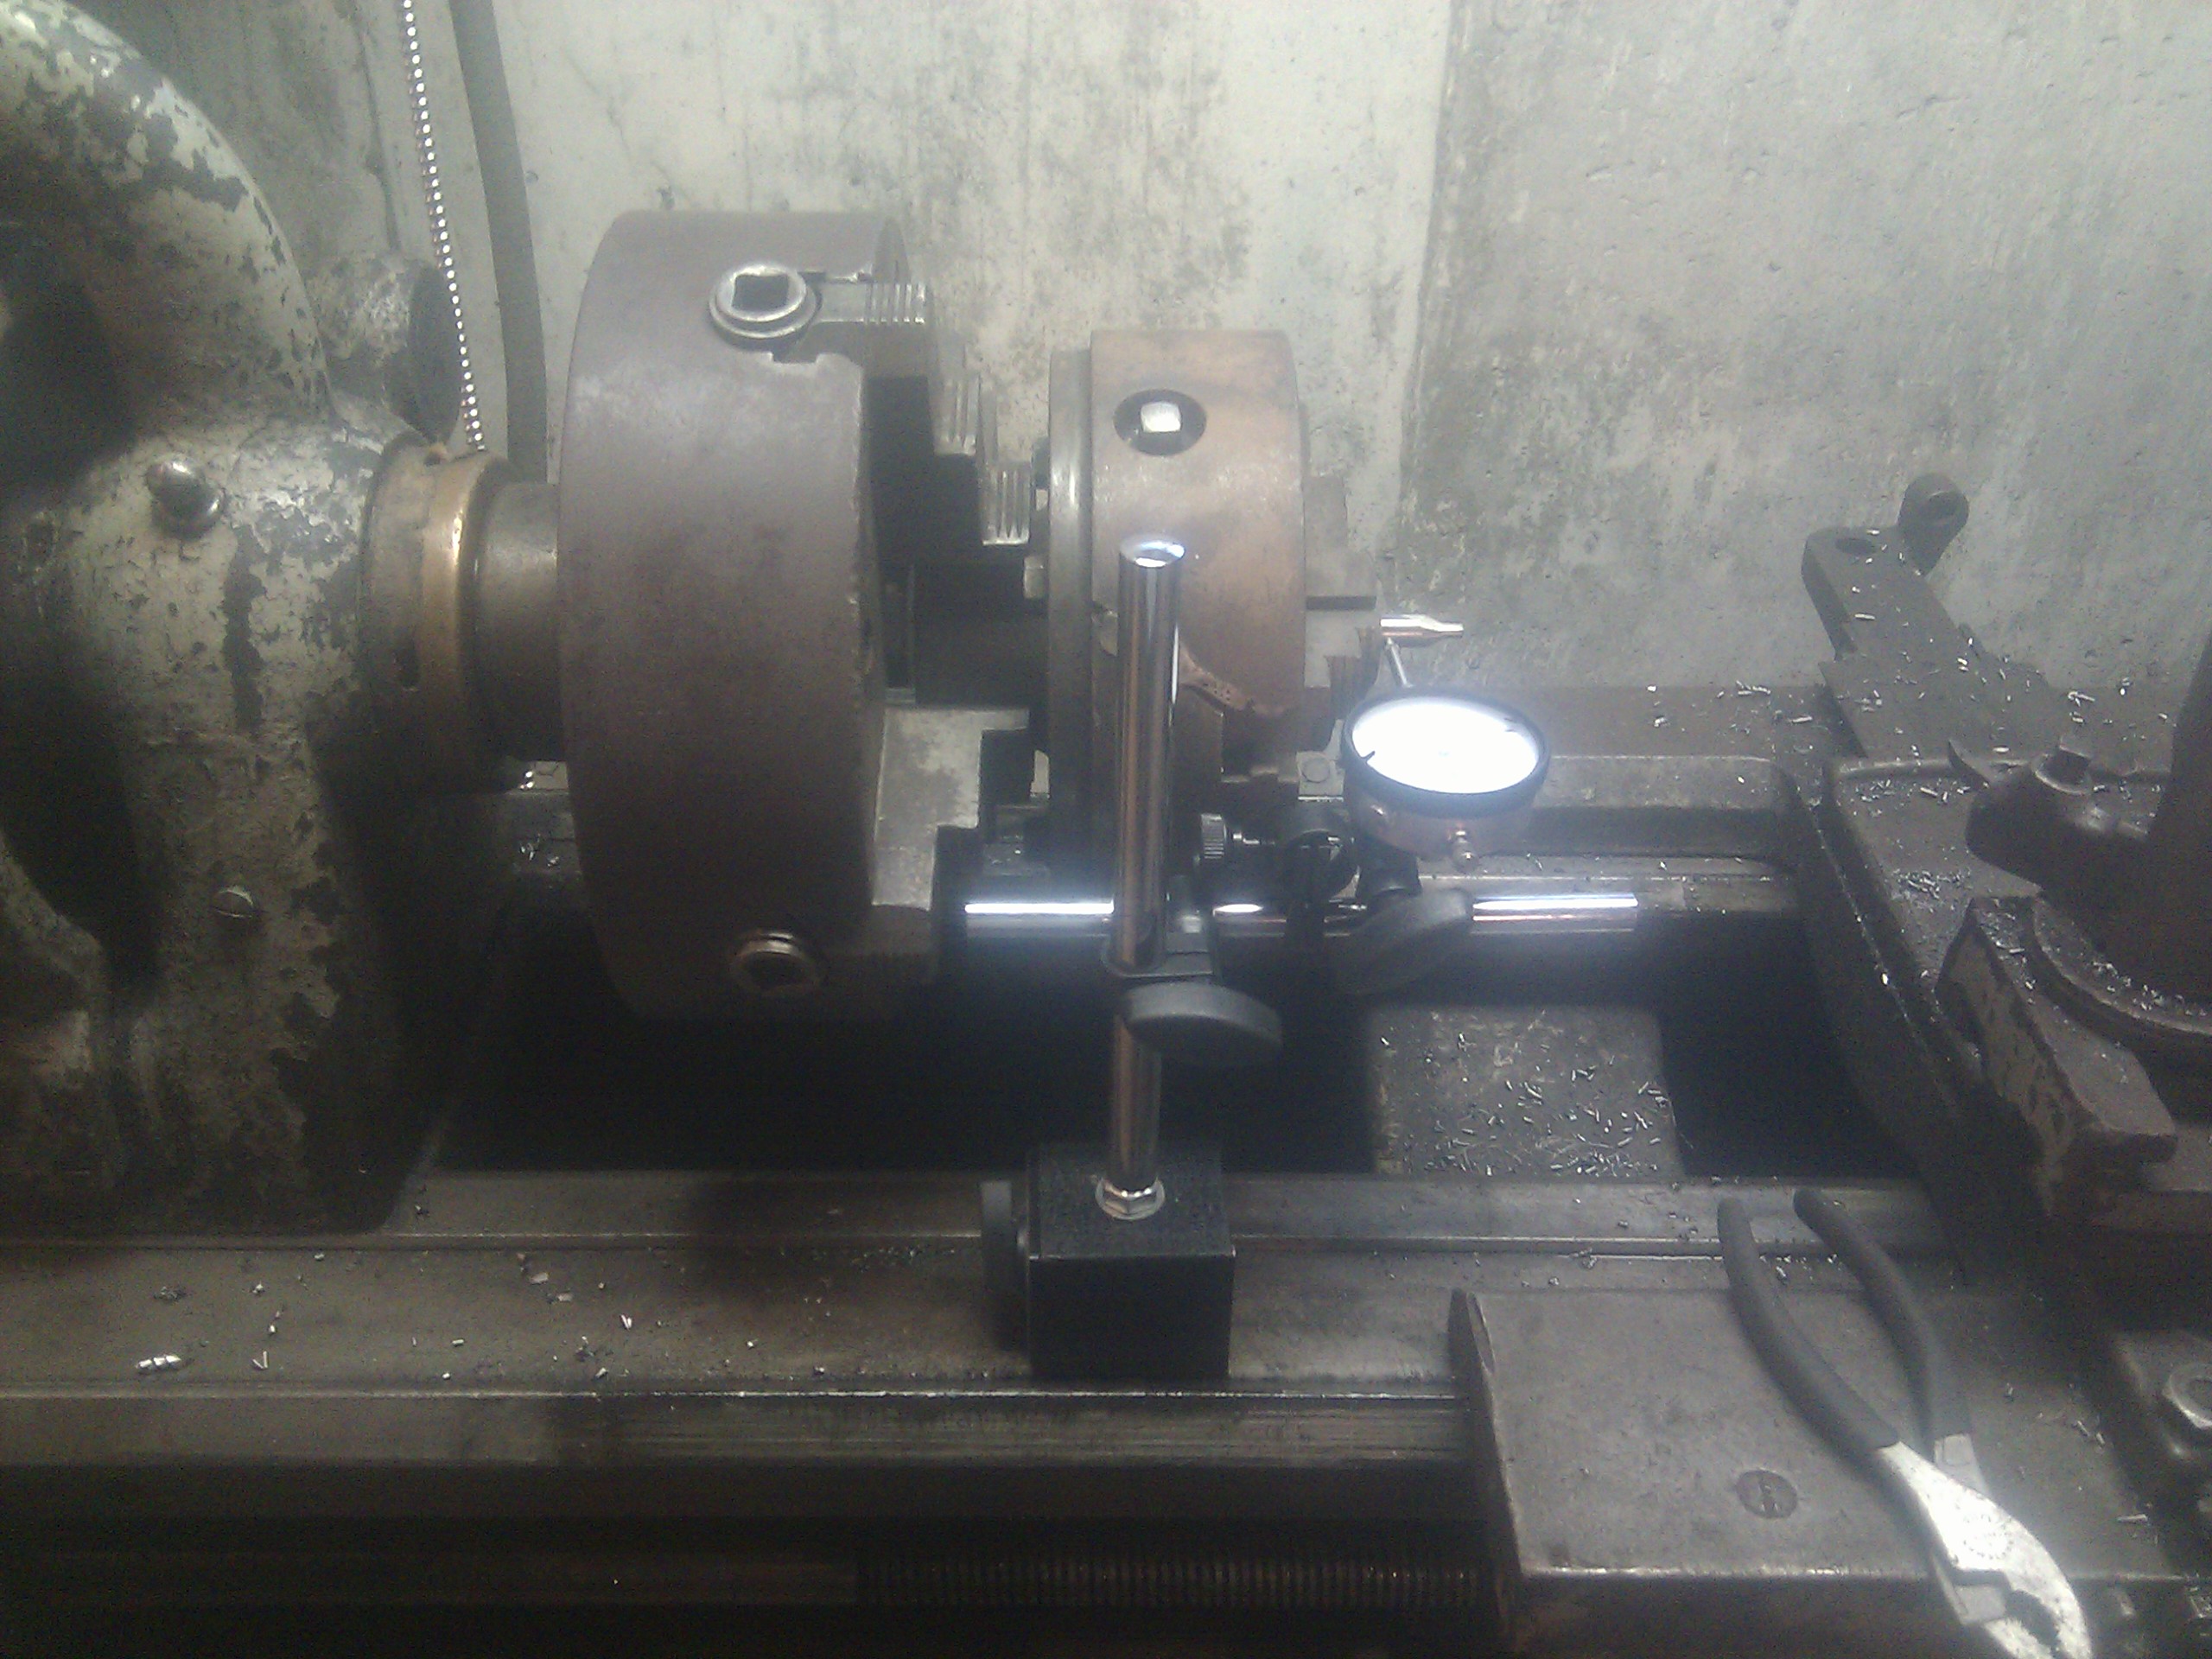
If you just need to hold something close to center, you can use a 3-jaw chuck where all the jaws move together. They're not perfect, but they're close enough for most uses. Since I had heard a lot of horror stories about trying to remove stuck lathe chucks, I at first tried to get around that by holding the 3-jaw in the 4-jaw and centering it up using a dial indicator:
However, this was frustratingly difficult to get actually centered. So I figured I'd at least try to remove the 4-jaw with my sophisticated chuck removal tool.
I grabbed the lathe belt and pulled it so one of the chuck jaws hit the (only slightly rotted) 2x4 a couple of times and the chuck loosened right up. Spun it off and put on the 3-jaw. Made cutting that bolt head off much easier:
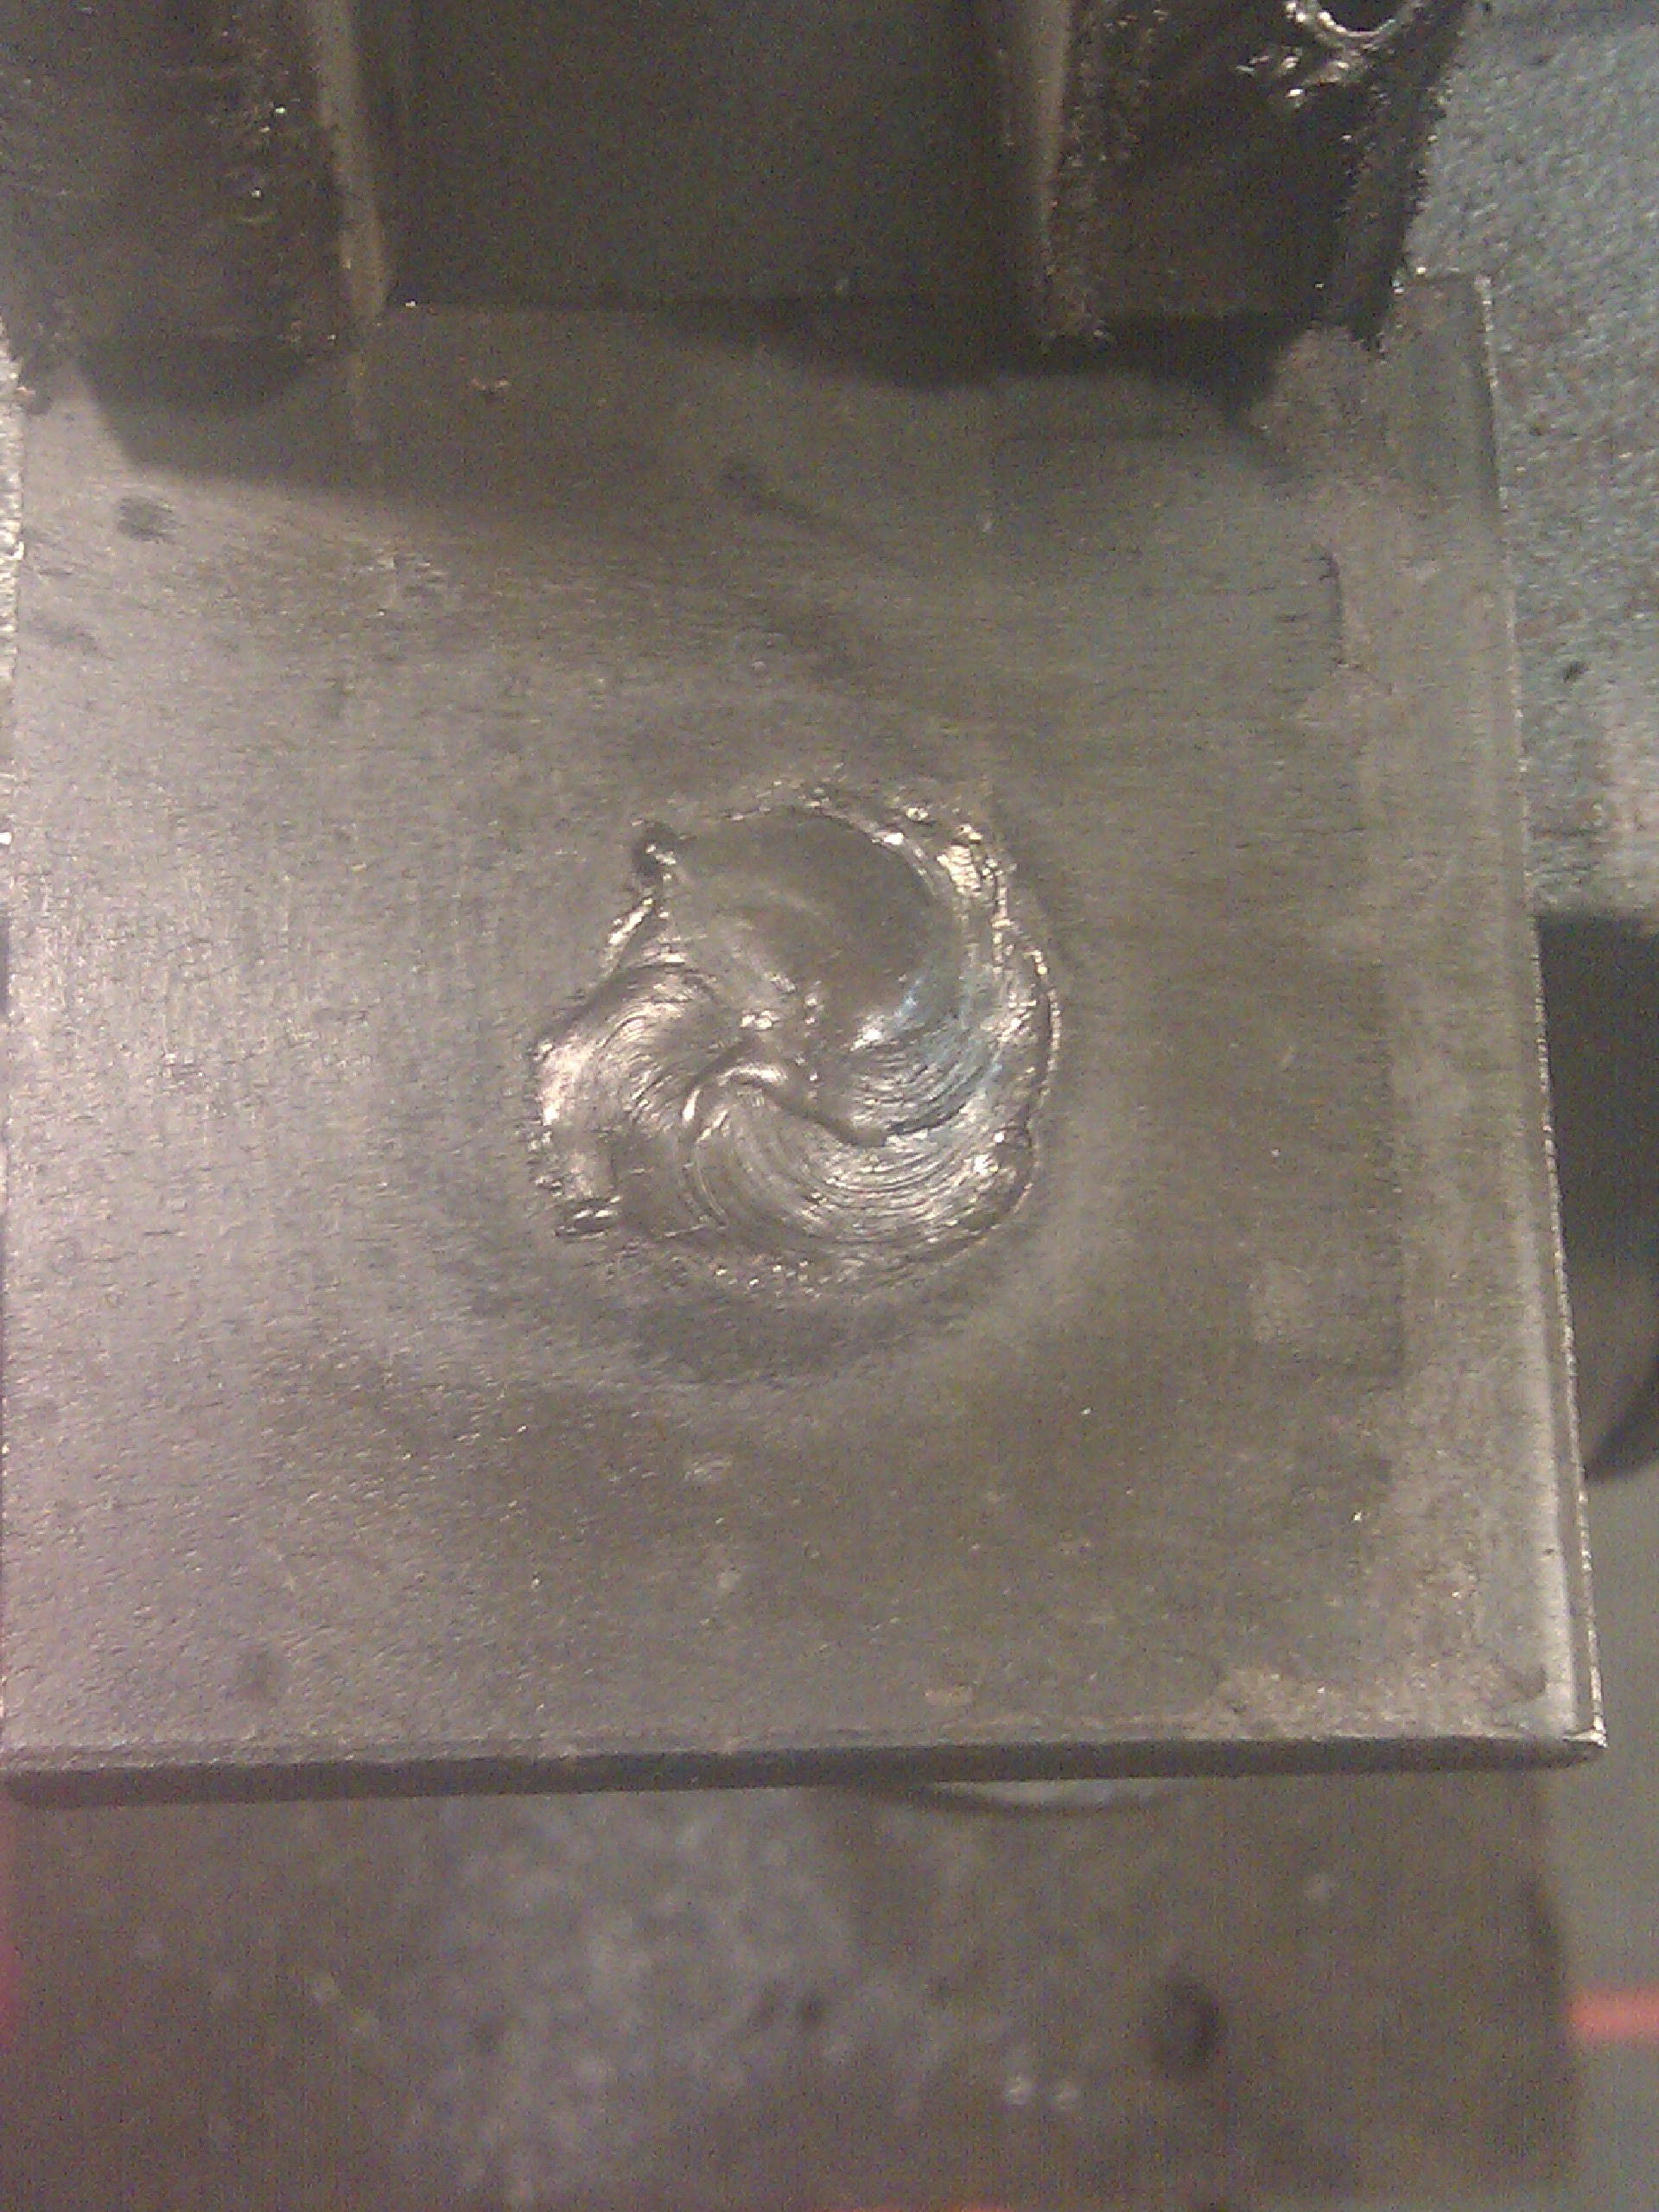
Slid the bolt-sans-head into the hole in the T-slot plate and welded it in place:
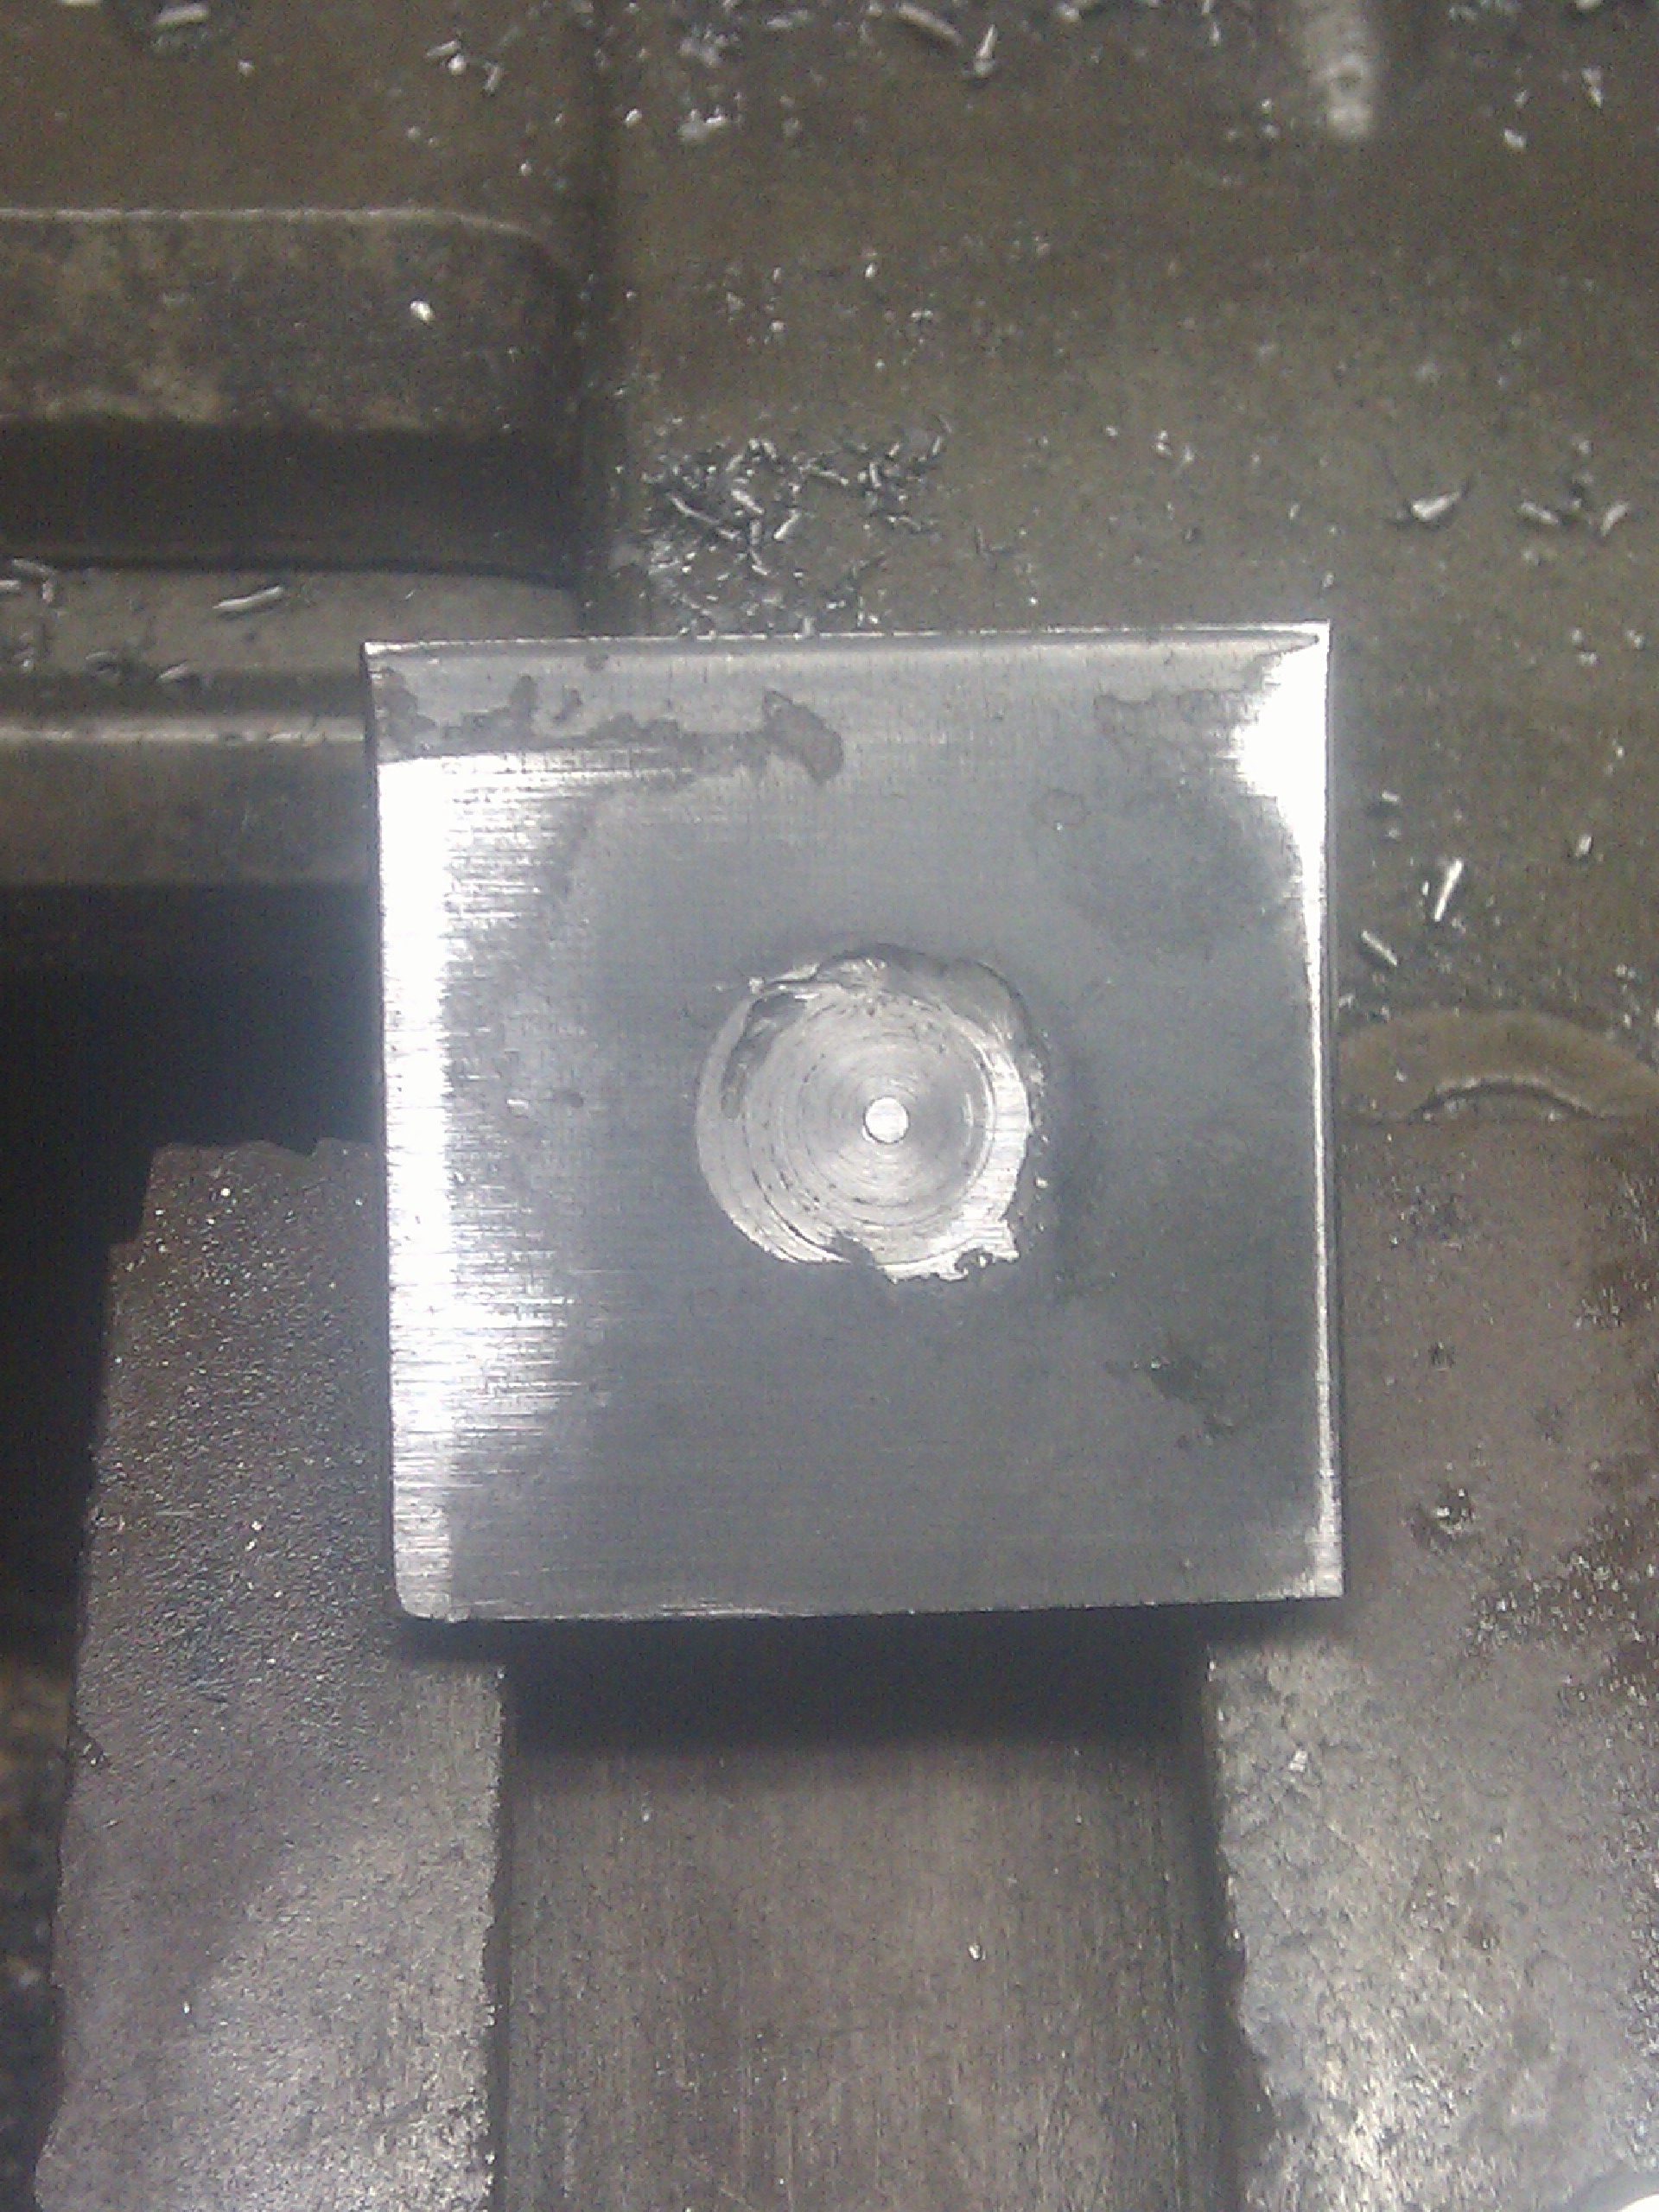
Faced the weld flat in the lathe:
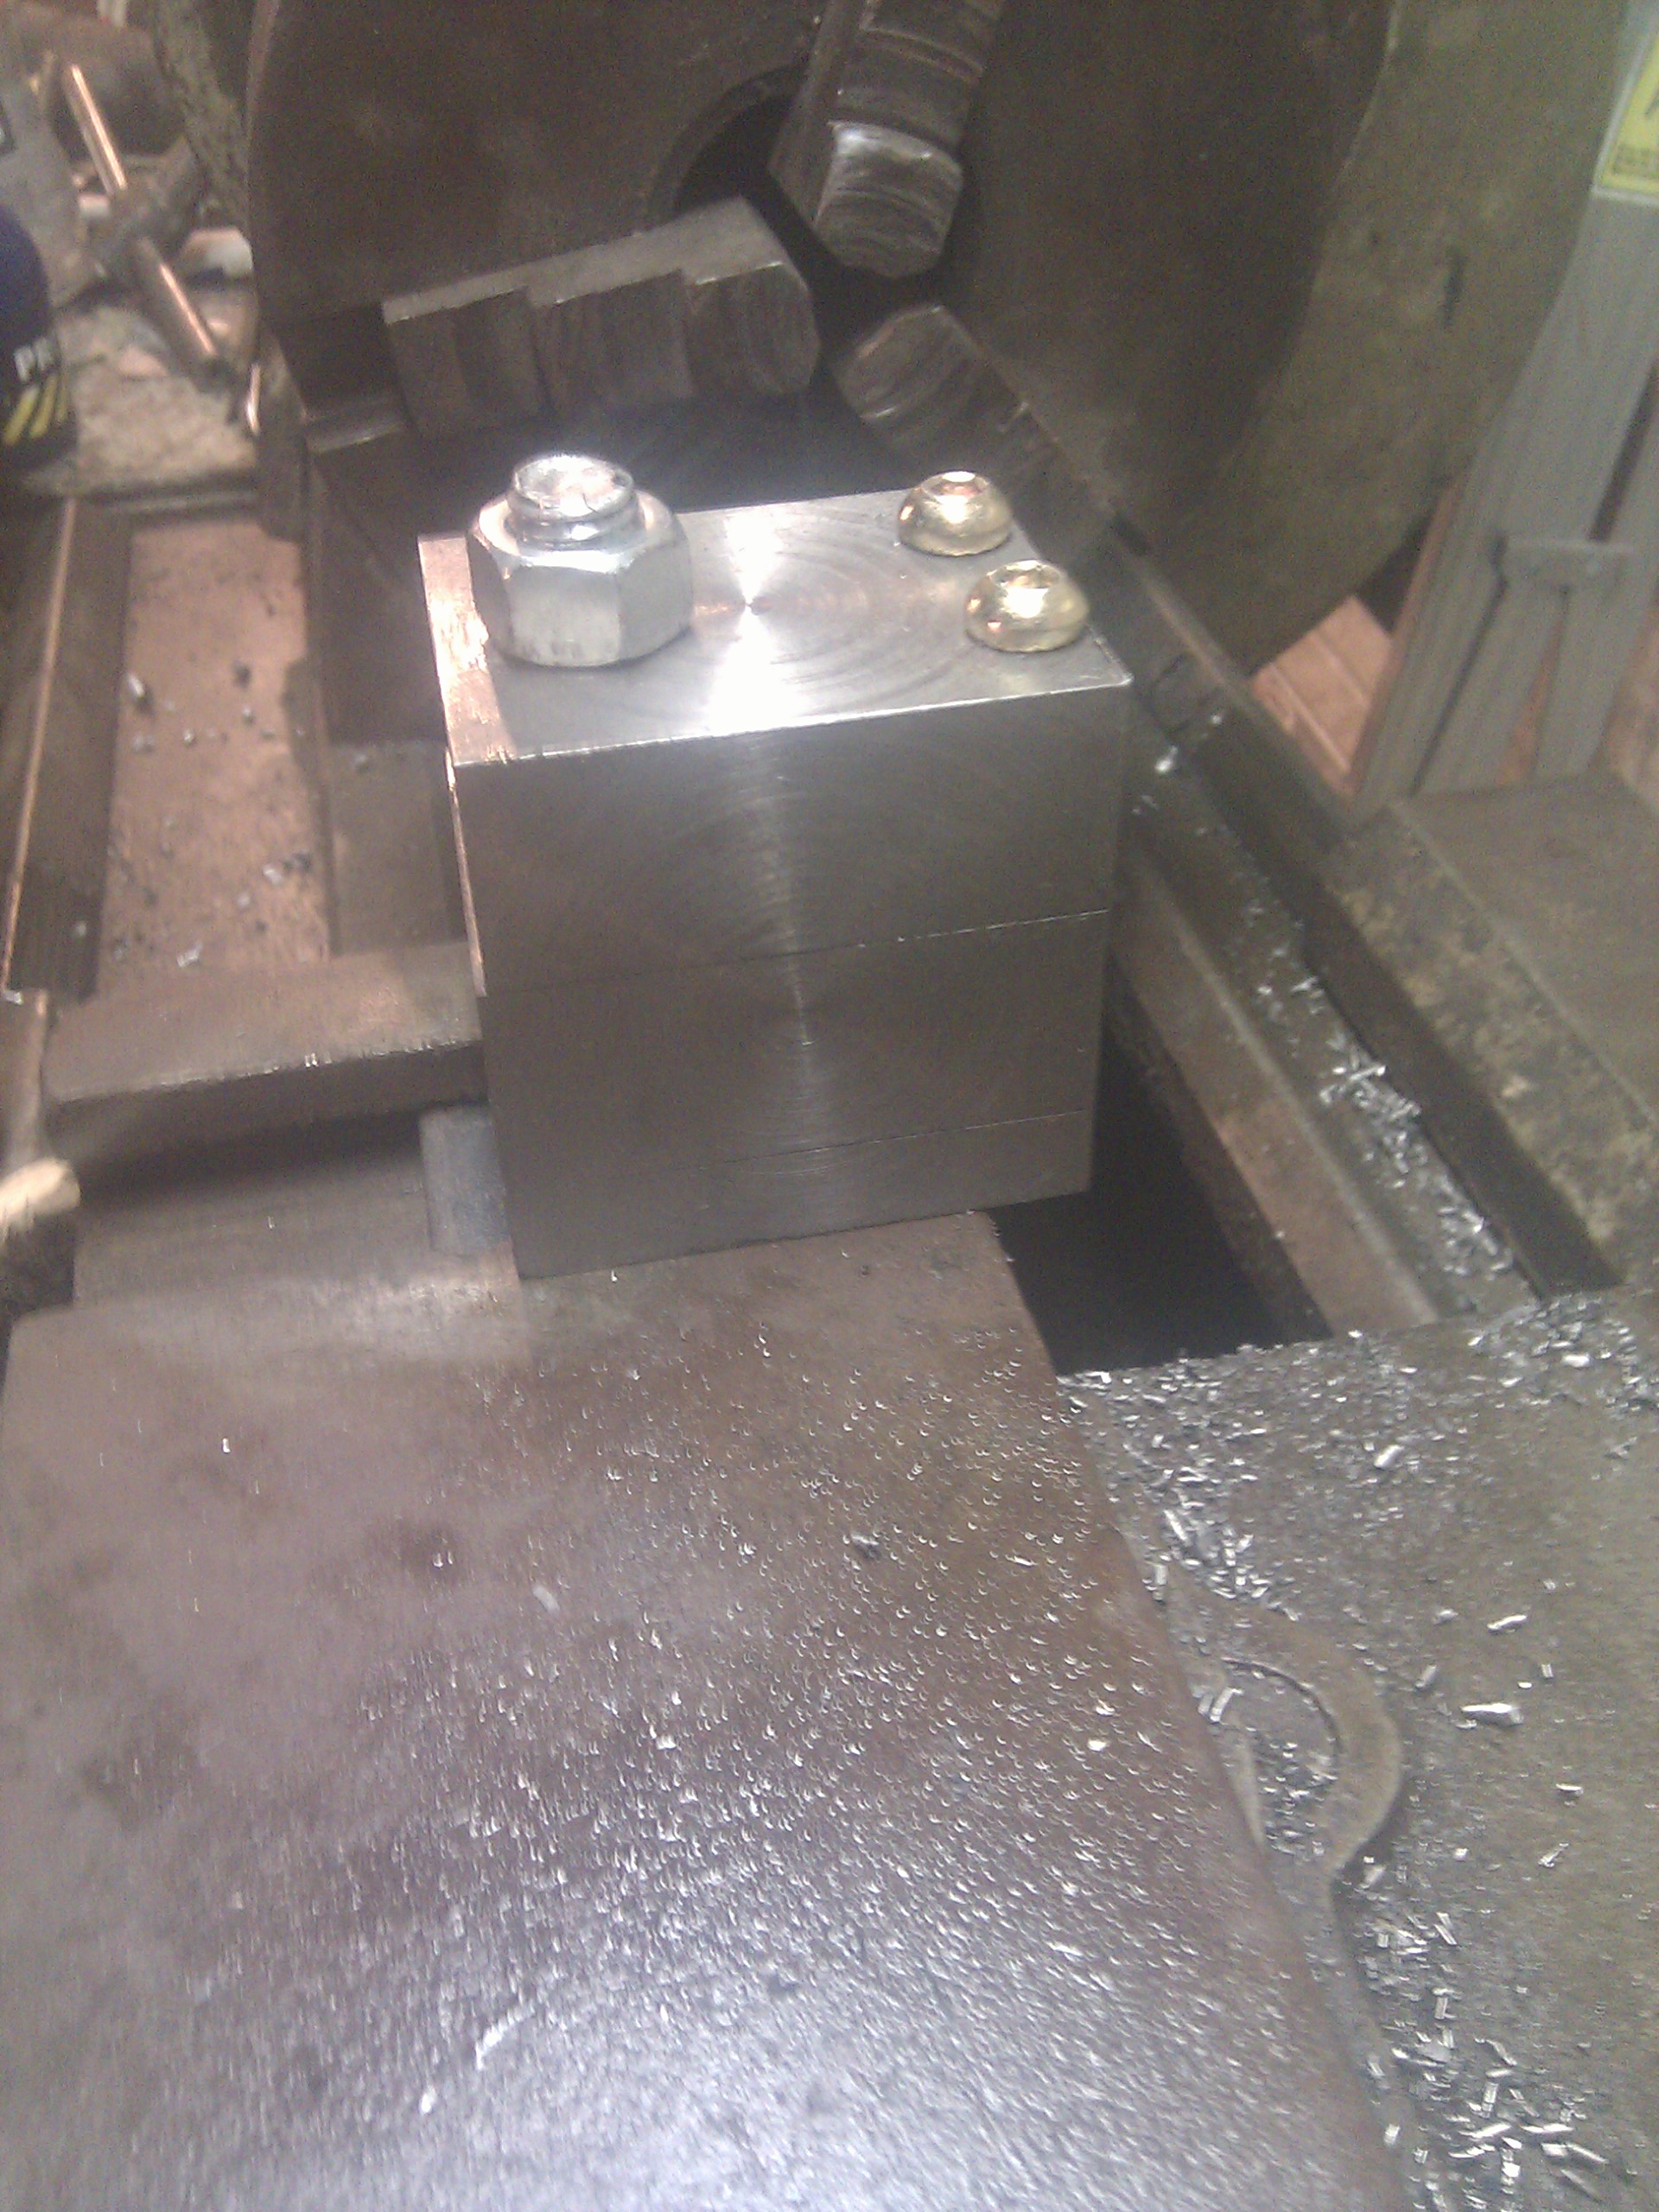
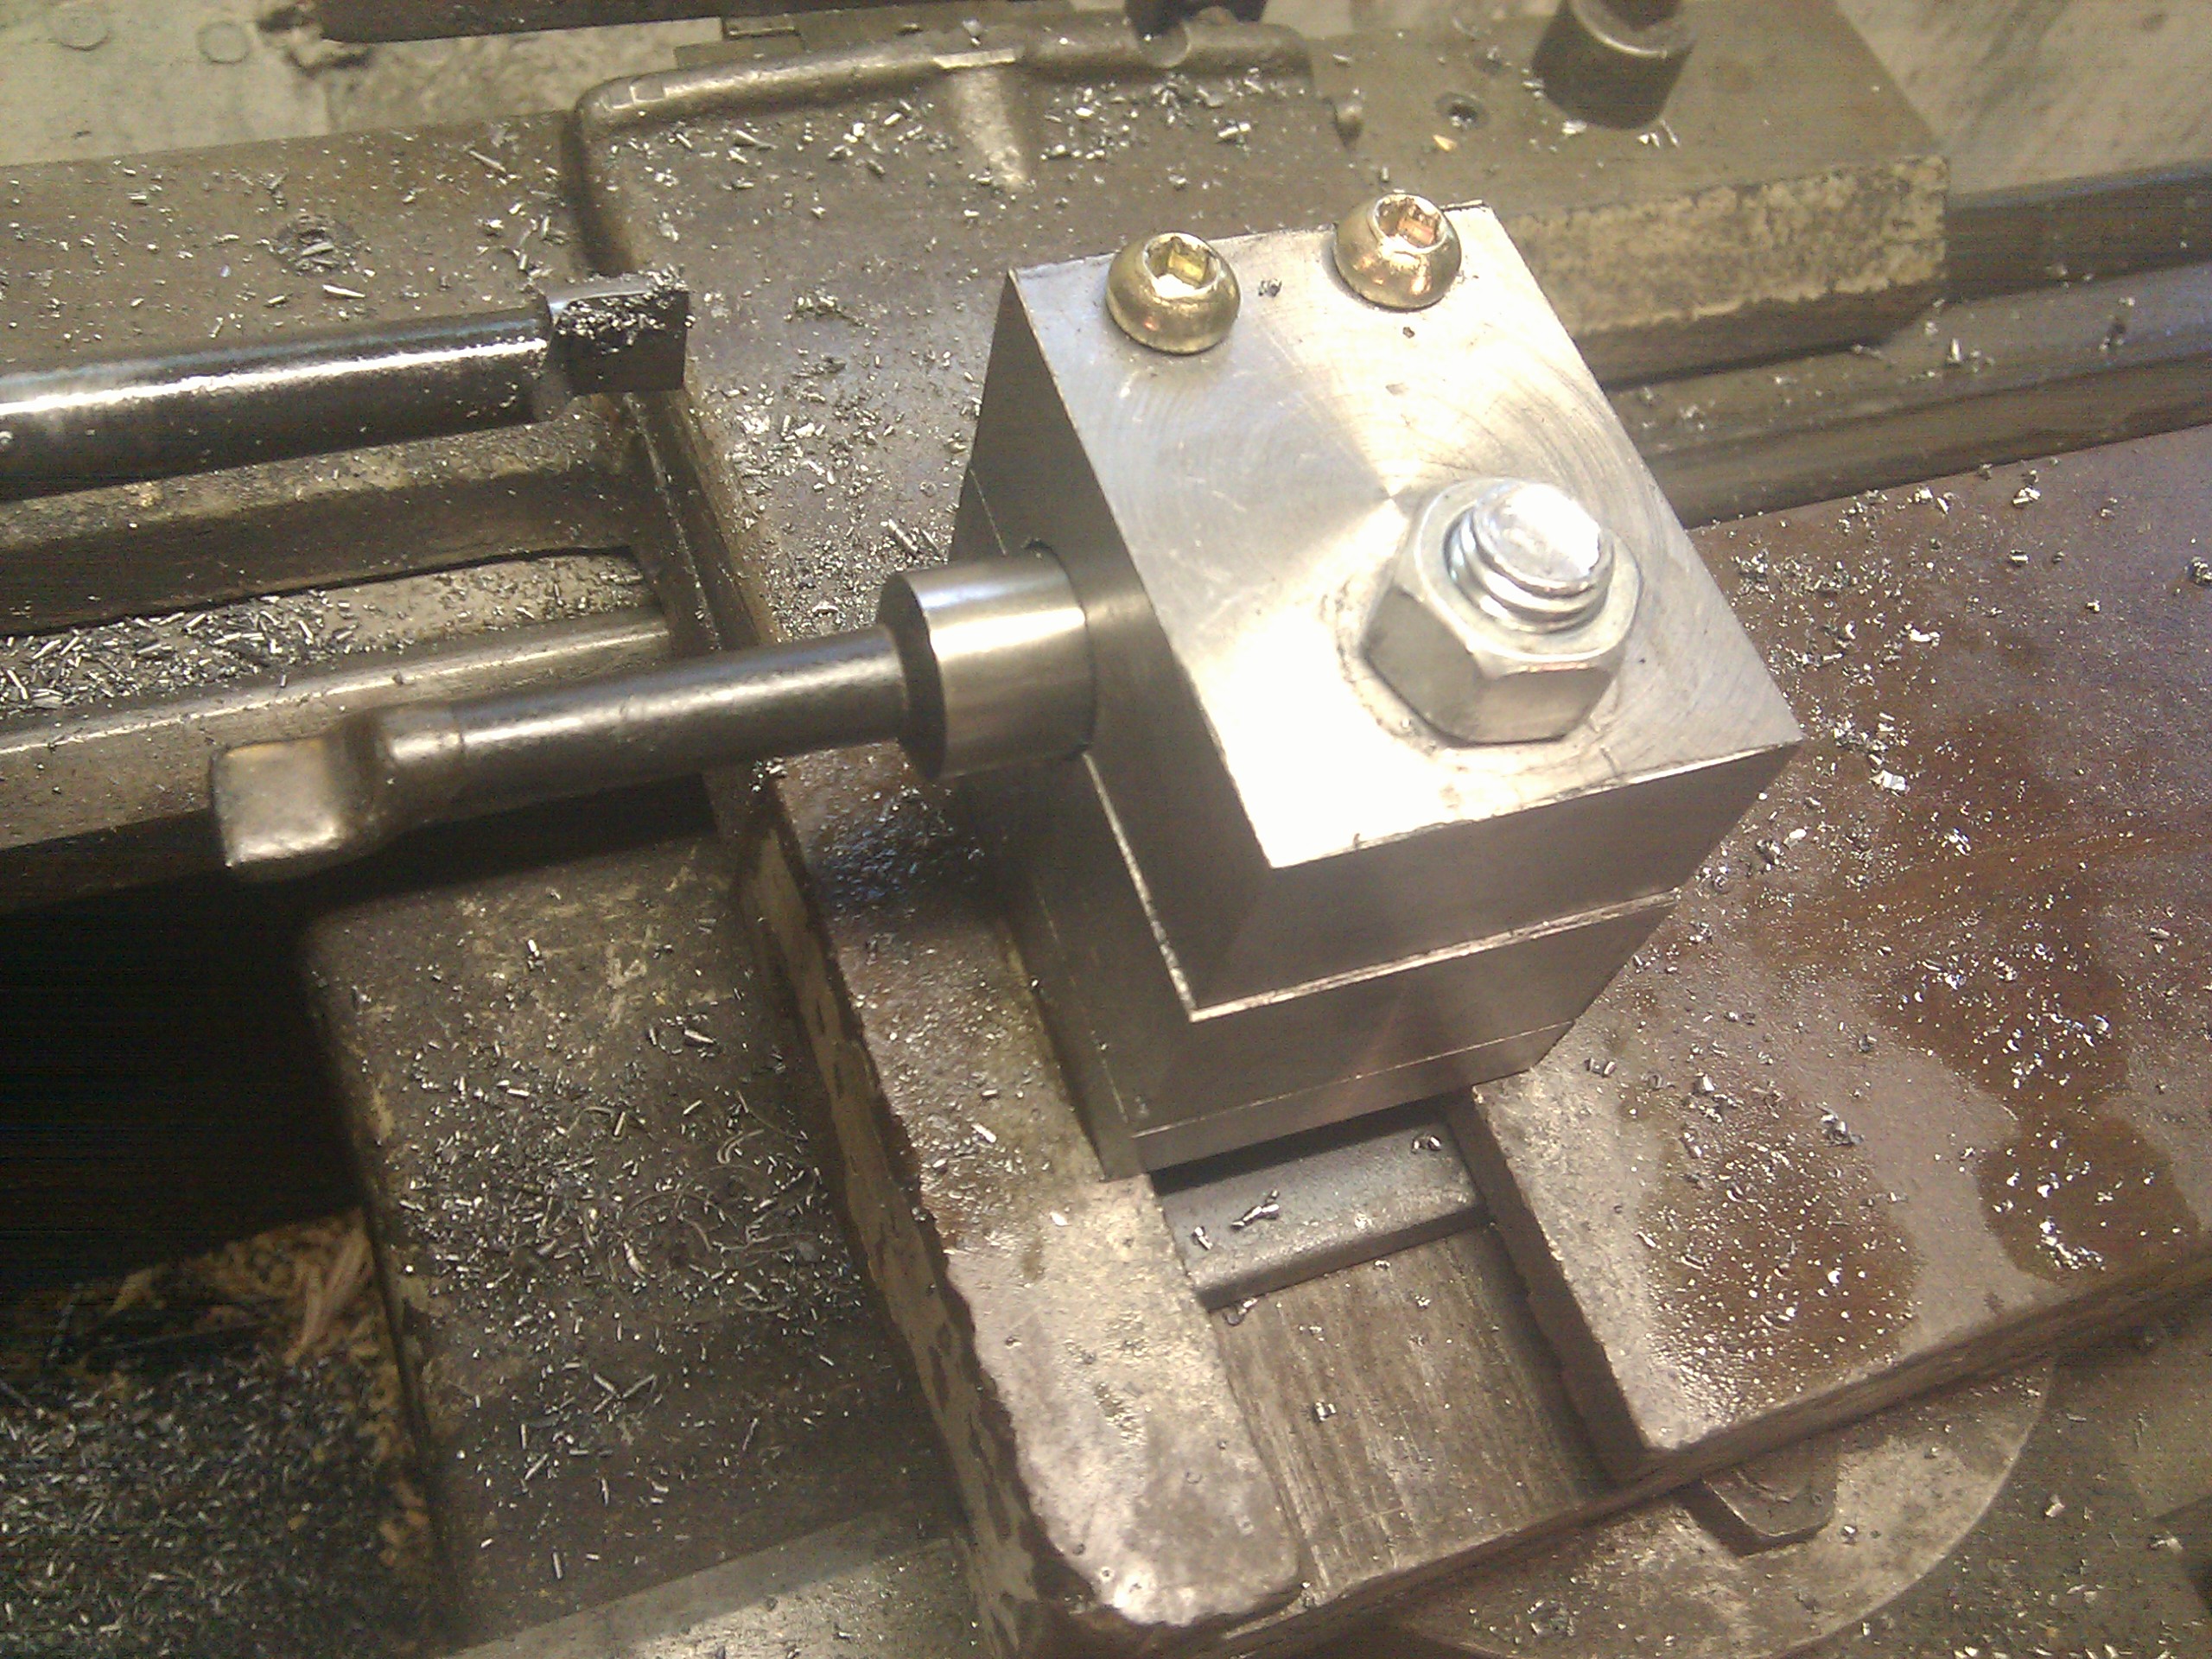
Bam, boring bar holder mounted in the T-slot:
Now for the hole that will actually hold the boring bar. I'm going to machine this hole with the holder in the T-slot so it will be dead-on center when I'm done, so I'll be doing the opposite of what you usually do and holding the tools in the lathe chuck instead.
First, centerpunch the hole to keep the countersink from walking:
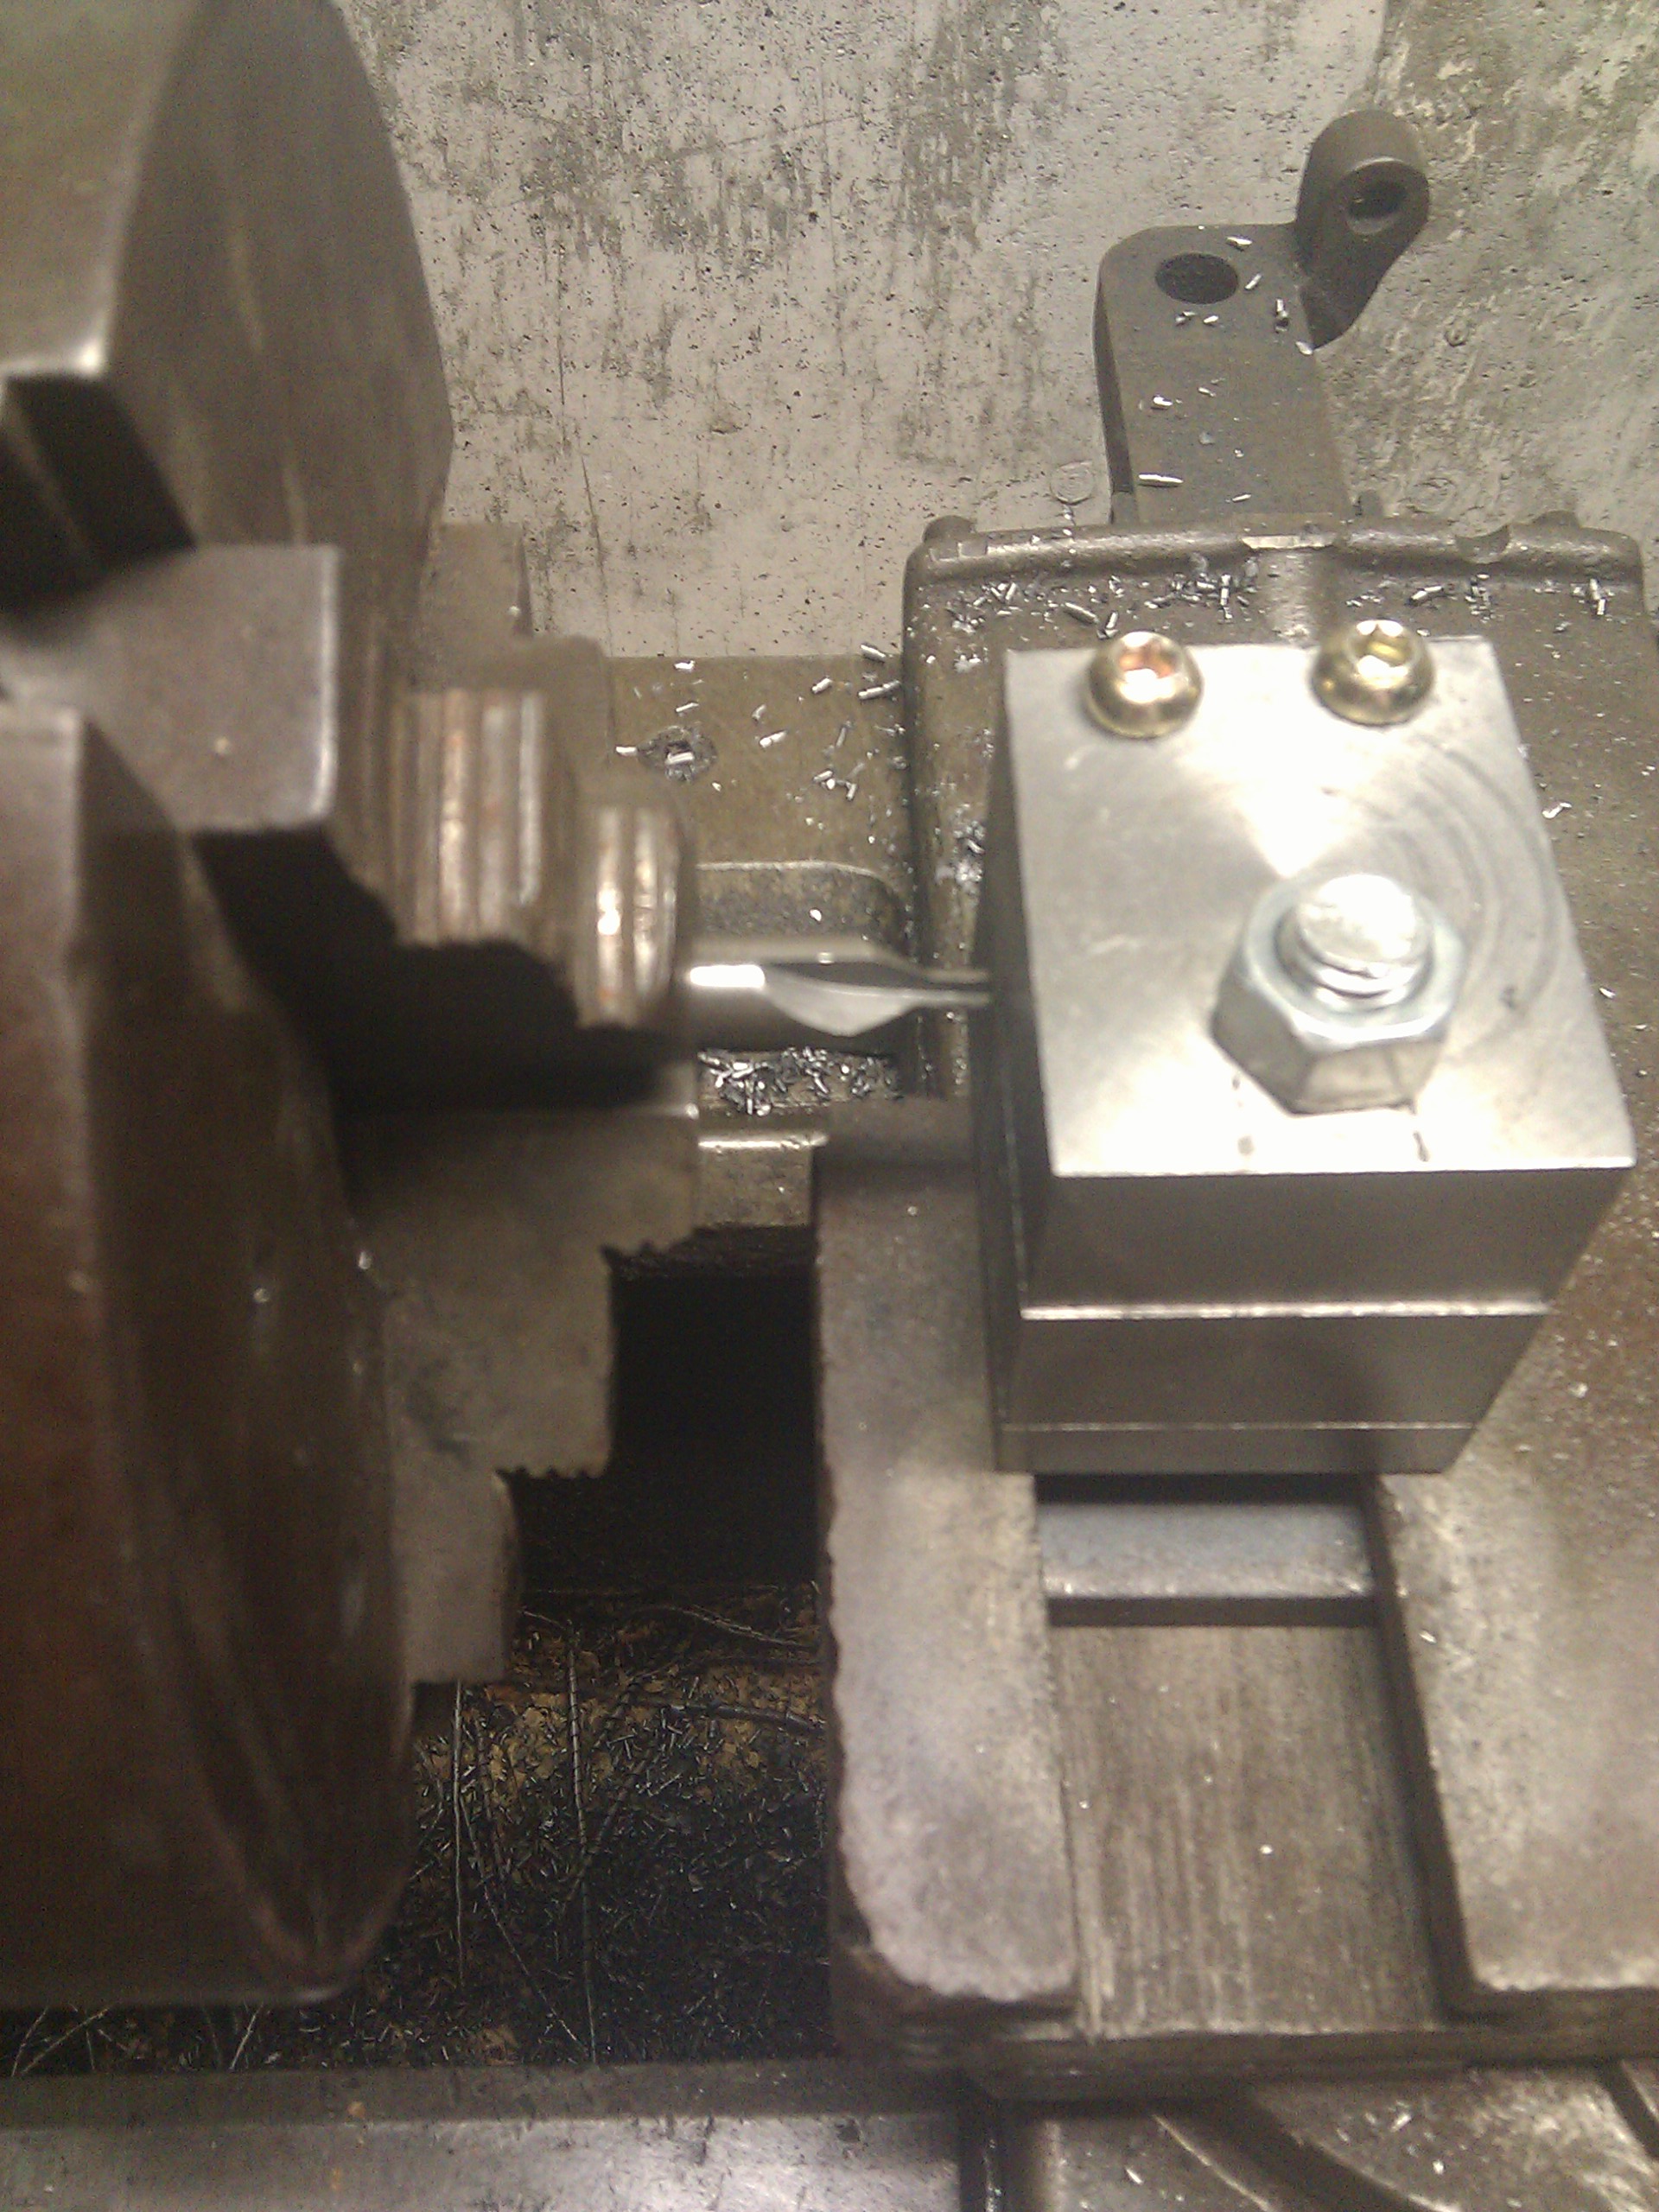
Countersink:
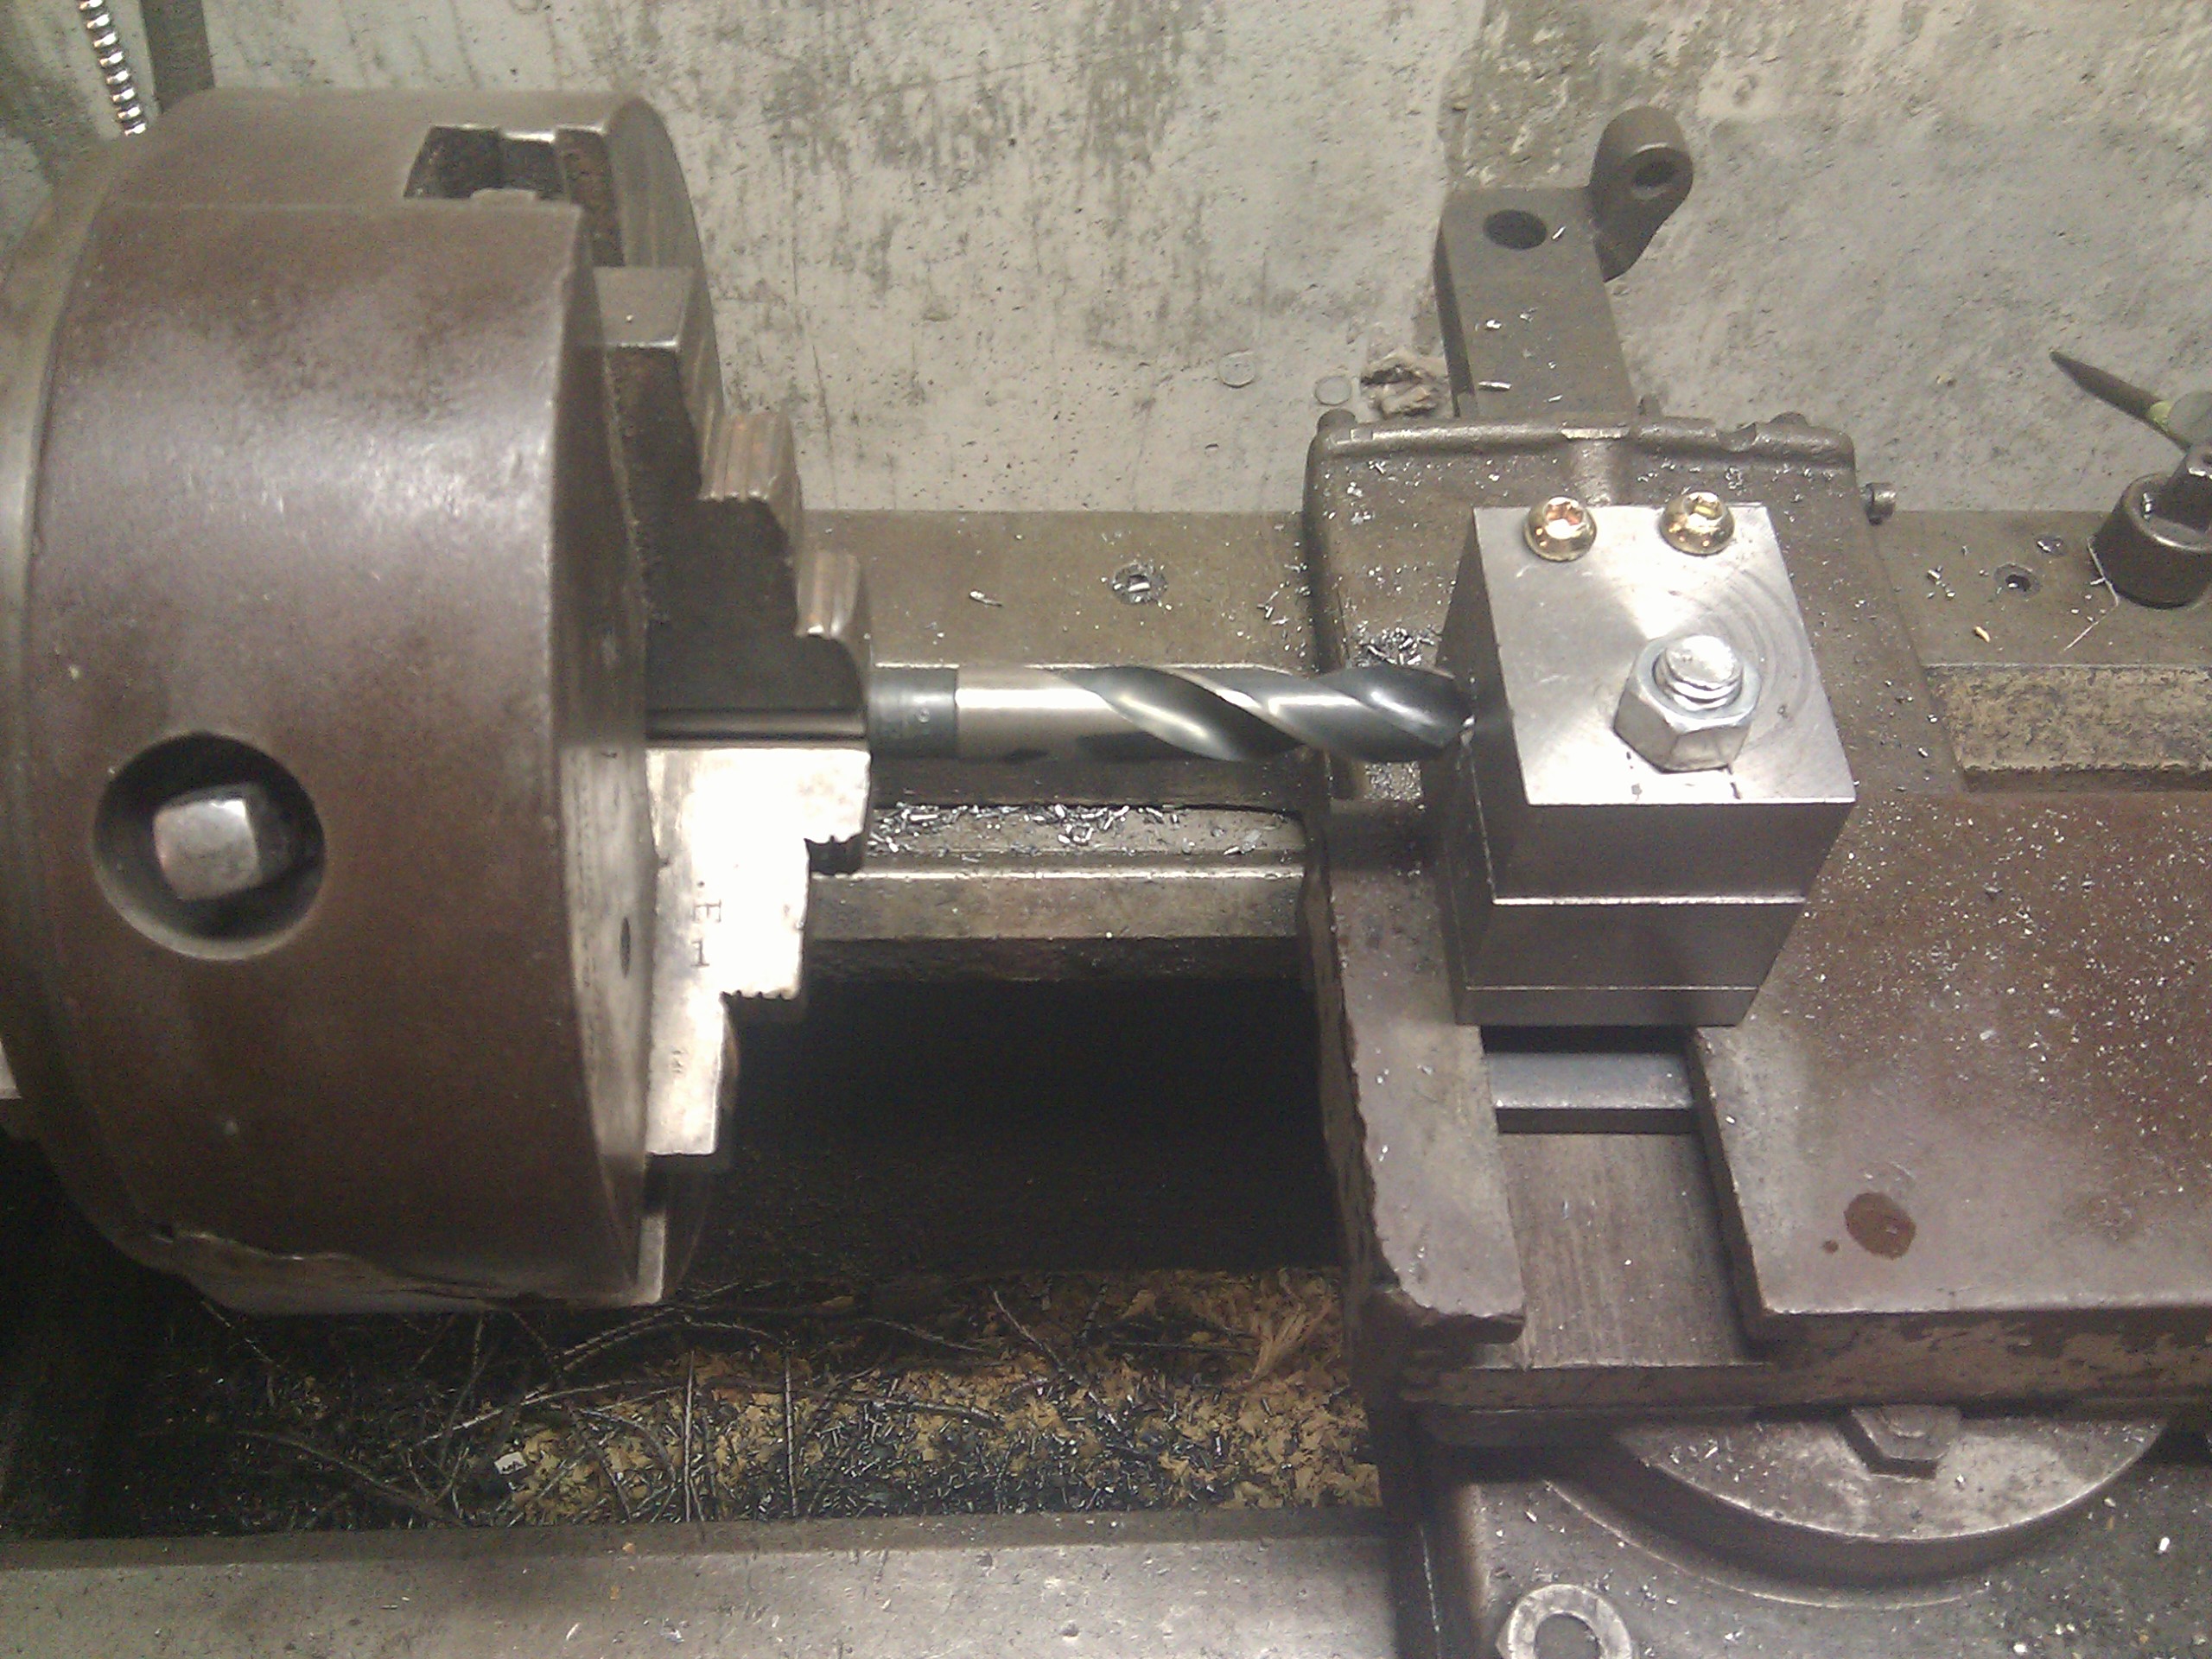
Drill with the biggest drill I have that's less than 3/4", in this case a 21/32" bit:
Making chips:
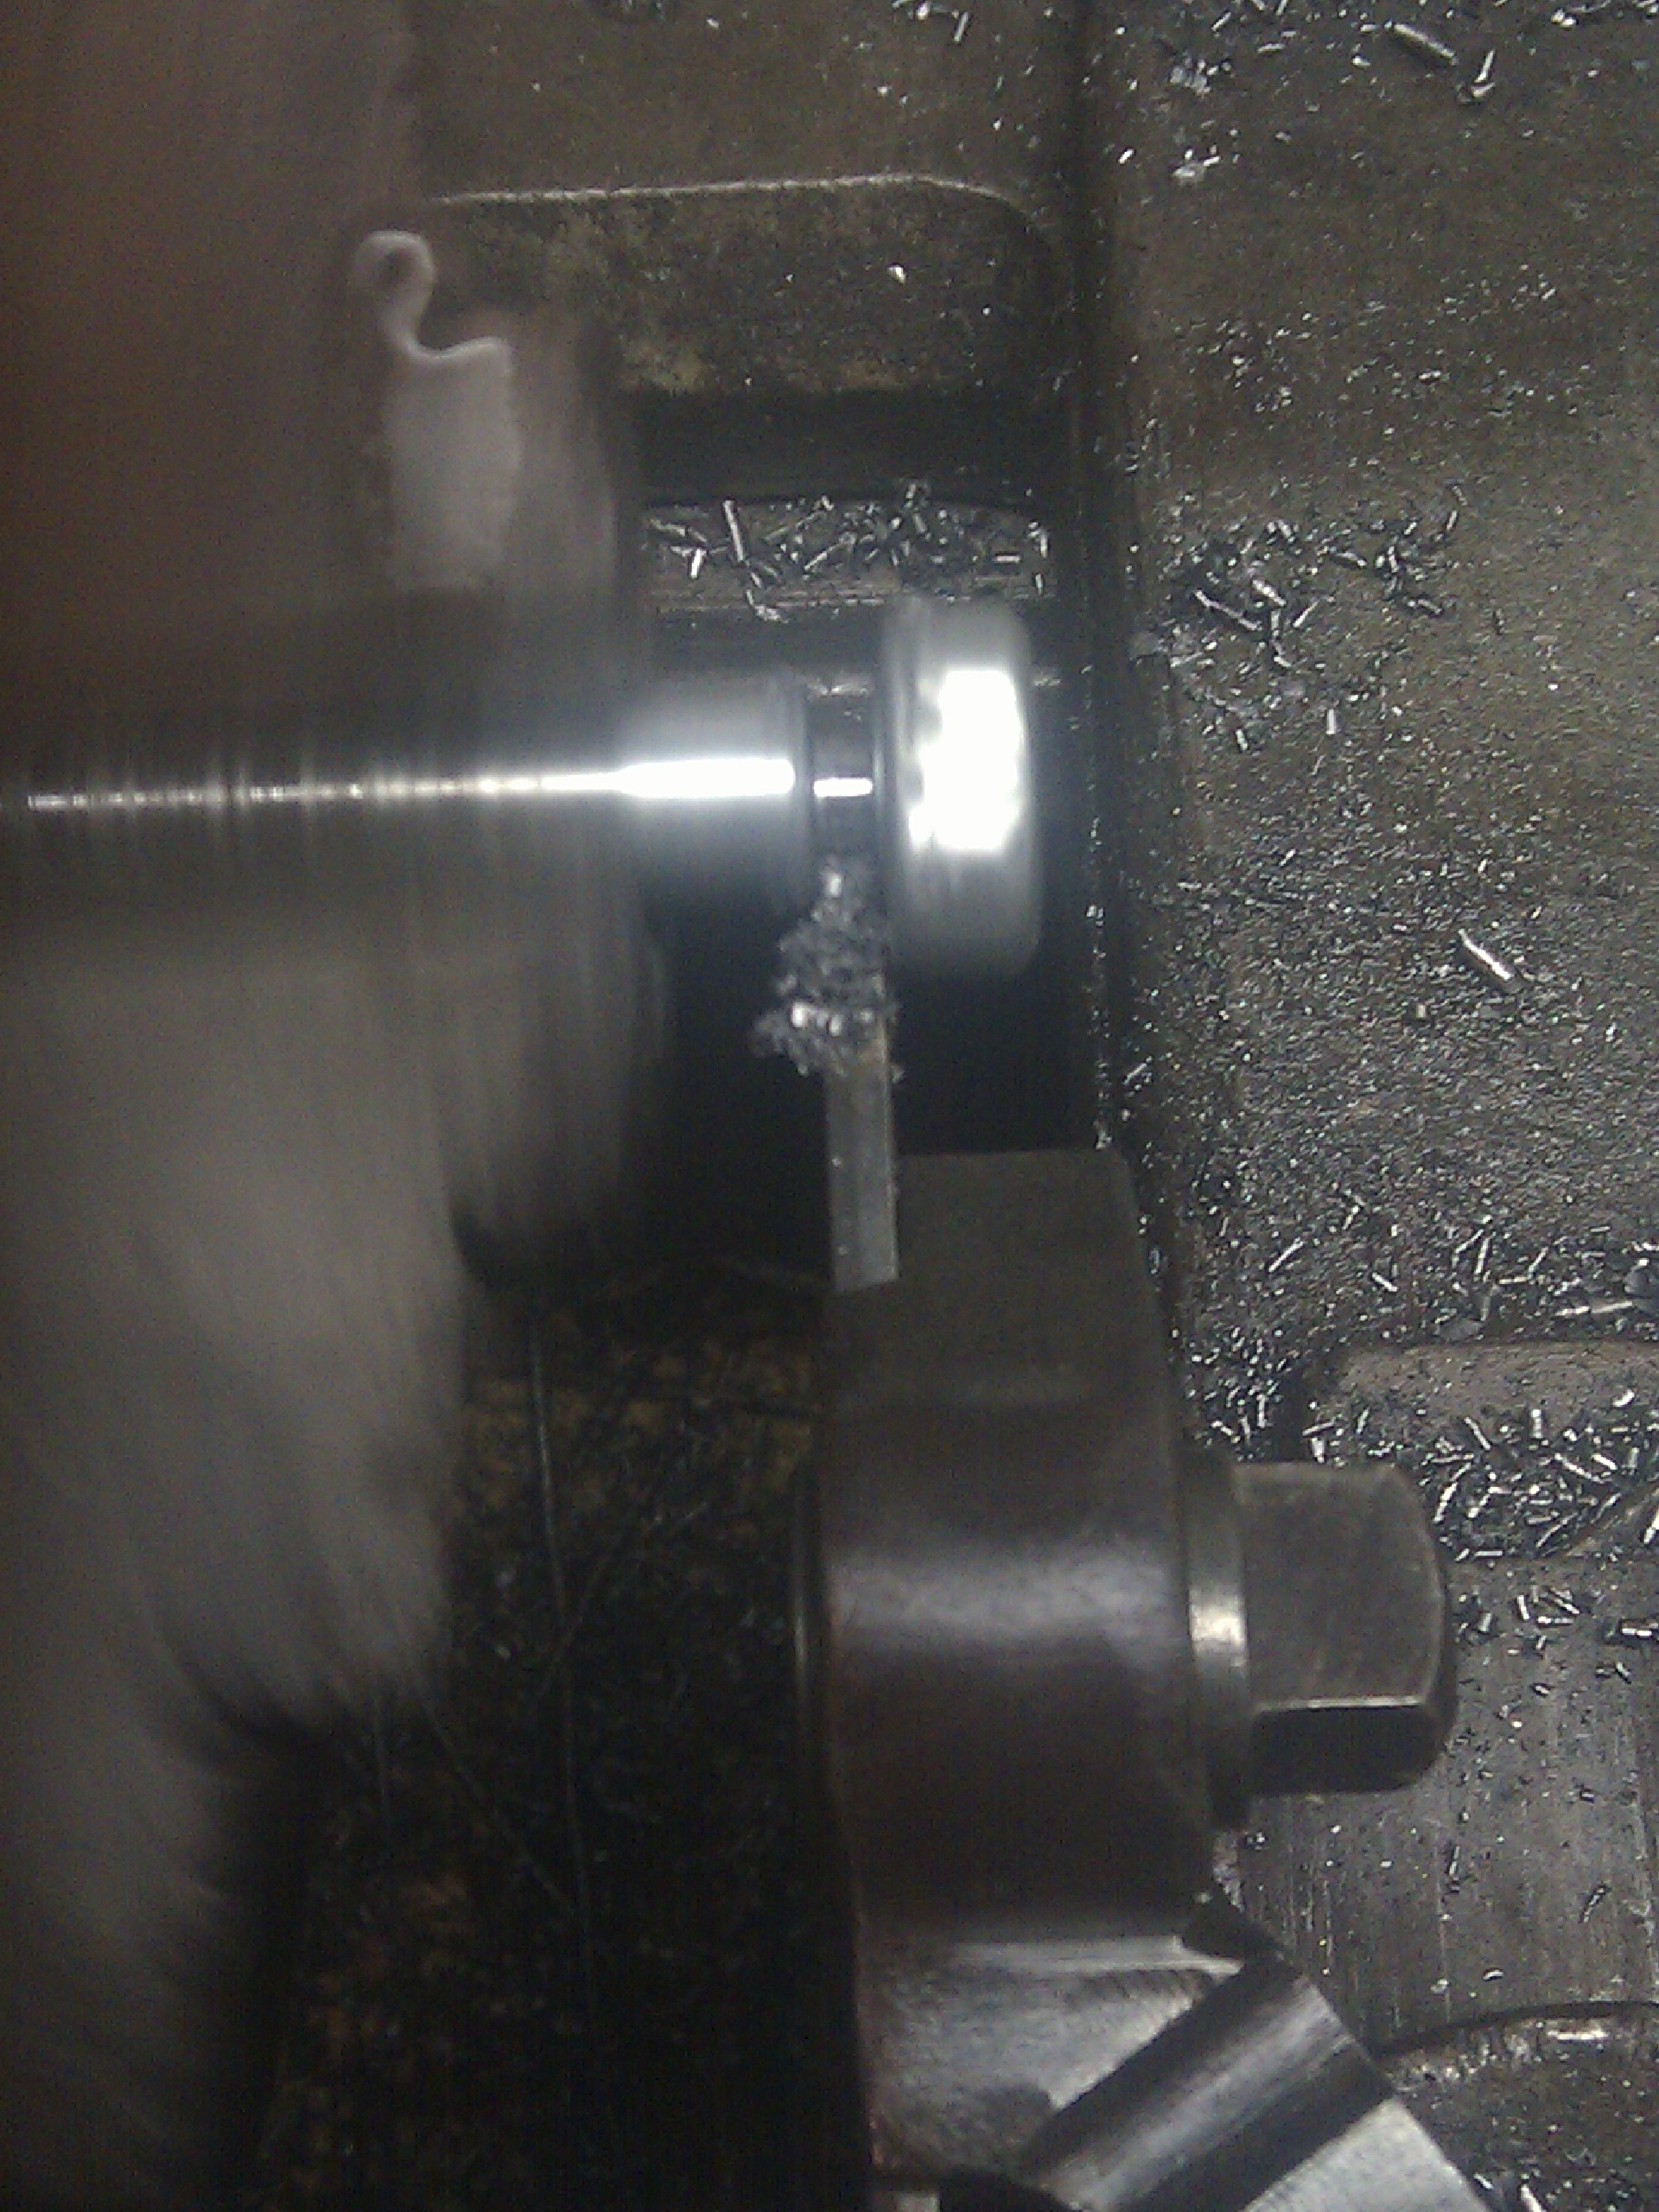
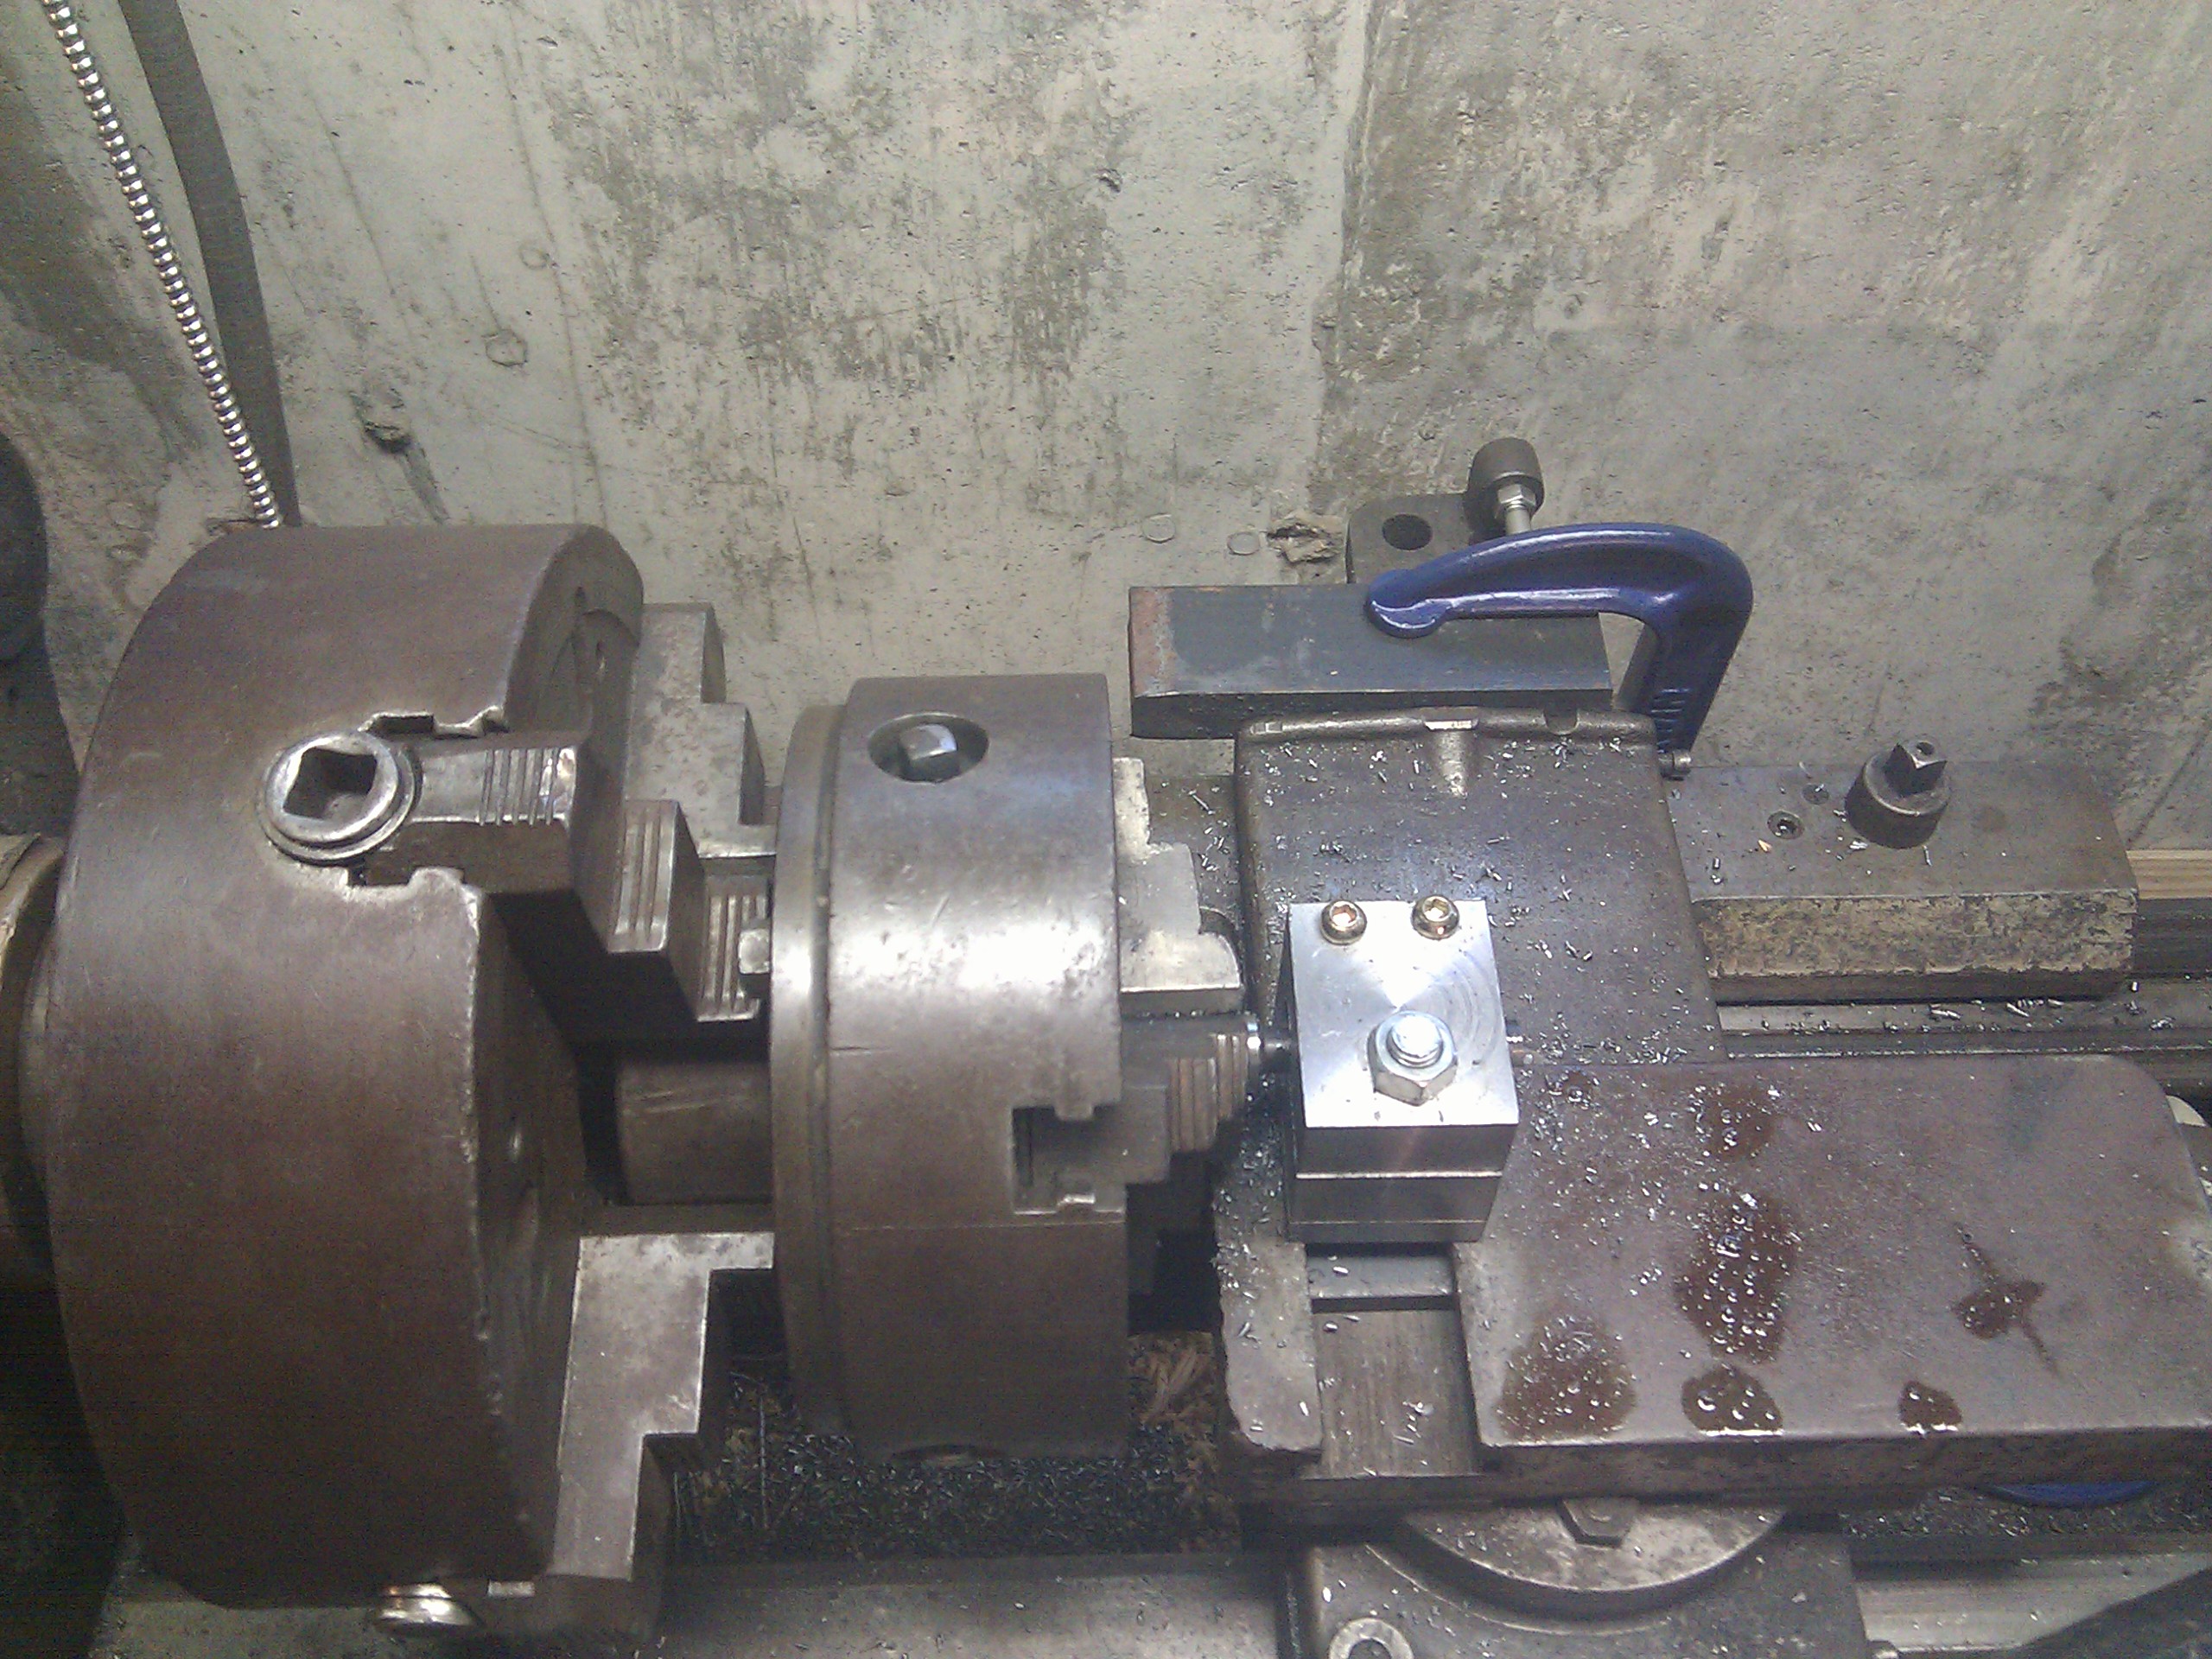
Now I have to bore the hole out to 3/4". I have boring bars, but I can't hold them centered in the lathe since that would just cut a slot instead of a bigger hole. But, these boring bars are too small to hold off-center in the 4-jaw...so I chucked a boring bar up in the 3-jaw, then held that chuck in the 4-jaw. It took me a few tries to finally land on this setup, but it ended up working pretty well once I got it all worked out. I set the boring bar so I could slide the 3-jaw chuck back and forth between two of the 4-jaw chuck jaws to set how deep of a cut I was taking with the boring bar.
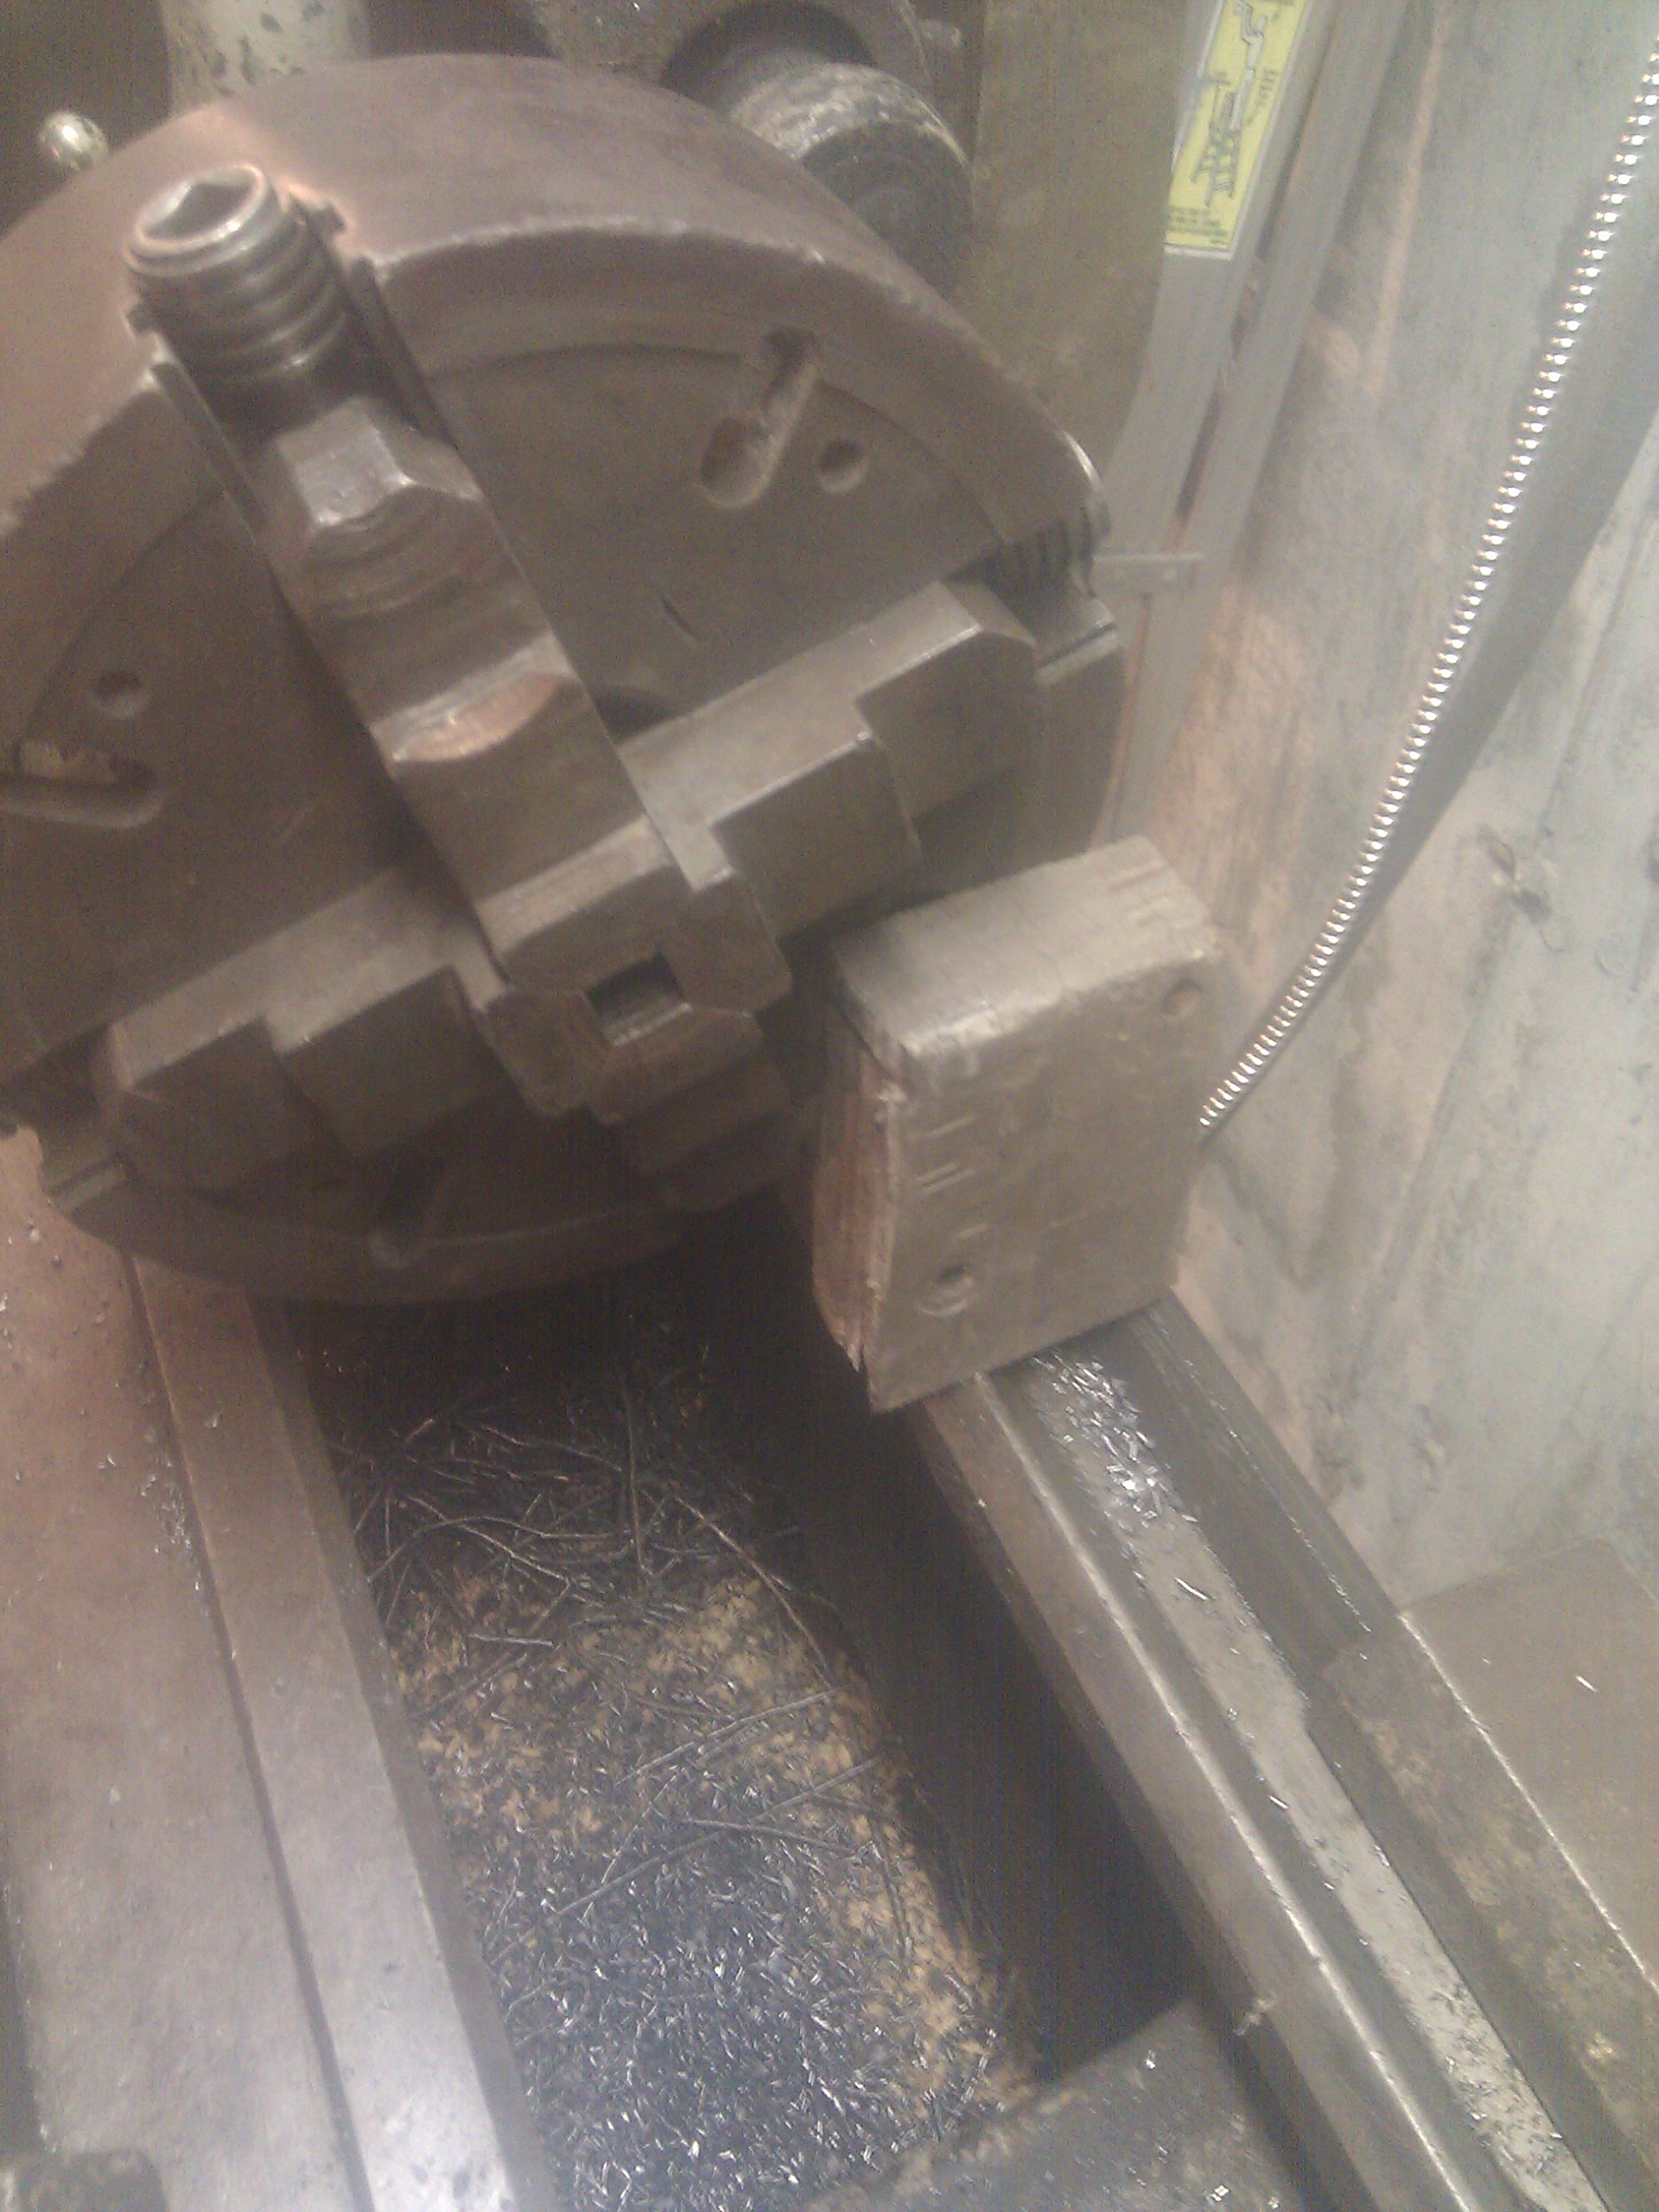
Unfortunately, my lathe is a hundred years old and the crossfeed nut has a decent amount of play in it. So I set it up with the extra piece of 1x2 steel, a C-clamp, and a bolt and nut you can just barely see in the picture. That bolt and nut are pushing between a bracket on the lathe and the cross slide to keep the bar from sliding backwards. This took almost all the slop out of the cross slide so I could bore this hole without having the cross slide moving 1/4" or so back and forth!
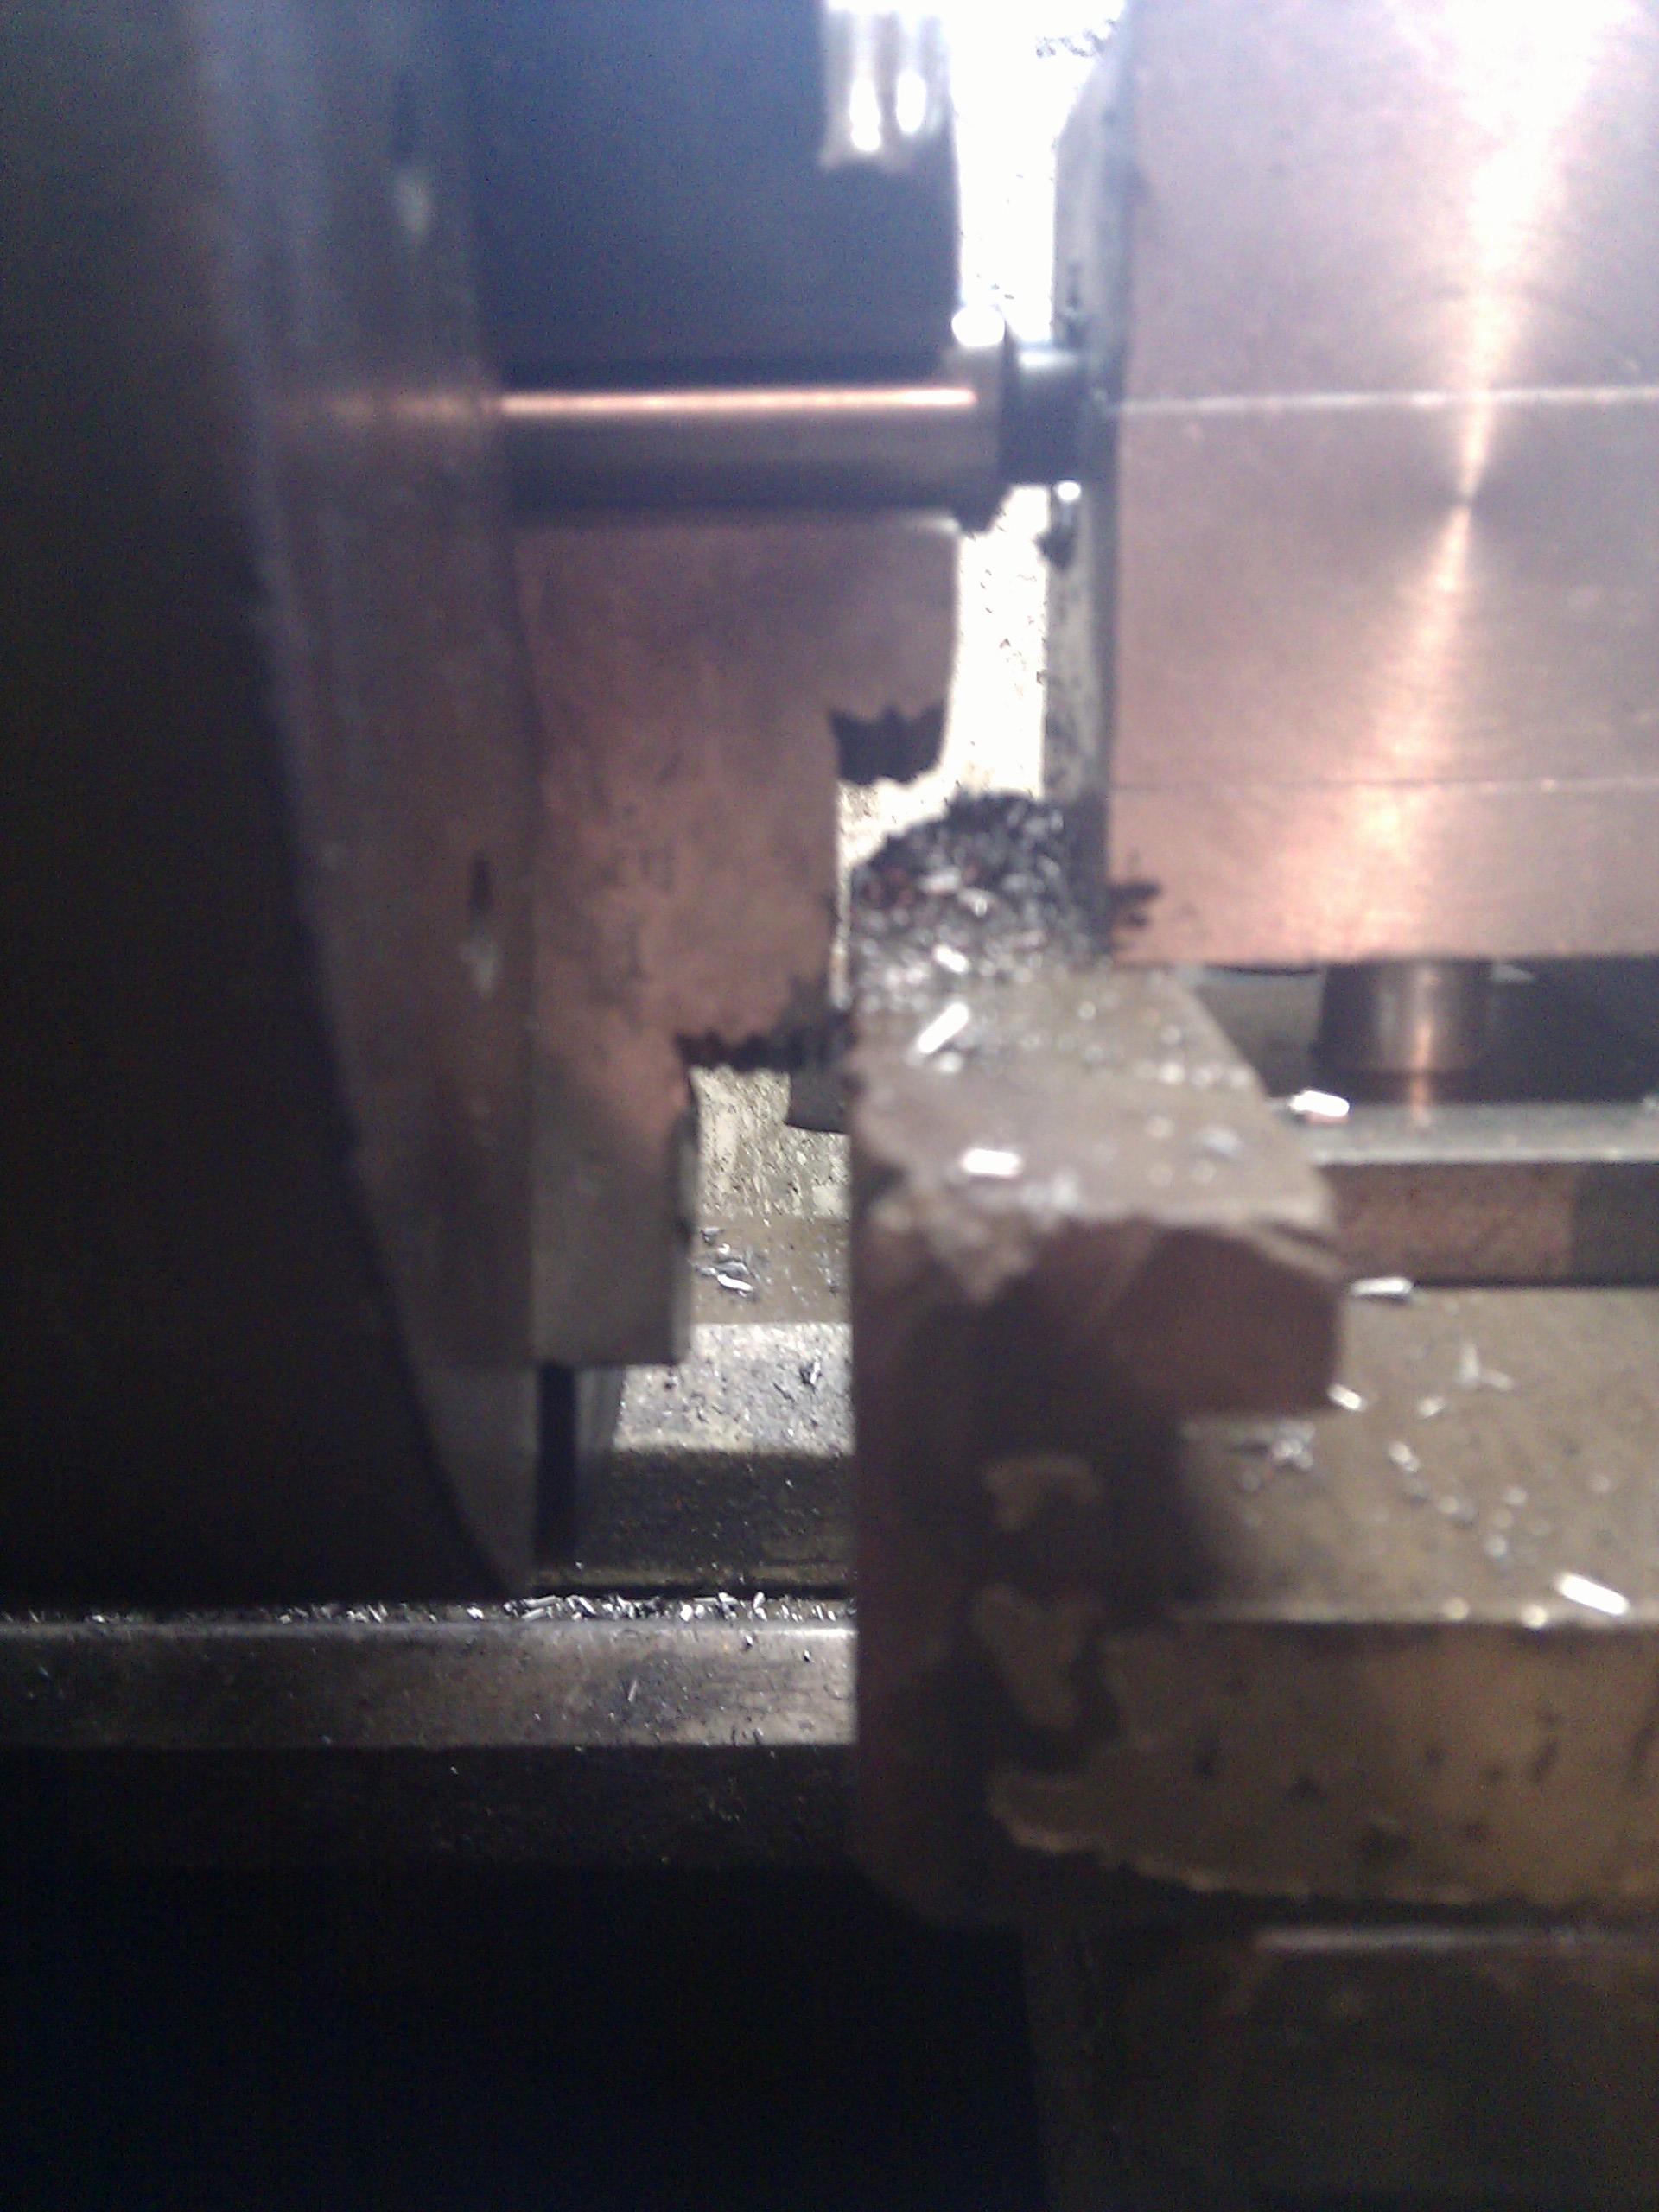
As they say, if it isn't crash, it's clearance:
Boring is a little tricky. One thing I learned is that metal, despite looking really solid, can move quite a bit. I could make 3 passes with the boring bar at the same height before it stopped cutting metal; it kept bending inwards. Another tricky thing was getting the angle of the cutting face right and clearancing enough of the bar behind the cutting face so the bar wouldn't lift the cutting face off the metal.
After all that, it works!
I cleaned up the exterior edges on the belt sander and took a file to everything else to smooth out the edges, then rubbed it in a light coating of way oil to keep the rust off. Way oil, as the name suggests, is designed to go on the ways of a machine tool (the triangular parts the cross slide moves back and forth on on my lathe, for instance). It's got additives that make it sticky, so it will stay on whatever you put it on pretty well. This is great for lubricating and protecting metal and terrible for all the times I bump into things coated in way oil.
Finished product:
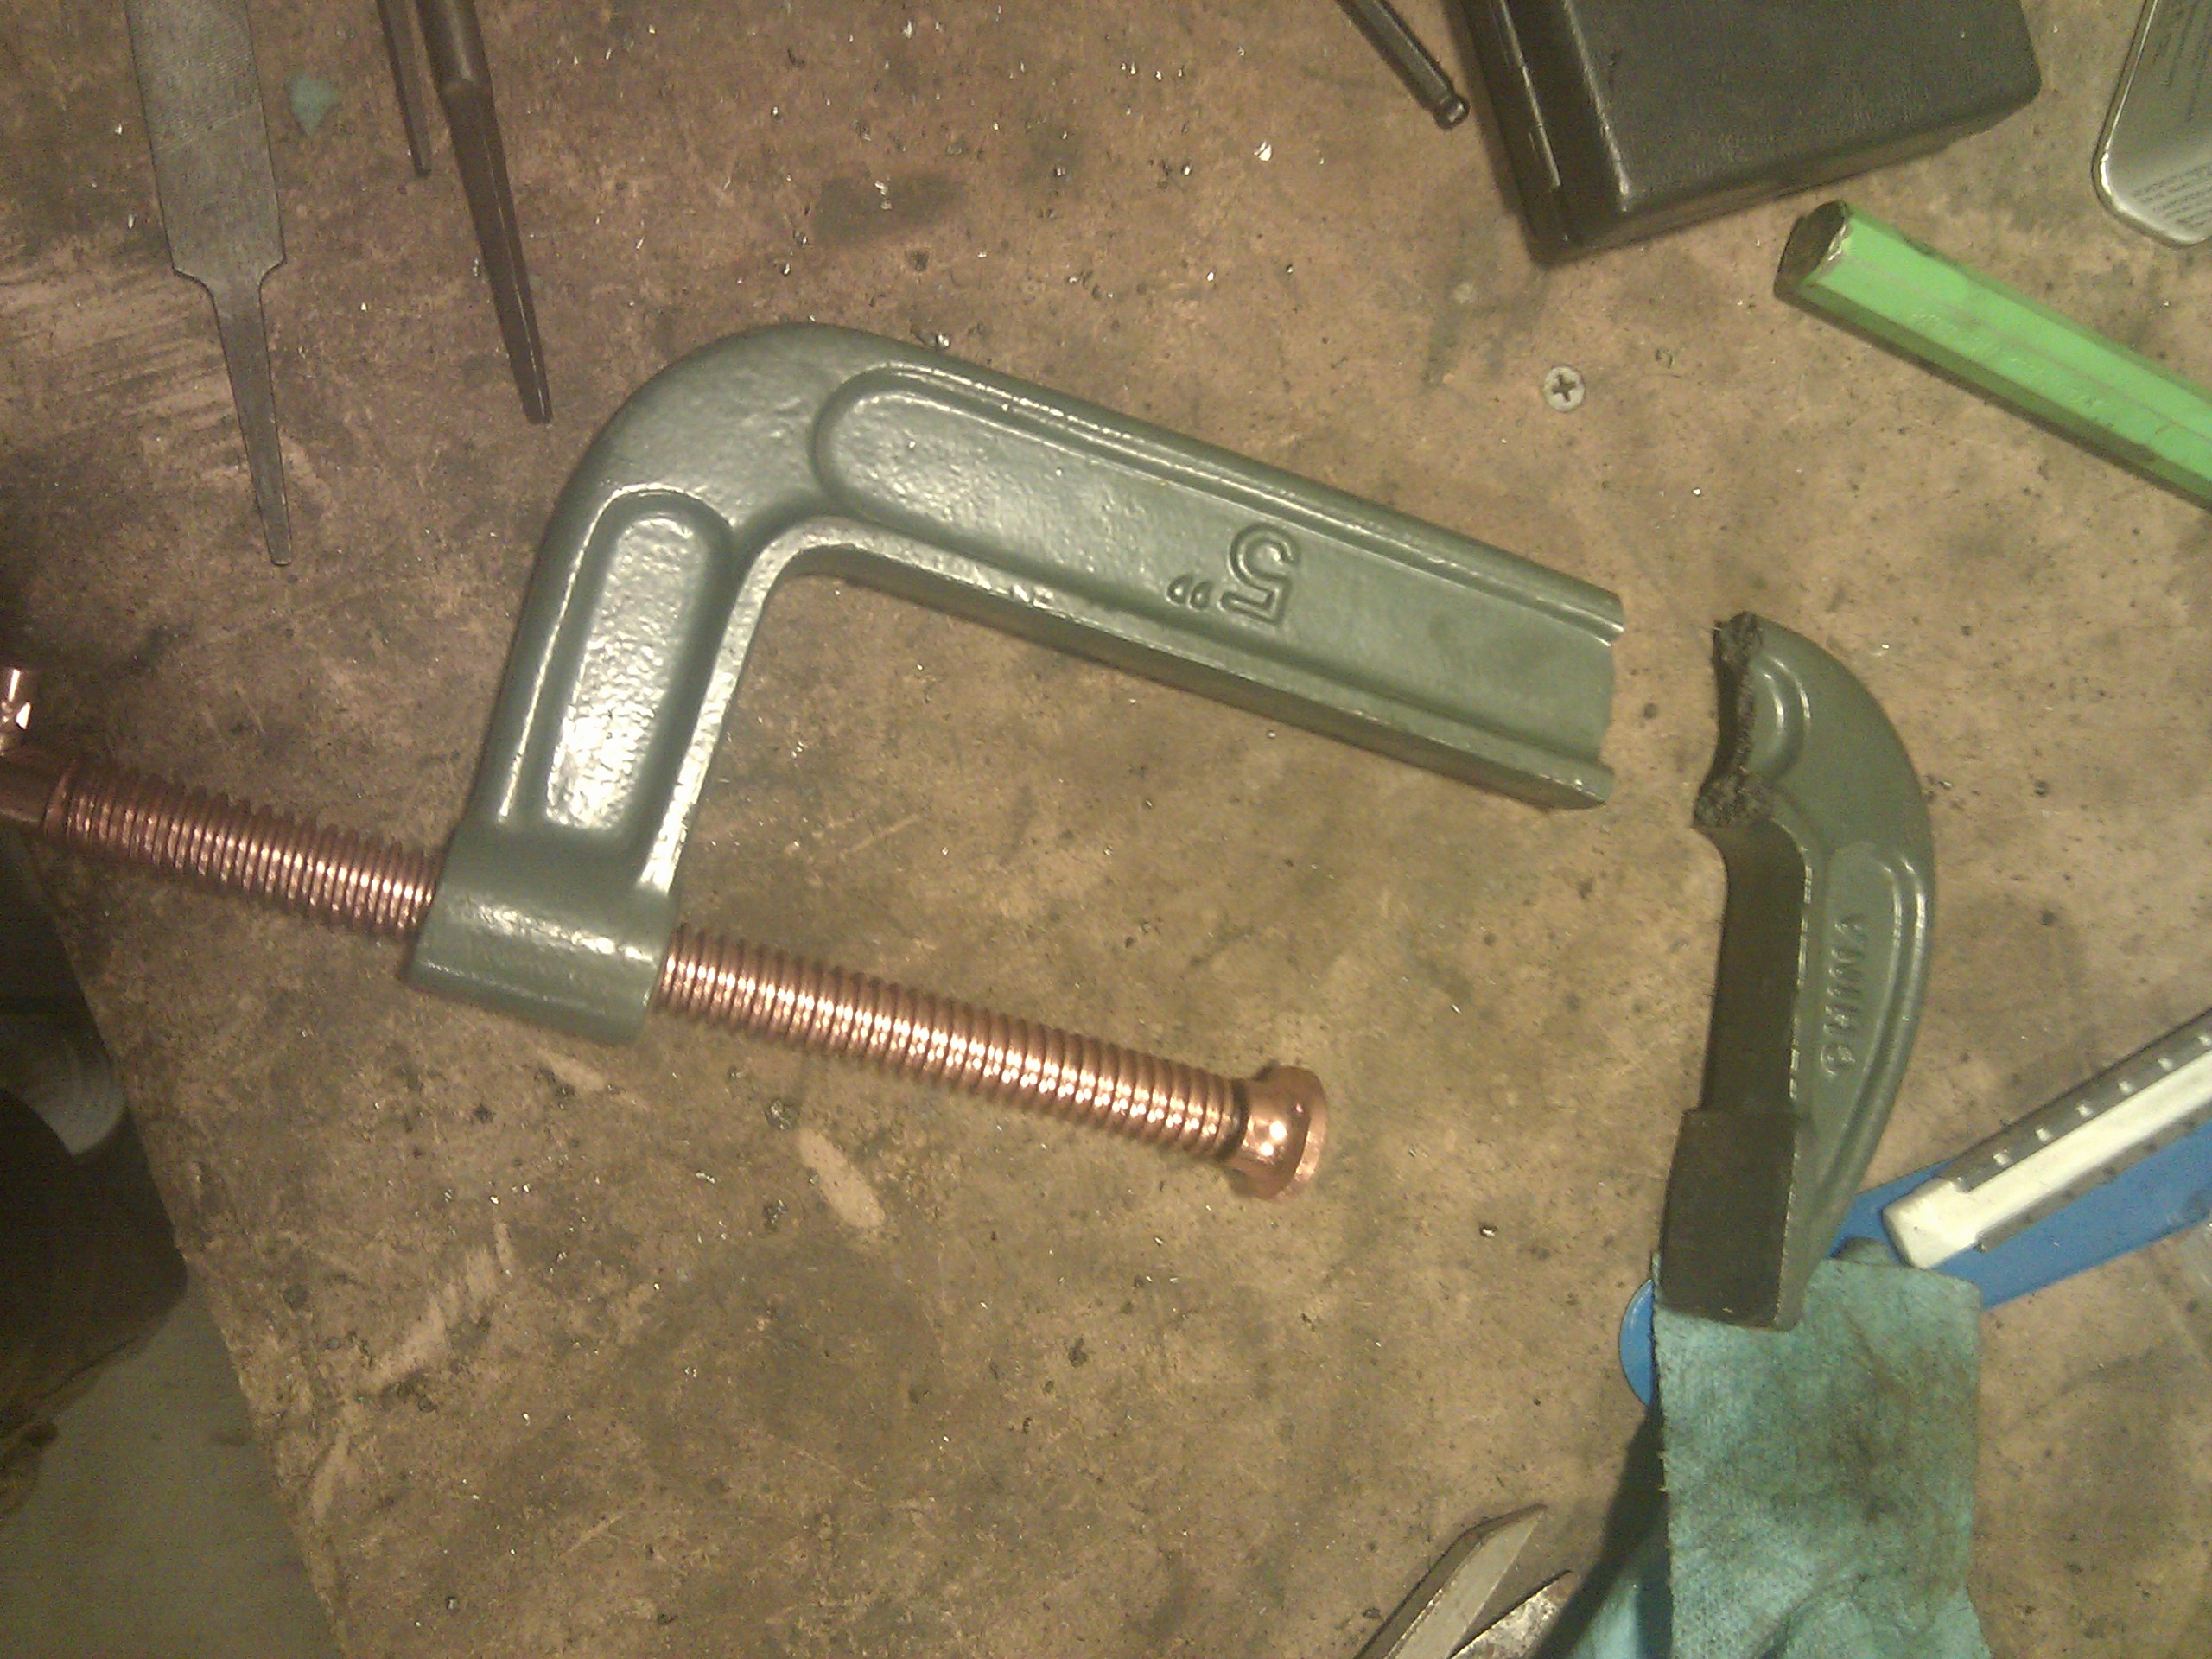
As an aside, I generally don't complain about tools, but I snapped this 5" Grizzly C-clamp with one hand and I am pretty much a bean pole:
This is the third one of these I've broken; the first was with a direct hit from a ball peen hammer and the second was in the press. I'll take a shot at welding these back up, but I suggest you get something else if you're in the market for clamps.
Now that all of this is done, I can finally get to doing the stuff I set out to do when I started making these posts!
(kleinbl00, is this penance enough for making shavings on a chips lathe?)
Penance enough. Curious how true it stays over time. I've never used a tool holder that wasn't tool steel. I suspect you'll be fine if you stick to aluminum but I worry that brass and beyond might graunch that thing out of plumb. The lever arm on boring bars is pretty wiggly anyway.
