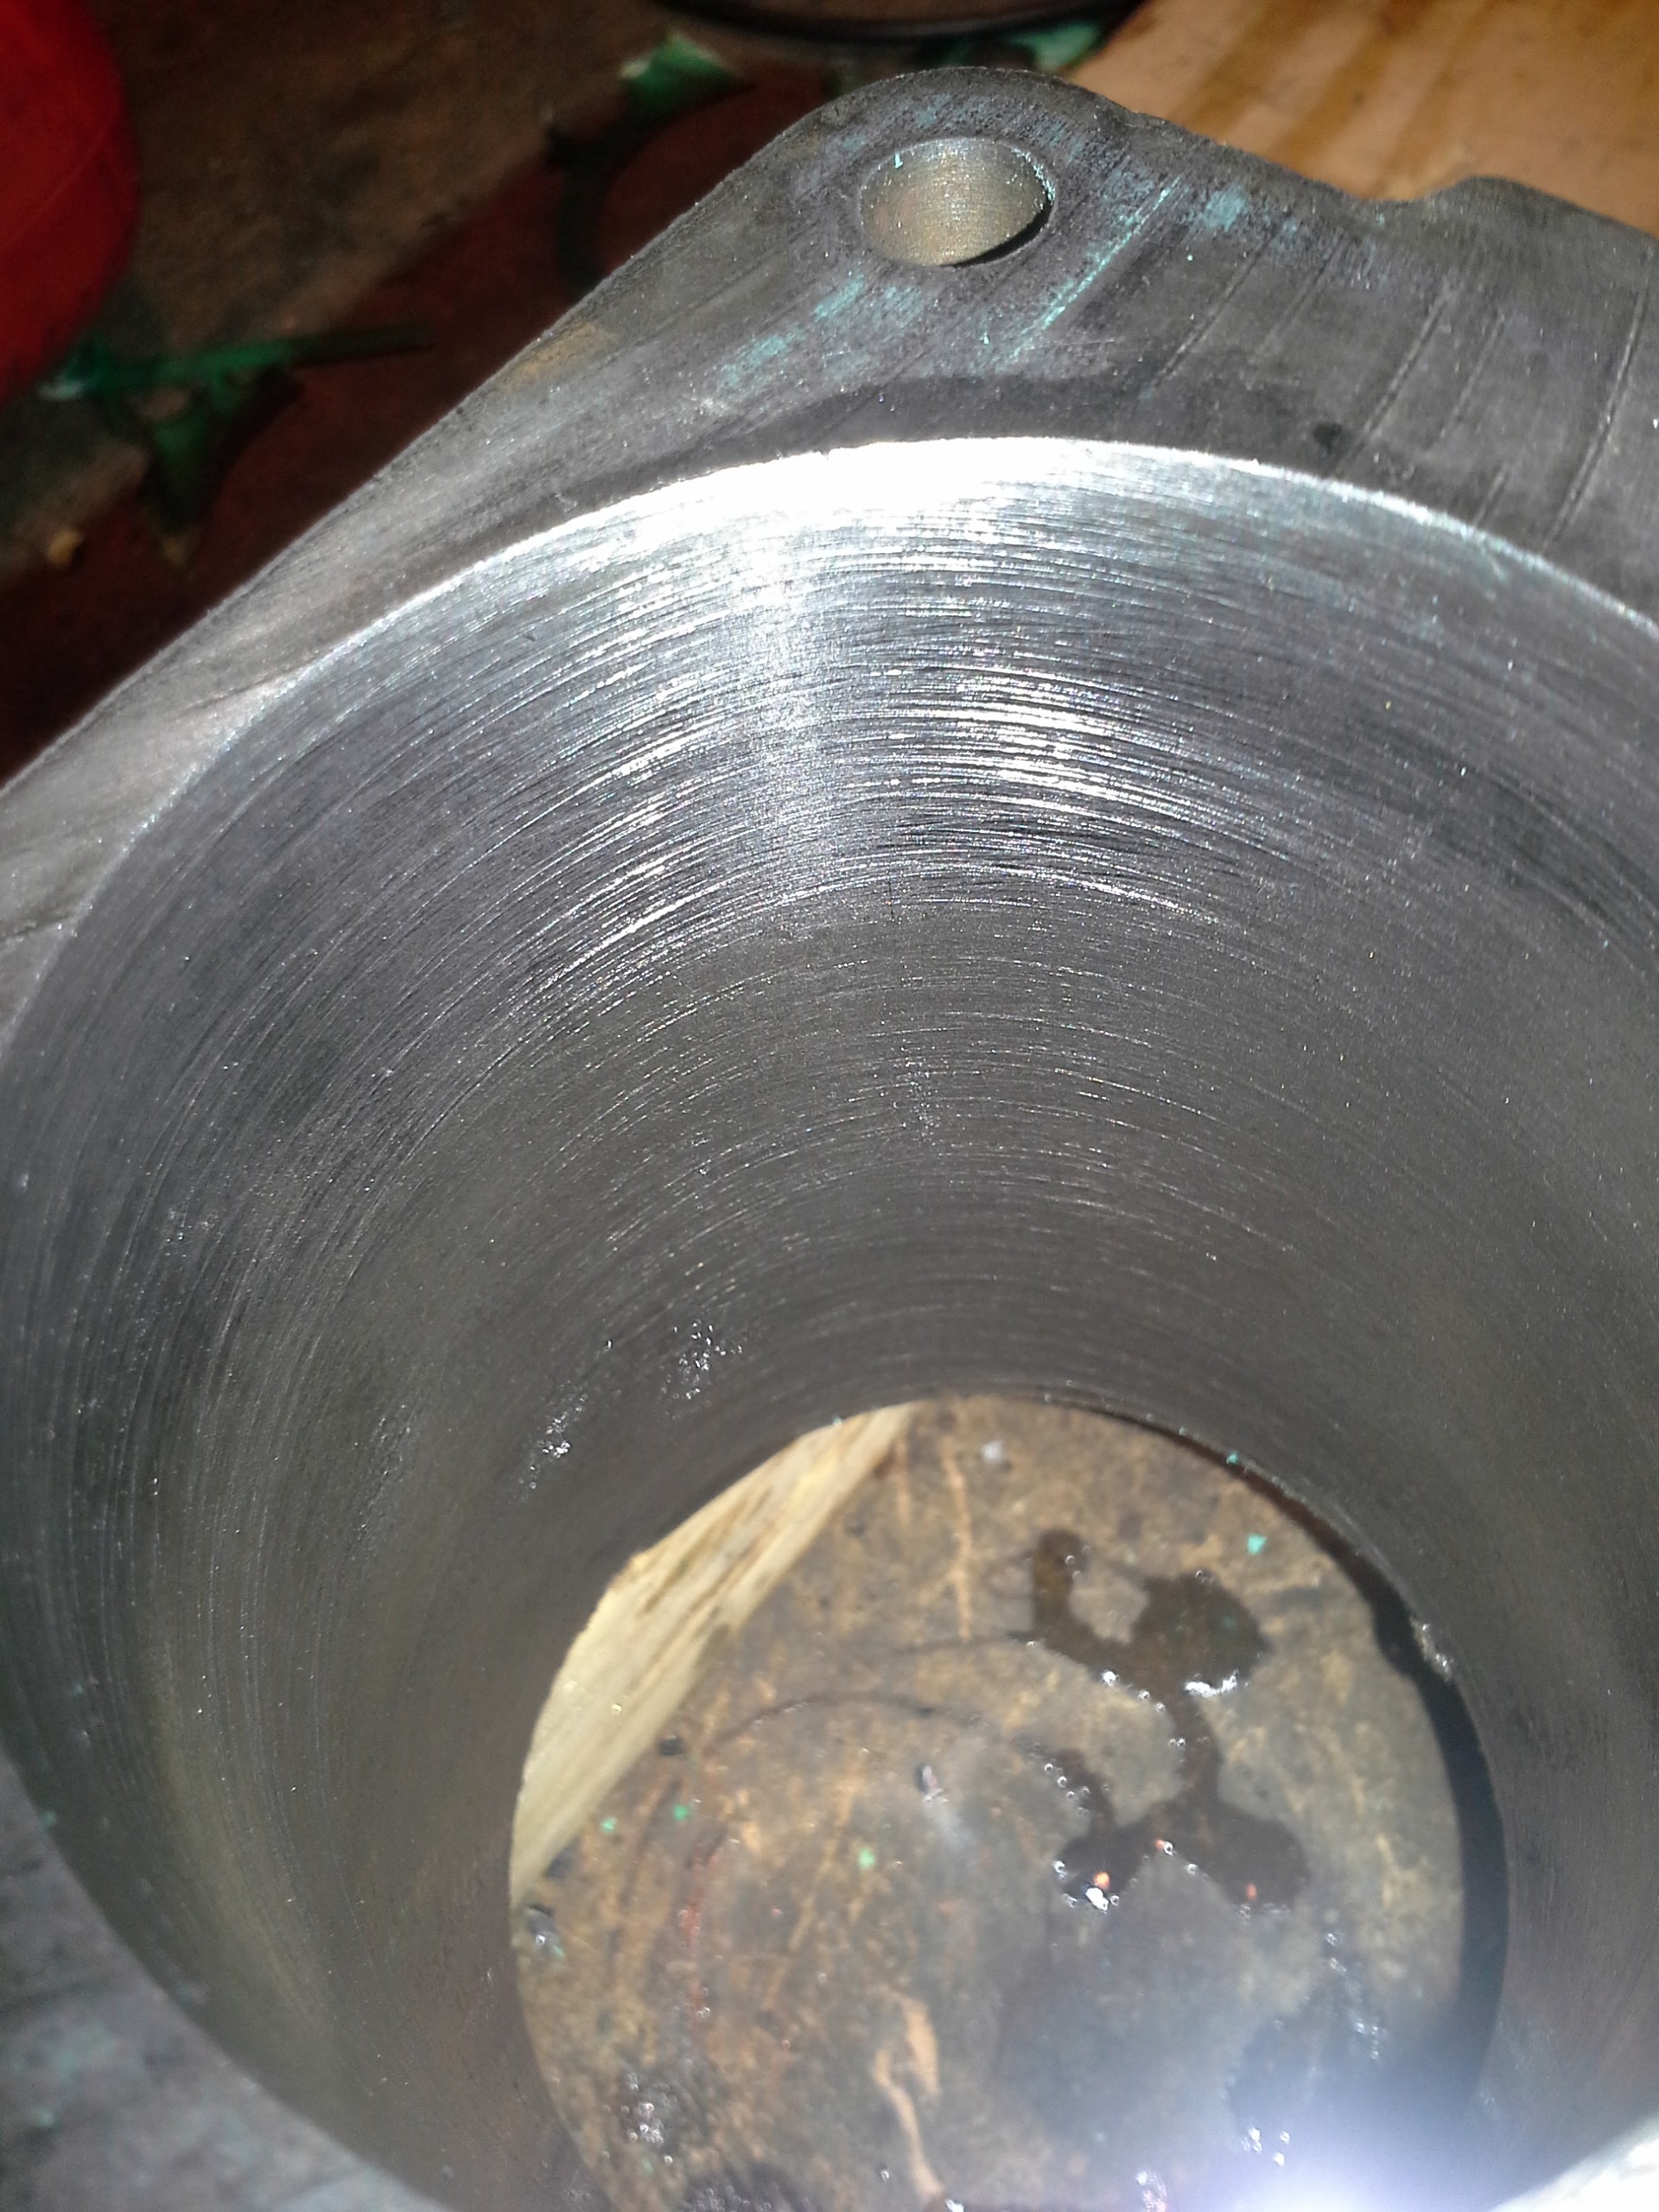
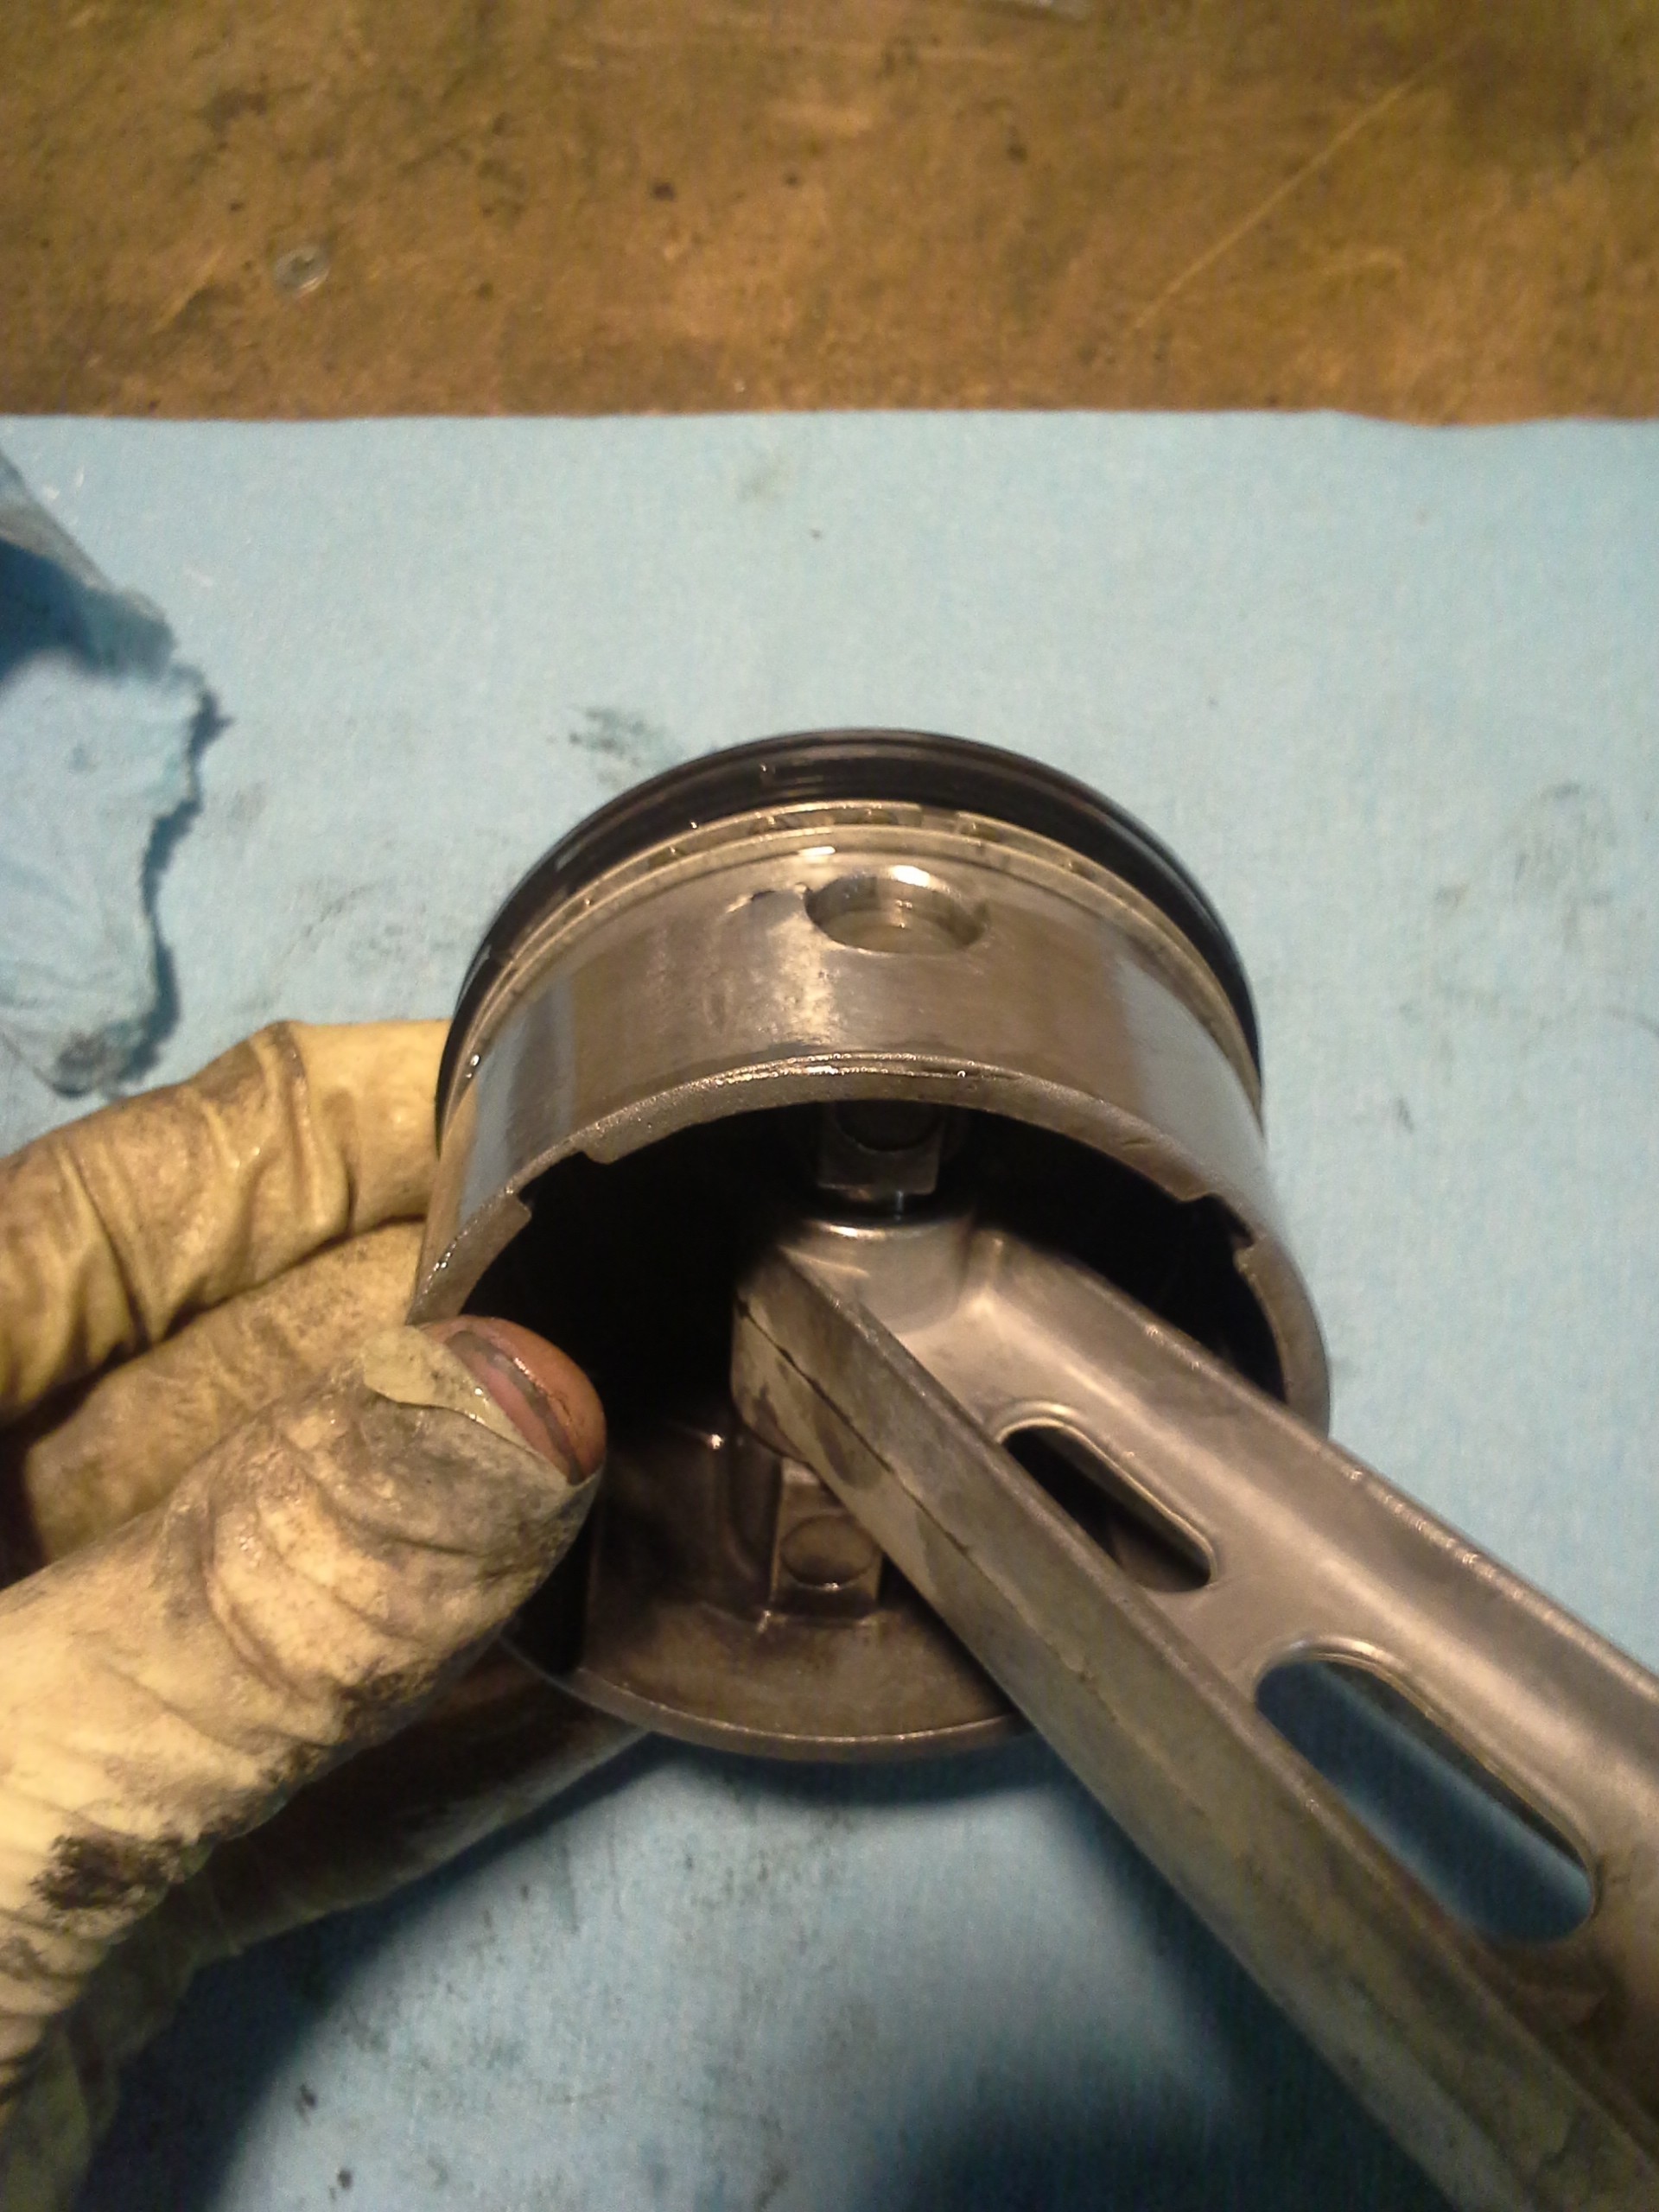
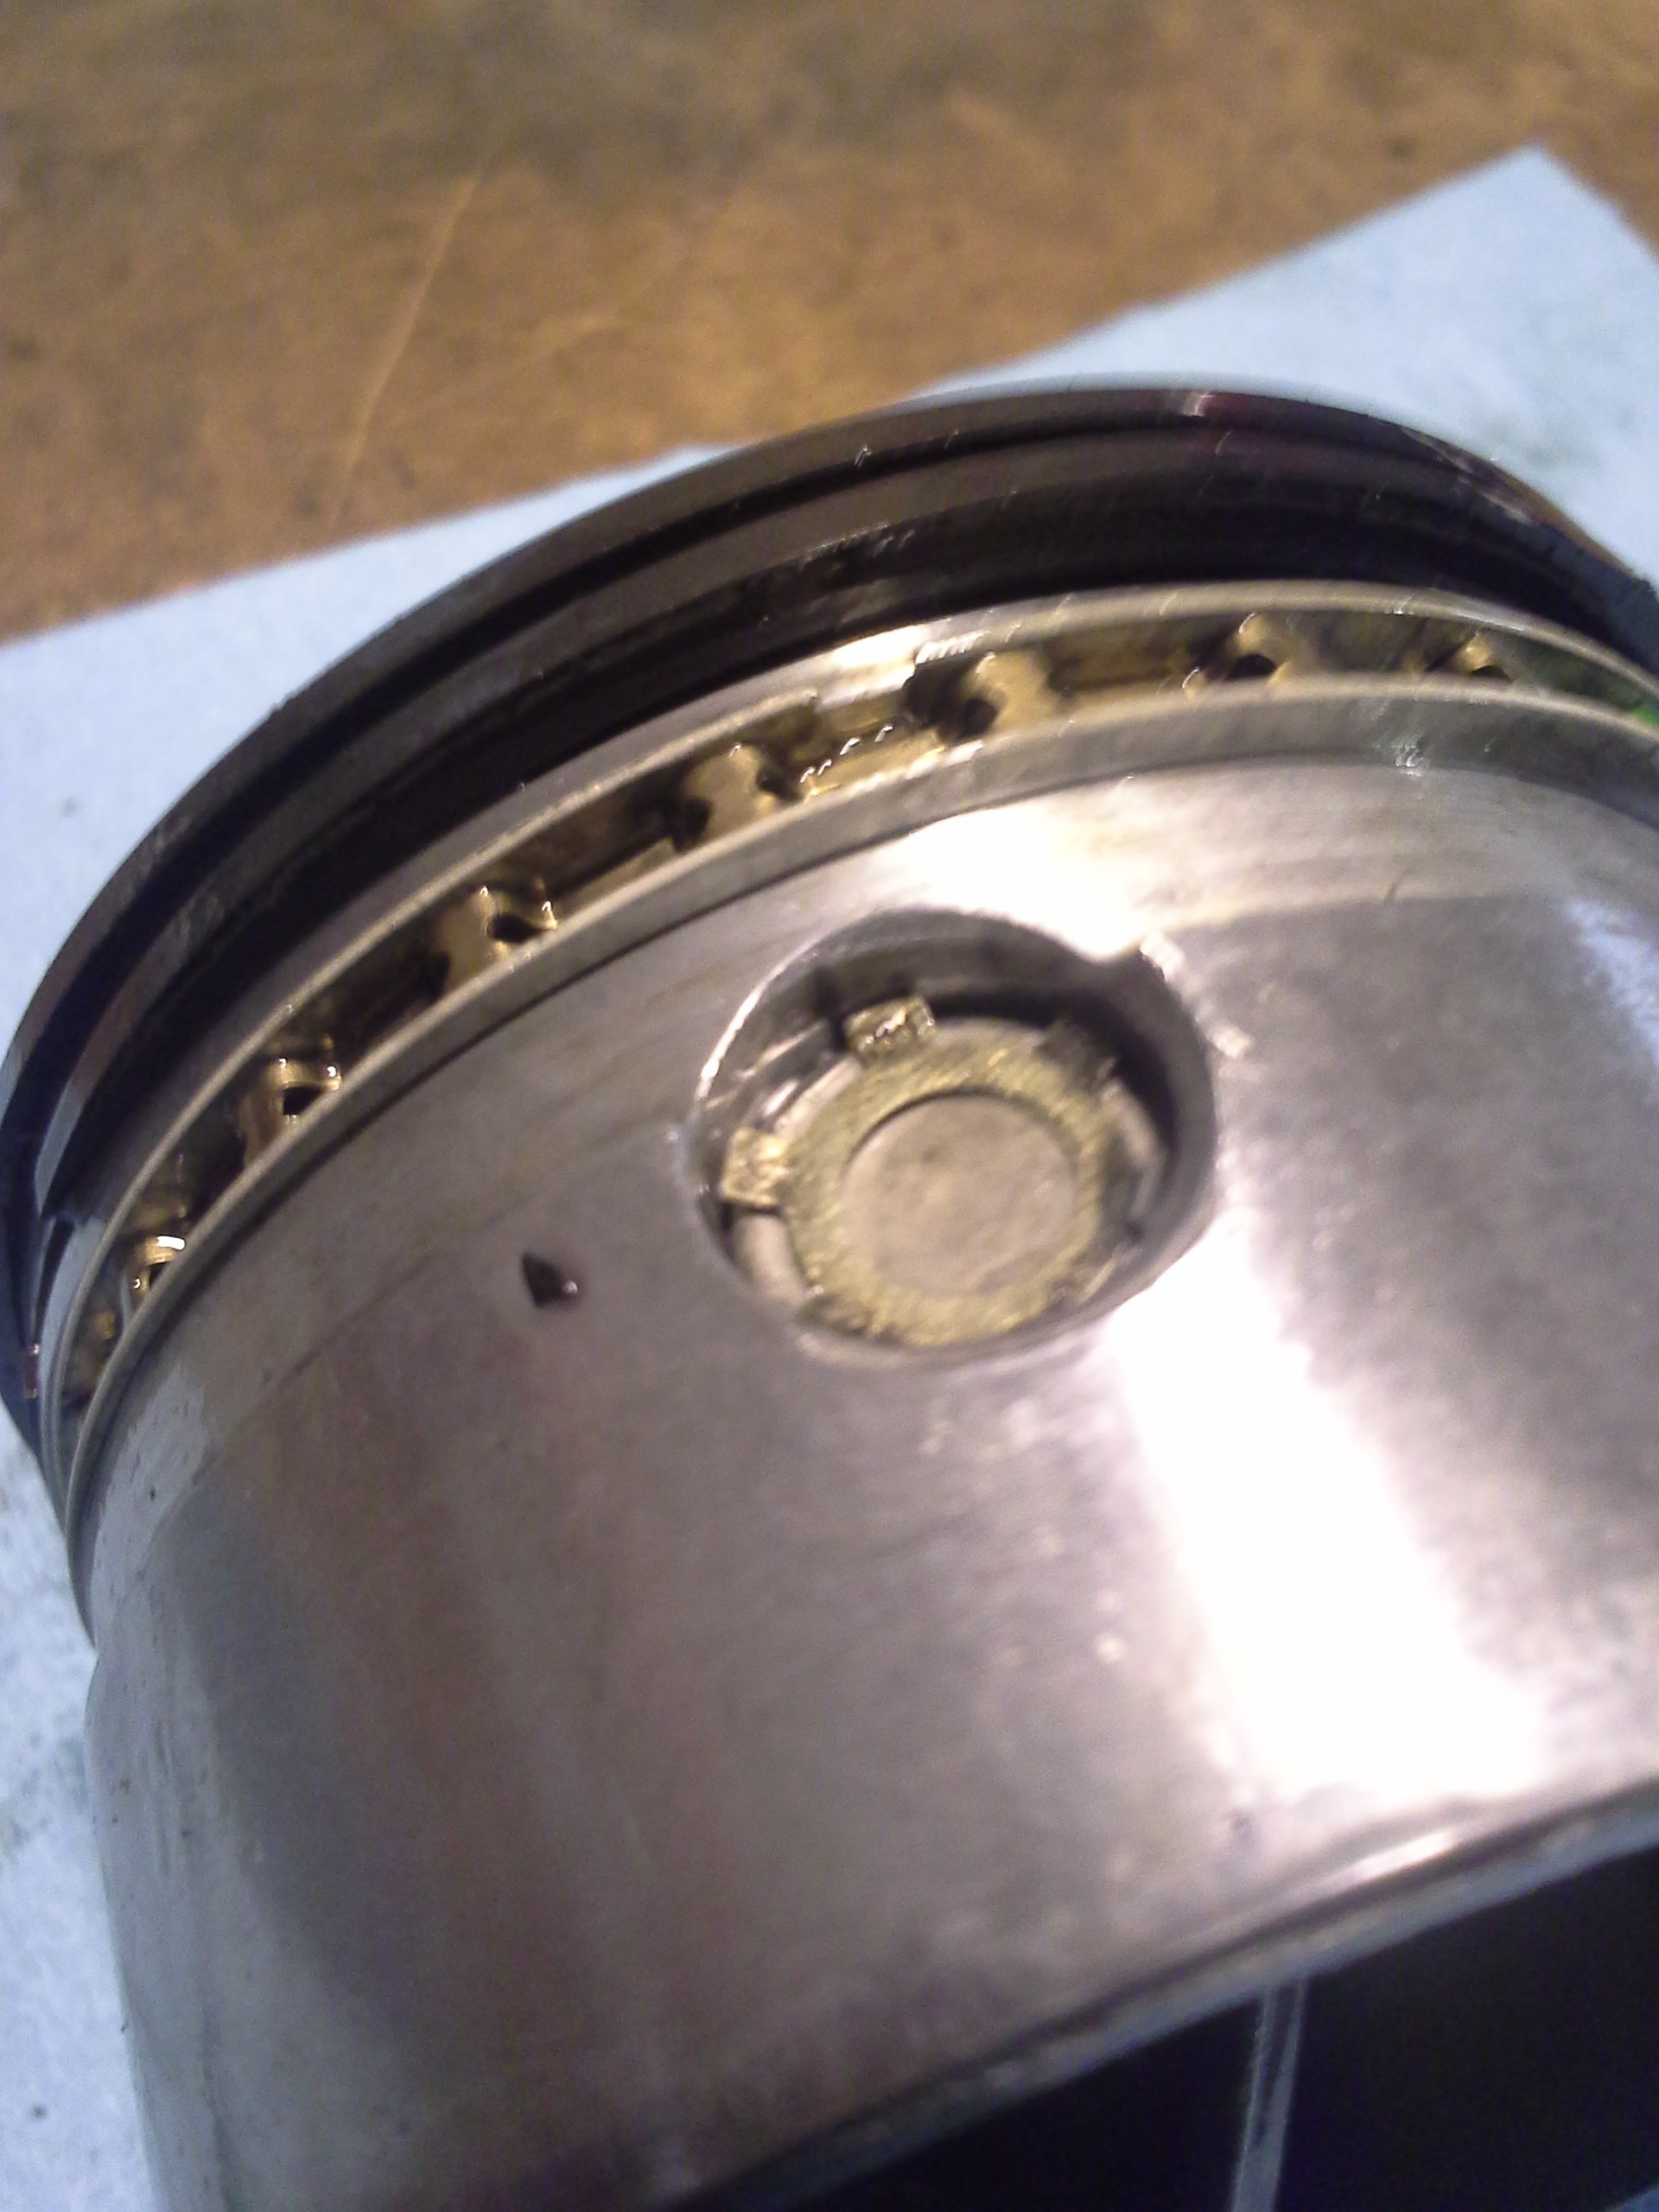
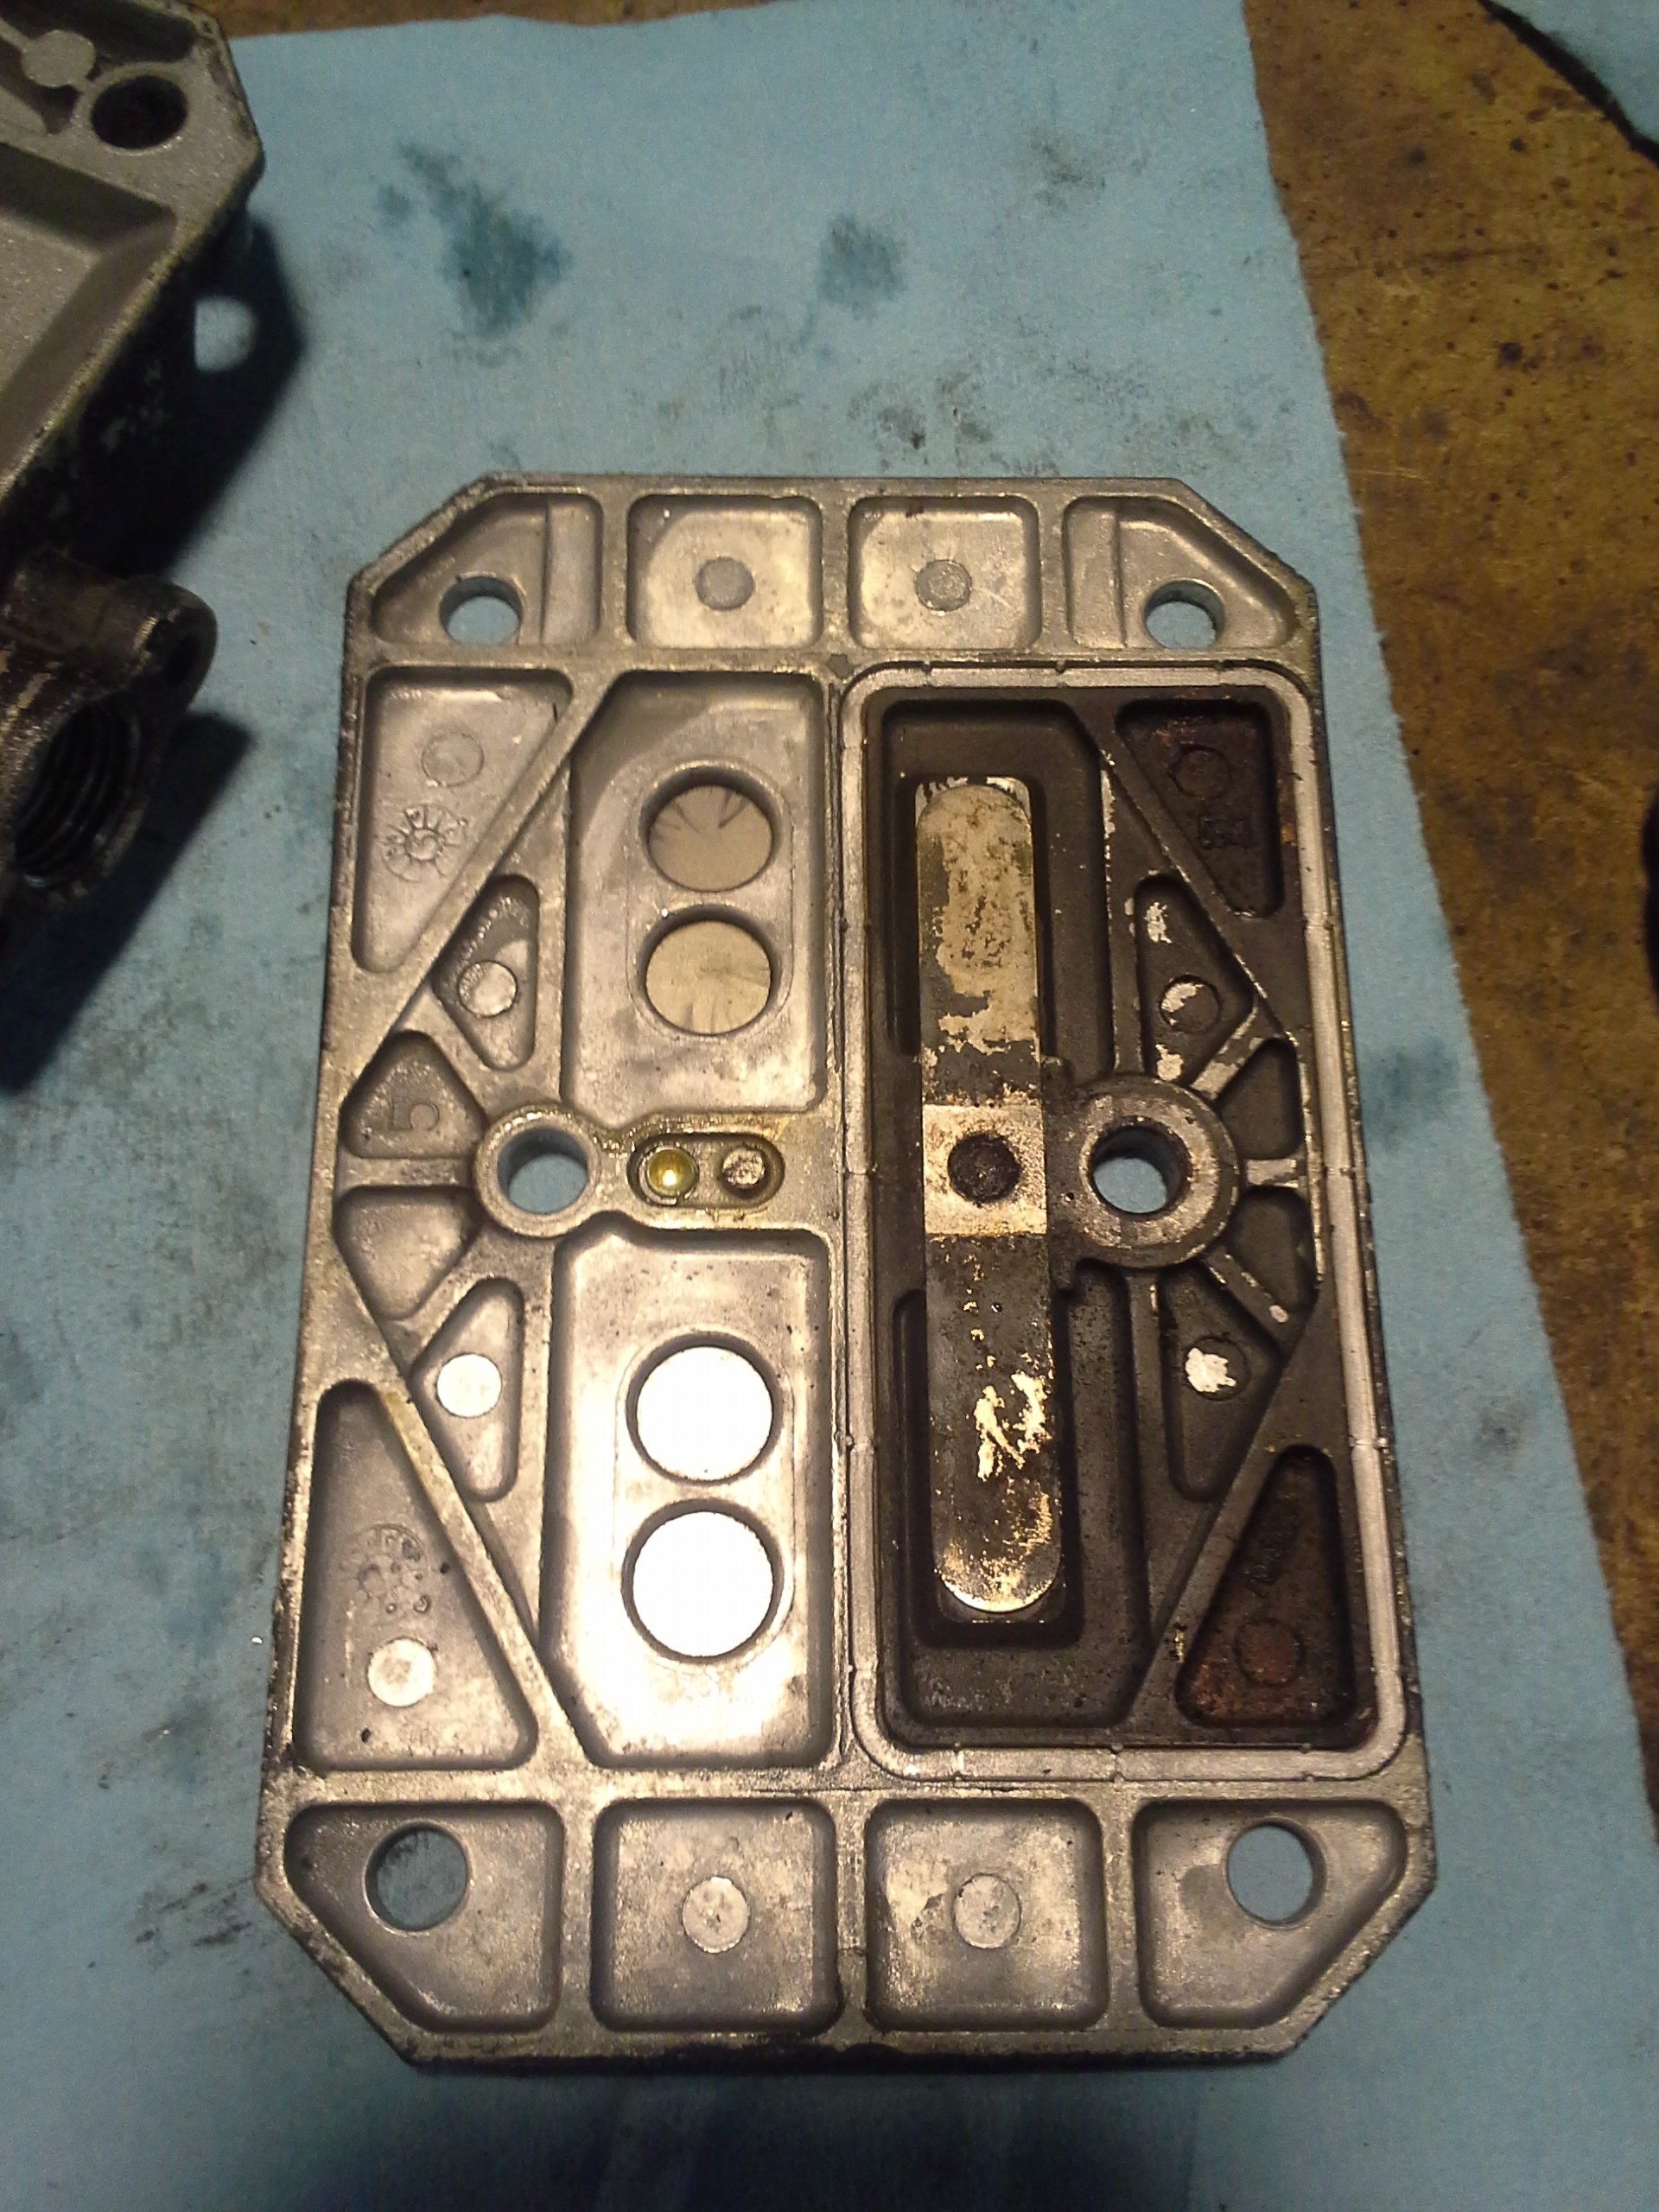
So, in my last post, I tore my air compressor pump down and discovered exactly why it seemed to not be running well:
Parts arrived this week, and today I completed the rebuild. Now, one thing that might make this more interesting to more people is that air compressors work surprisingly similarly to car engines. In fact, part of the motivation for me doing this myself is that I have a car that needs some sort of engine work, and this is a test run for me as compressor pumps are a lot cheaper to build than car engines.
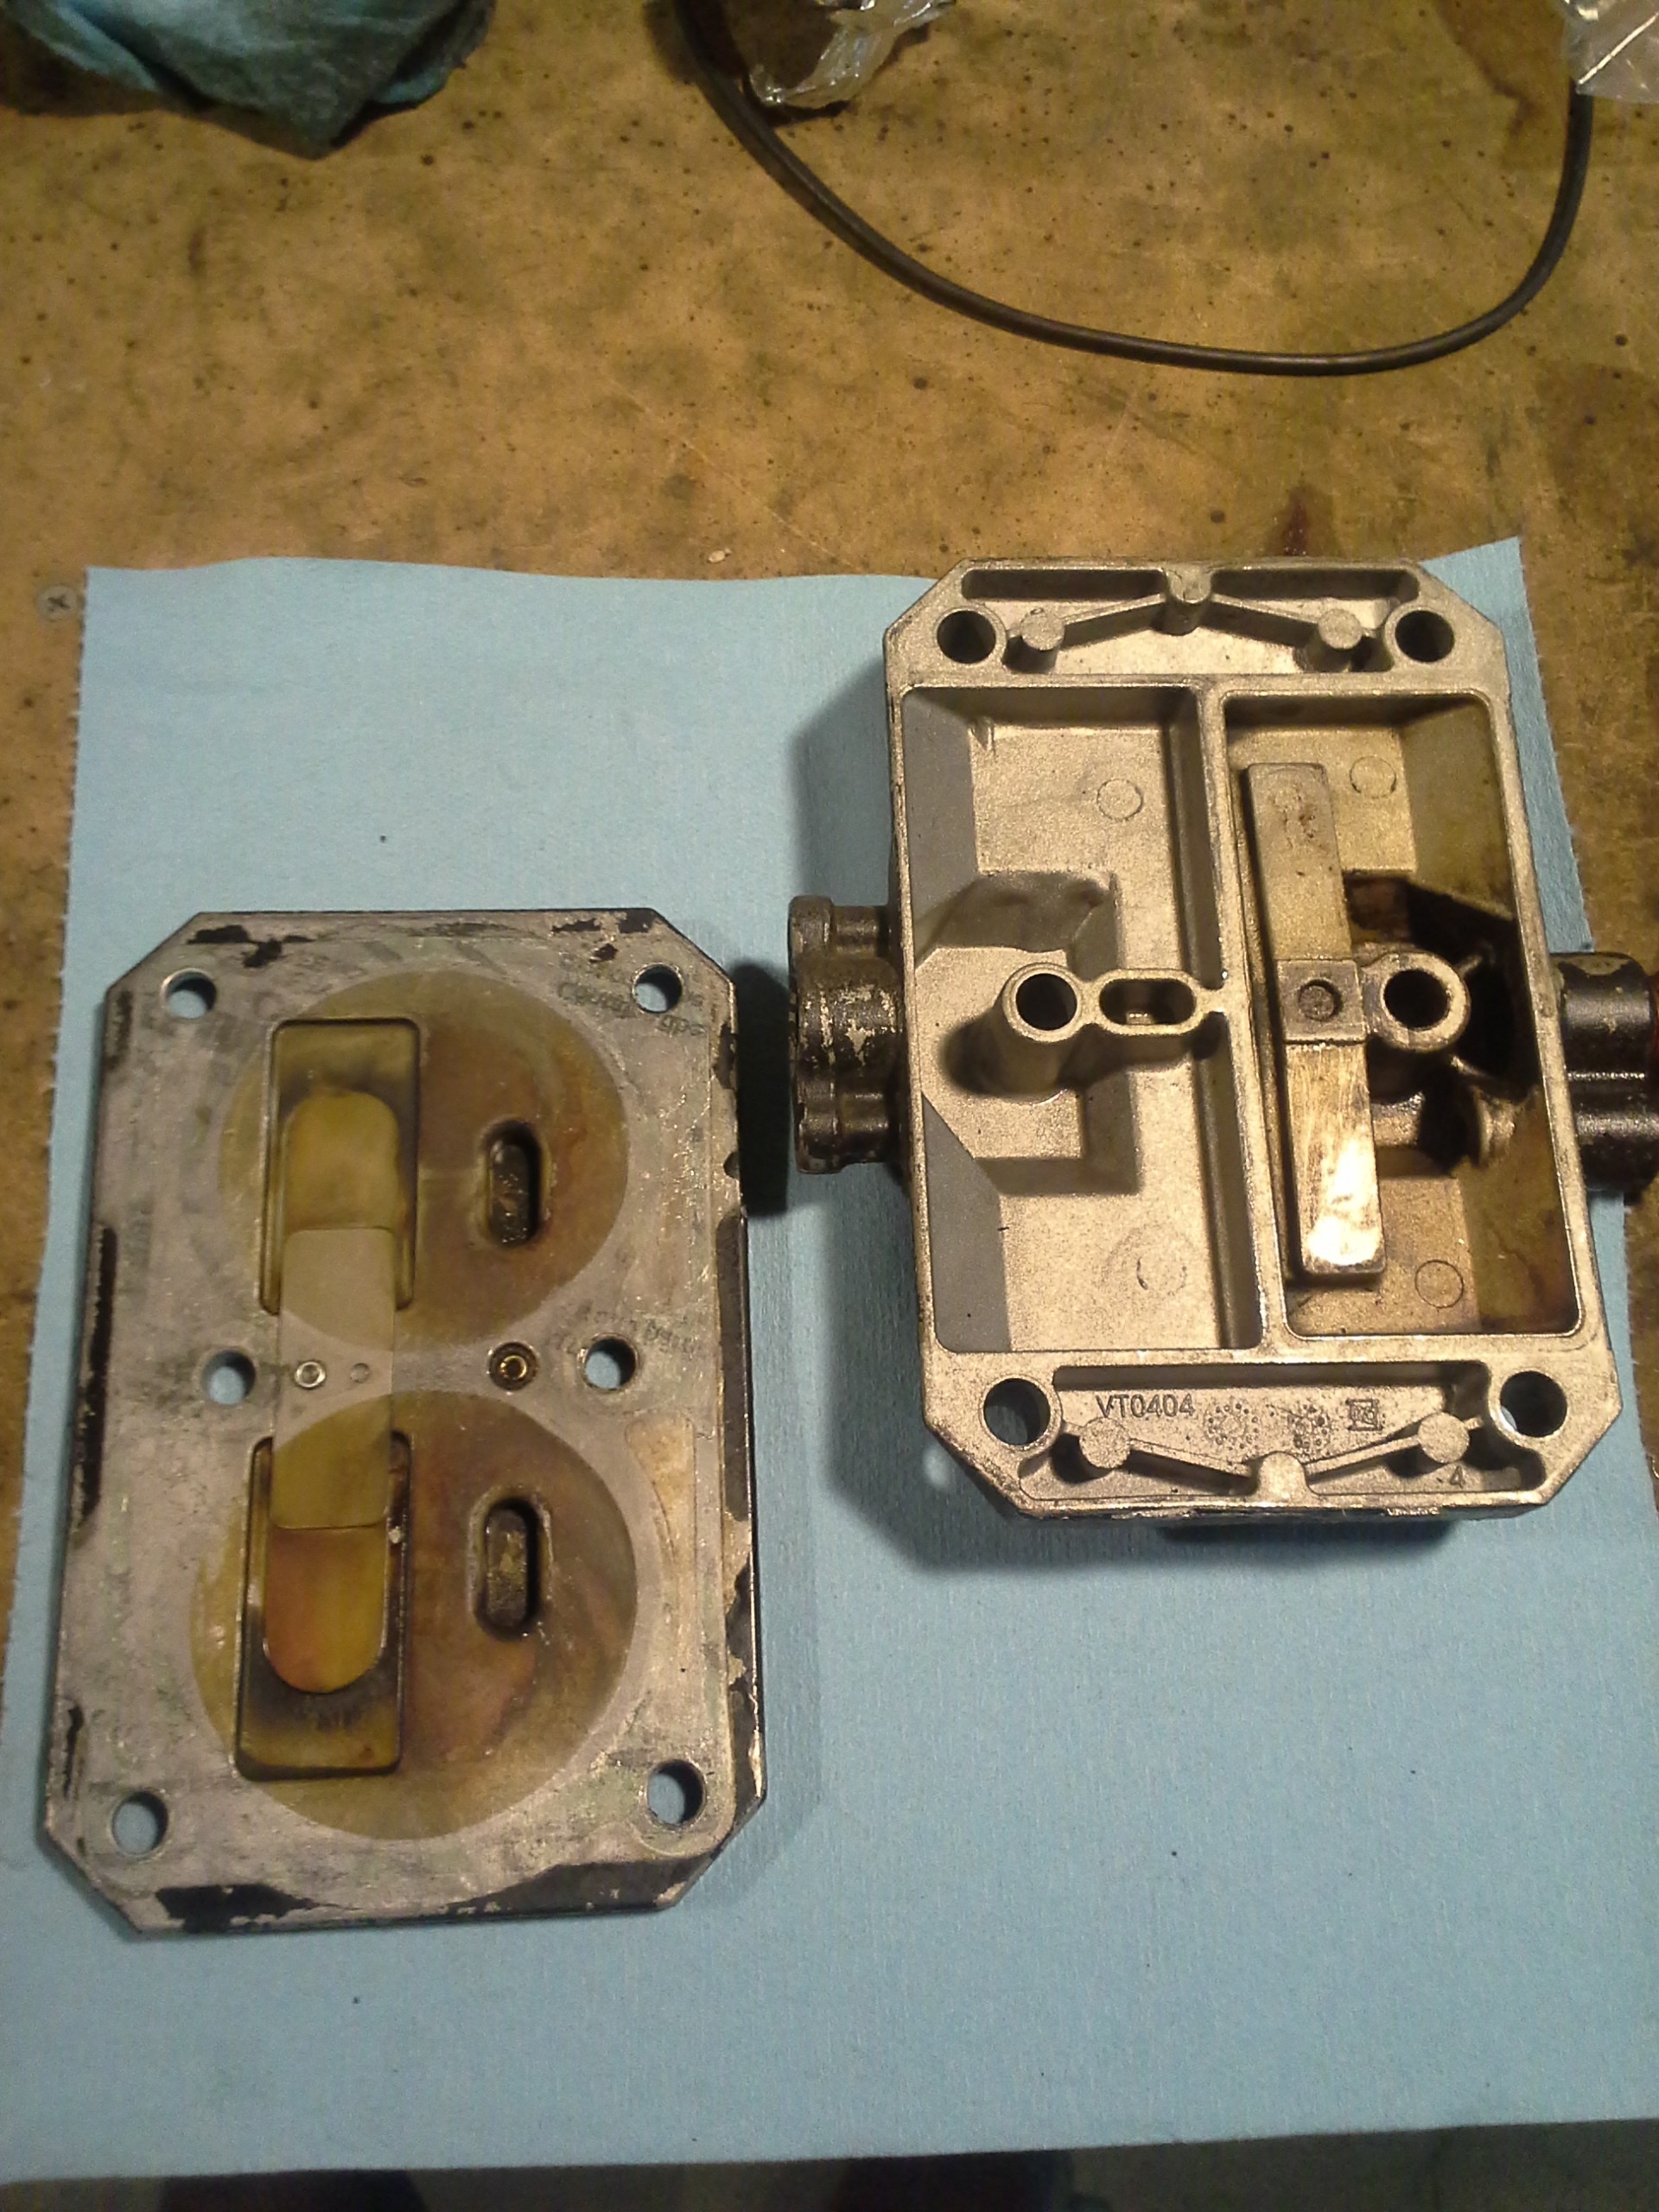
Here's a couple more photos from the teardown:
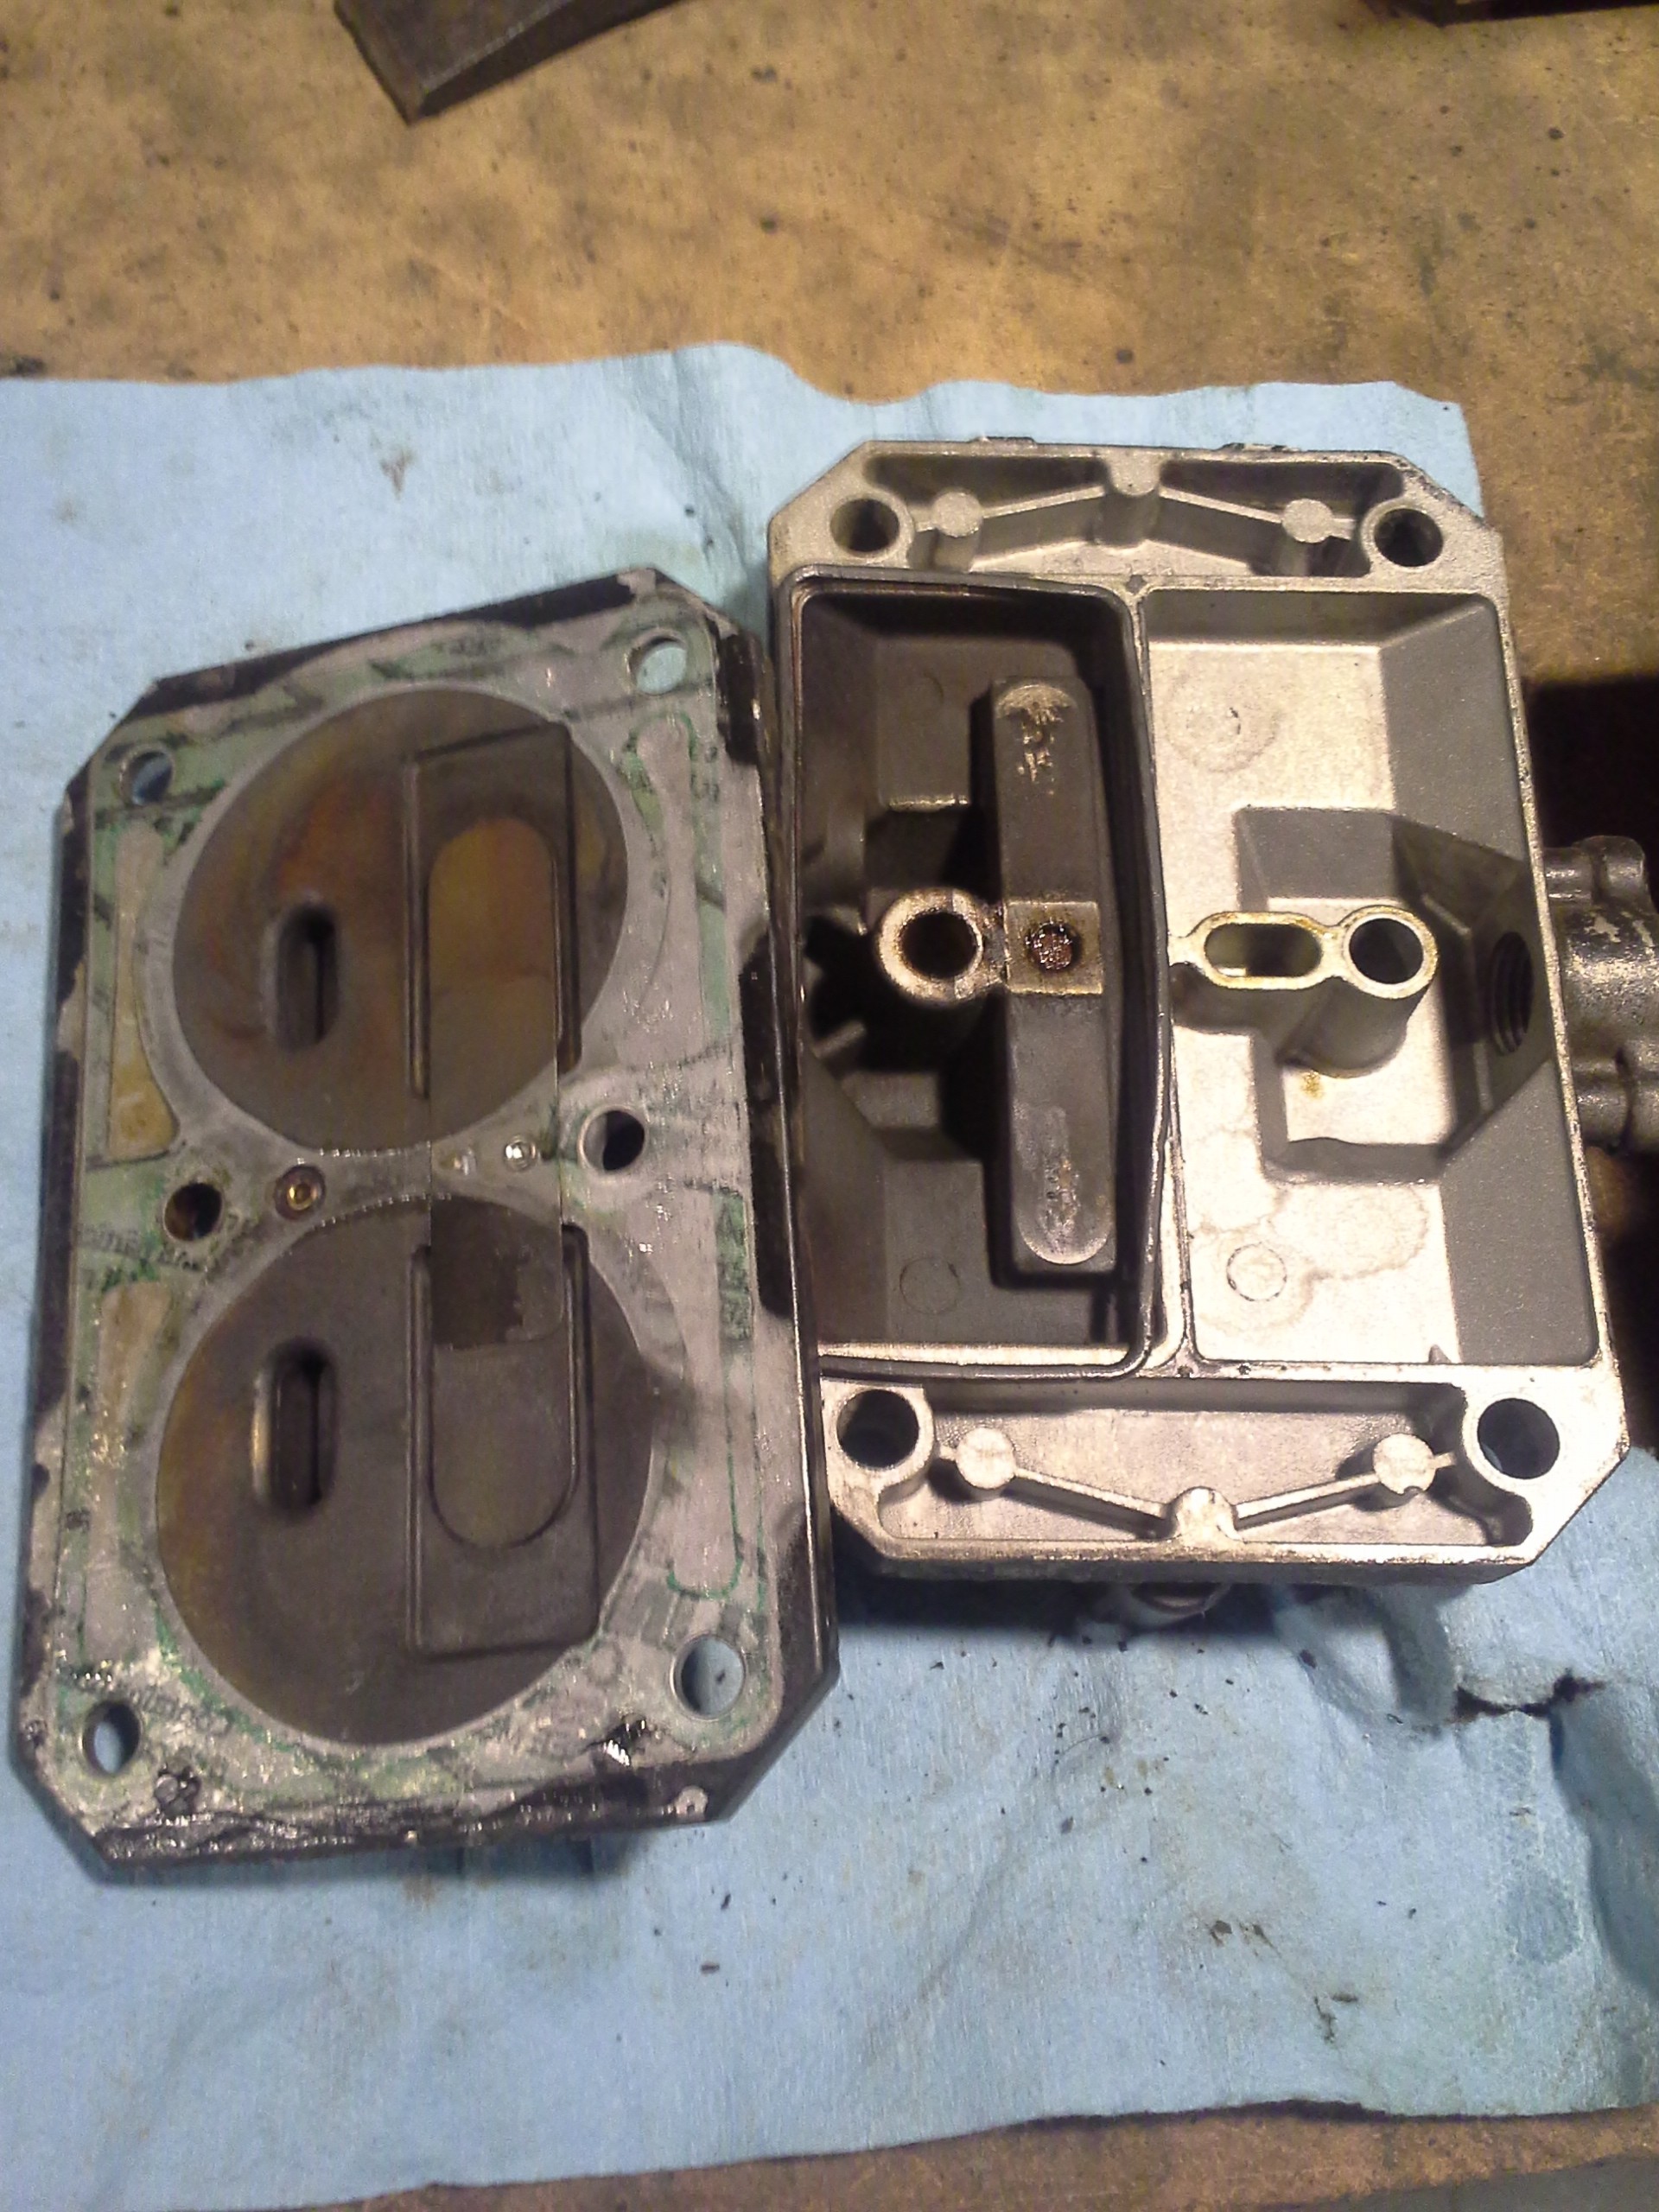
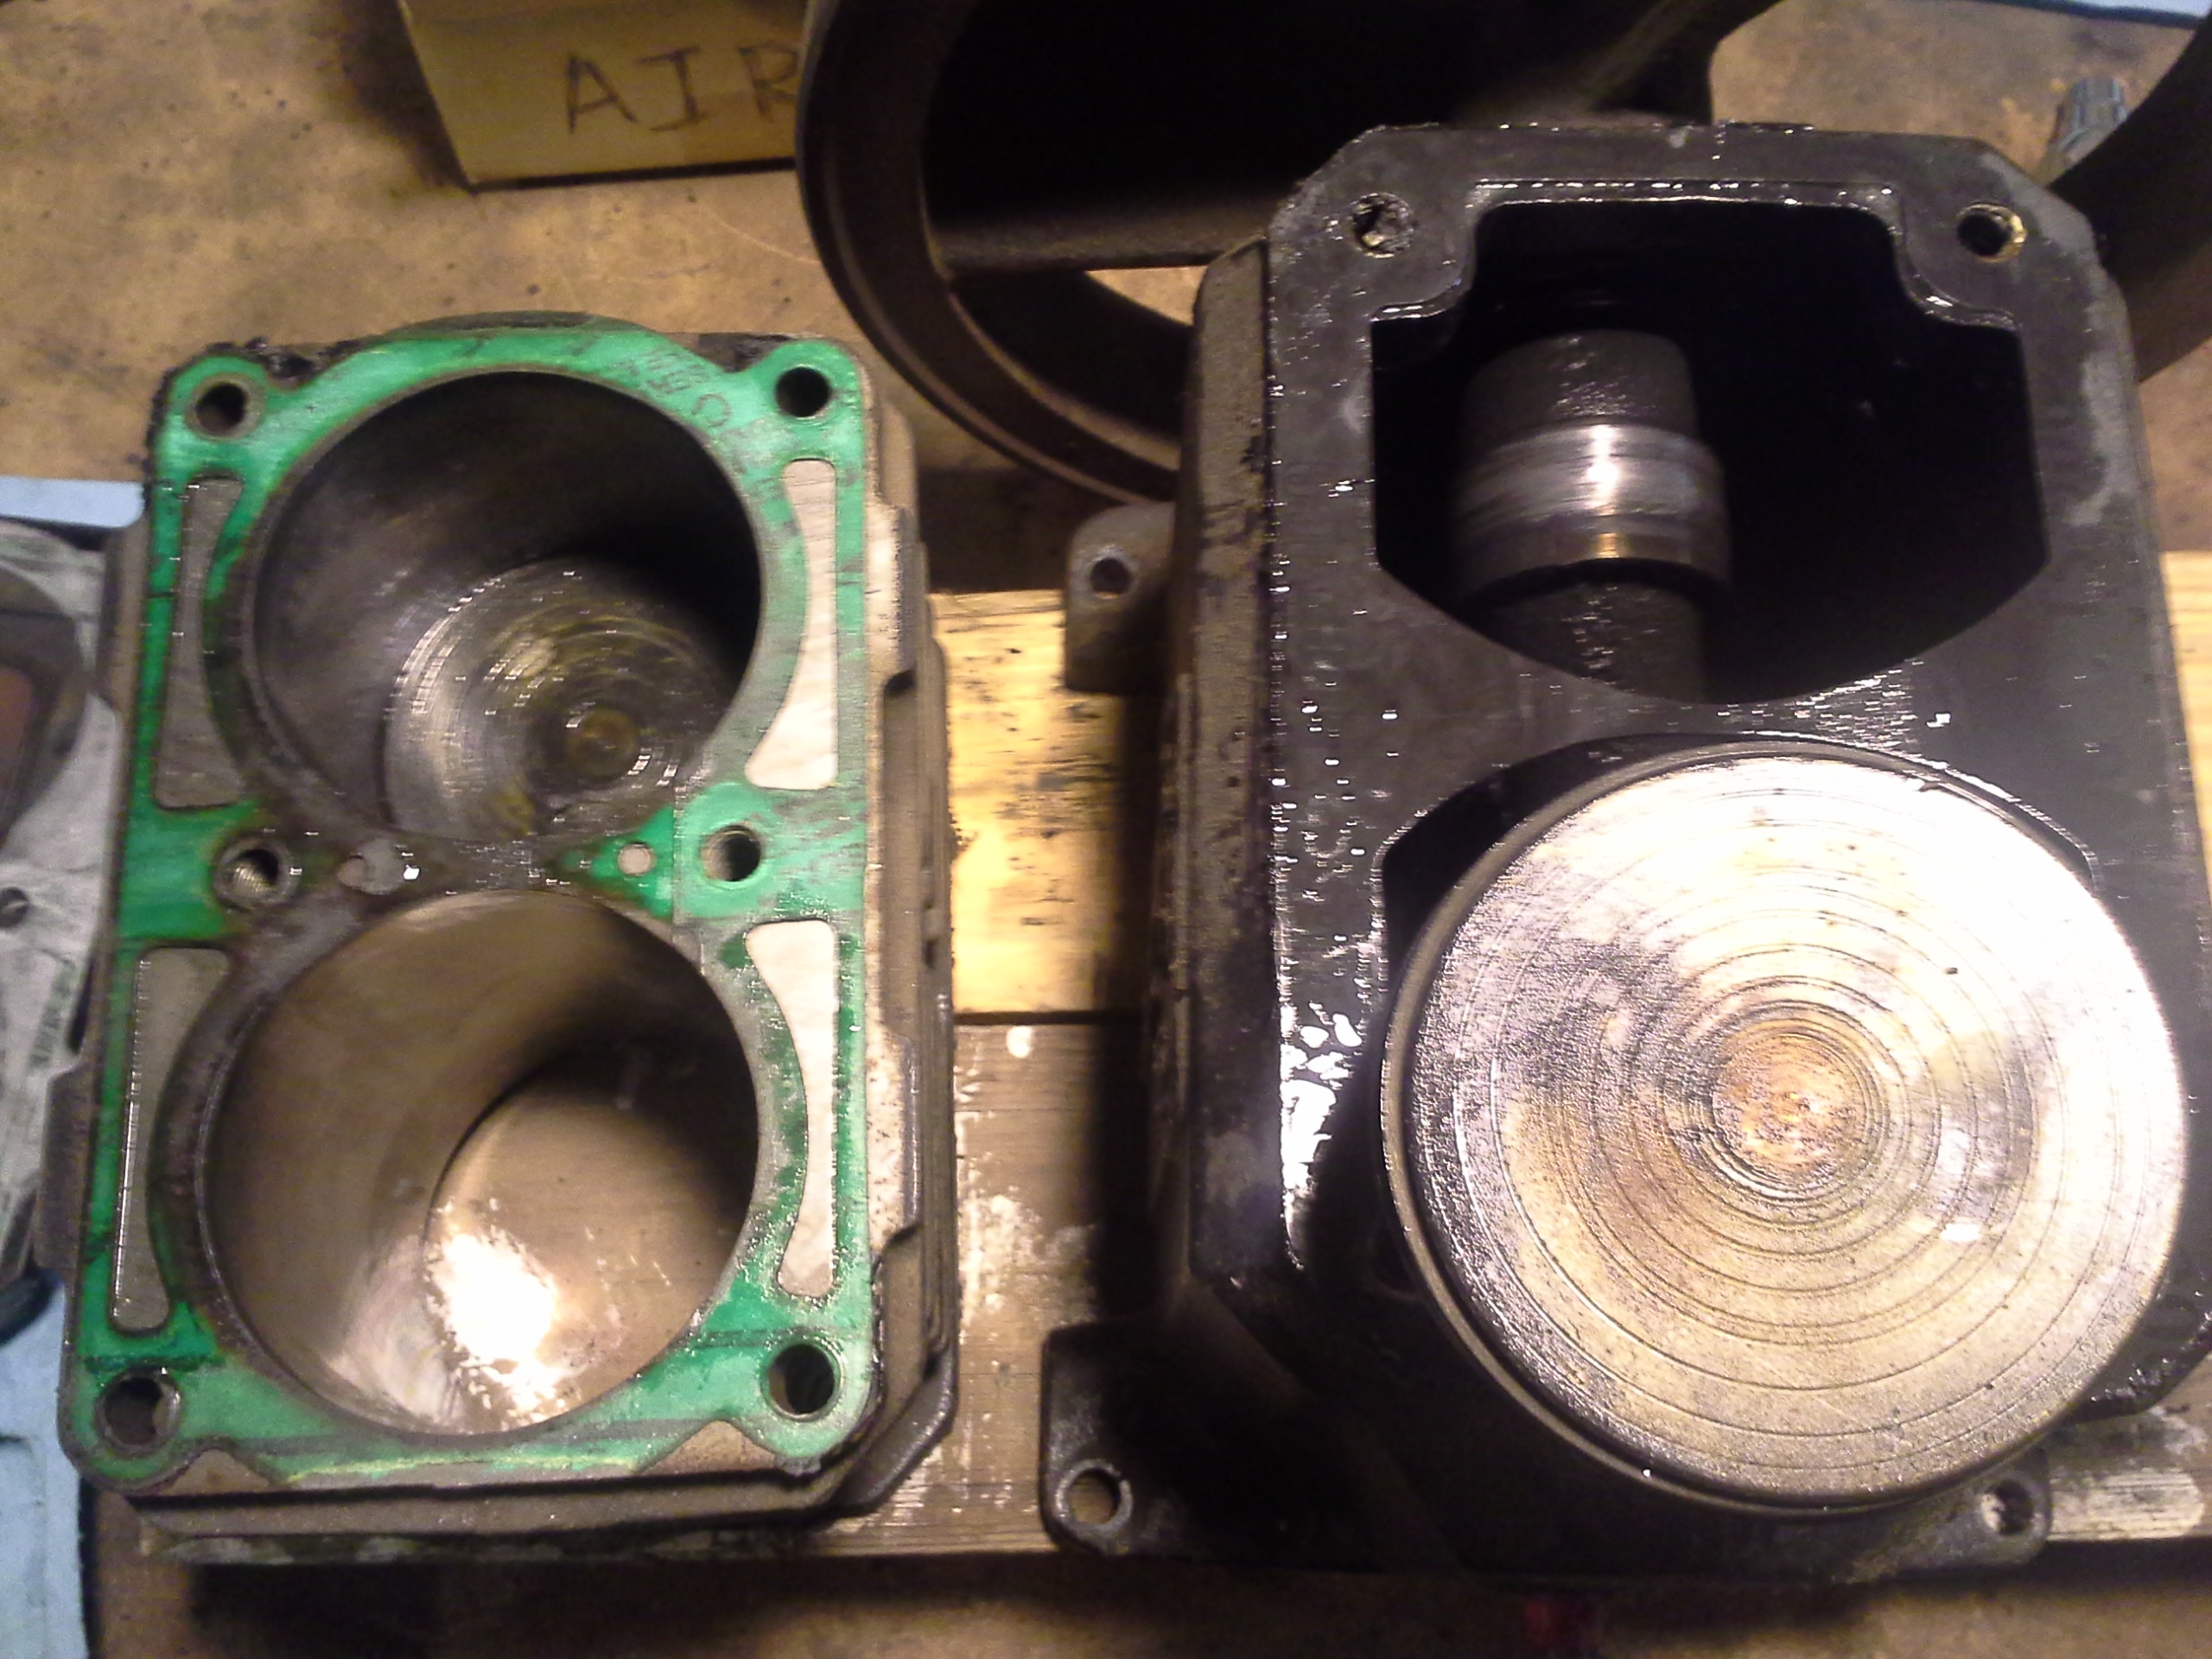
The pump head (right) and valve plate (left). The metal flaps on the right hand side of the valve plate are the intake valves -- the flaps lift to allow air to be drawn in, but they close when the compression stroke starts. The other side has a similar set of valves for the compressed air.
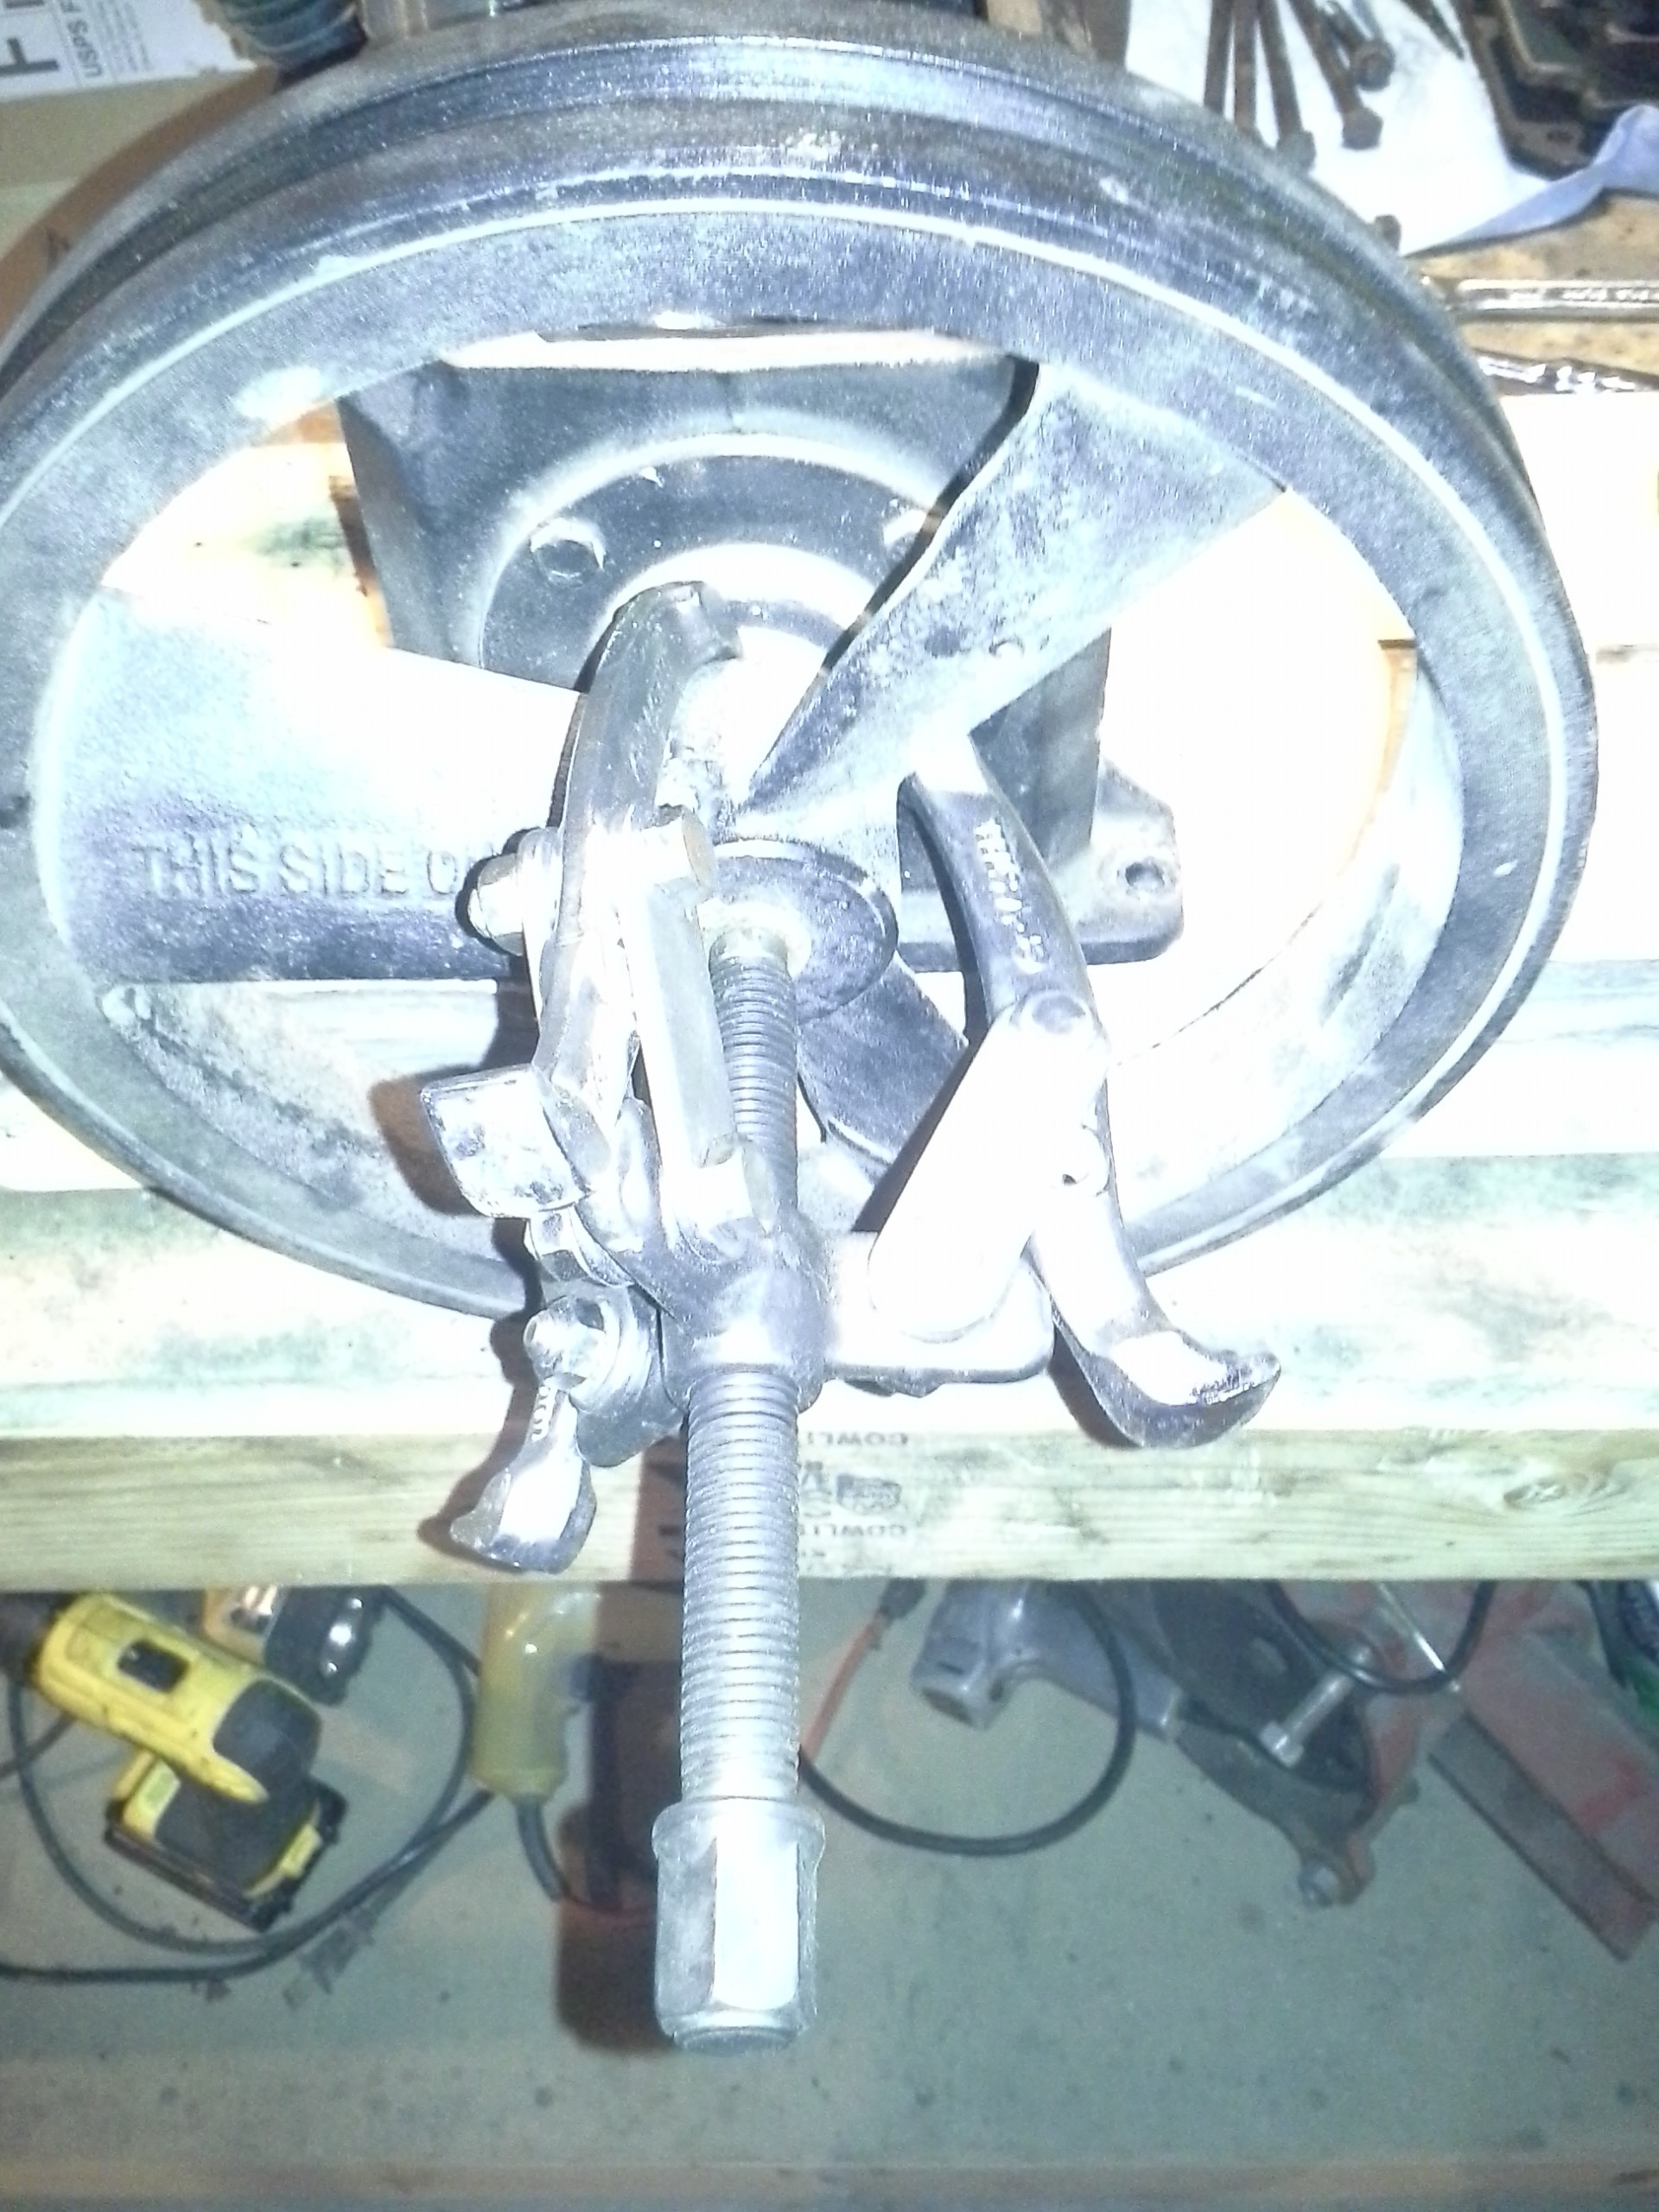
A terrible picture of me pulling the pulley off the pump. The pulley sits on a slight taper and is held in by a key. The three jaw puller grabs the back of the pulley and pushes against the crankshaft to pull the pulley off. It's really quite a handy tool to have.
Okay so the first matter of business was to clean up the crankshaft and get it ready to have a new conrod installed. The crankshaft has two bearings at either end that it turns on. In this parts diagram, the crankshaft is part 9, the bearings are part 8, and the conrod is part 6:
https://mastertoolrepair.com/images/VT470000AV%20Pump.gif
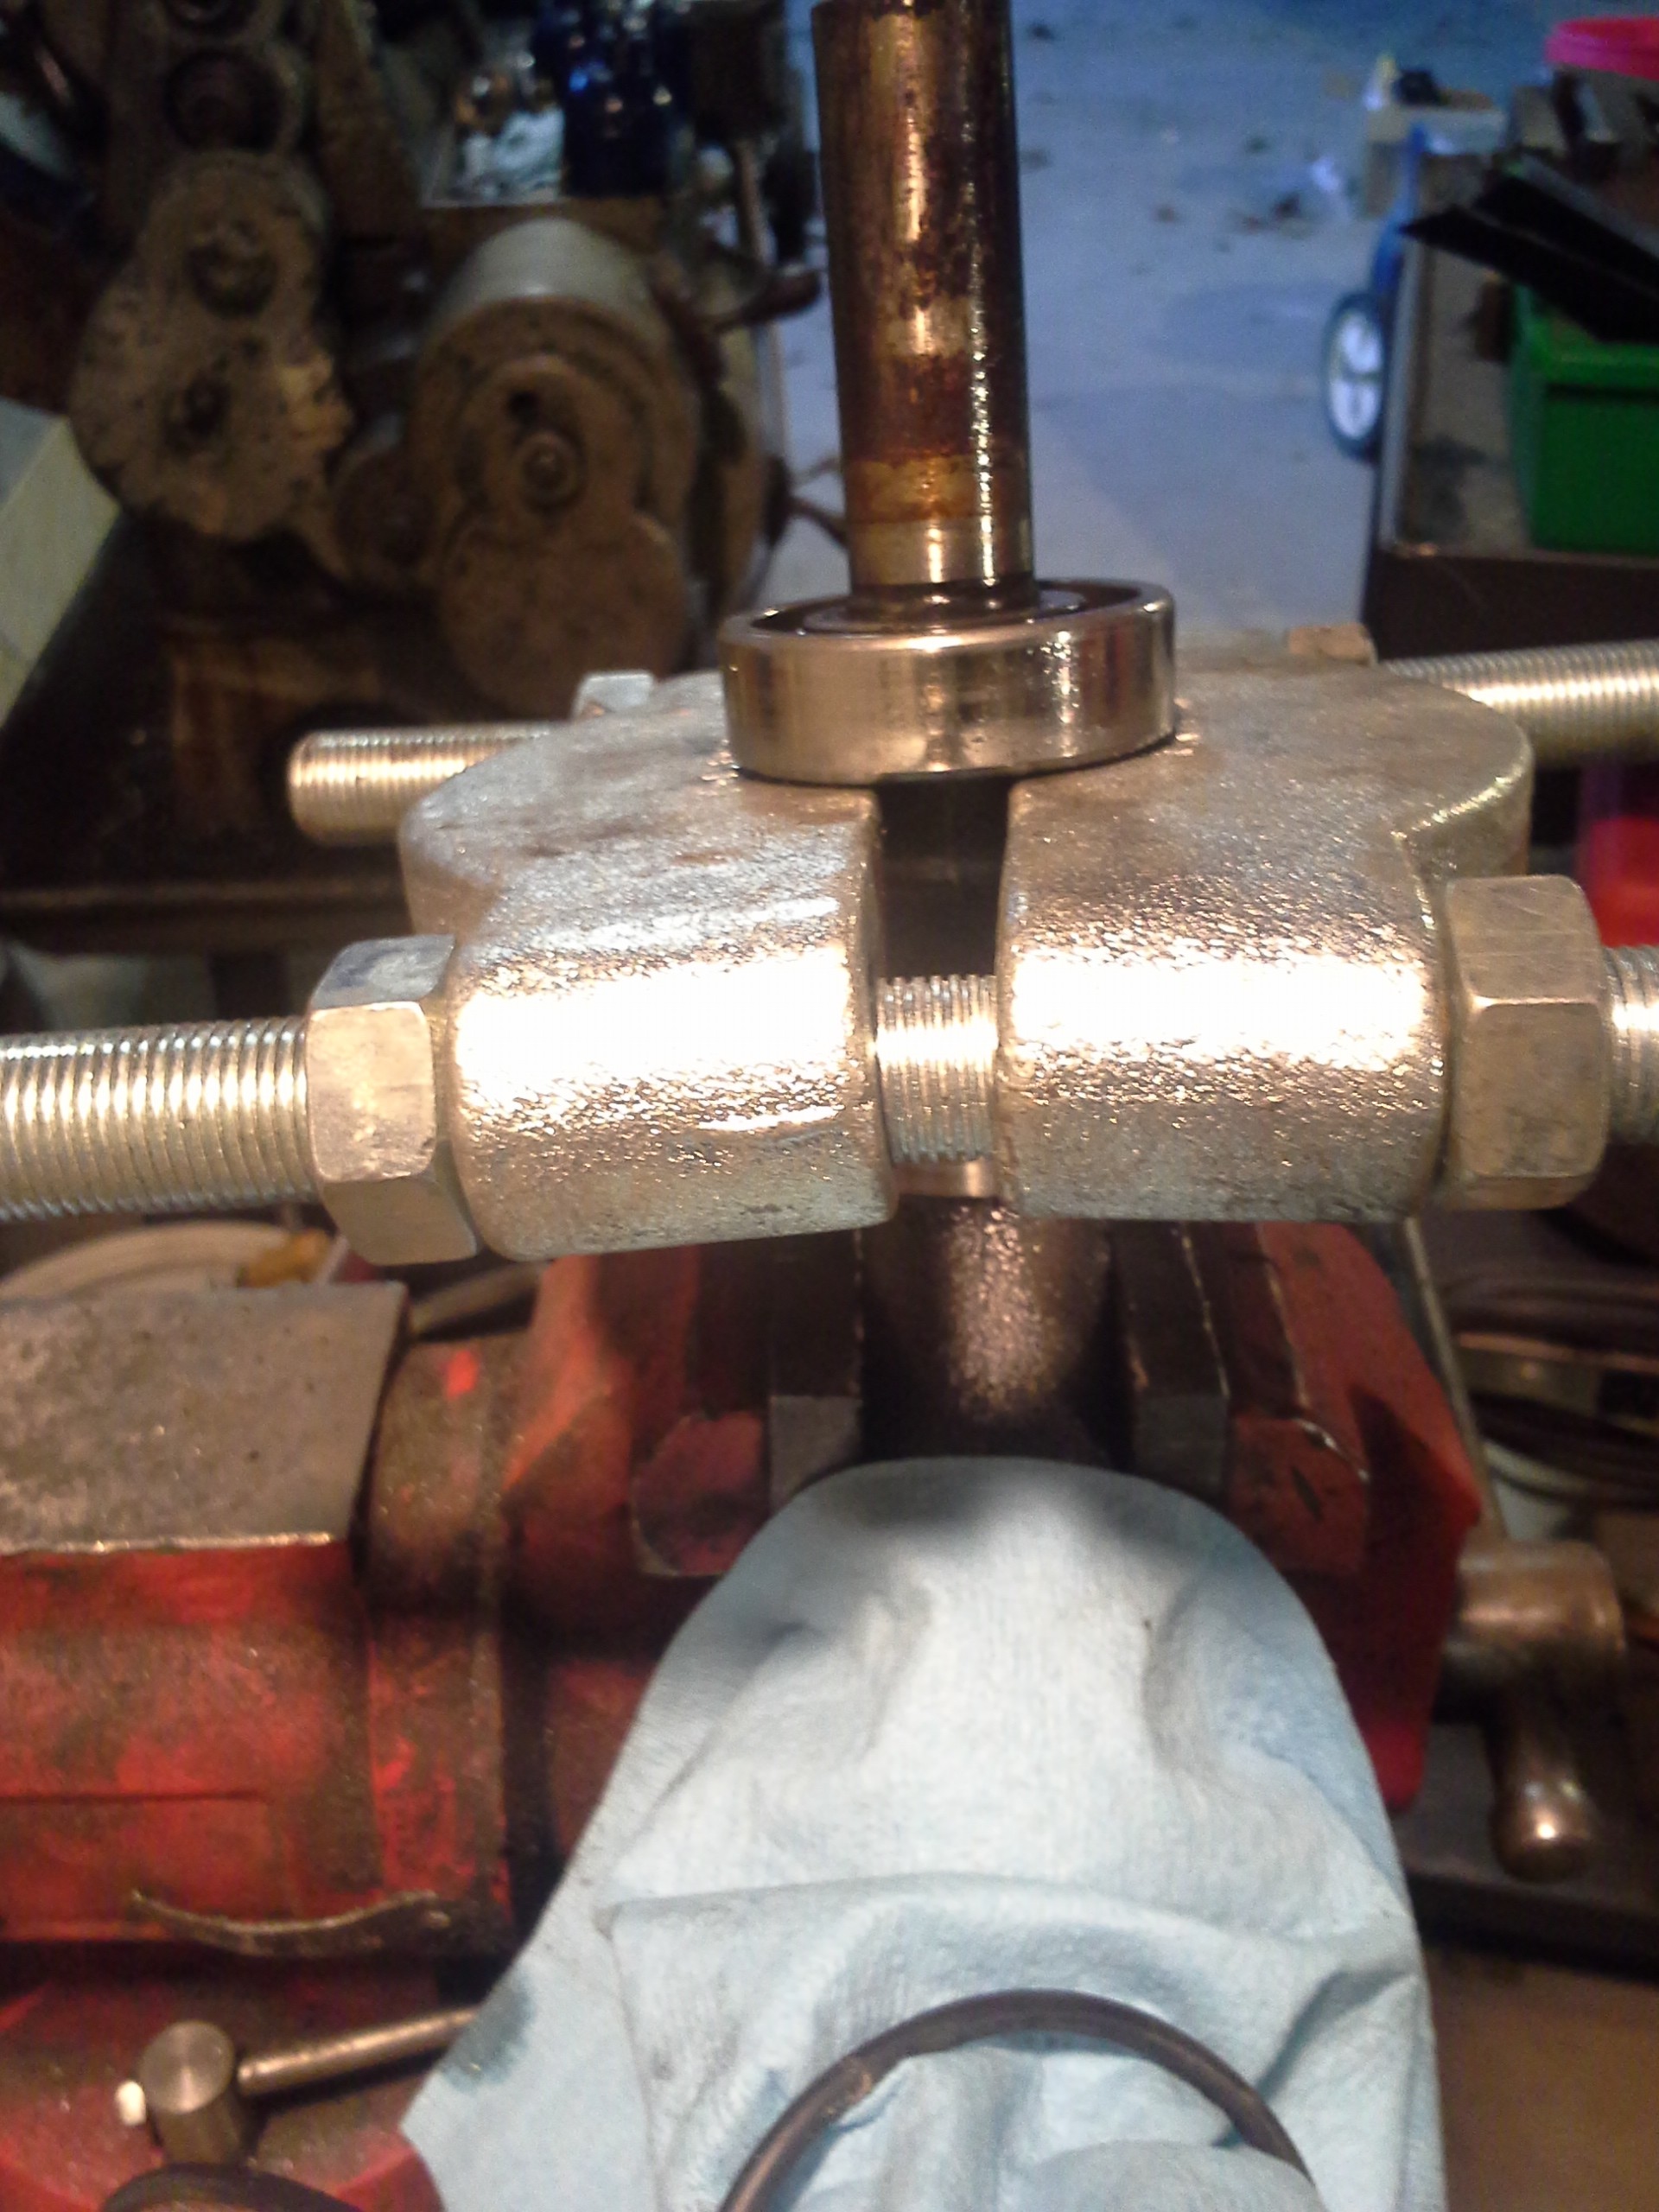
I filed the jaws of my eBay-special bearing puller so as to be able to better grab the bearing itself, then tightened it on. The bearing puller allows me to easily put force on the inner race of the bearing--you don't want to put force across the balls in a bearing because that will damage the races.
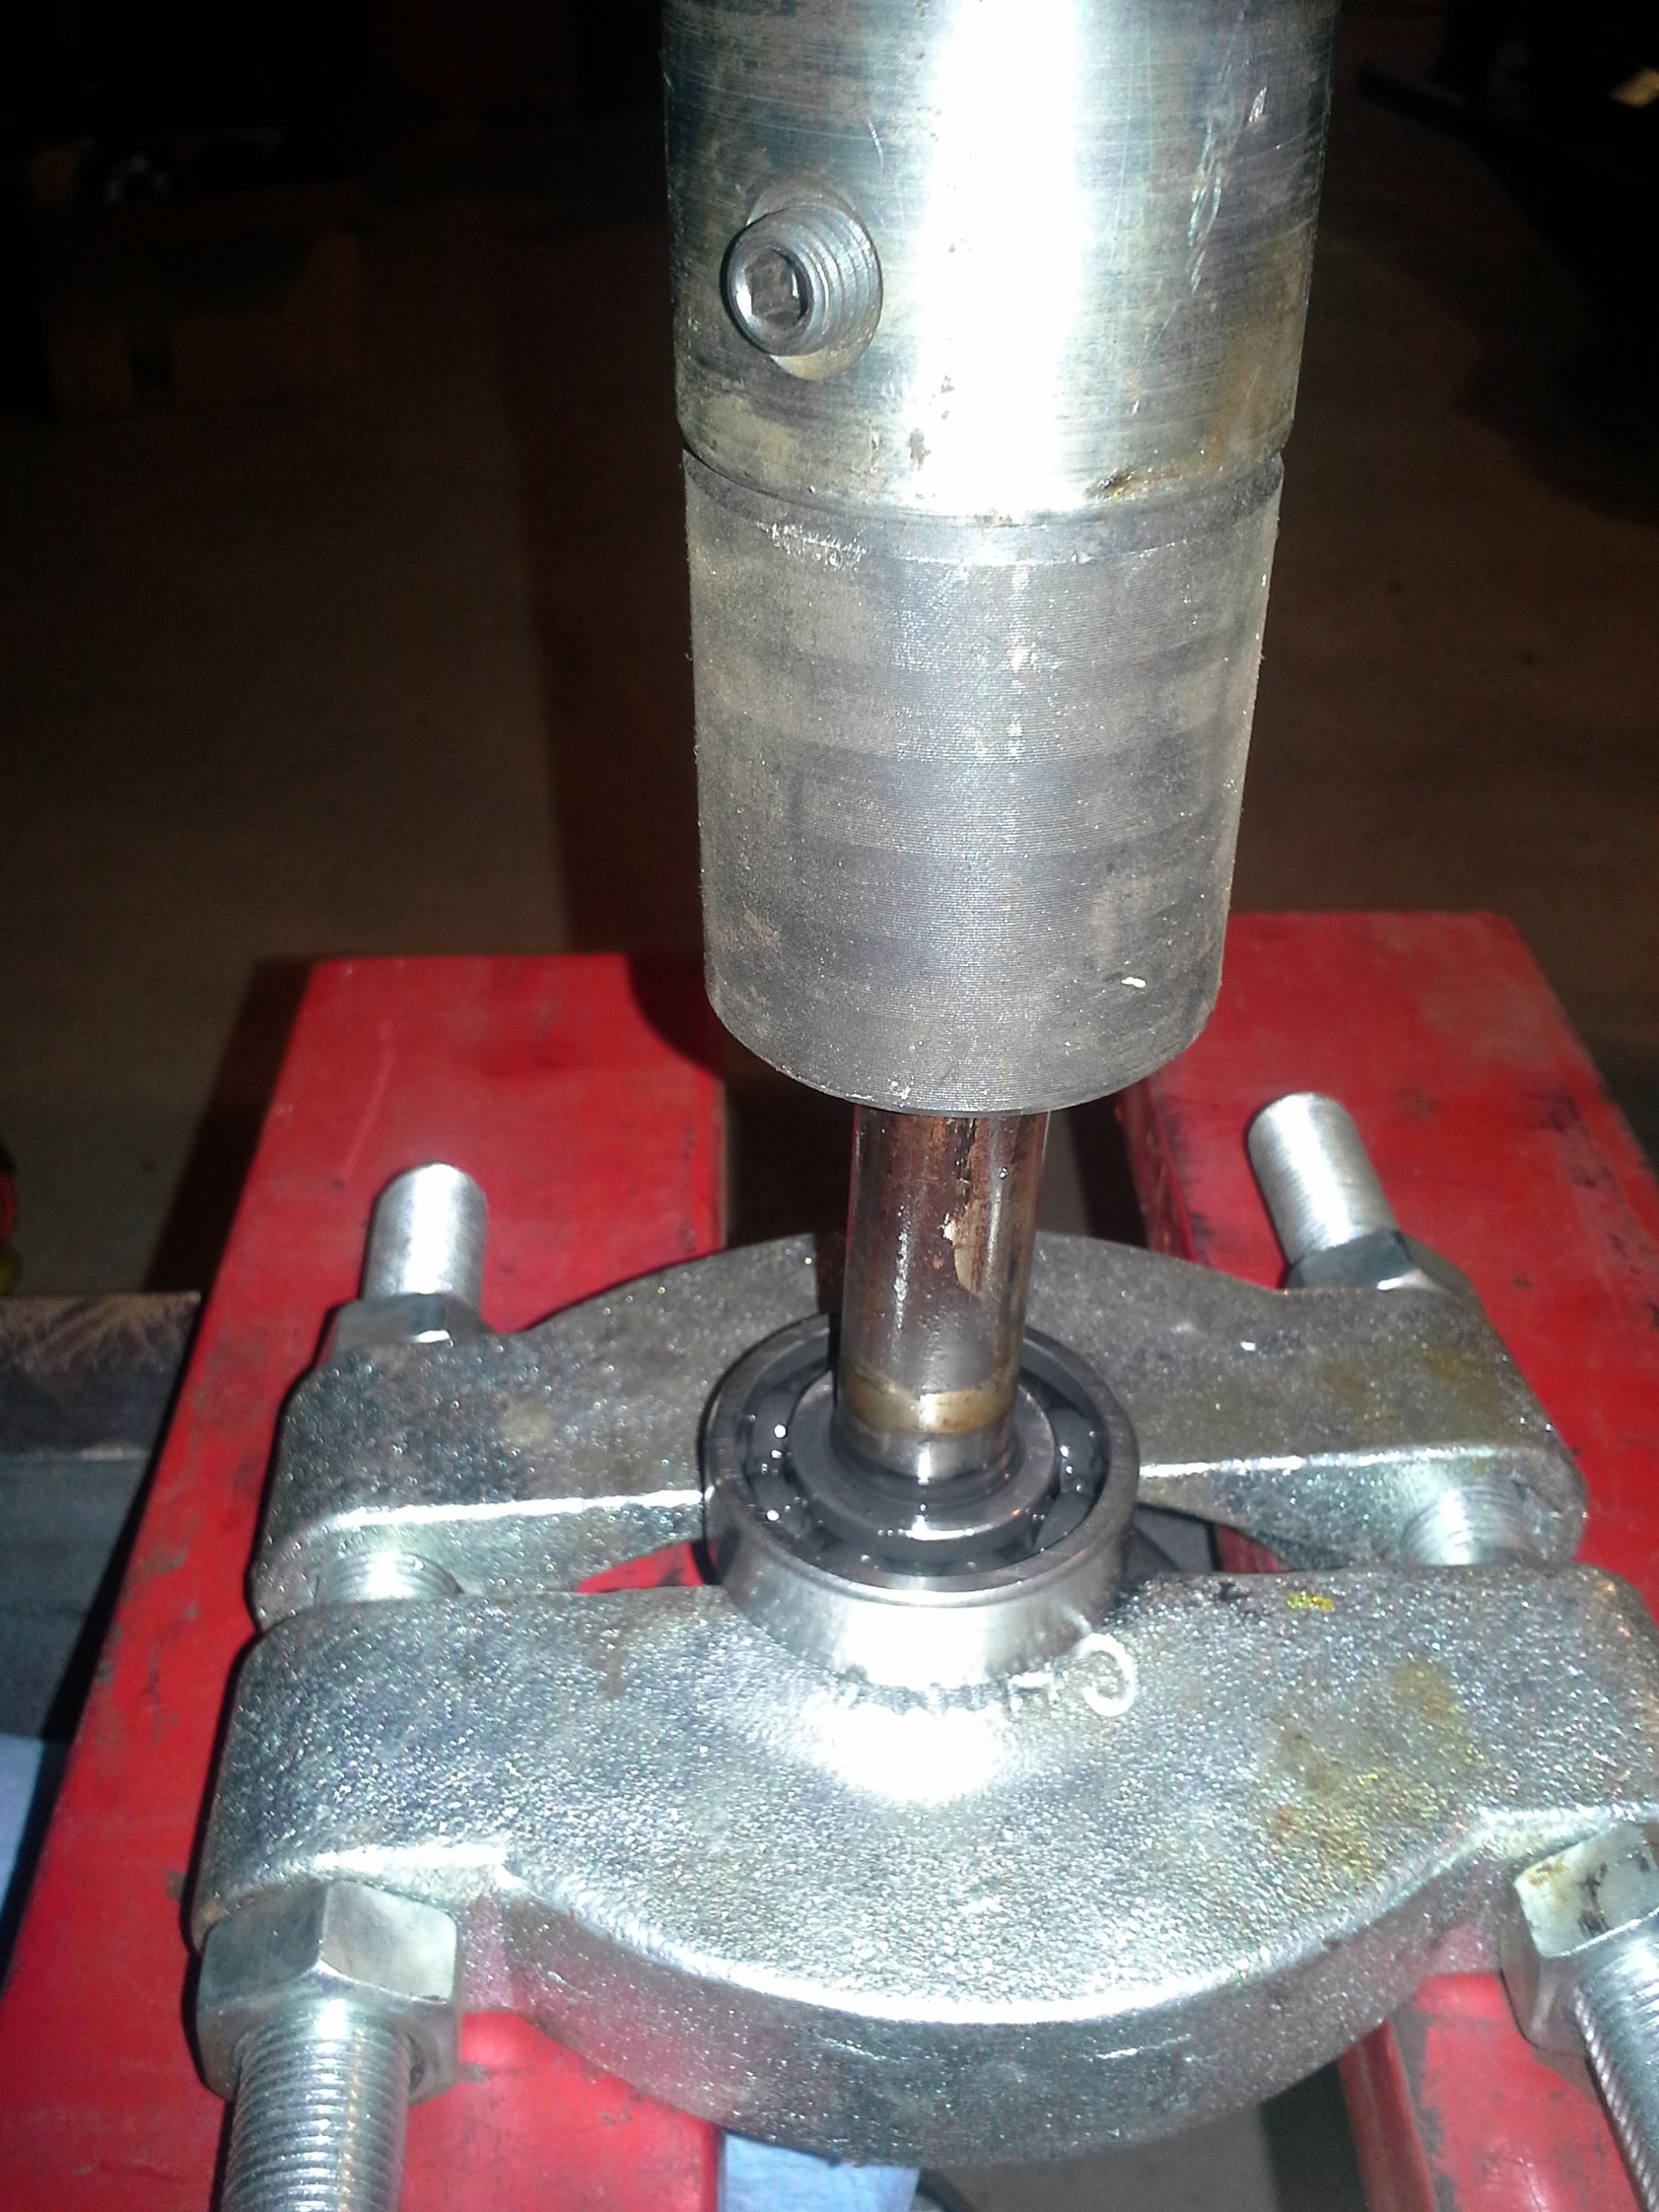
Set the puller in the press, and press the bearing off:
Next, I had to clean up the crank journal the broken conrod ran on. If you look in this picture, you can see that it's discoloured in some places:
I used a file to knock a couple burrs off it, then polished it with a lot of oil and some 400 and 600 grit sandpaper. It's important for this to be smooth, since the thin film of oil between this and the conrod is all that keeps the two from sticking together. The end result is quite good; there's a little bit of surface discoloration left in one part but everything else cleaned up well:
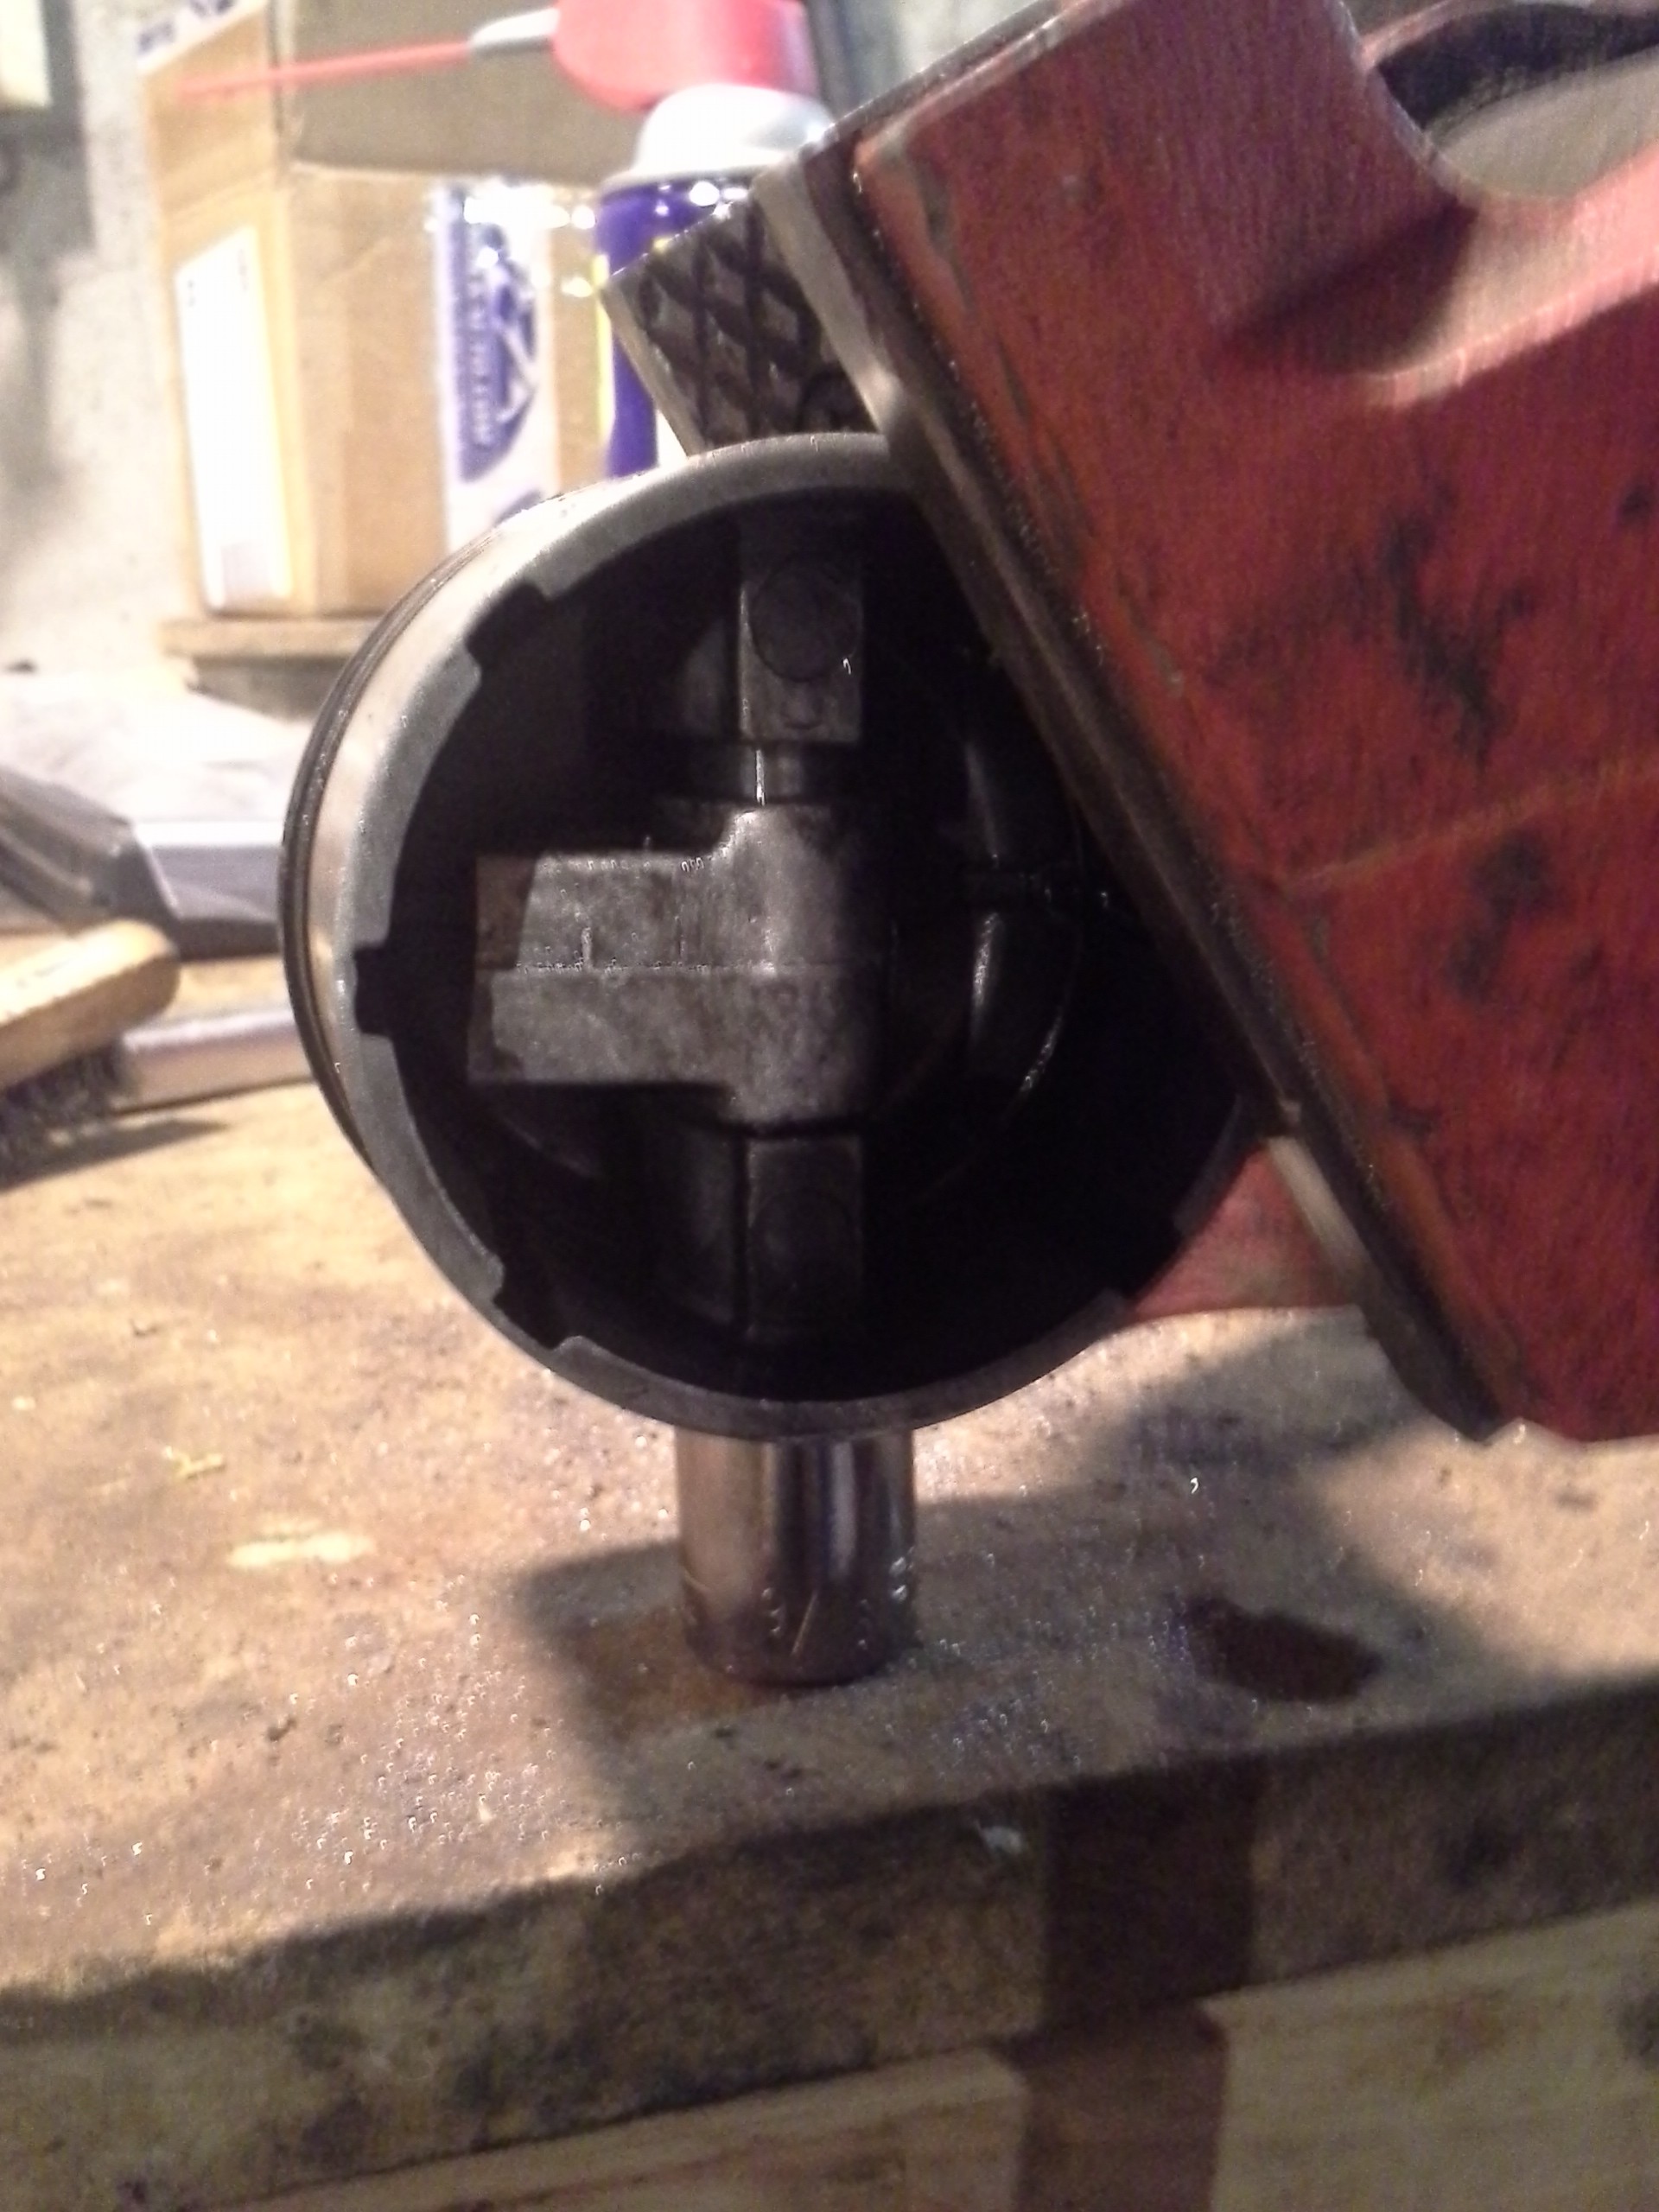
Now to remove the broken conrod end from the piston. The two are connected by a pin (#7 in the parts diagram) that is retained by two little spider clips. I suppose technically they're insect clips since they have six legs instead of eight....anyhow, I gently grabbed the piston in the vise, then set a socket under it to support the piston while allowing the pin to slide out.
A small punch and a couple taps from a hammer knocked it free:
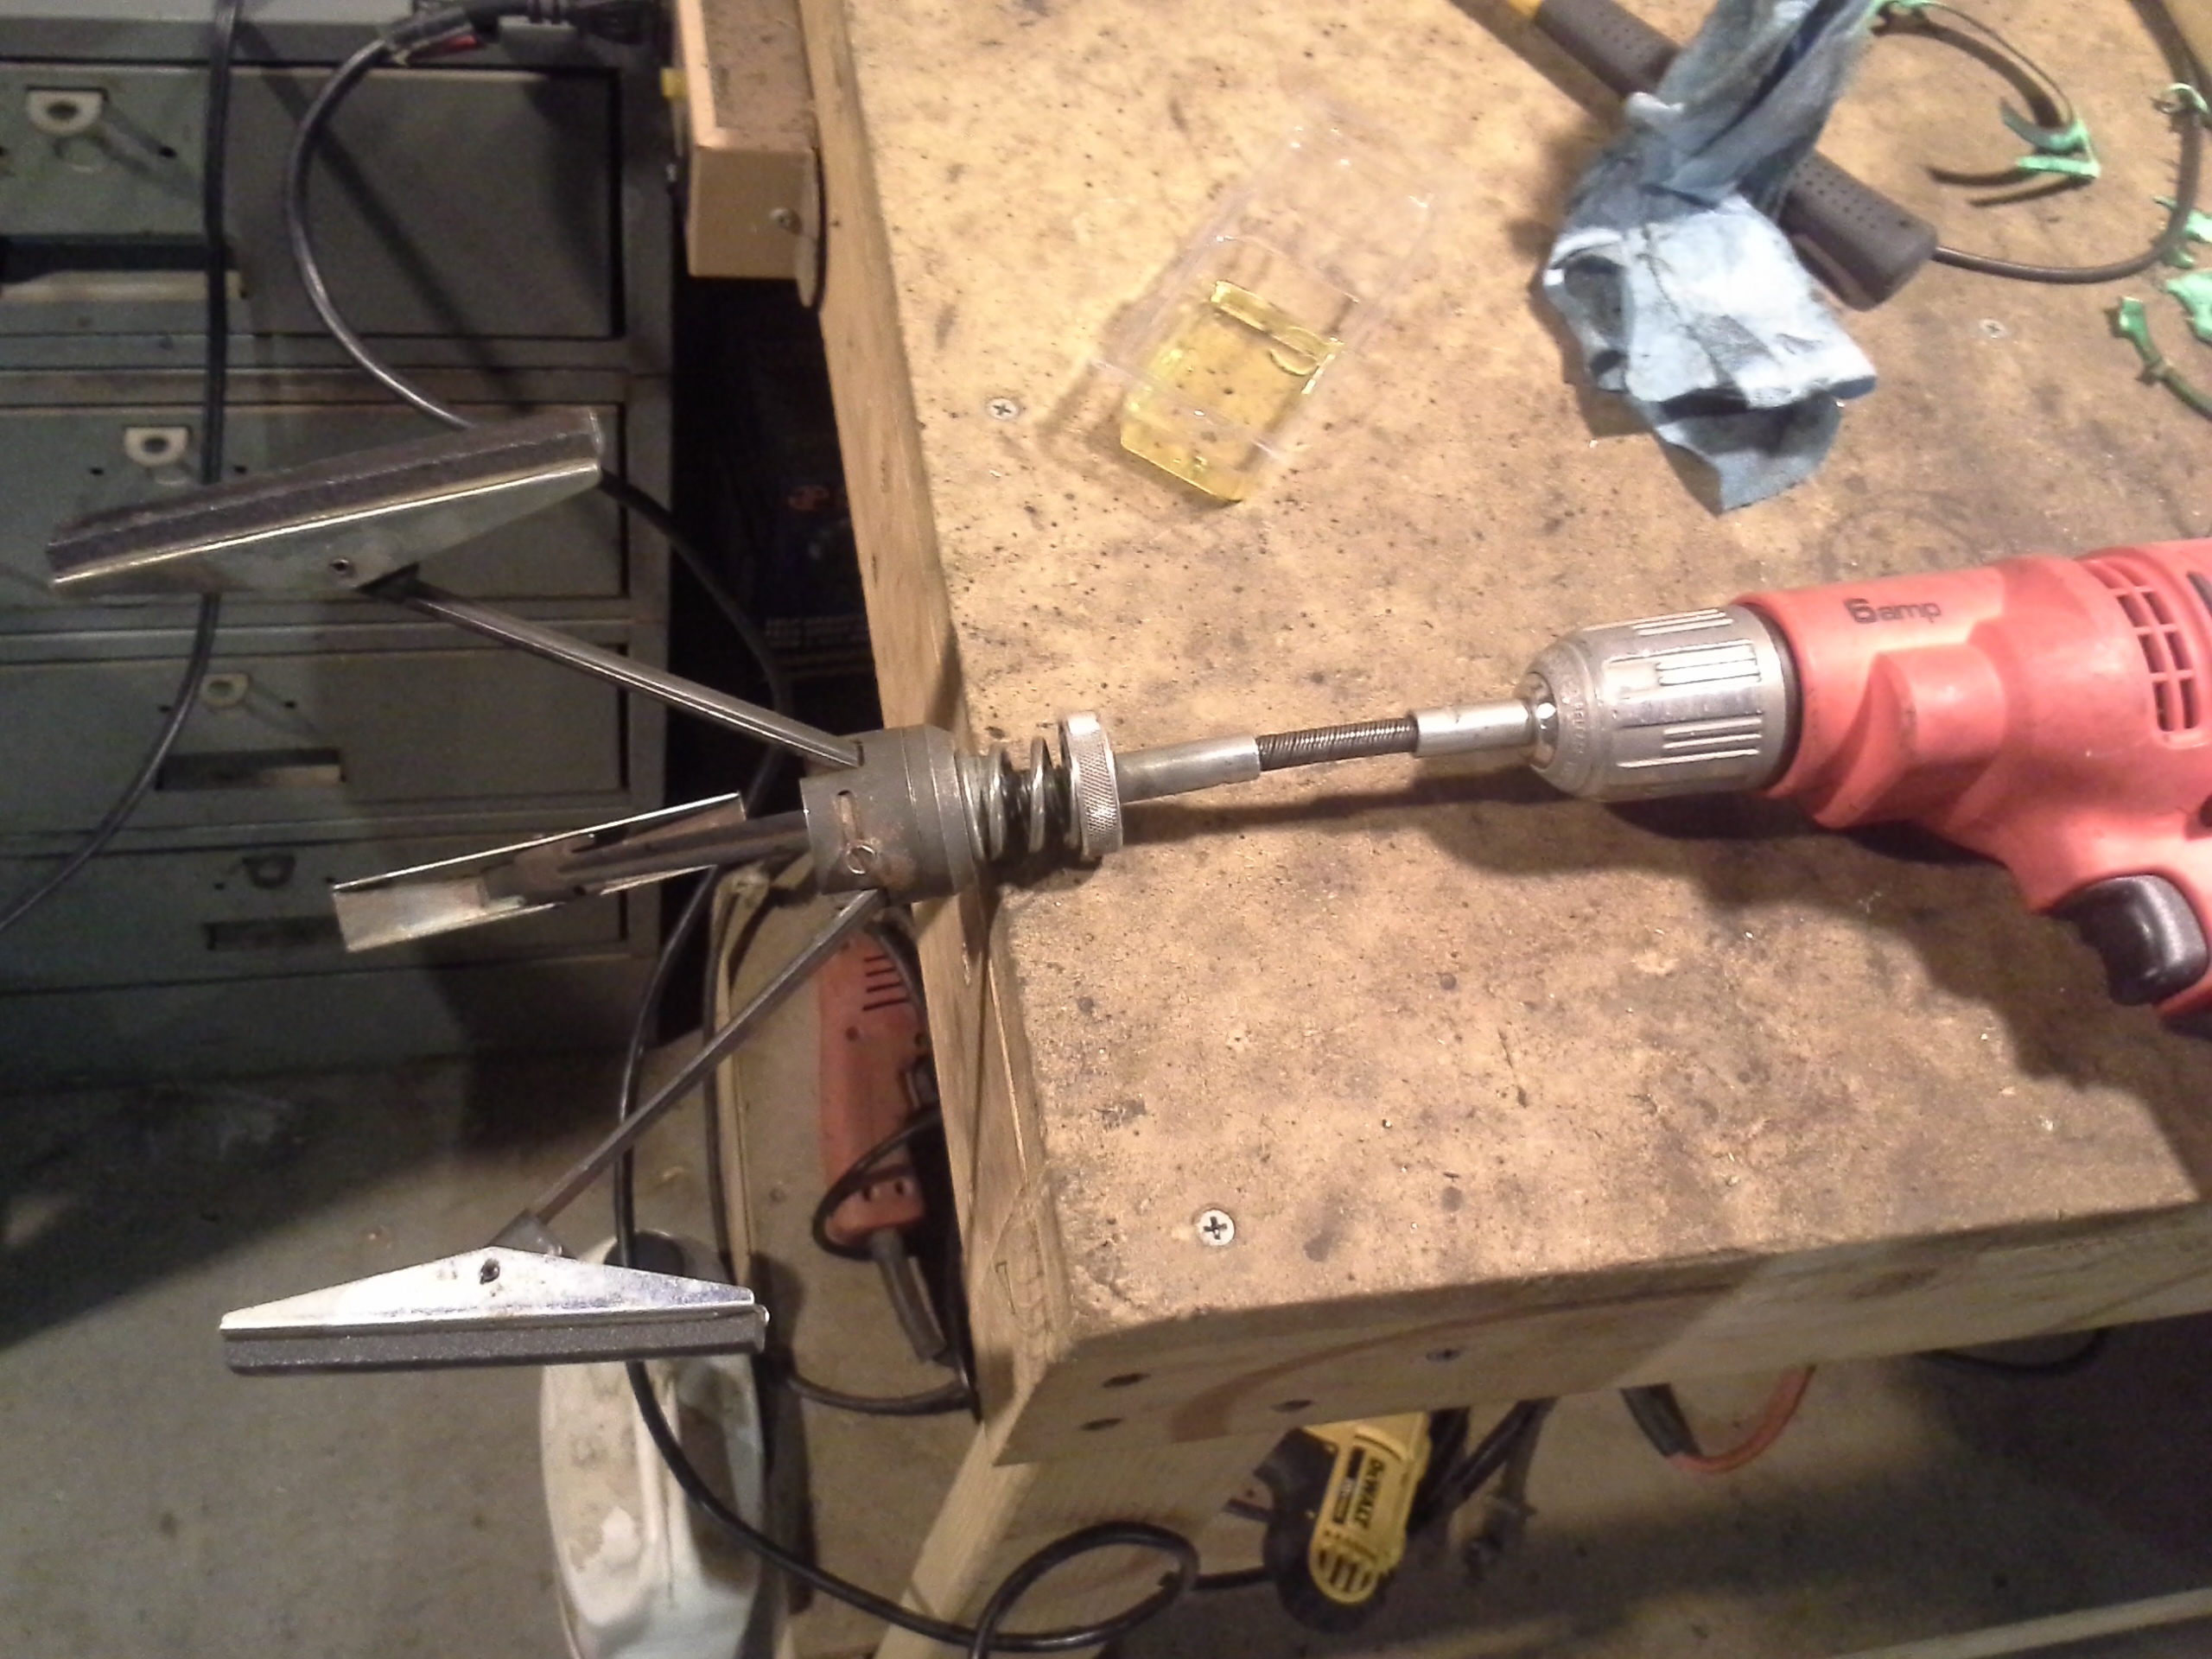
At this point, I'd completed disassembling everything. In order to keep the reassembly process as clean as possible, I opted to jump tasks and hone the cylinders before I reassembled anything. When replacing rings, it's a good idea to hone the cylinders to help the two "wear in" to each other so they mate well and last a good long while. This is a cylinder hone:
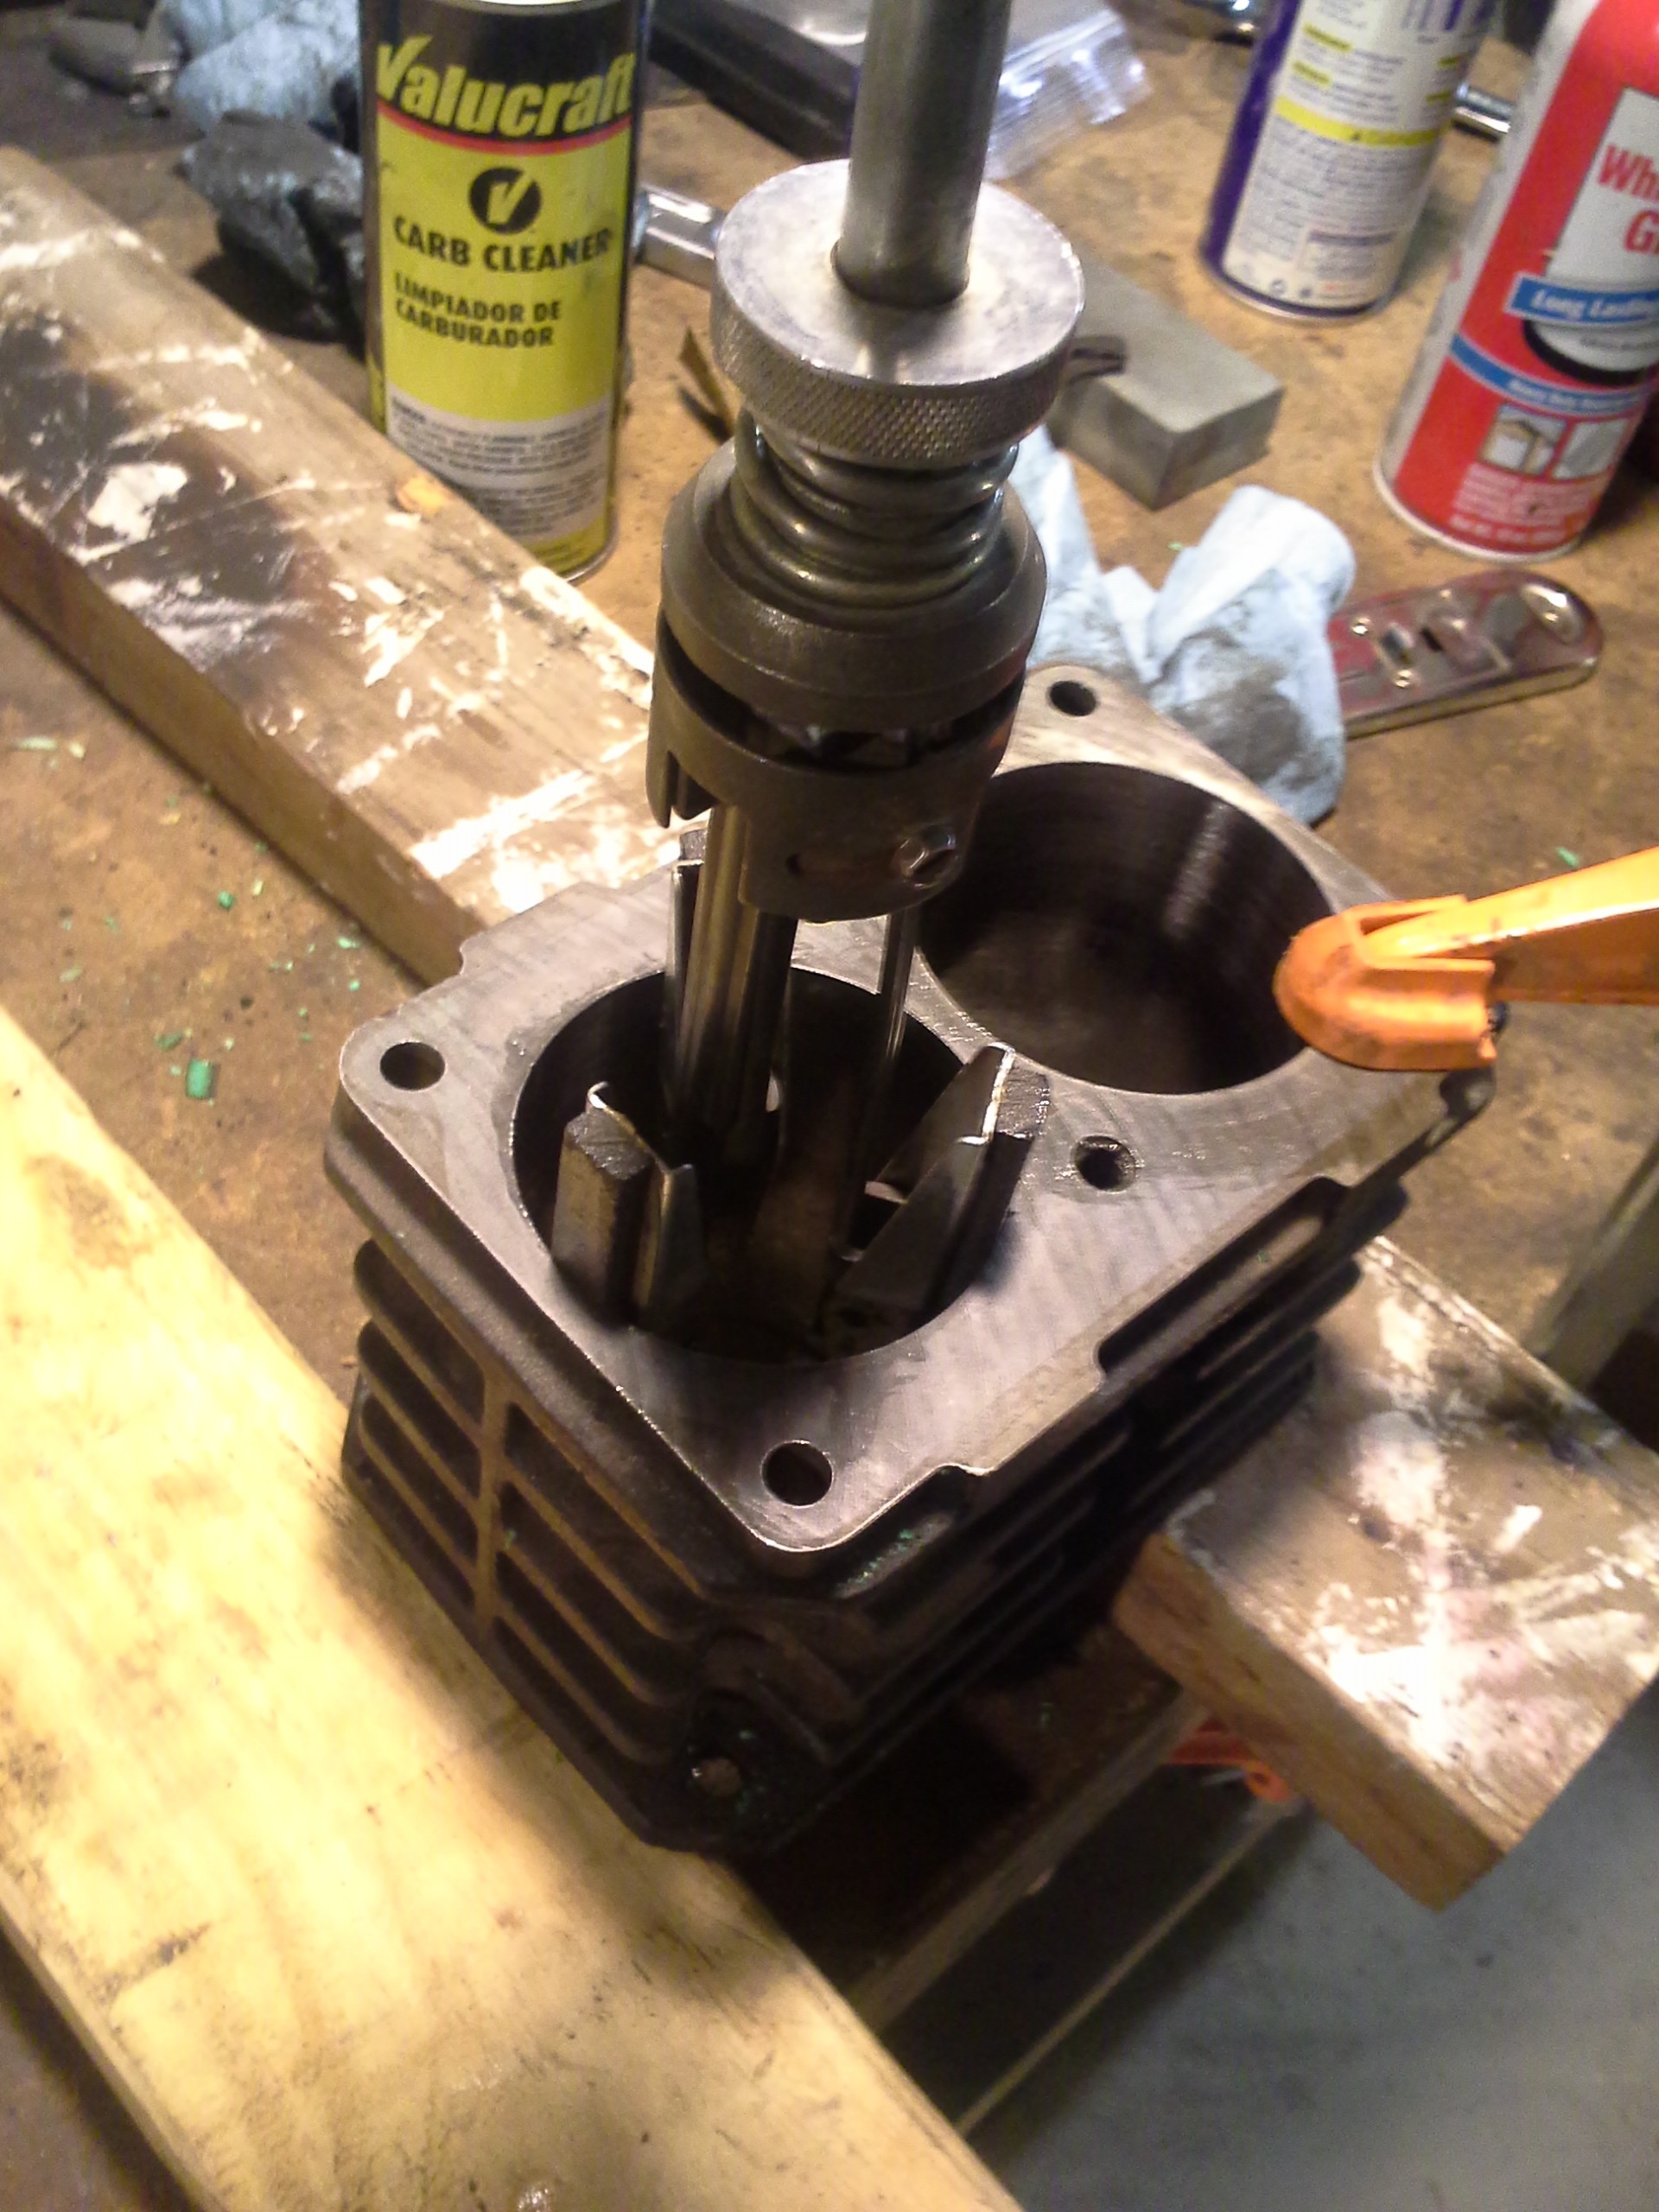
And this is how you use it:
The general idea is you run it in the drill and slide it in and out real fast, and it puts a nice crosshatch on the inside of the cylinder. (Naturally, you use a LOT of oil to keep everything lubed and to help wash the grit out of the cylinders as you hone.) I think I did an OK job; next time I will lay the cylinders on their side so it's easier to slide in and out quickly.
I then stopped and spent a lot of time cleaning the crankcase, the cylinder block, and various other parts of the pump. Everything that got cleaned got coated in a thin skim of SAE-30 oil, which is what the pump runs on.
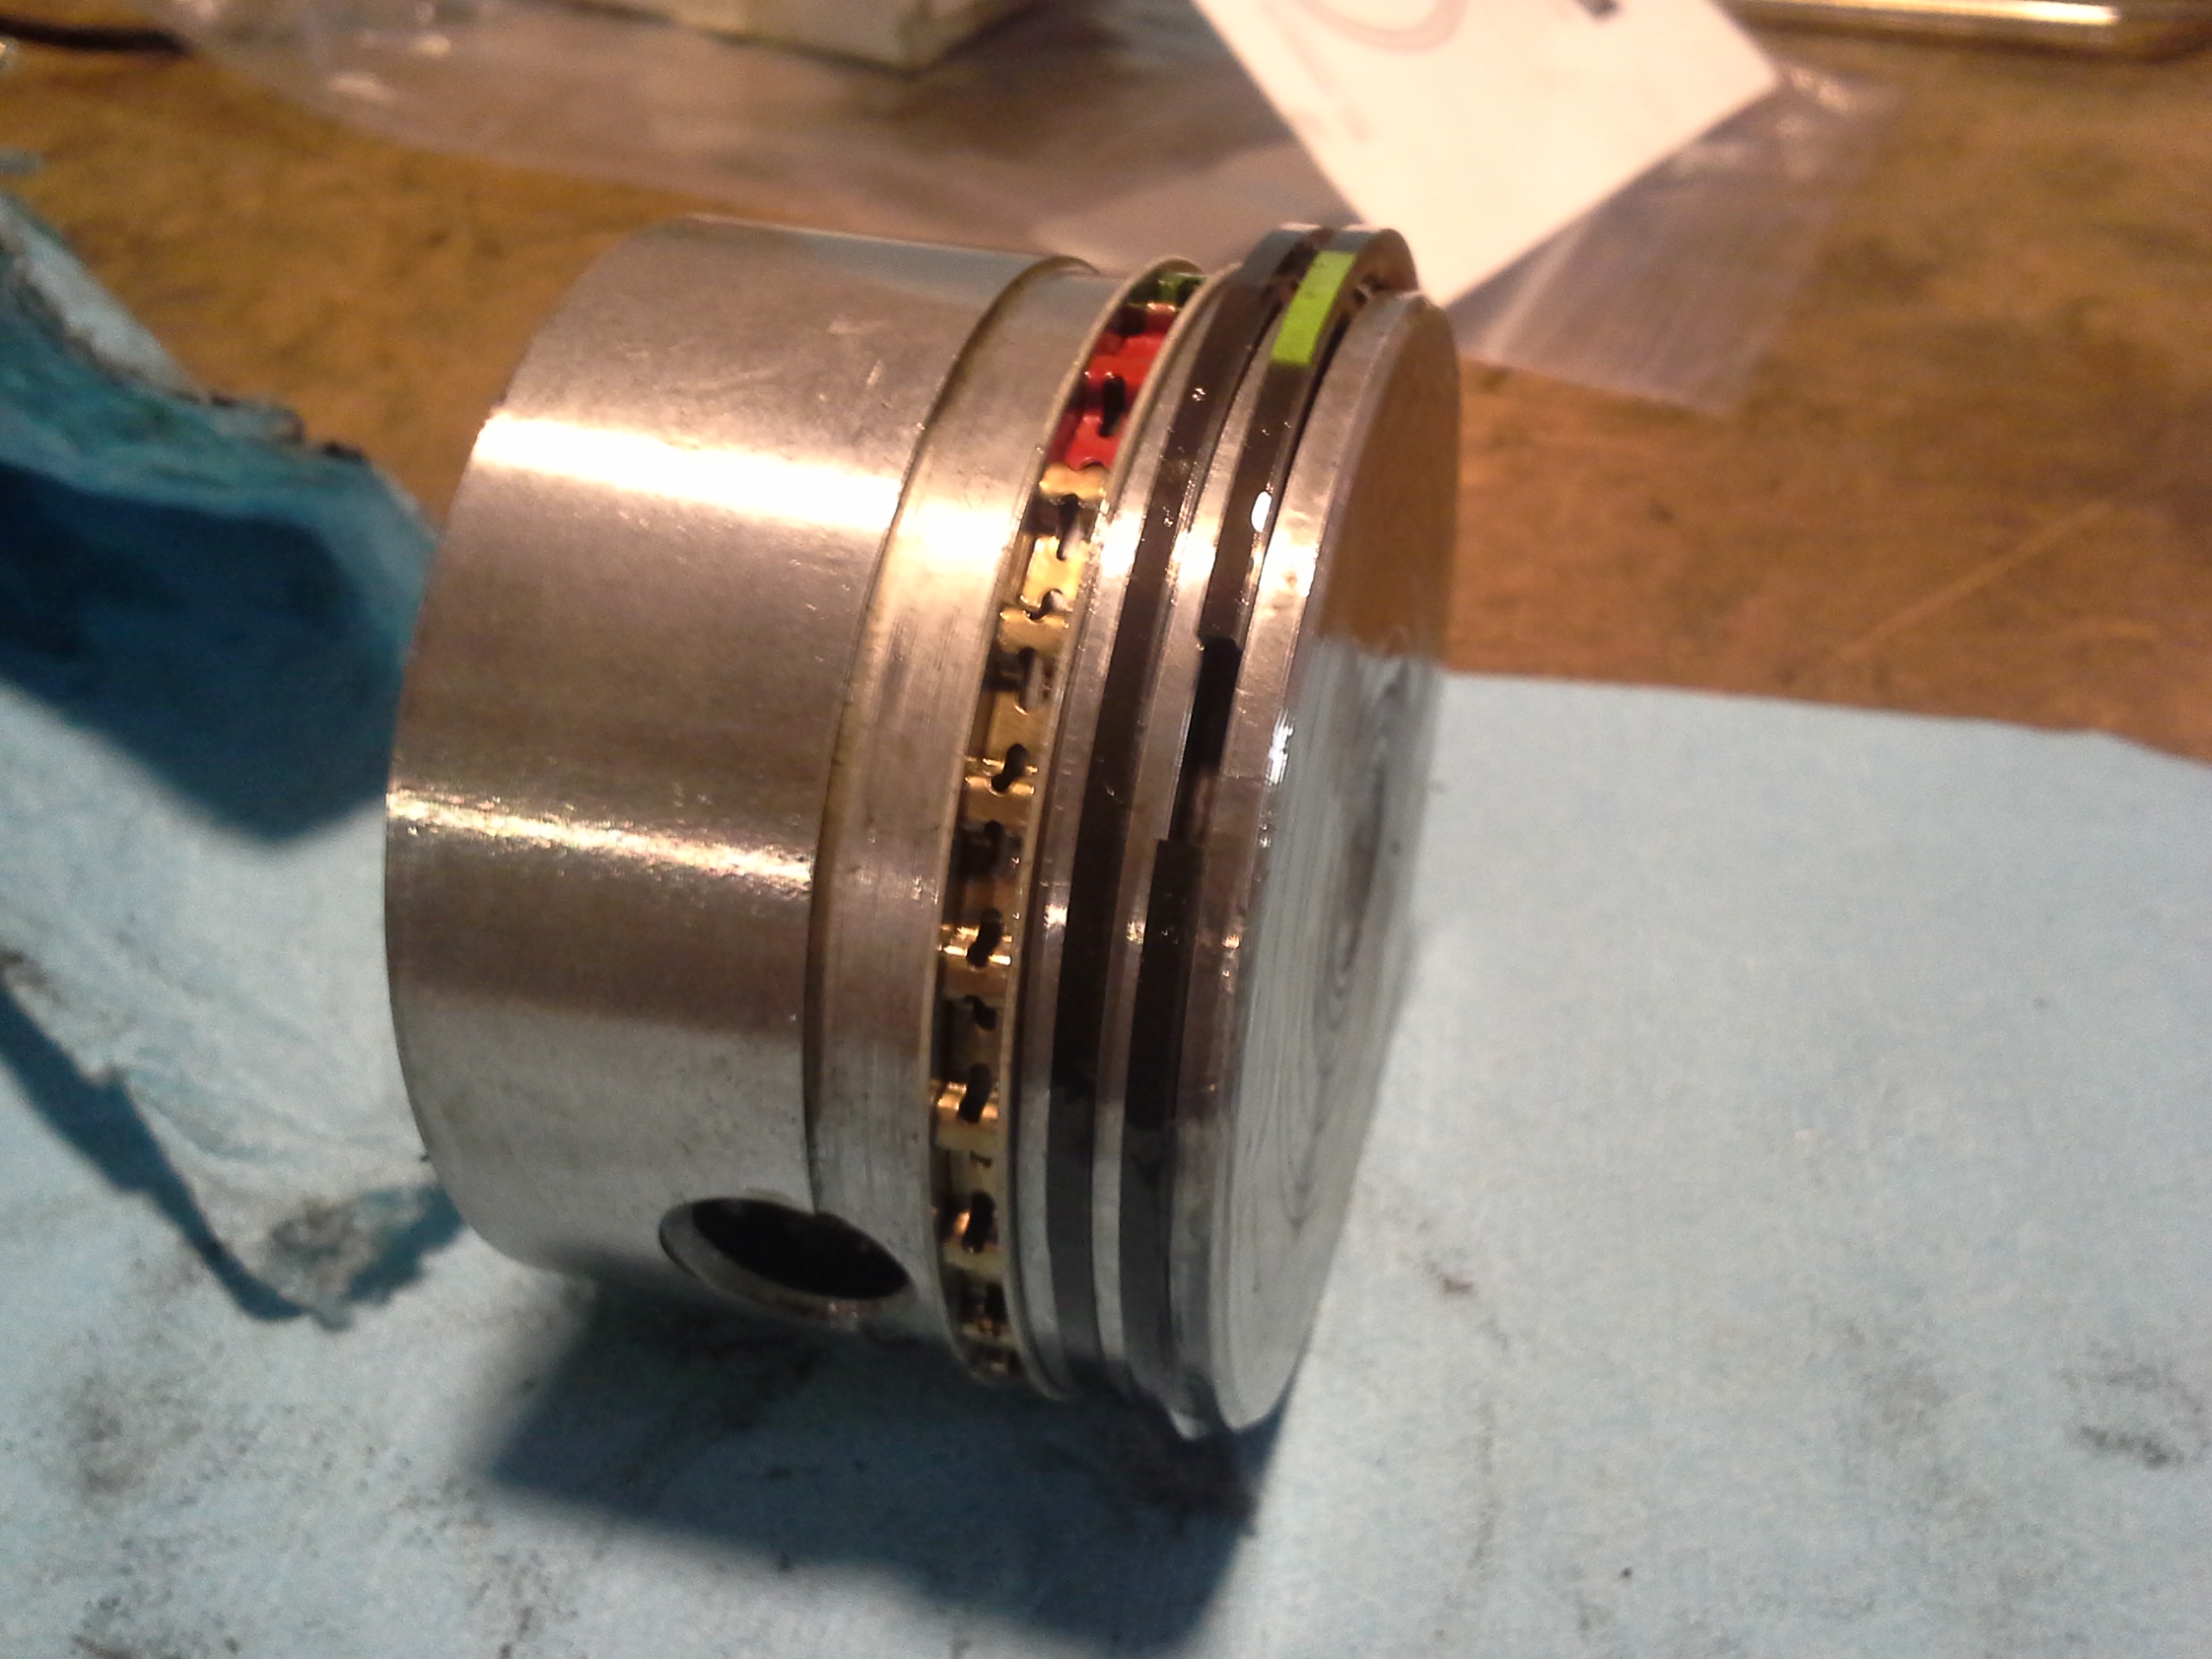
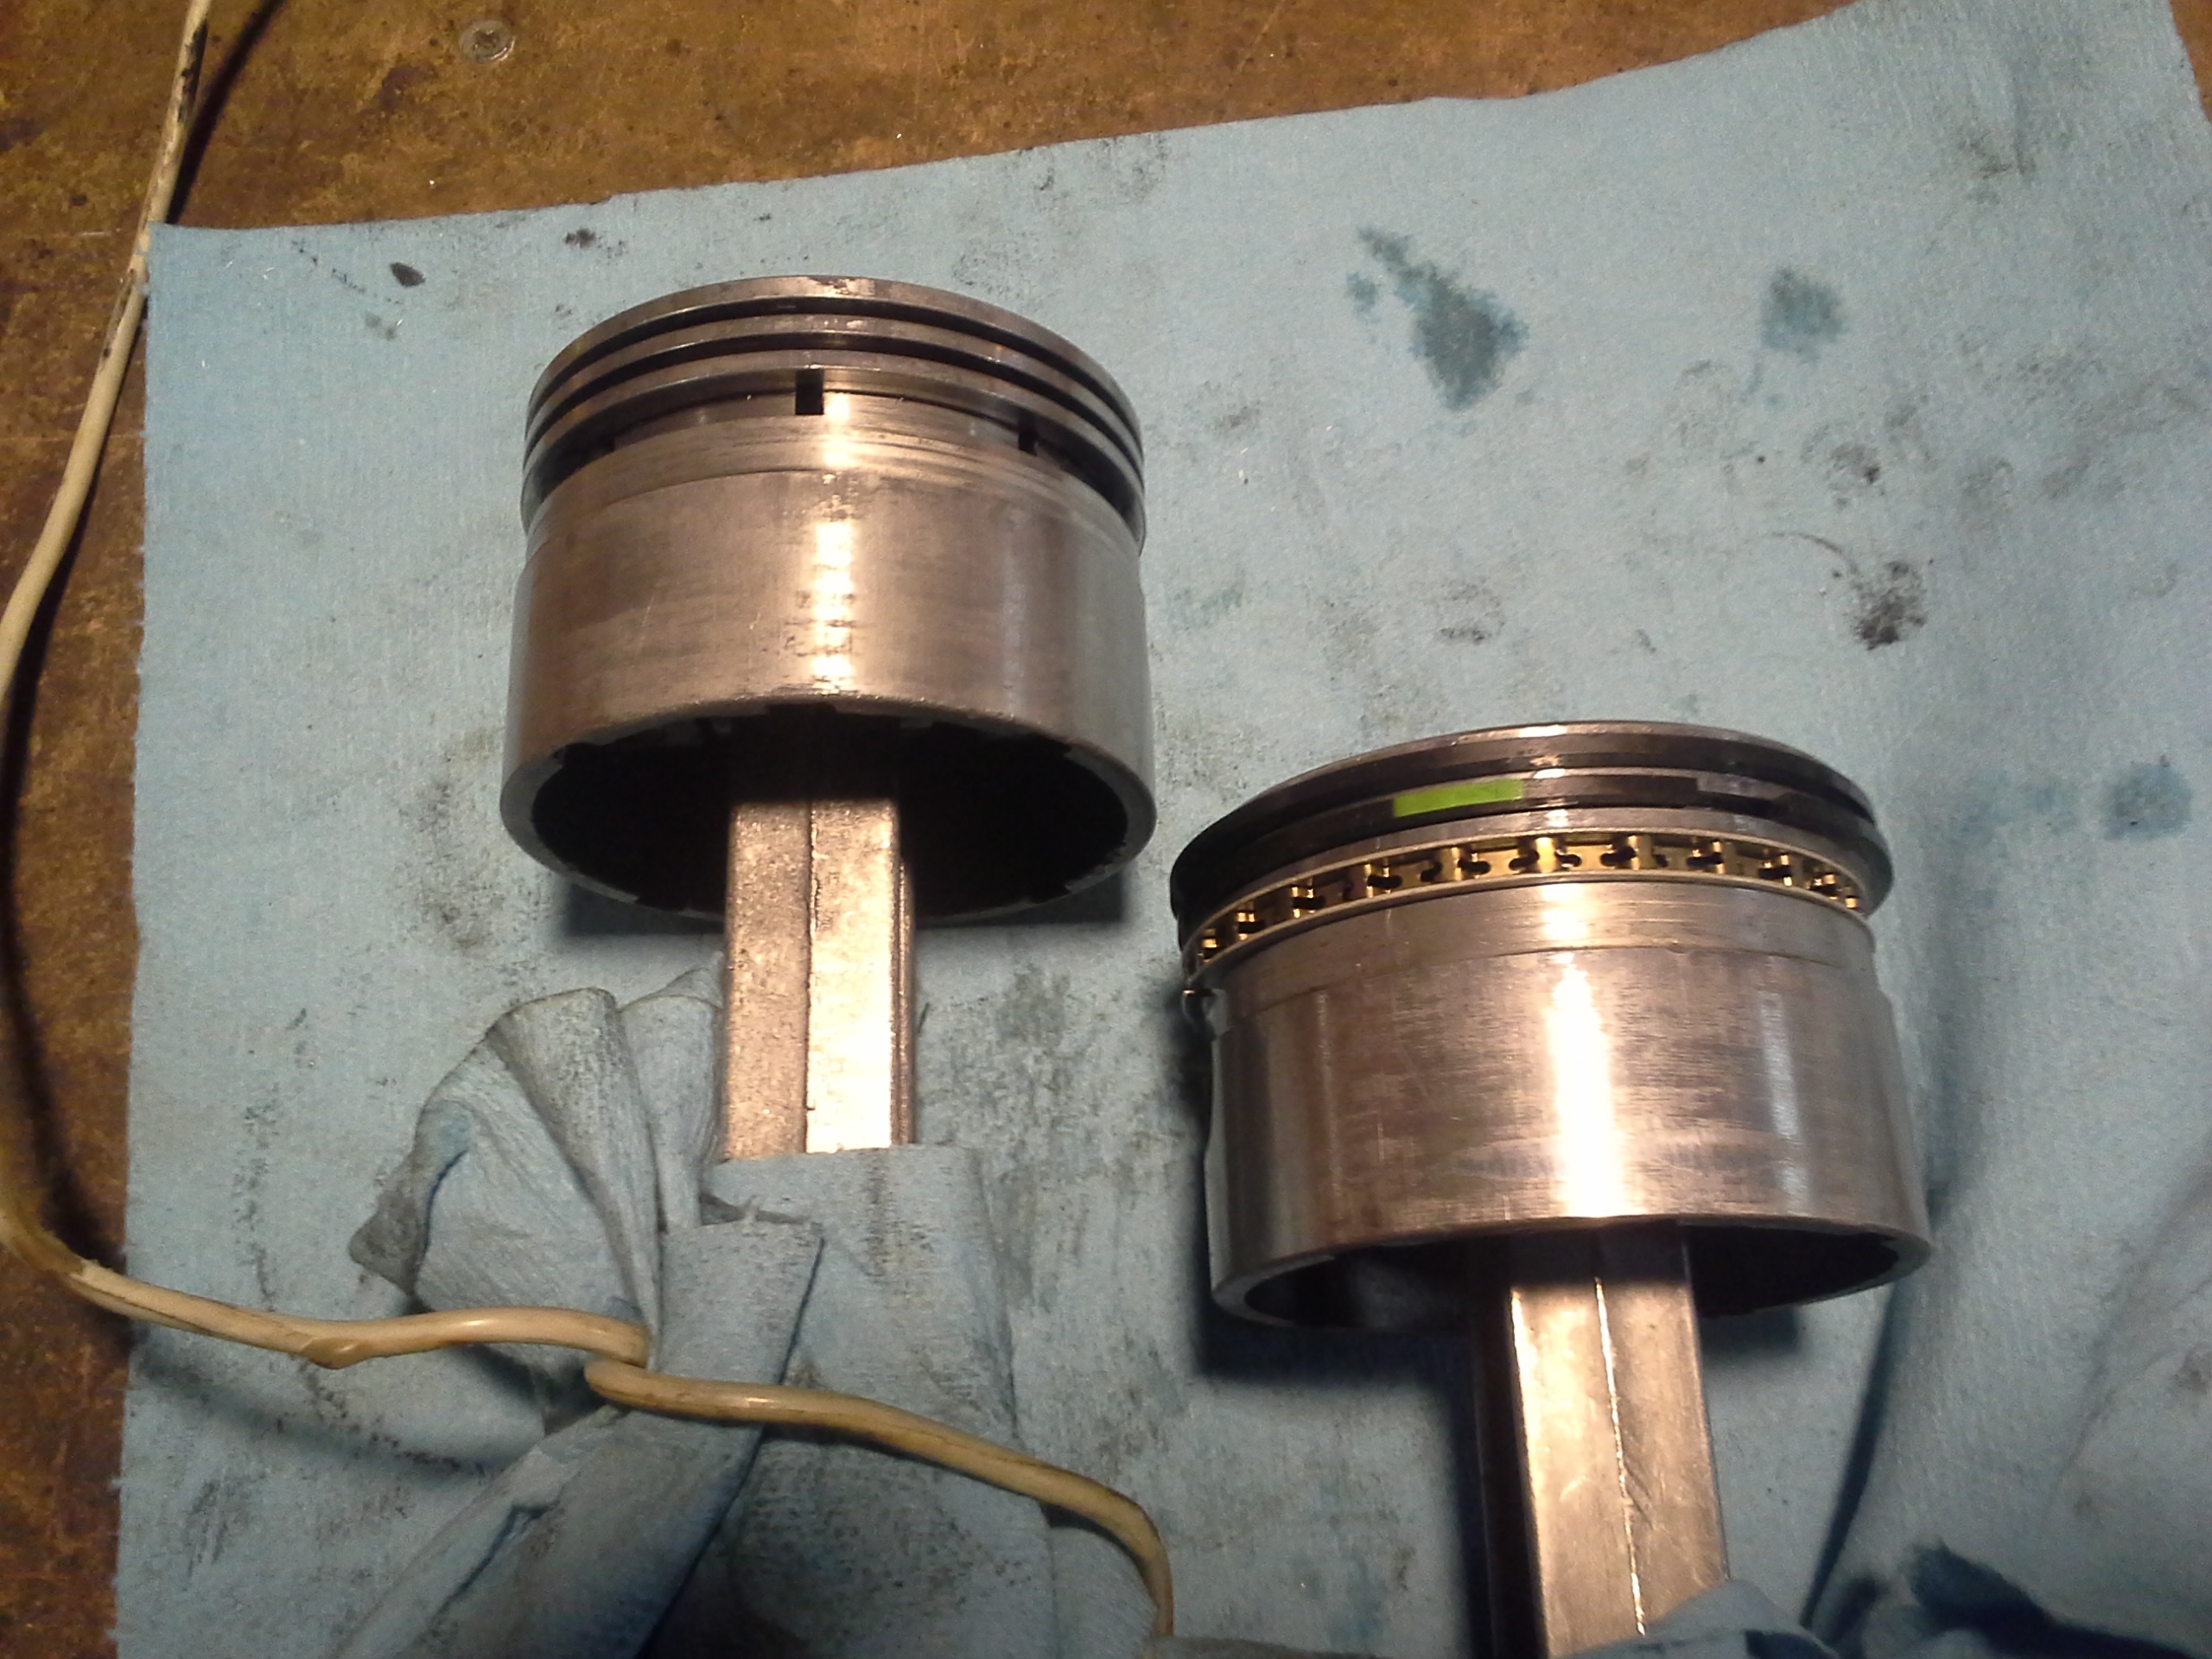
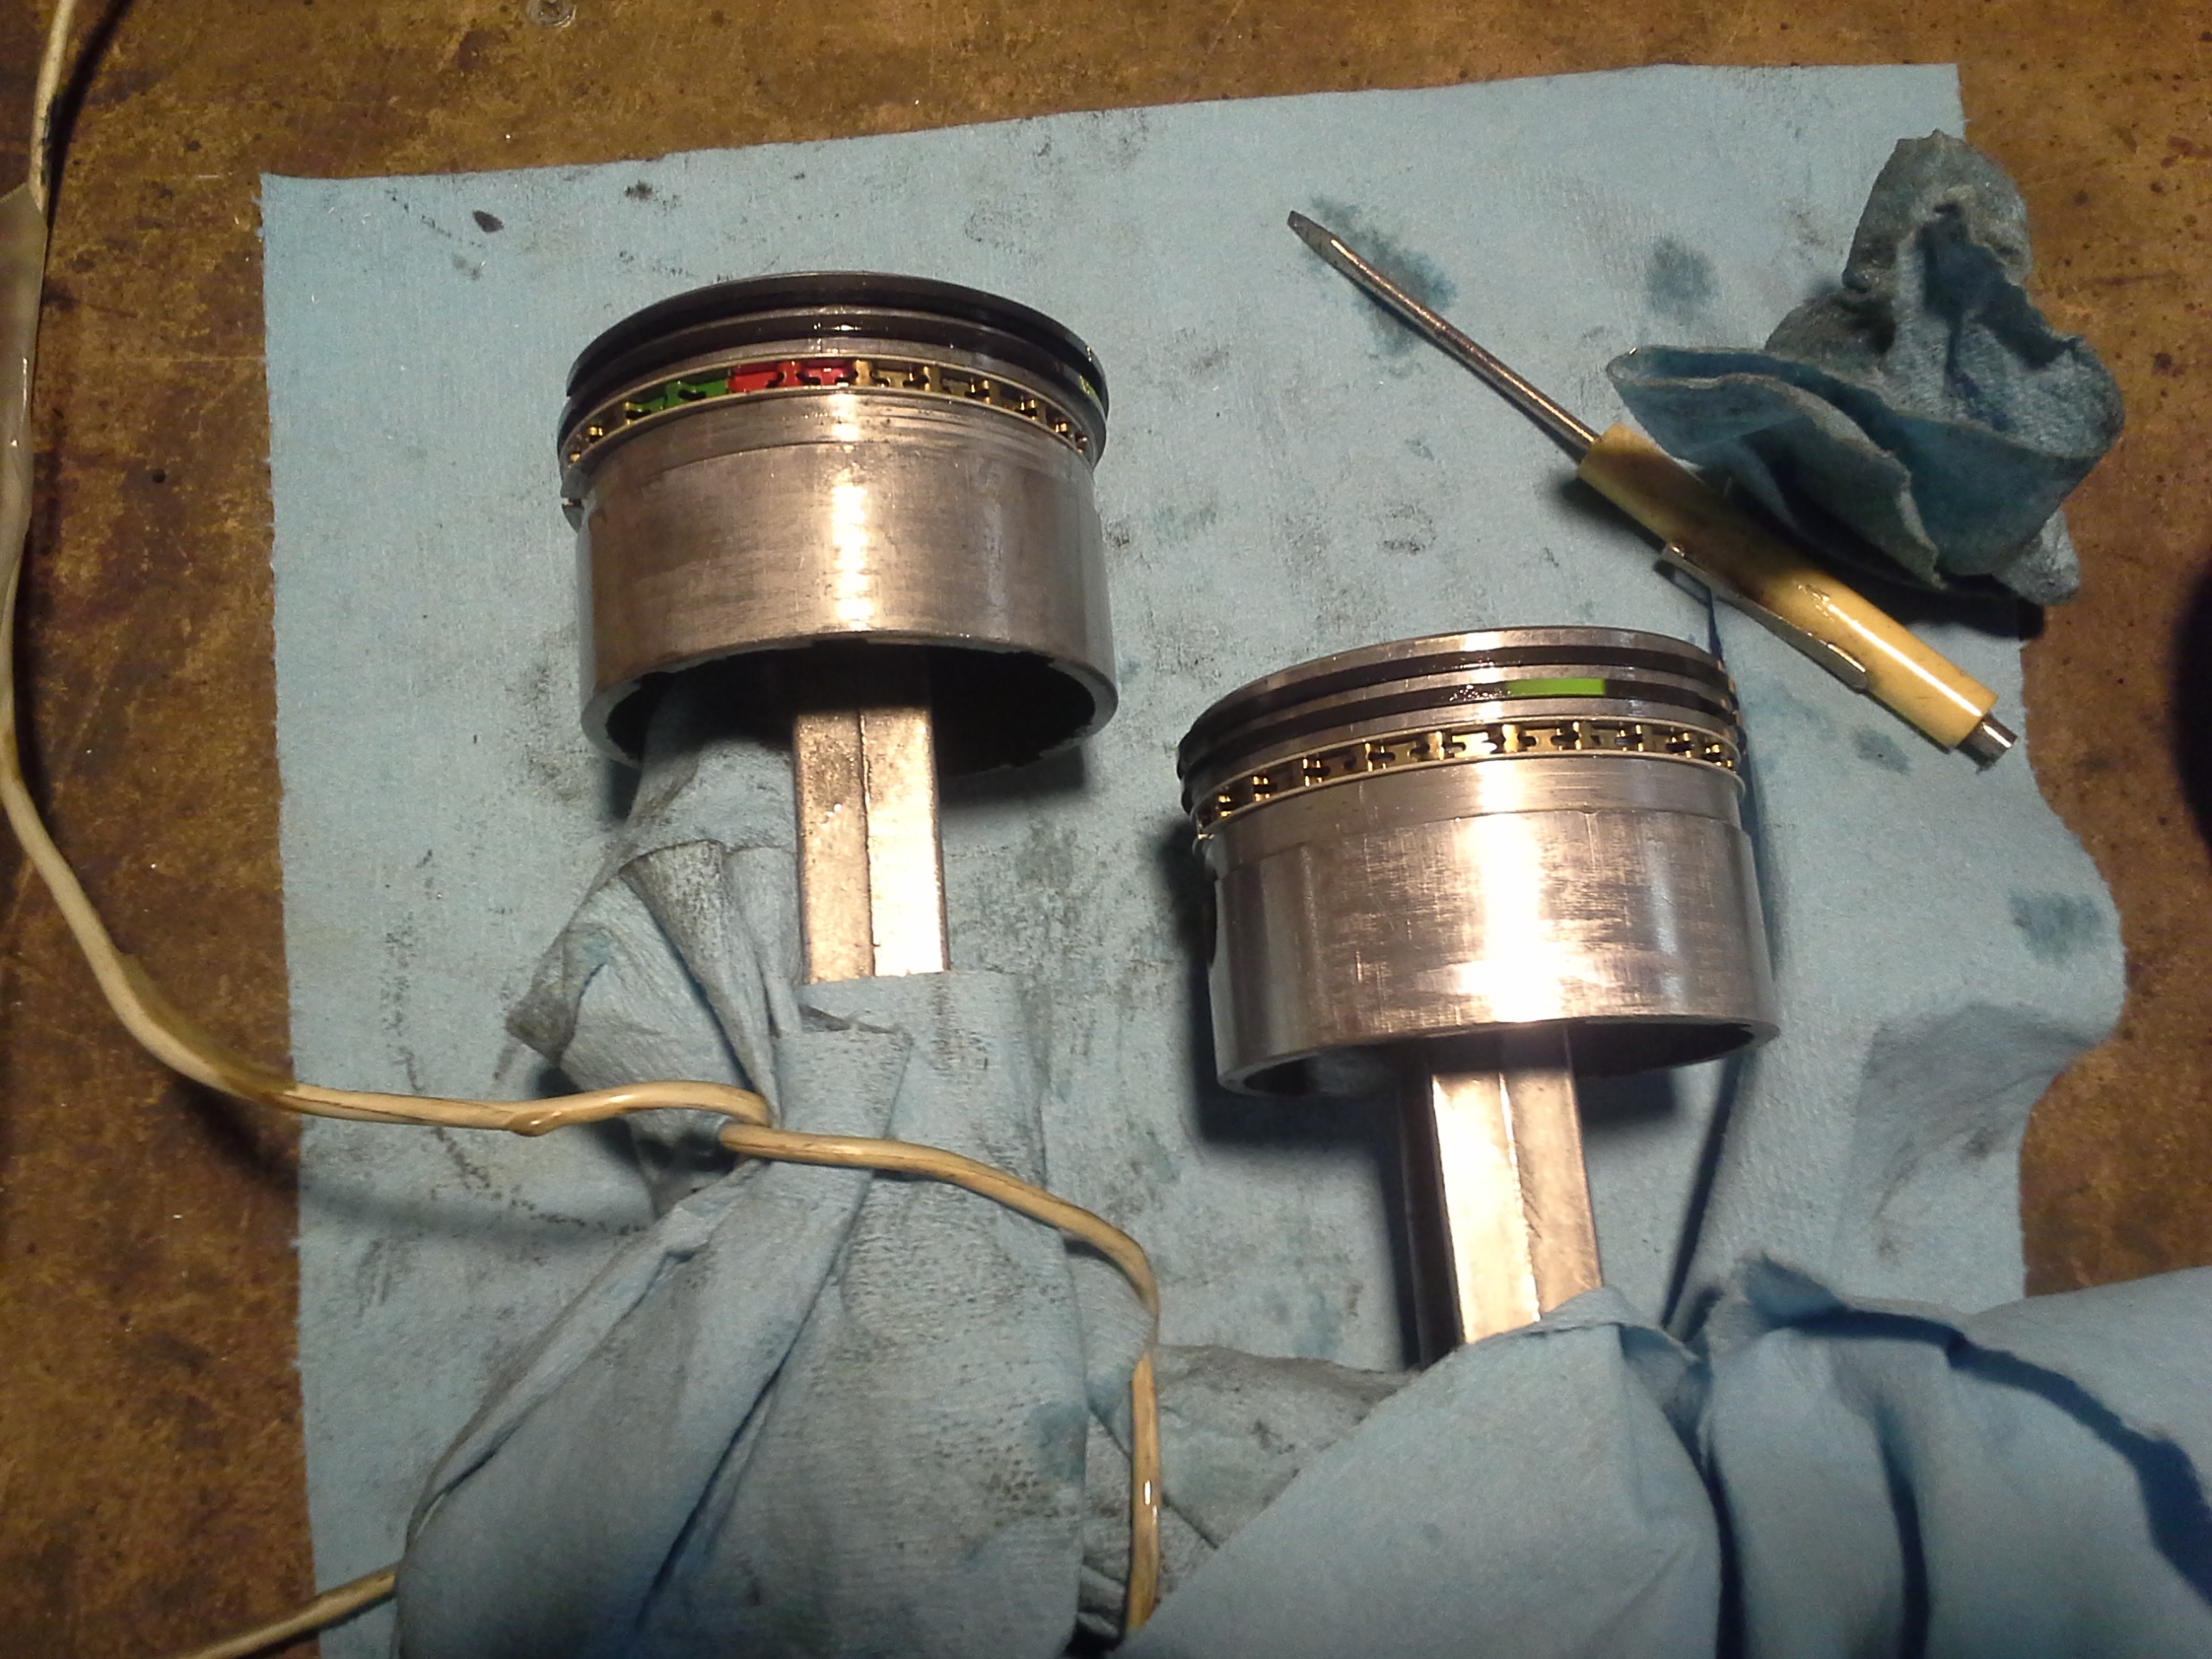
Before I connected the new conrod and piston, I replaced the rings on the piston. There are three rings here, but the leftmost one is actually made of three rings itself:
The top two are compression rings; they form the seal between the piston and the cylinder wall. They're springy; you can see the gap in the top one. Naturally, you make sure to misalign the gaps between all the rings. The bottom ring is an oil retention ring. The conrods have little oil slingers on the bottom of them that dip down in the reservoir and throw oil all over the place. The oil retention ring picks up some of this oil and helps keep the compression rings lubricated. Here's a closeup of part of it:
The other two rings in the oil retention ring hold the corrugated one in place.
Next order of business is to install the new conrod. The pin slides so tightly on the conrod and in the piston that you must coat it in oil to keep it from sticking. The oil film forms a bearing surface that can withstand a lot of radial force without being sloppy.
Then I tapped in the insect clip, rotated a little off of where it was so the legs can grip well.
The conrod is a single piece, and the crank is designed so you can just barely snake it onto the journal from one side. It's kind of a weird design but I suppose it works for something this small. The fit between these two is also very tight and must be lubricated before assembly. You can see on the left the taper for the pulley and the landing for the bearing I removed earlier. Also, the little nubbin on the bottom of the conrod is the oil slinger I was talking about earlier.
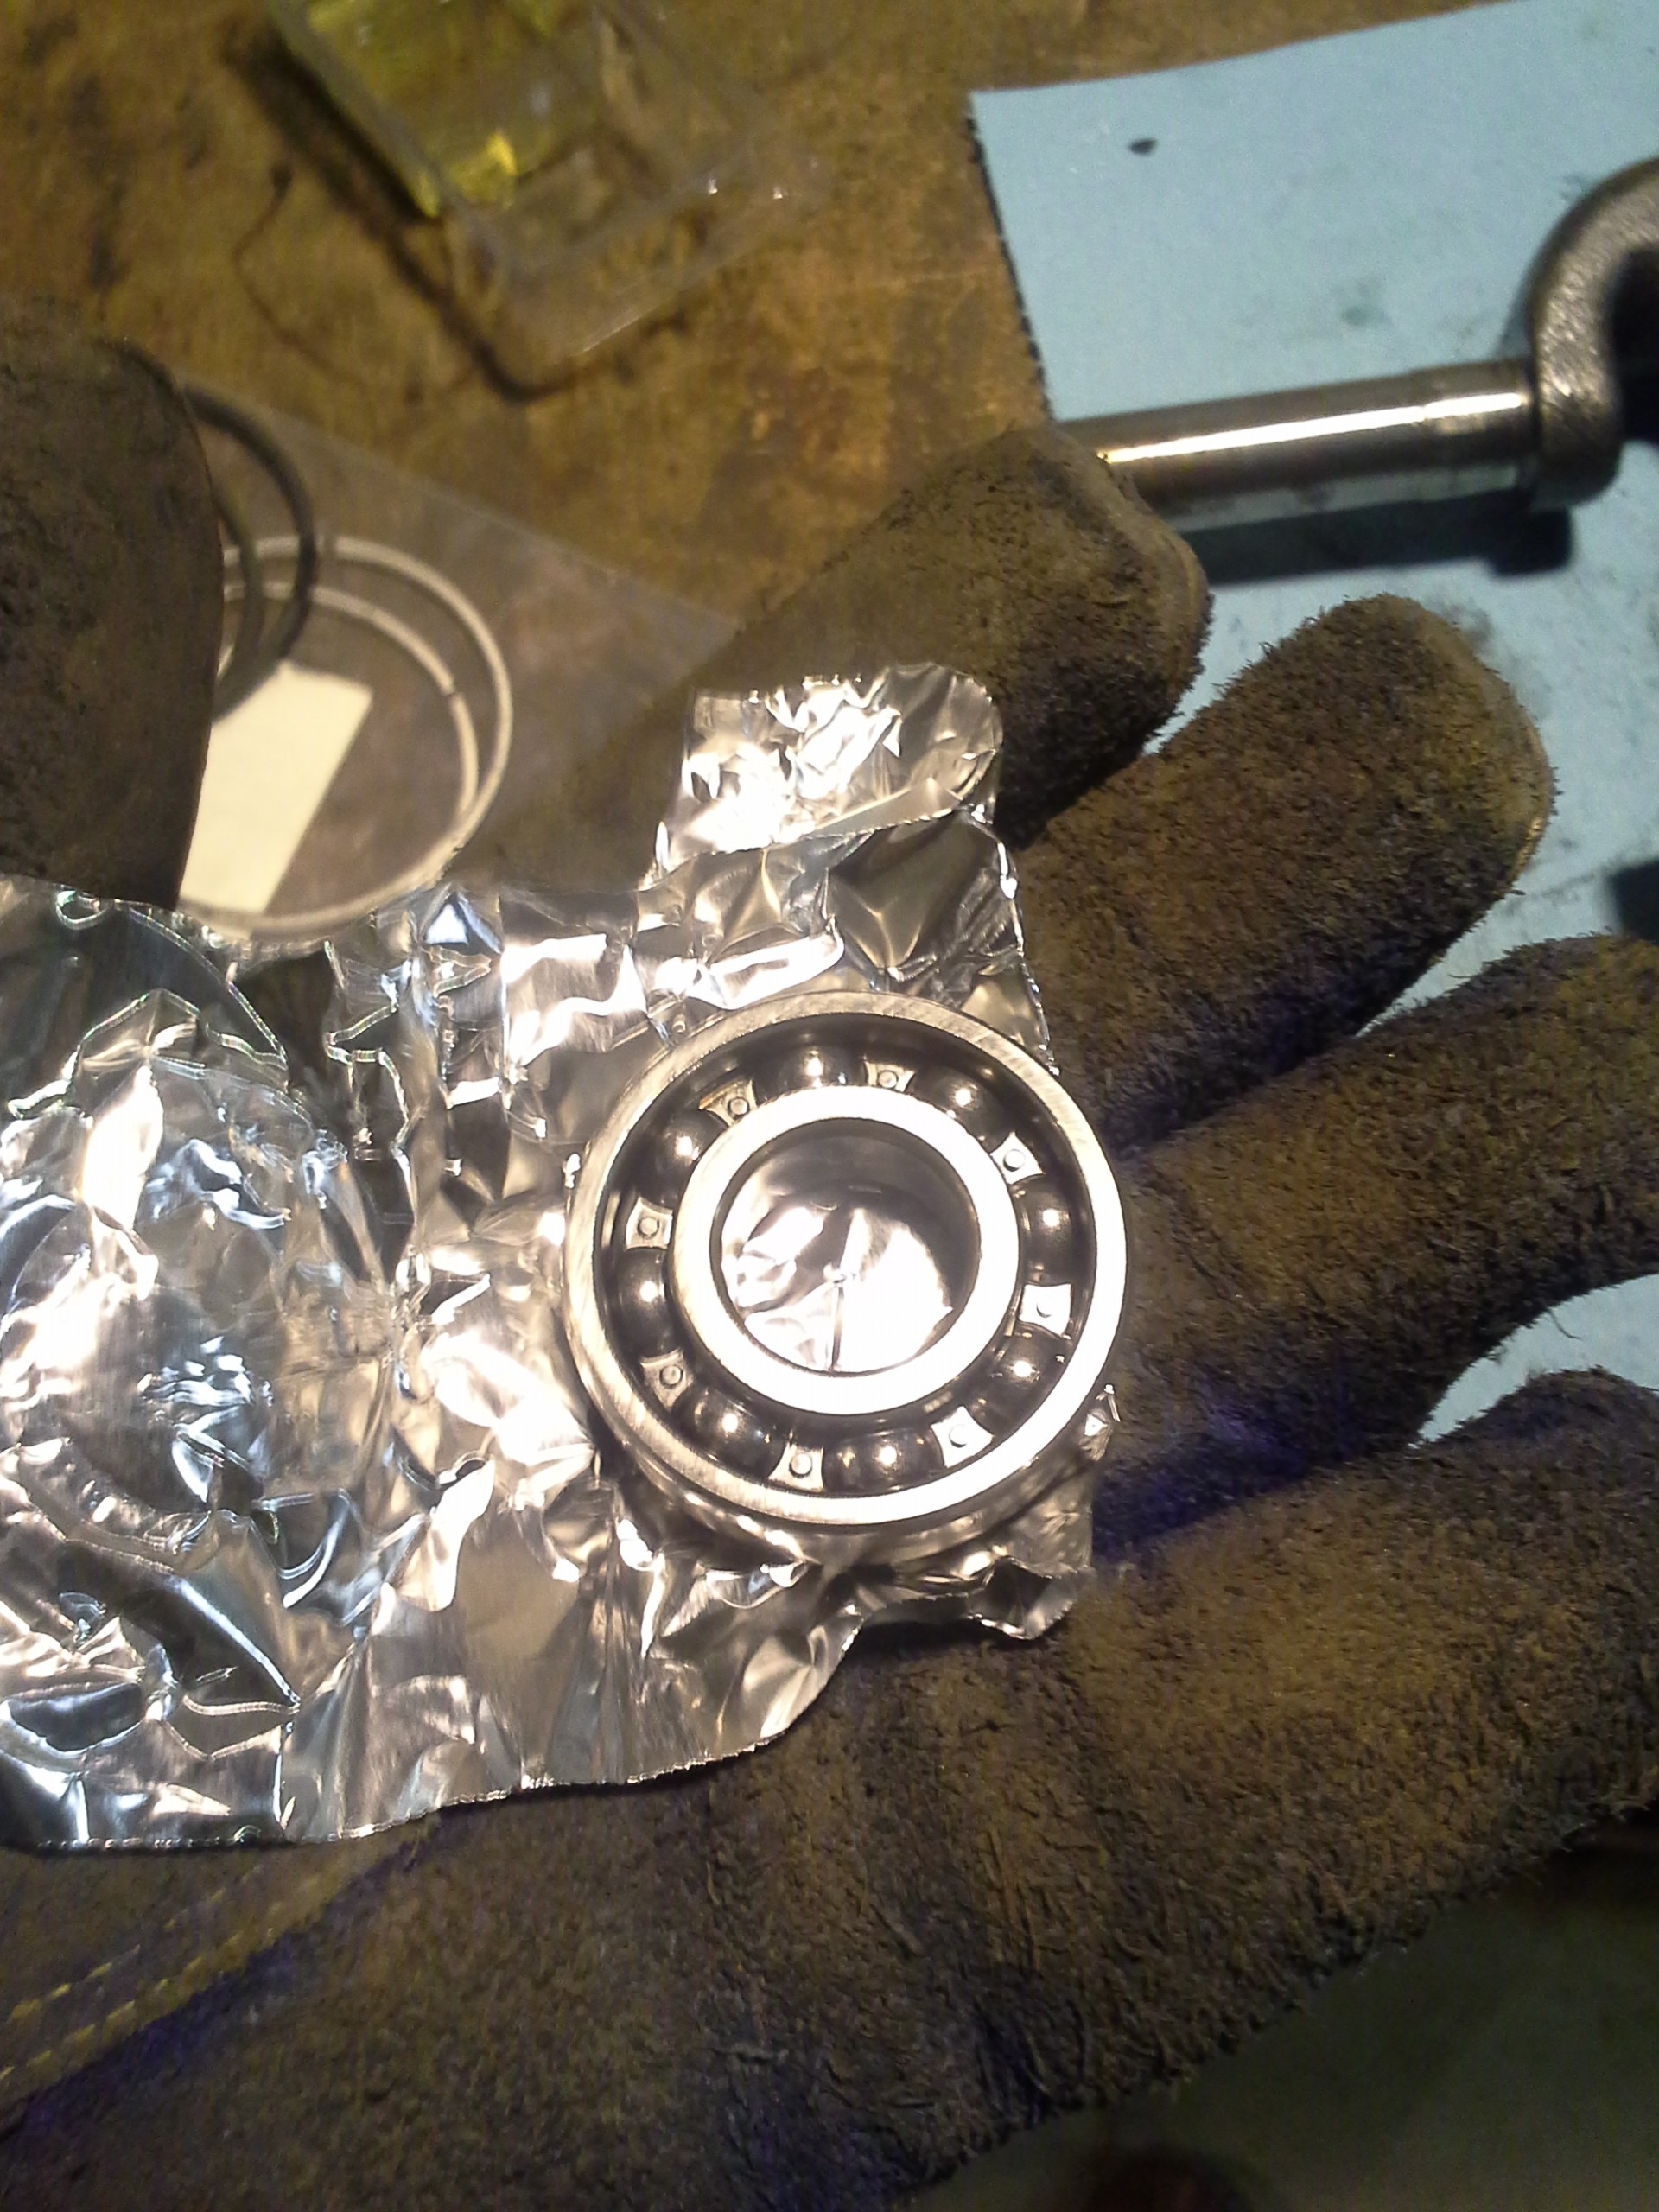
Ingredients: 1 bearing. Wrap in tinfoil and bake at 210 degrees F for 45-50 minutes, then handle with welding gloves.
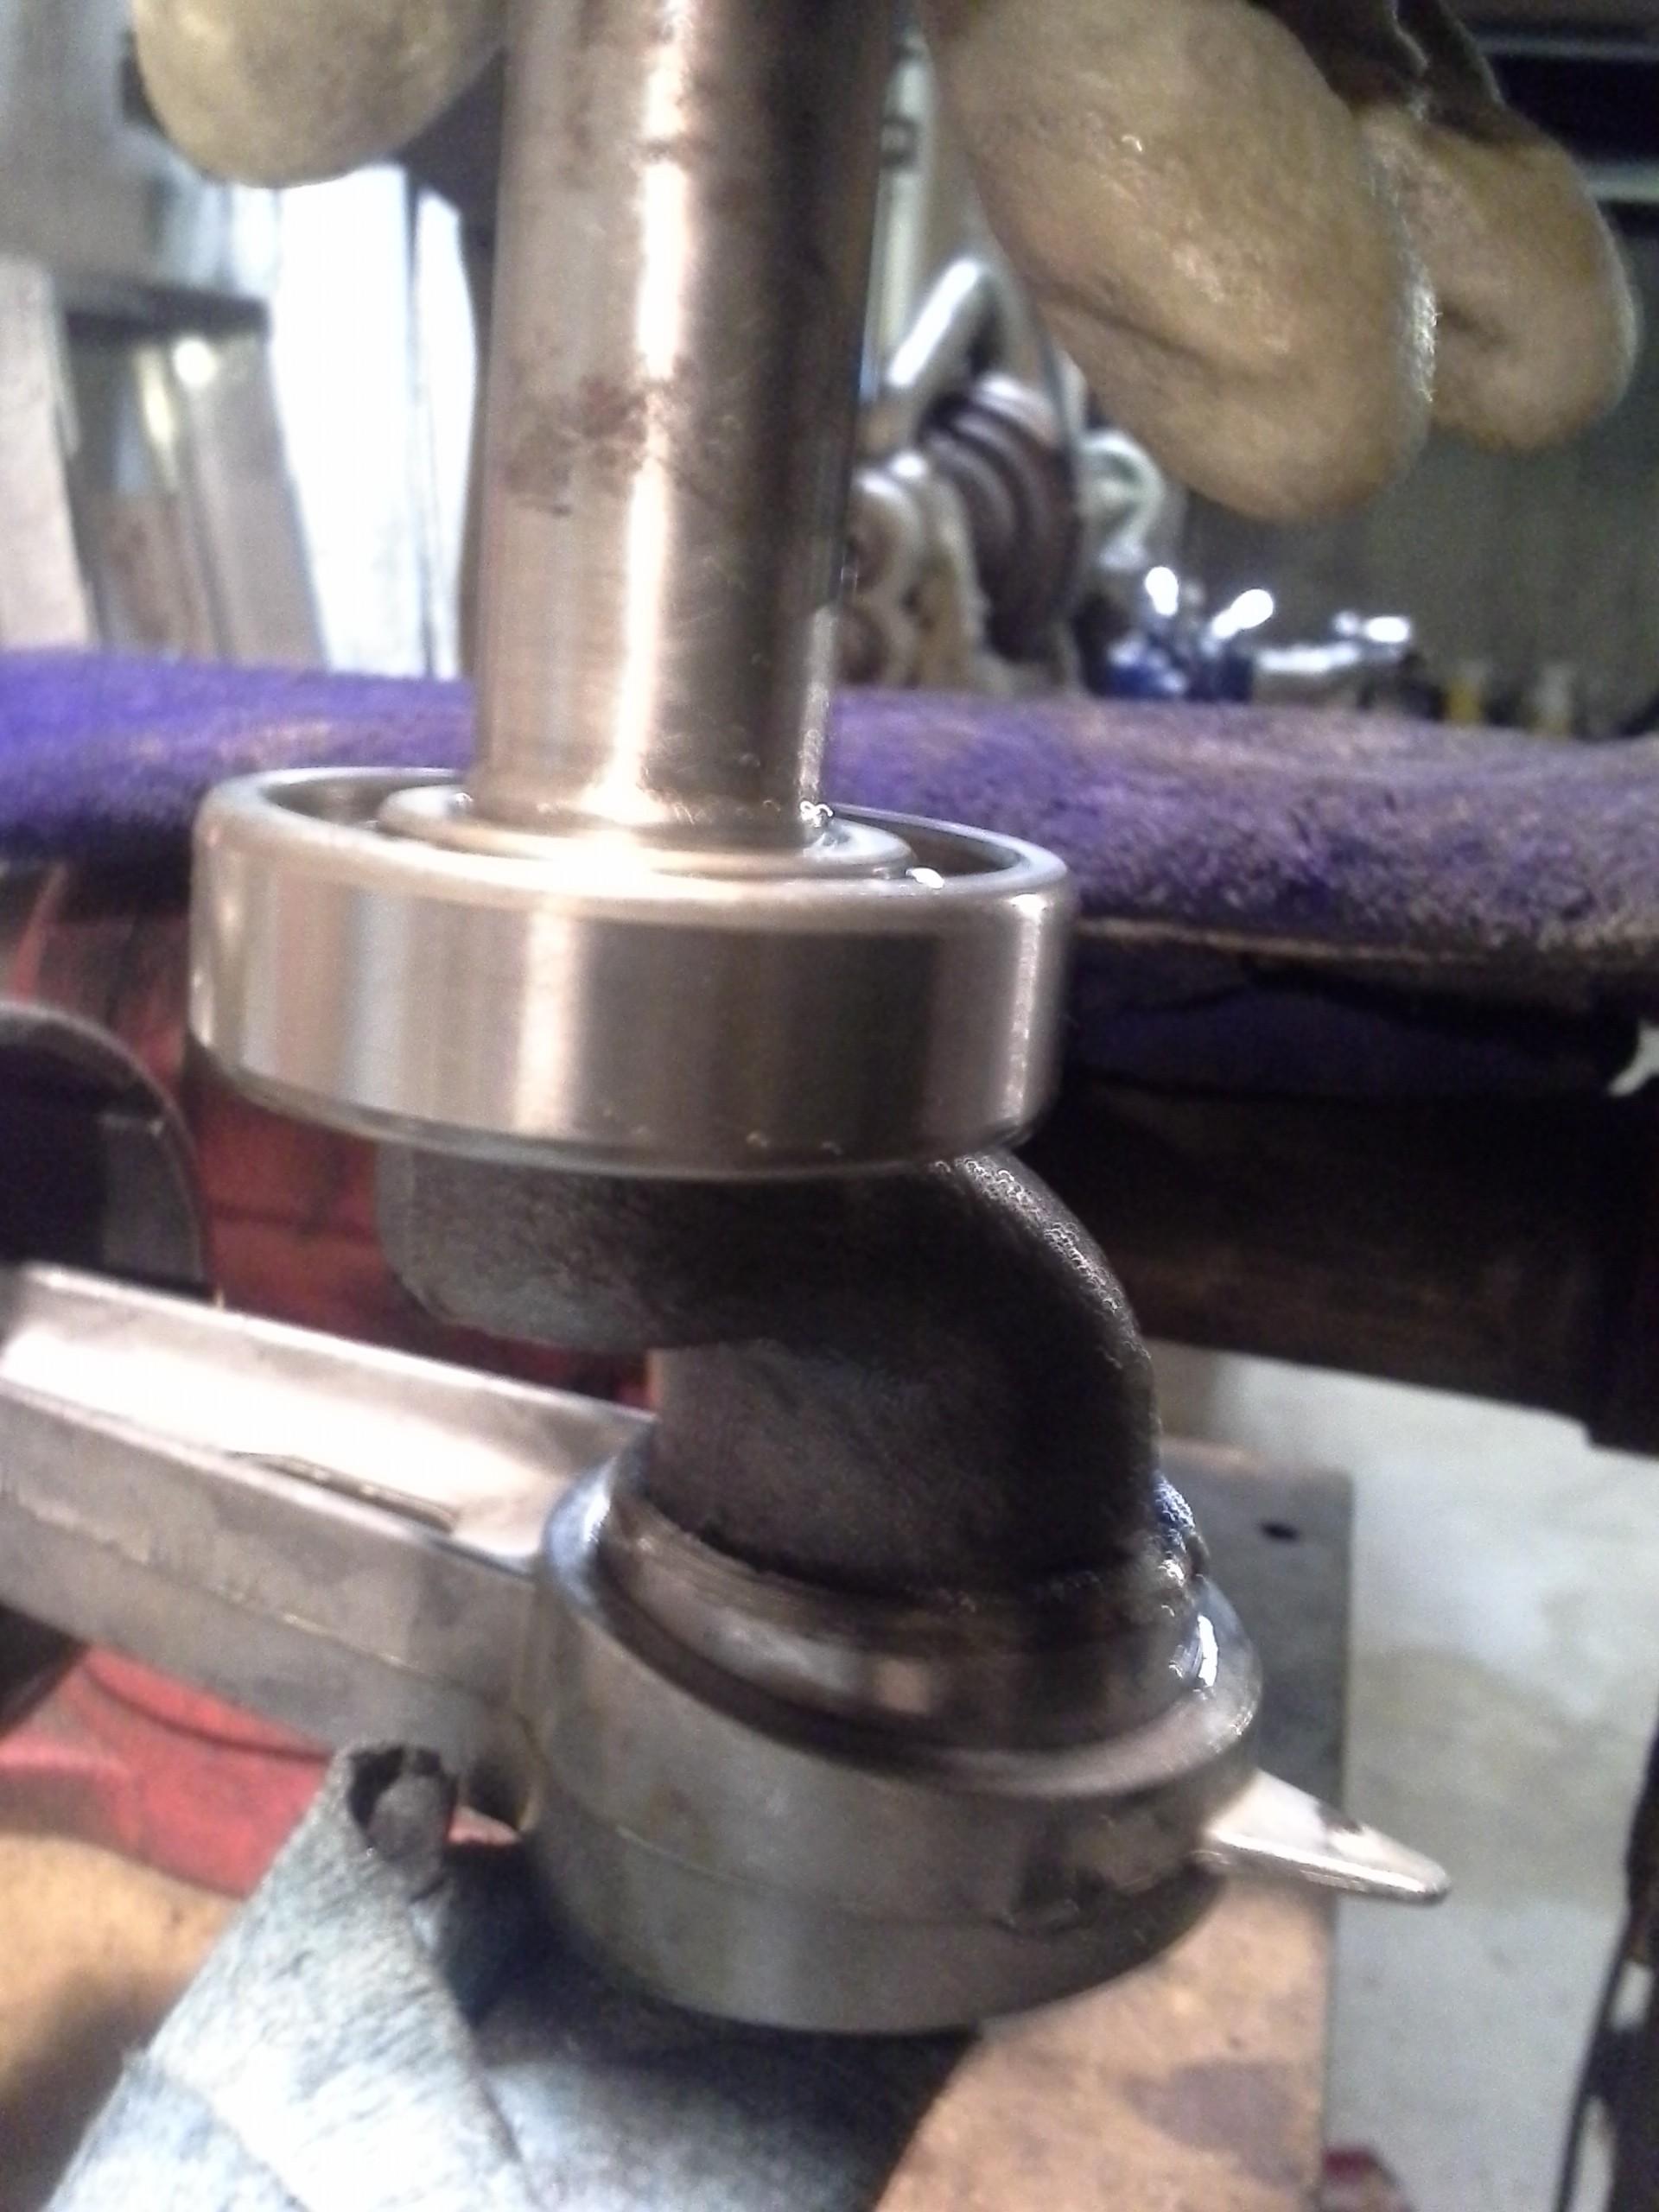
The heat expands the bearing so it can be slipped on and gently tapped into place without using a big press.
Now time to do the rings on the other piston that wasn't messed up. Out with the old:
(notice the little slots in the groove for the oiling ring that help feed oil to the ring)
and in with the new:
I guess I forgot to clean this earlier...here's the other side of the valve plate. The compression side tends to collect carbon.
After a good scrubbing with a toothbrush and carbureter cleaner:
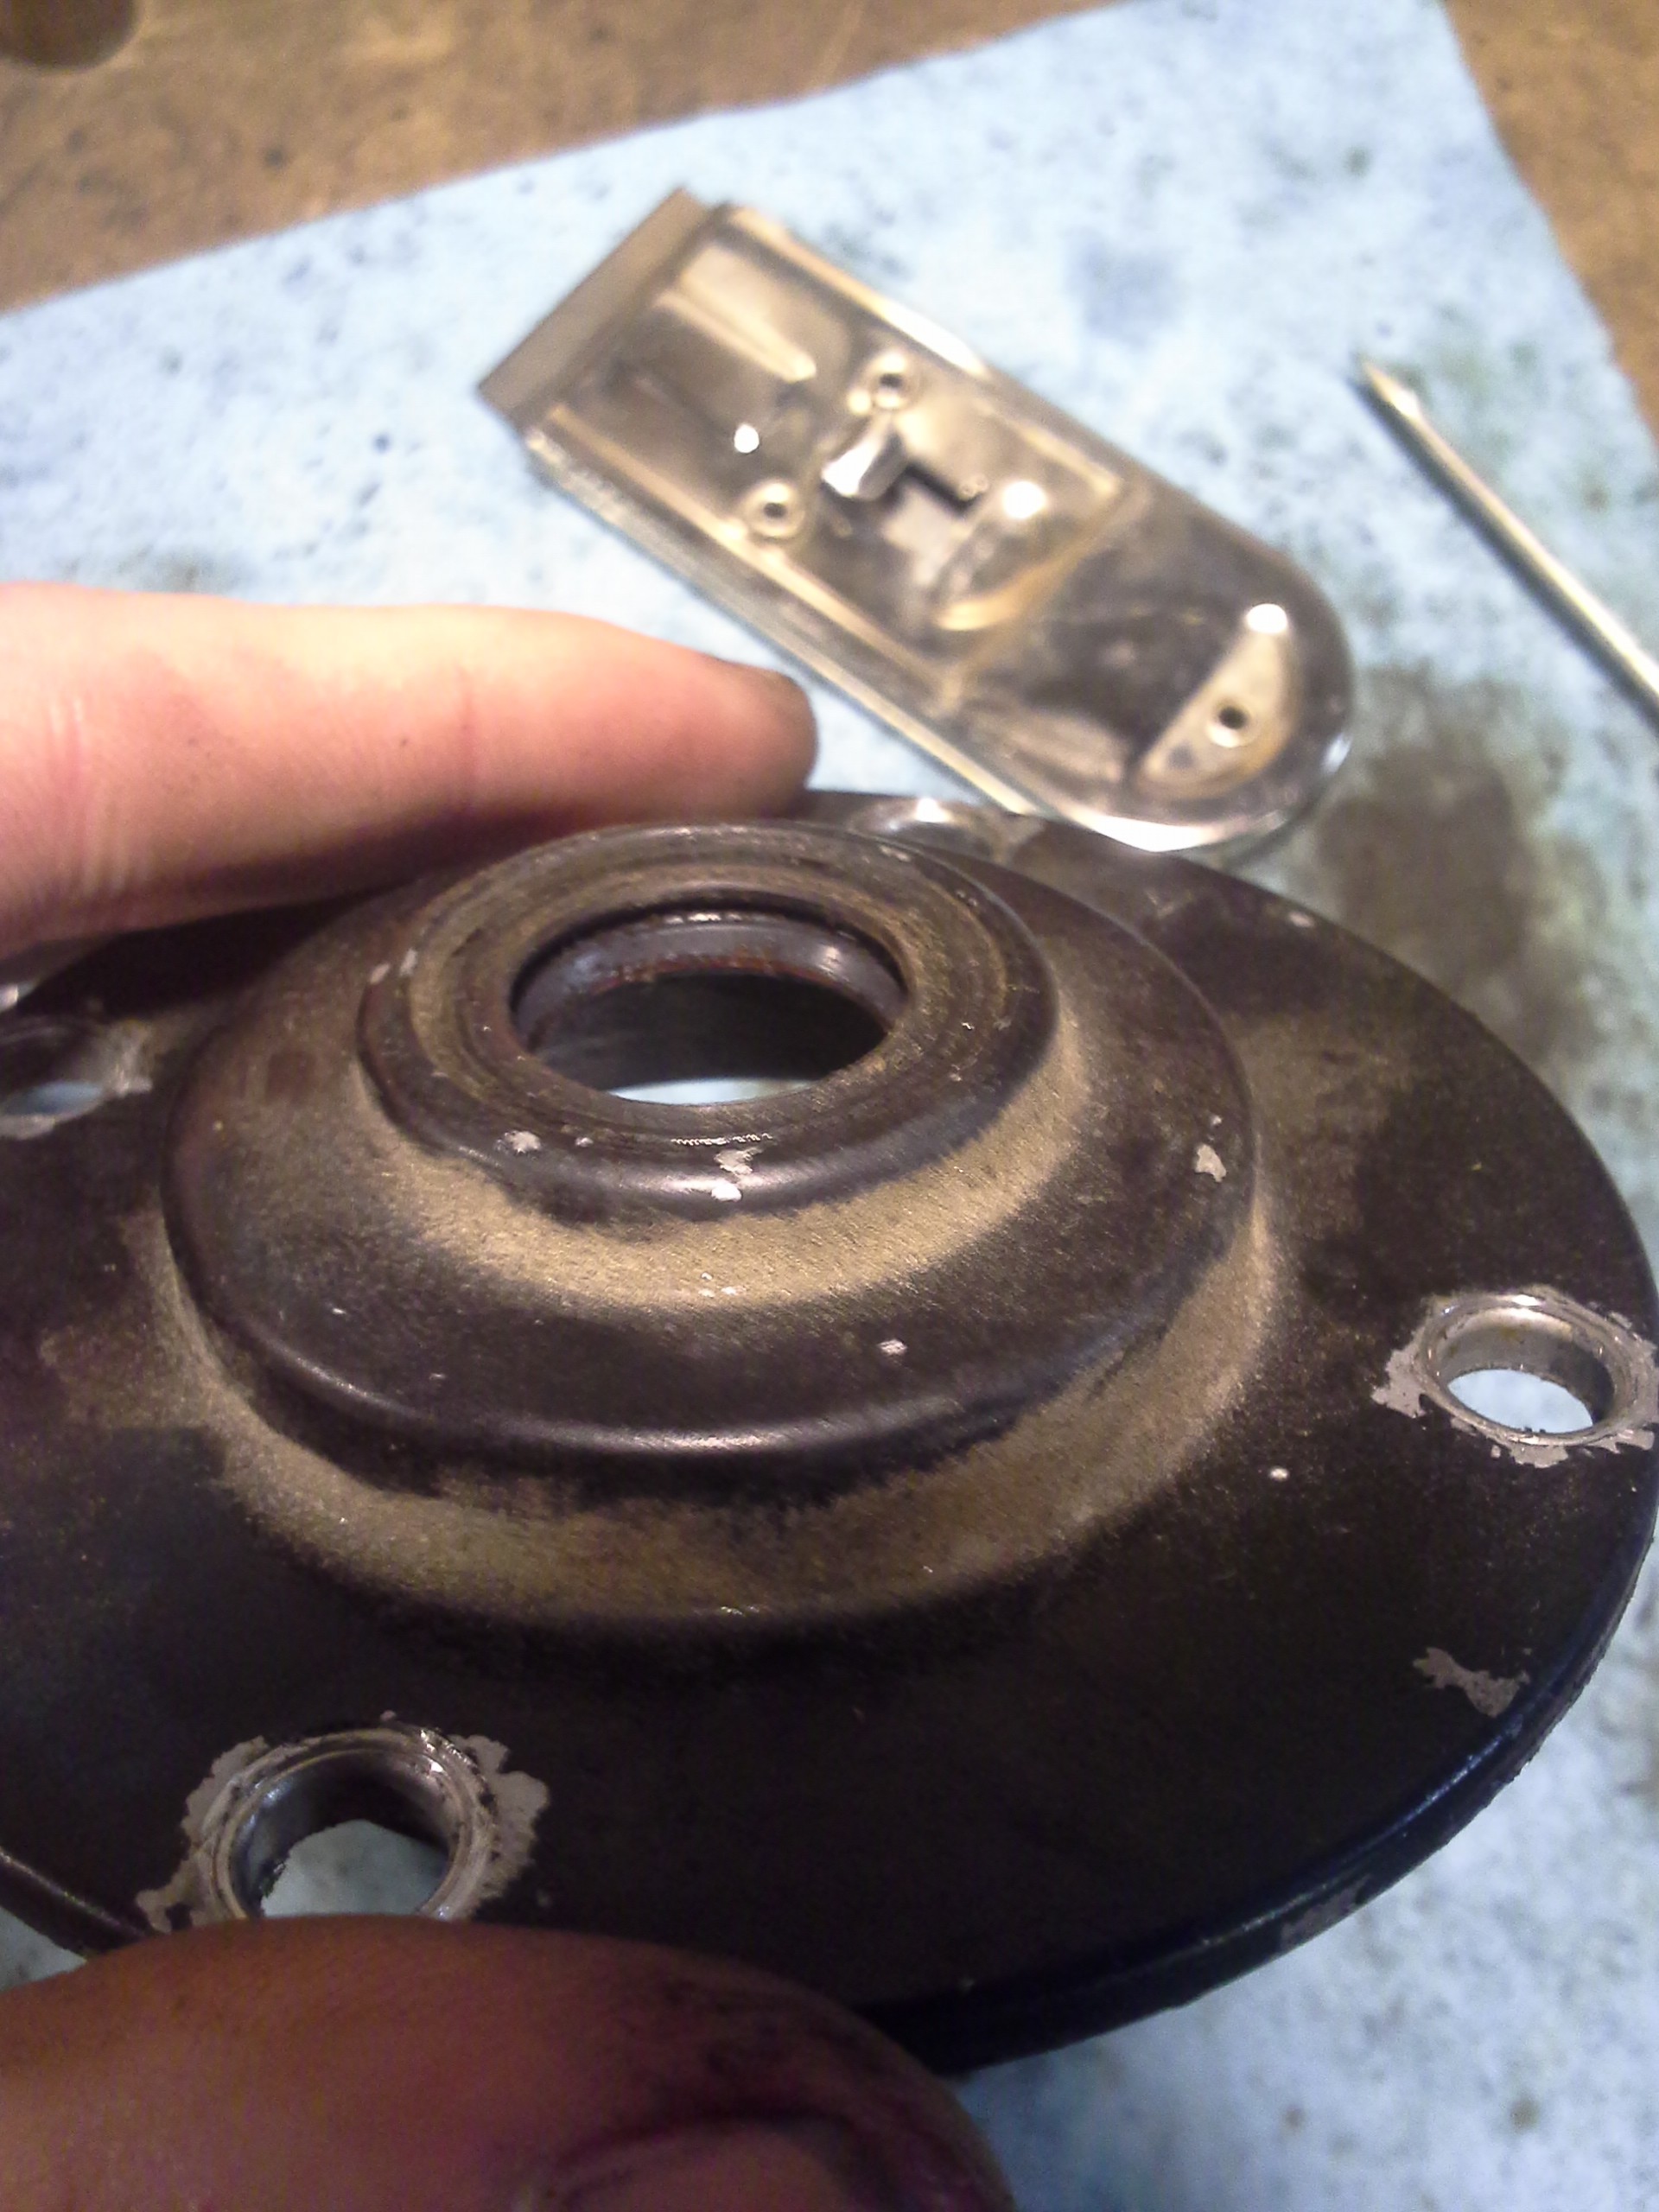
Back to reassembly. The bearing end cap that supports the bearing on the pulley end of the crankshaft has a little seal in it to keep oil in the crankcase:
The seal kit I got came with a replacement, so I used a couple sockets to drive out the old one:
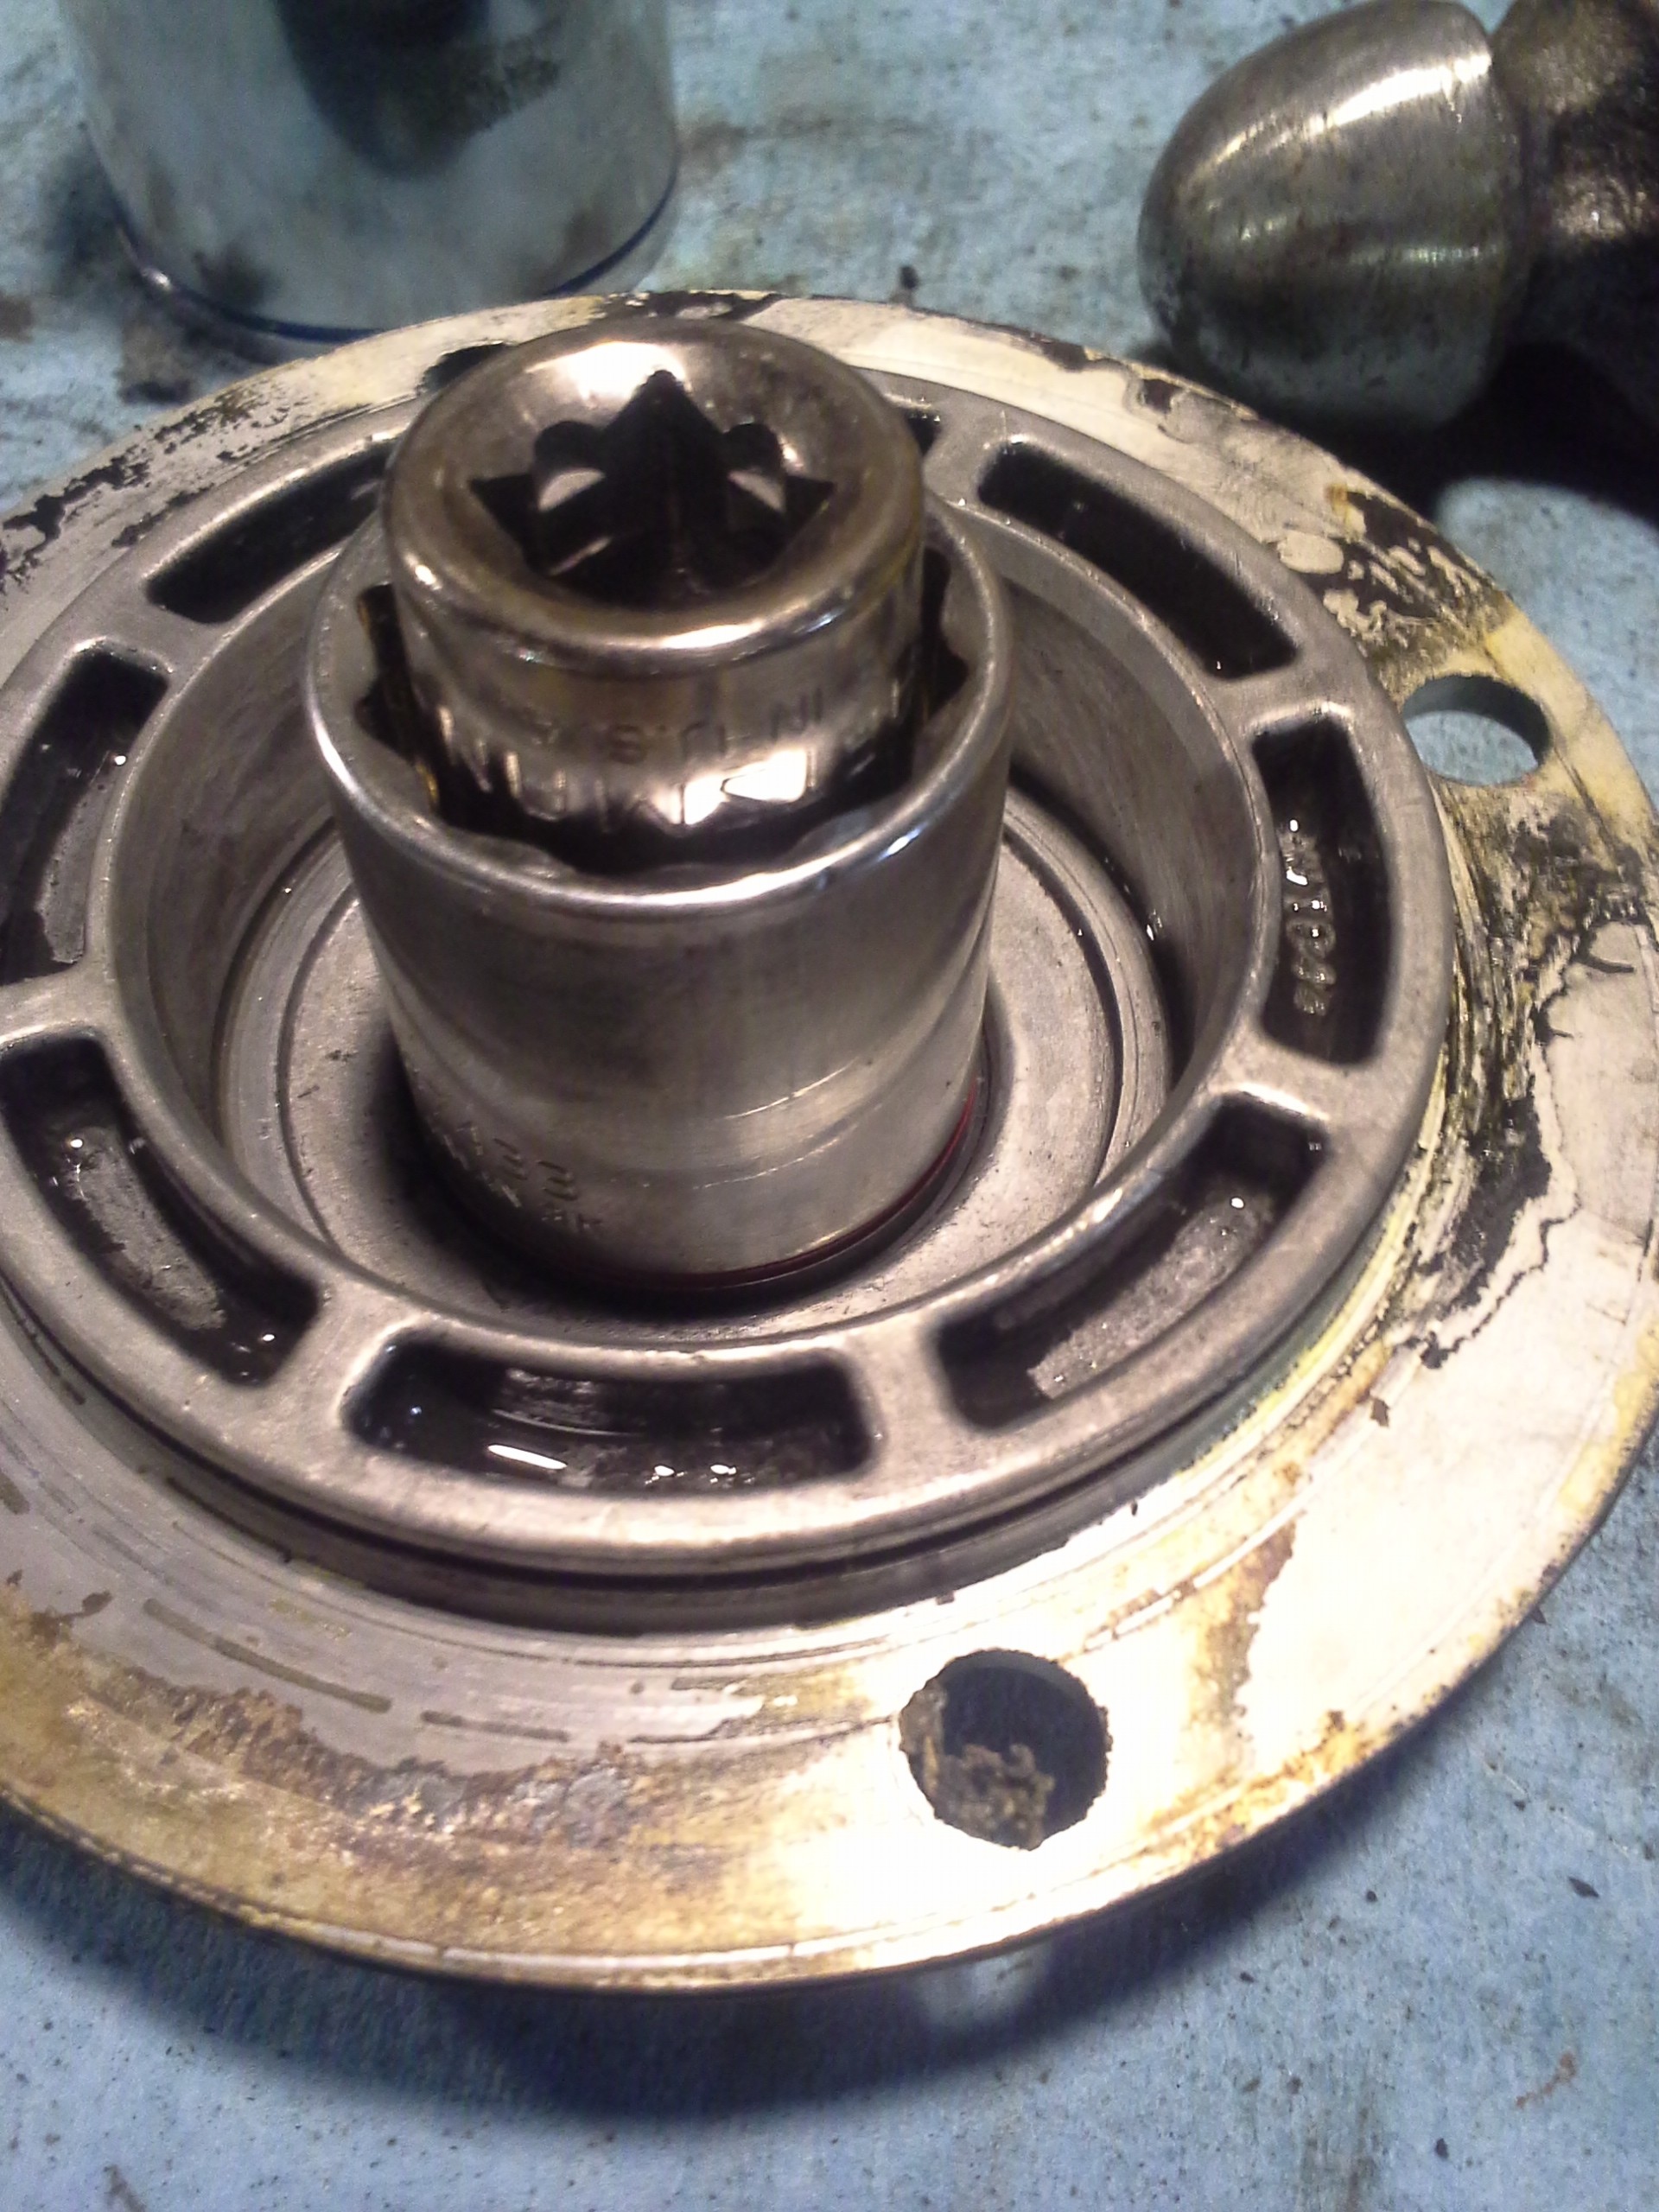
And a couple other sockets to drive in the new one:
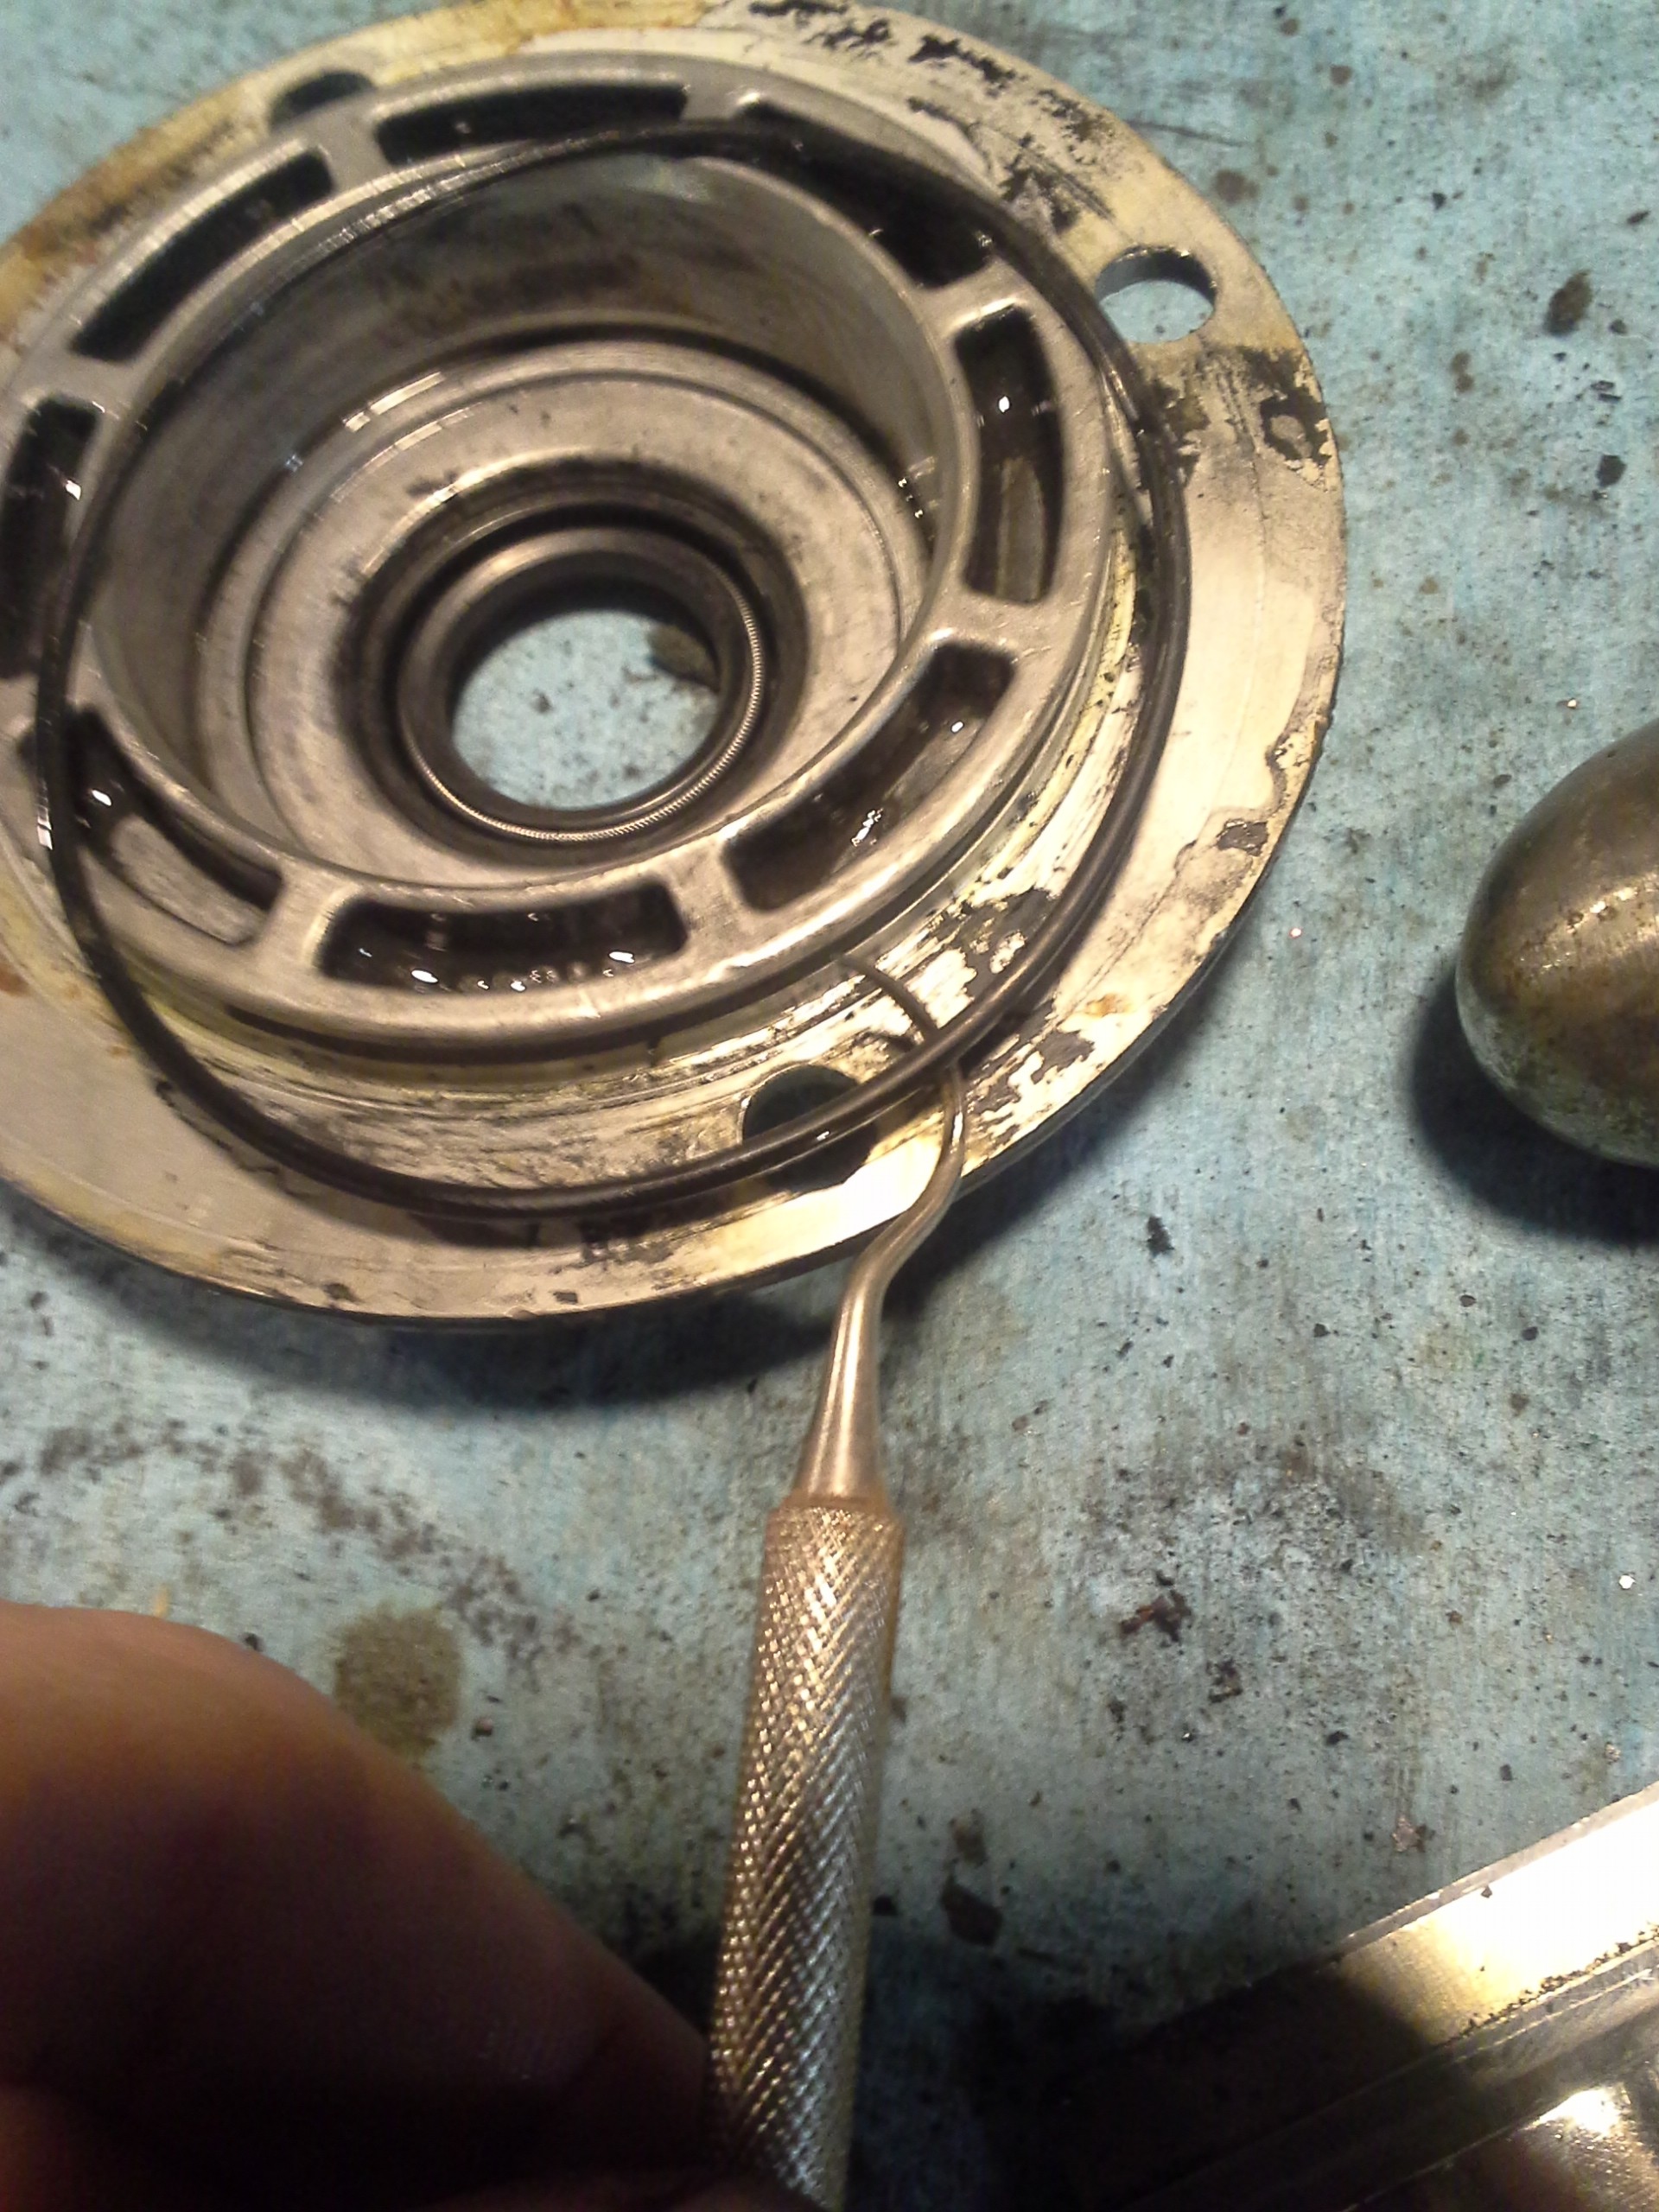
There's also an O-ring on this. Somewhere along the way, one of the lots of tools I picked up for cheap came with a dentist pick, which works quite well for pulling these out:
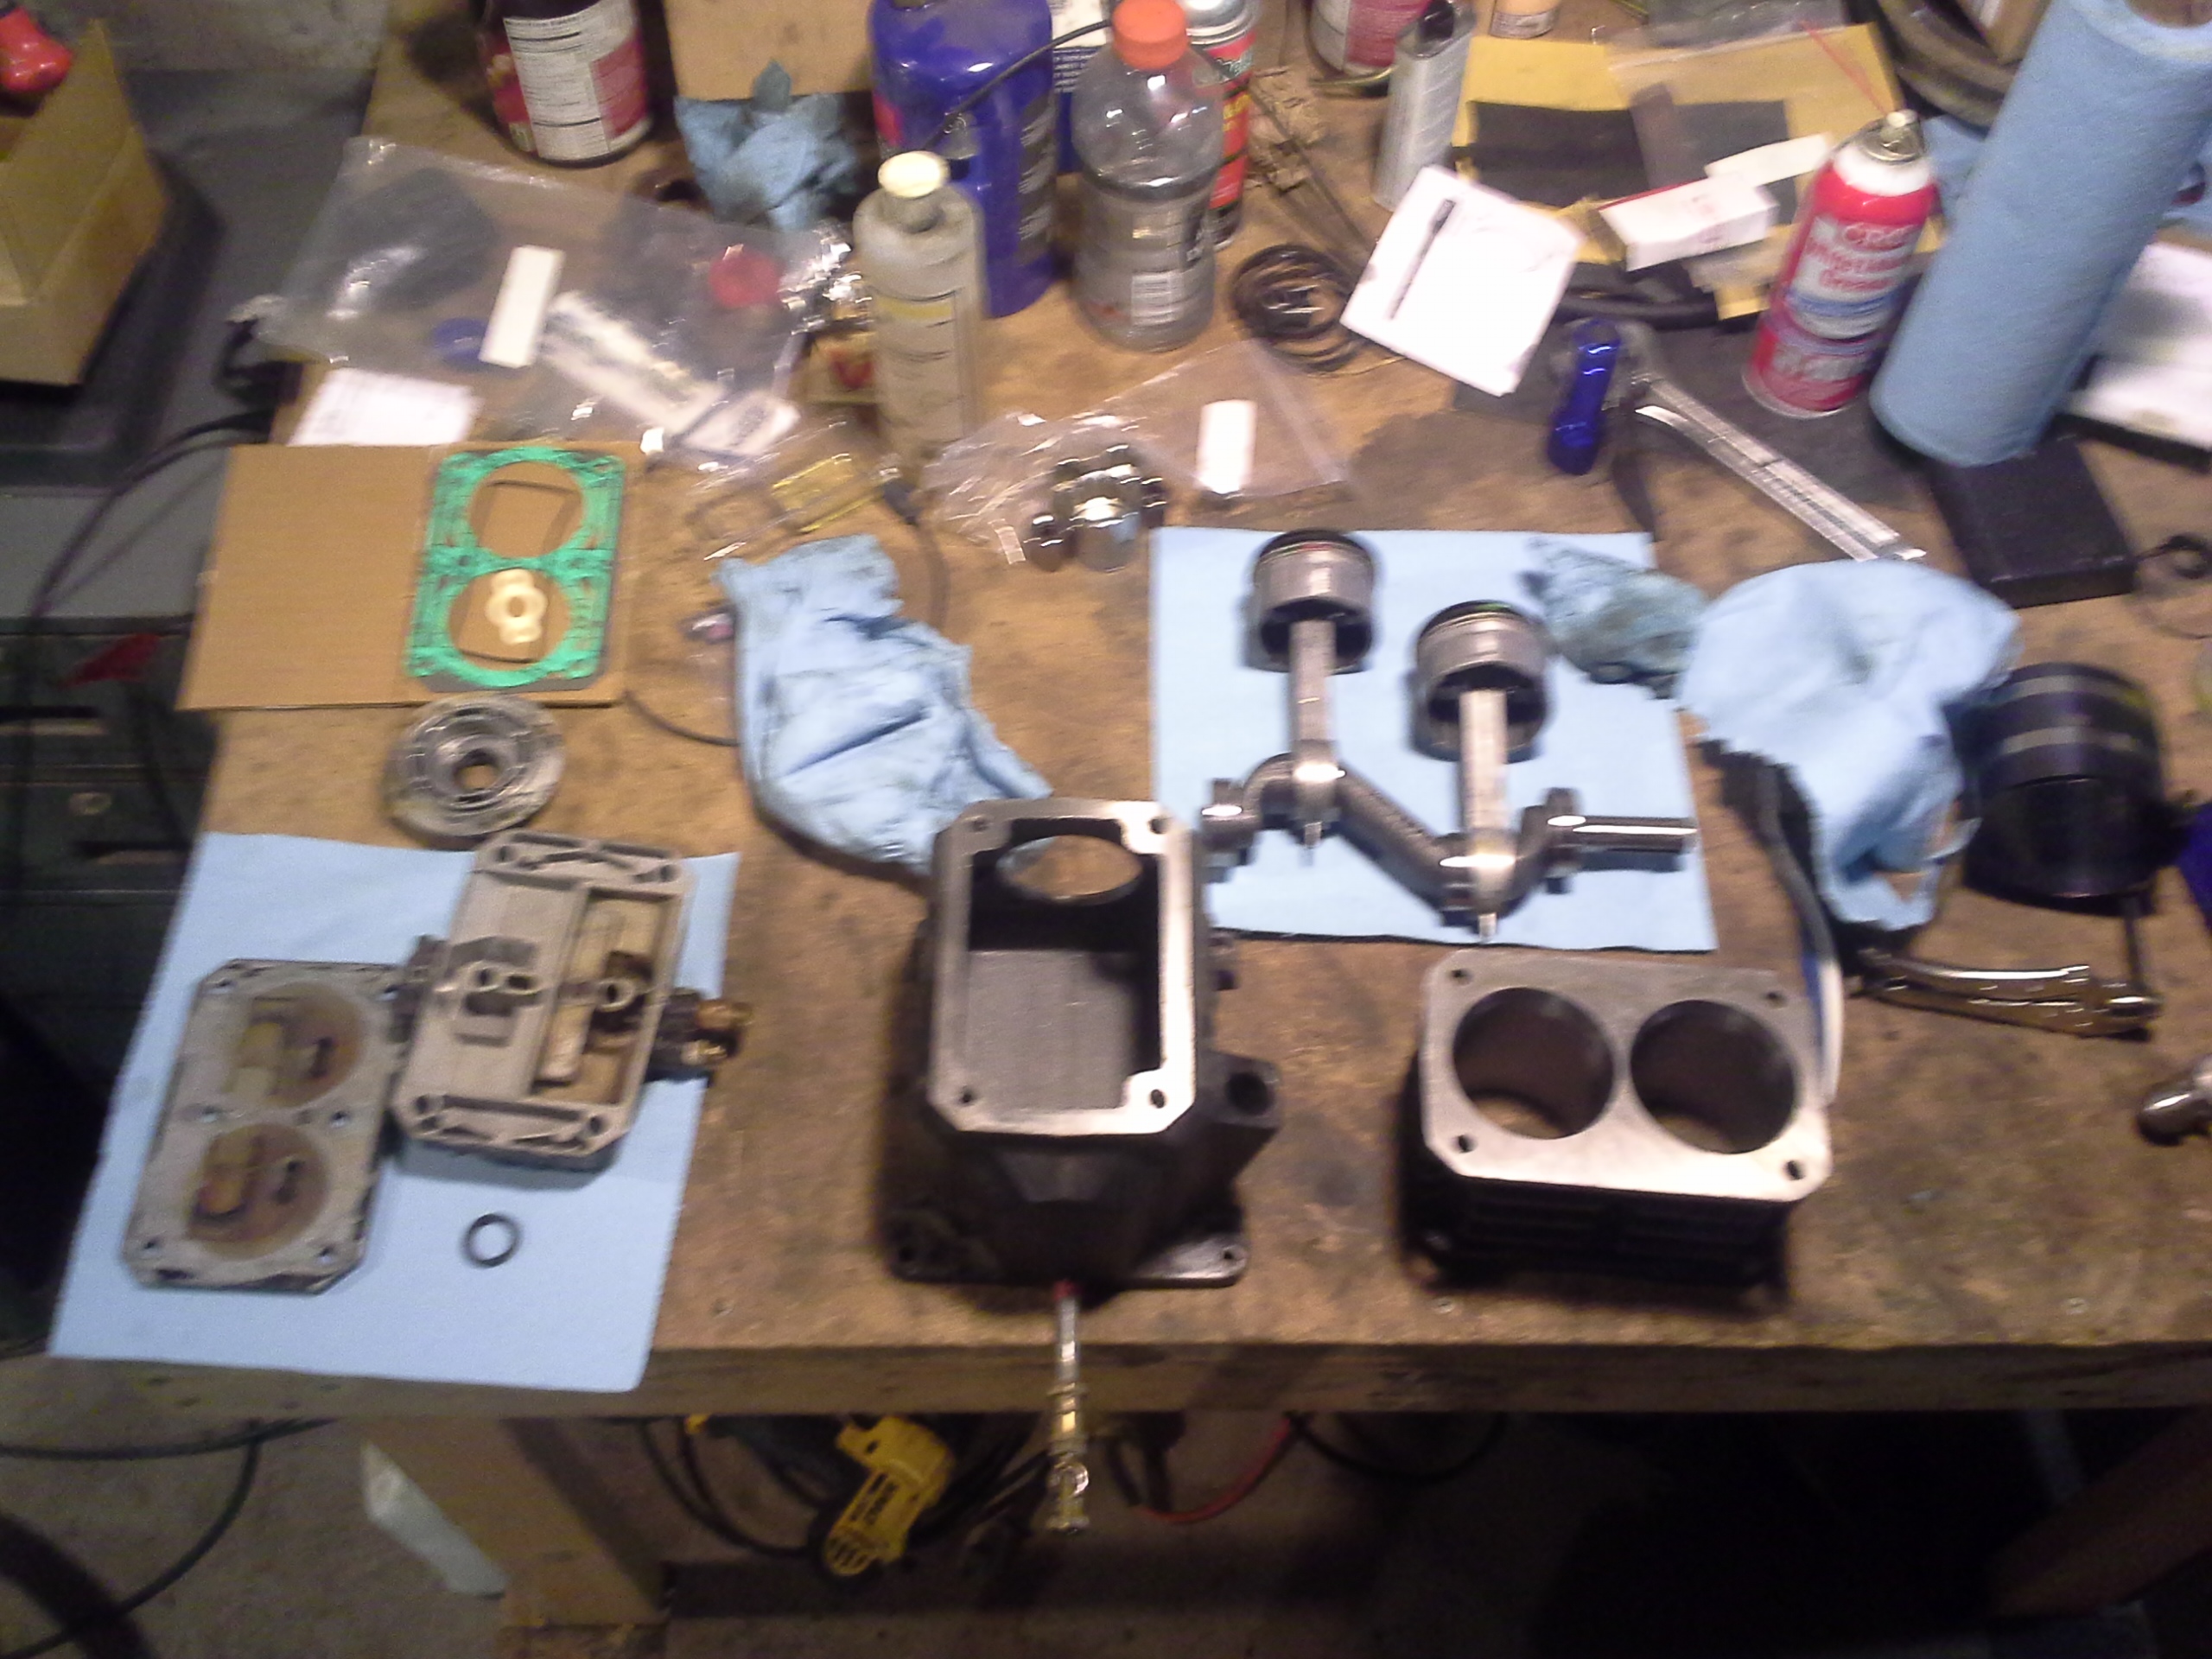
Time for reassembly! Here's a blurry picture of all the parts laid out on the bench:
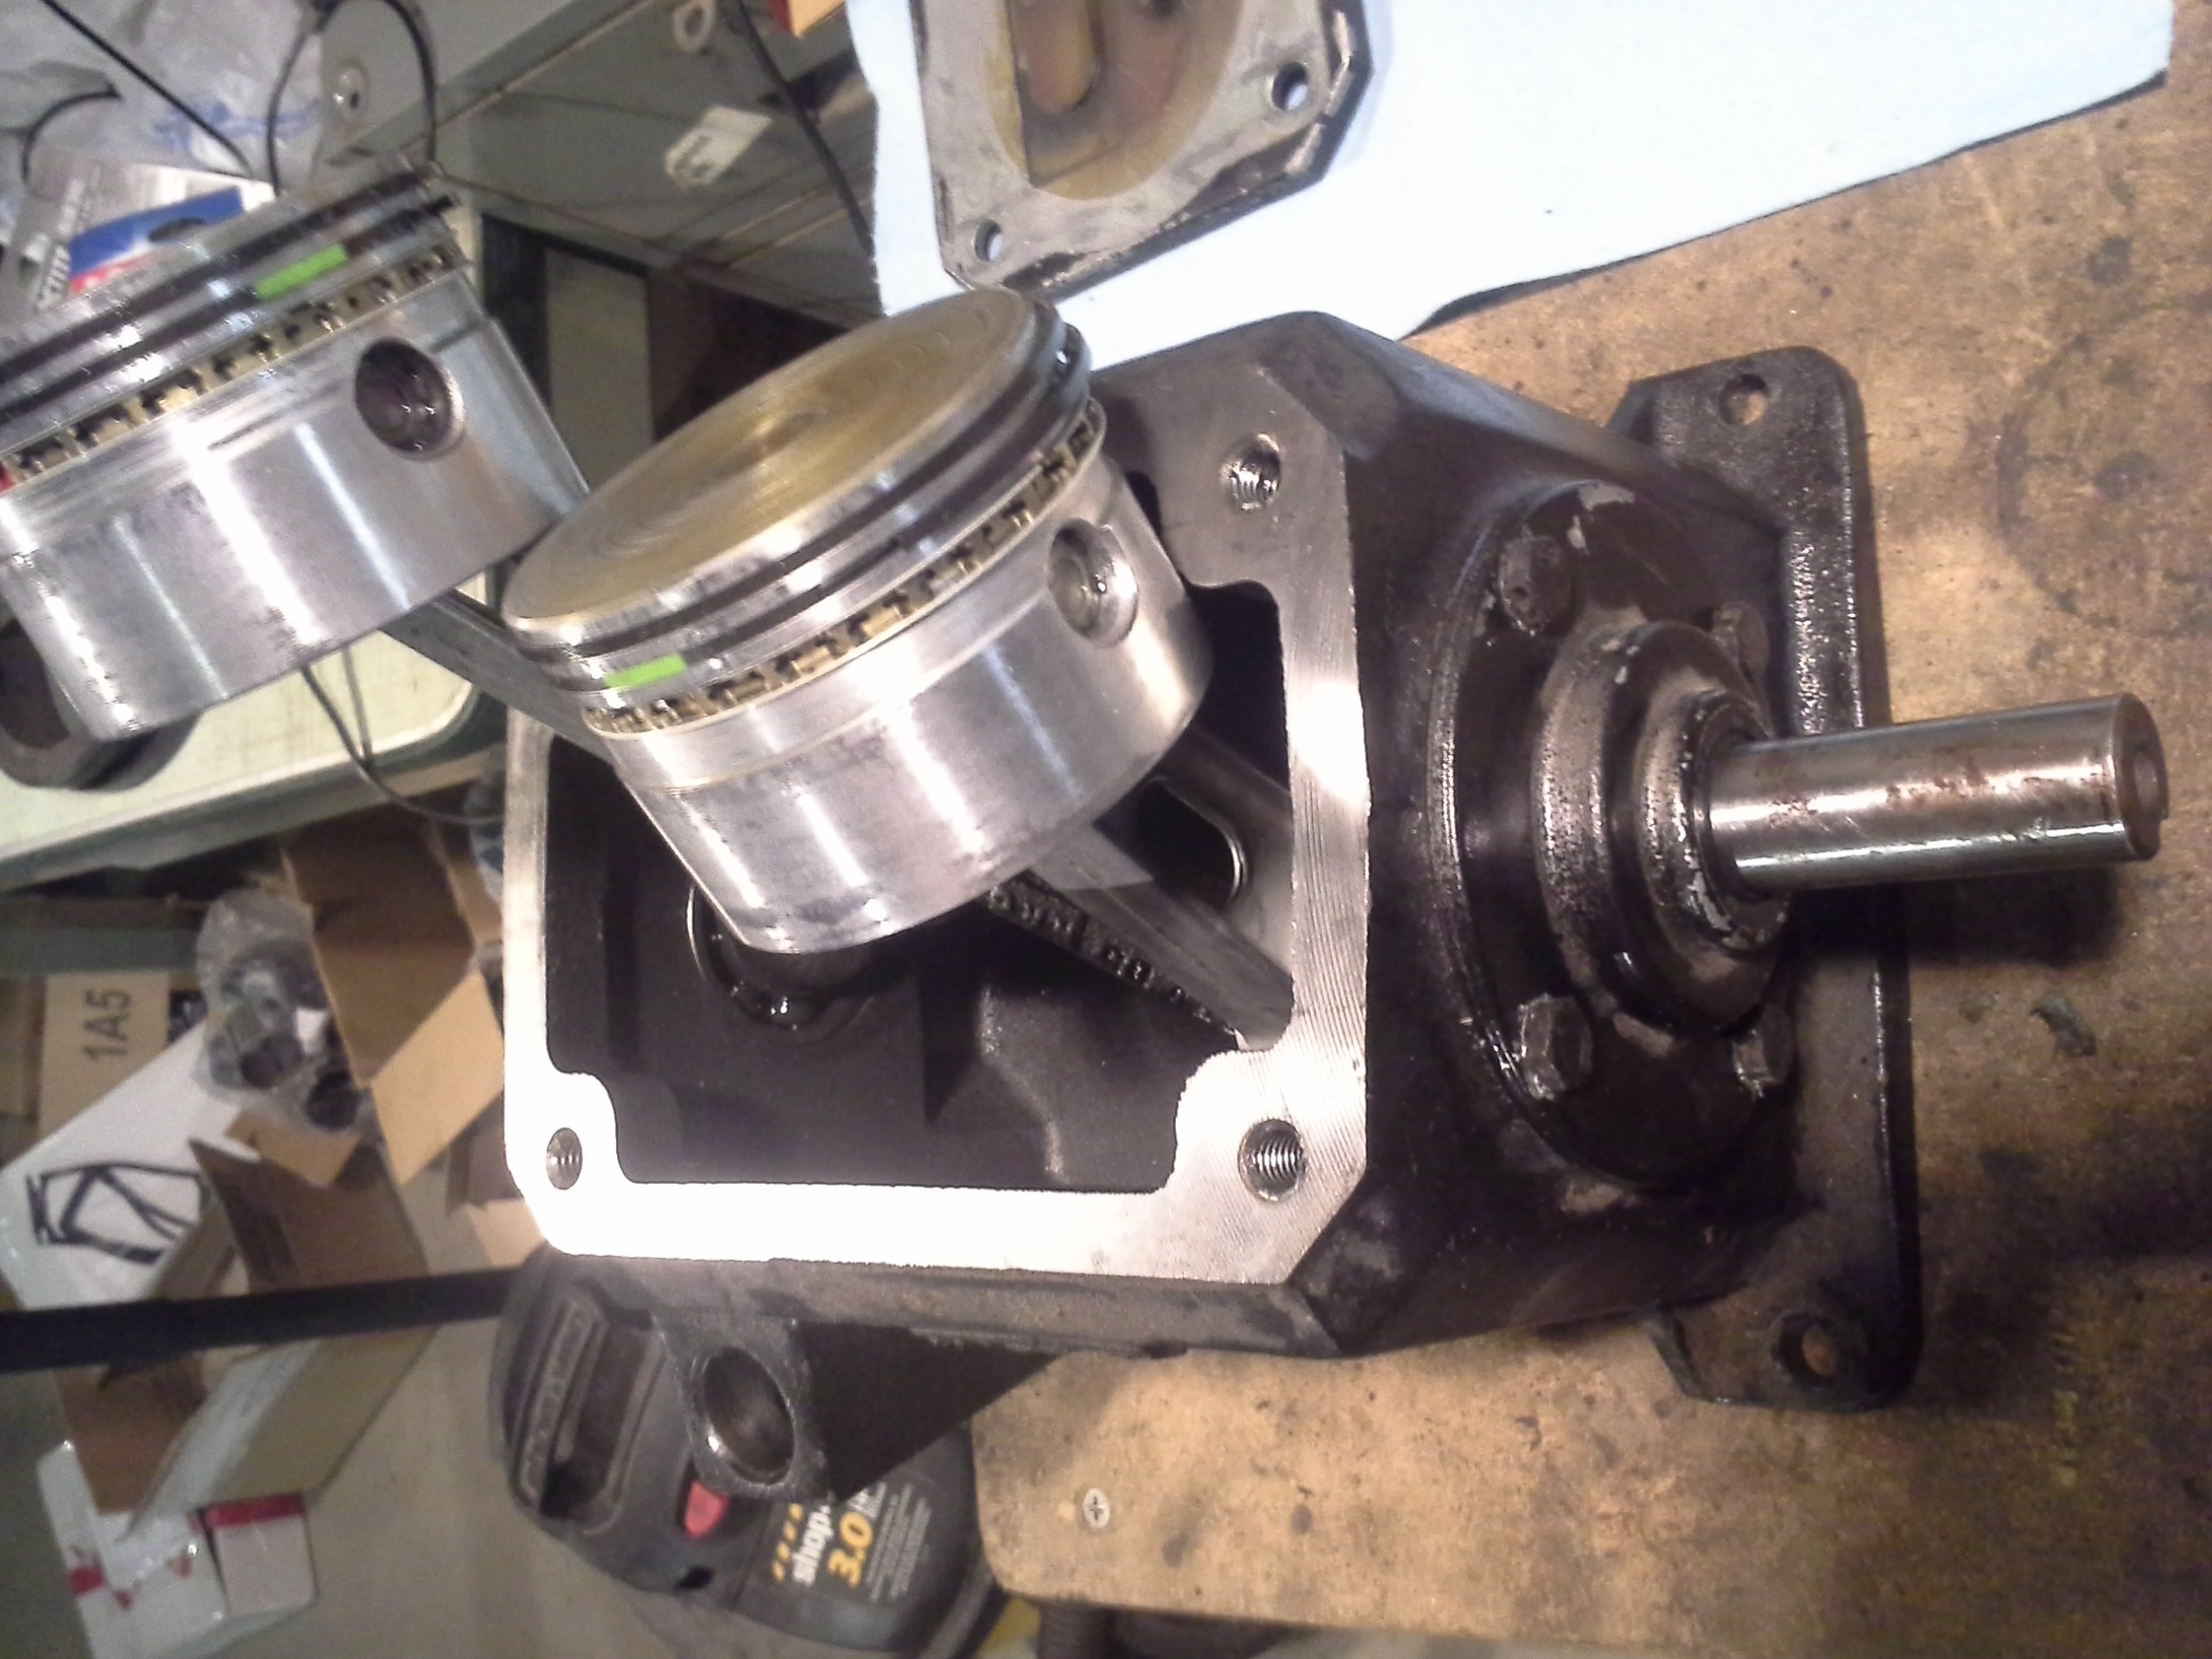
Installed the crankshaft and pistons. You have to kind of angle it in one way, then slide it around to get it to all fit. I also installed the bearing cap and used loctite on the screws, since the compressor vibrates a good deal.
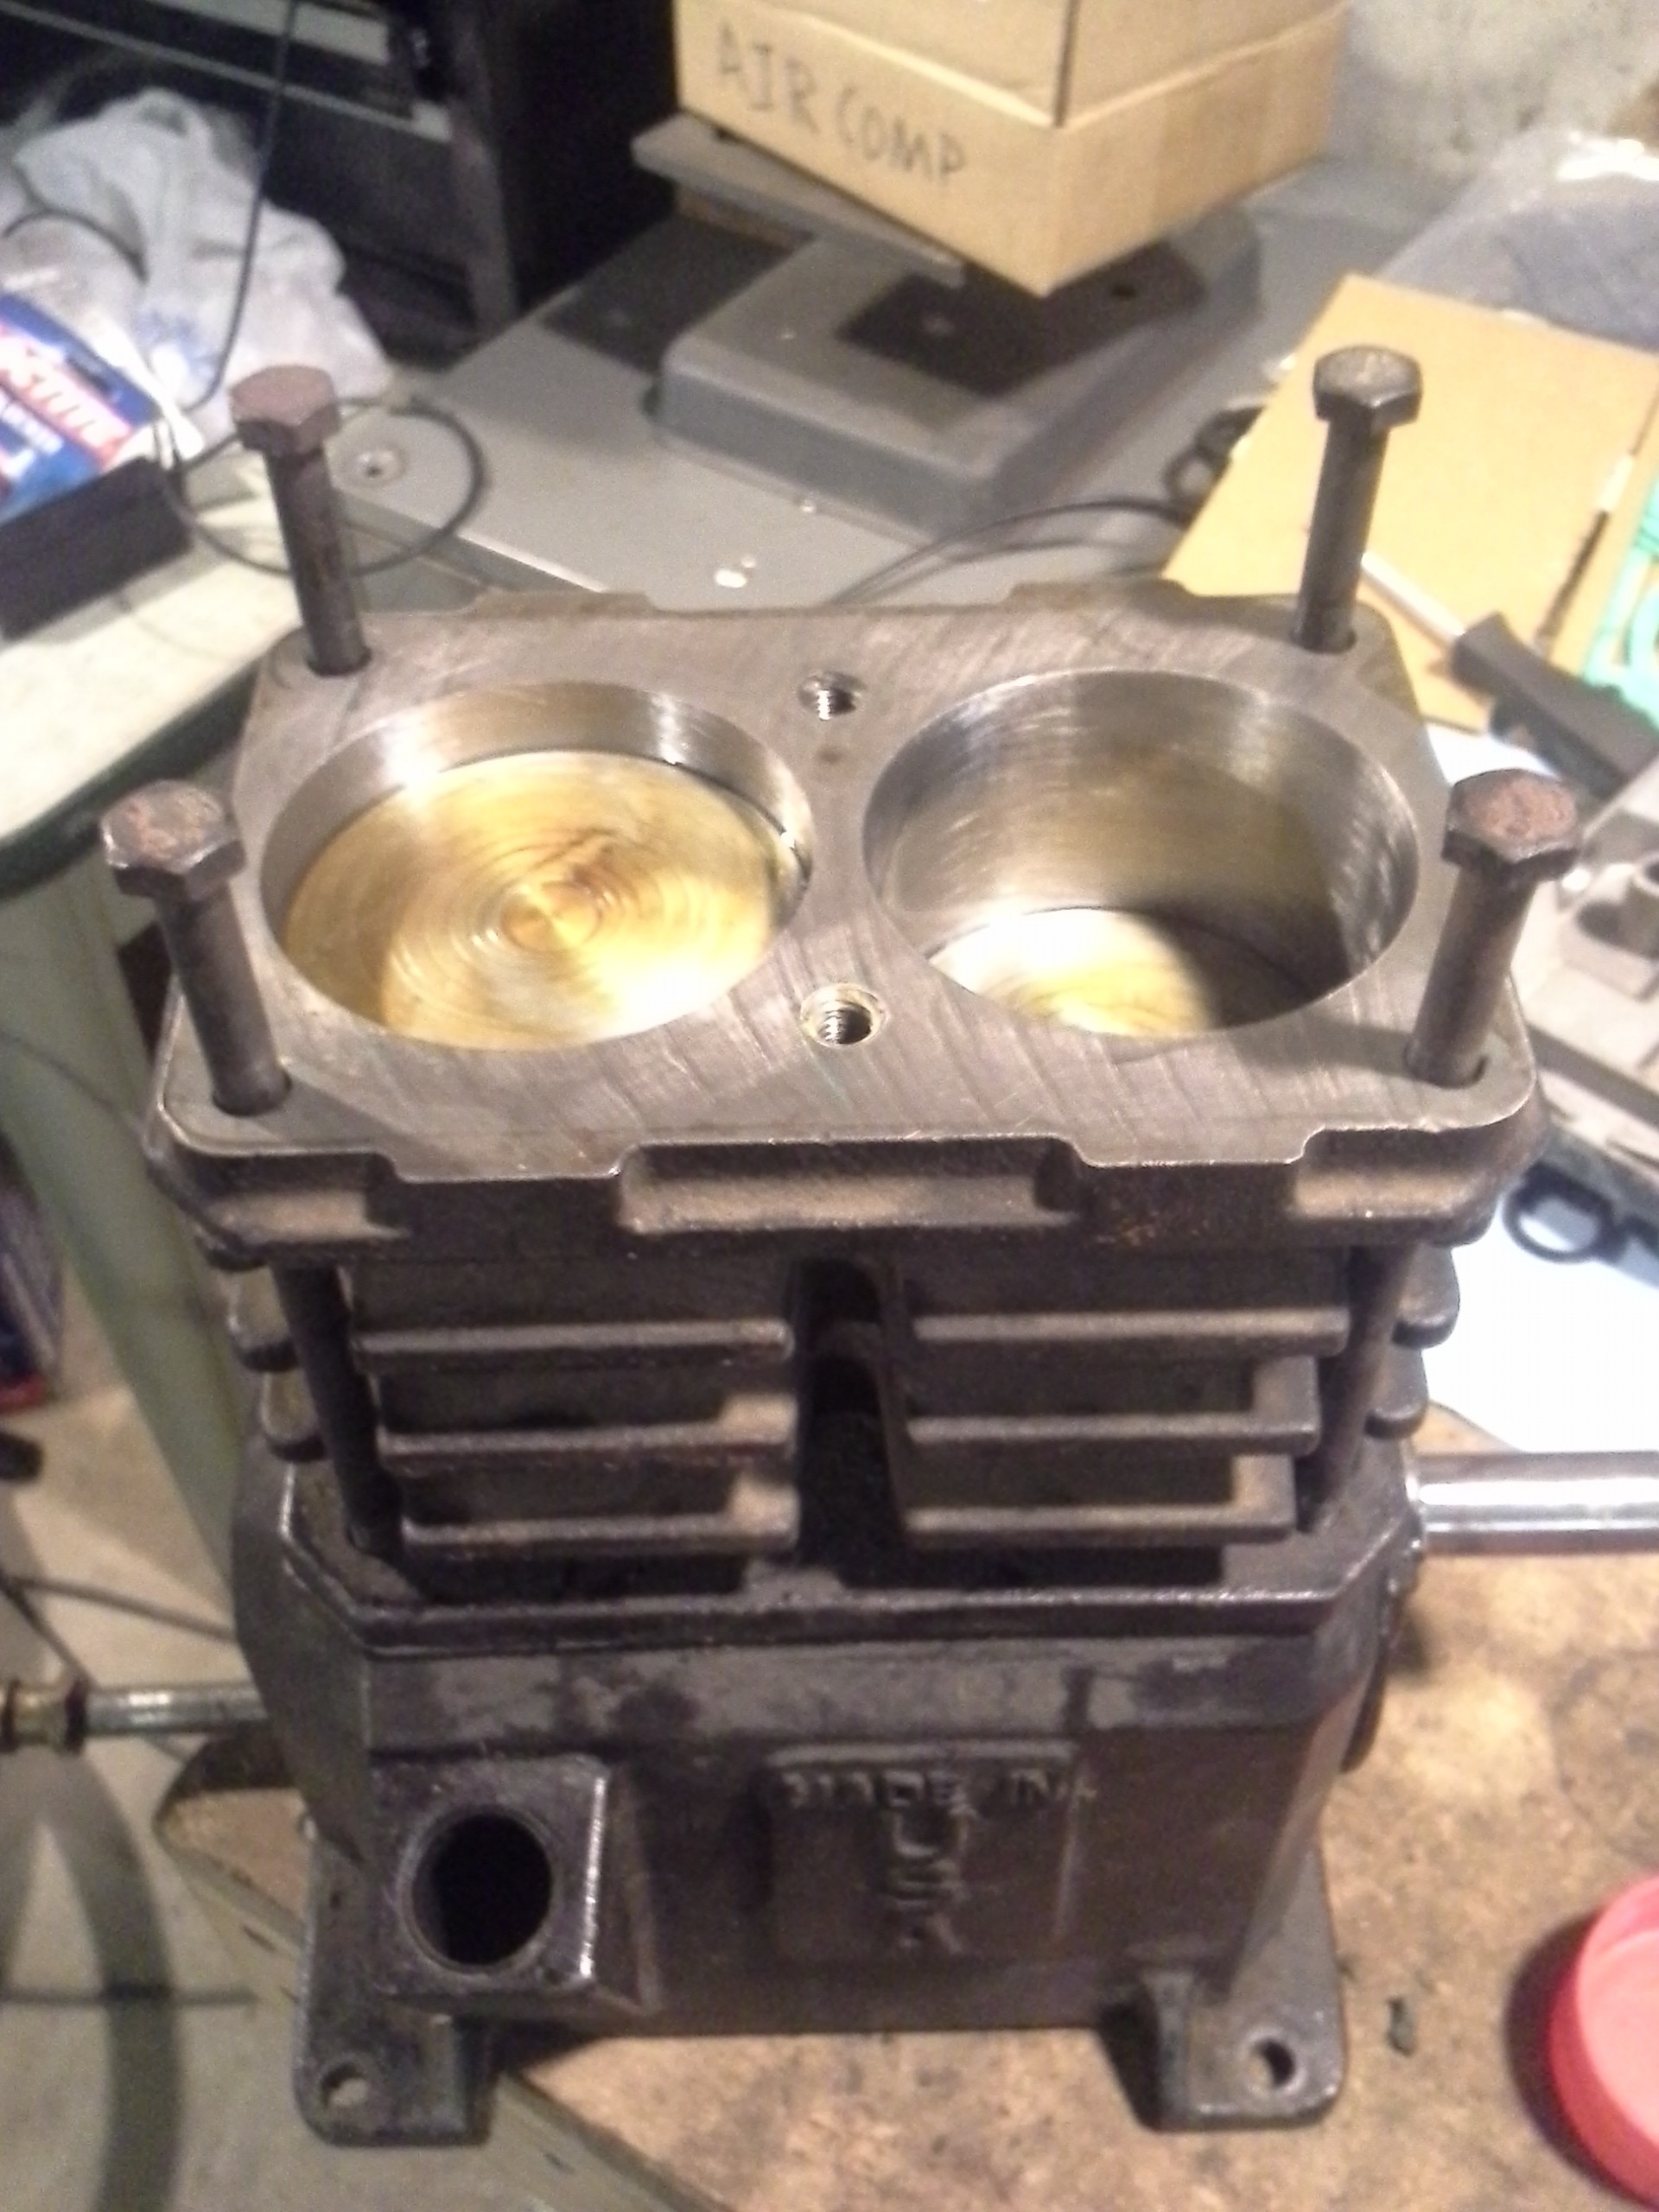
The bottoms of each cylinder are tapered out to allow you to slide the rings in without using a ring compressor (in a normal car, you'd slide in the piston and conrod from the top of the cylinder block, instead of the bottom like here). A trick I wish I'd known before I spent a lot of time wrestling with getting everything lined up: once you've got the block most of the way installed, insert the head bolts and use them as a guide to keep everything straight.
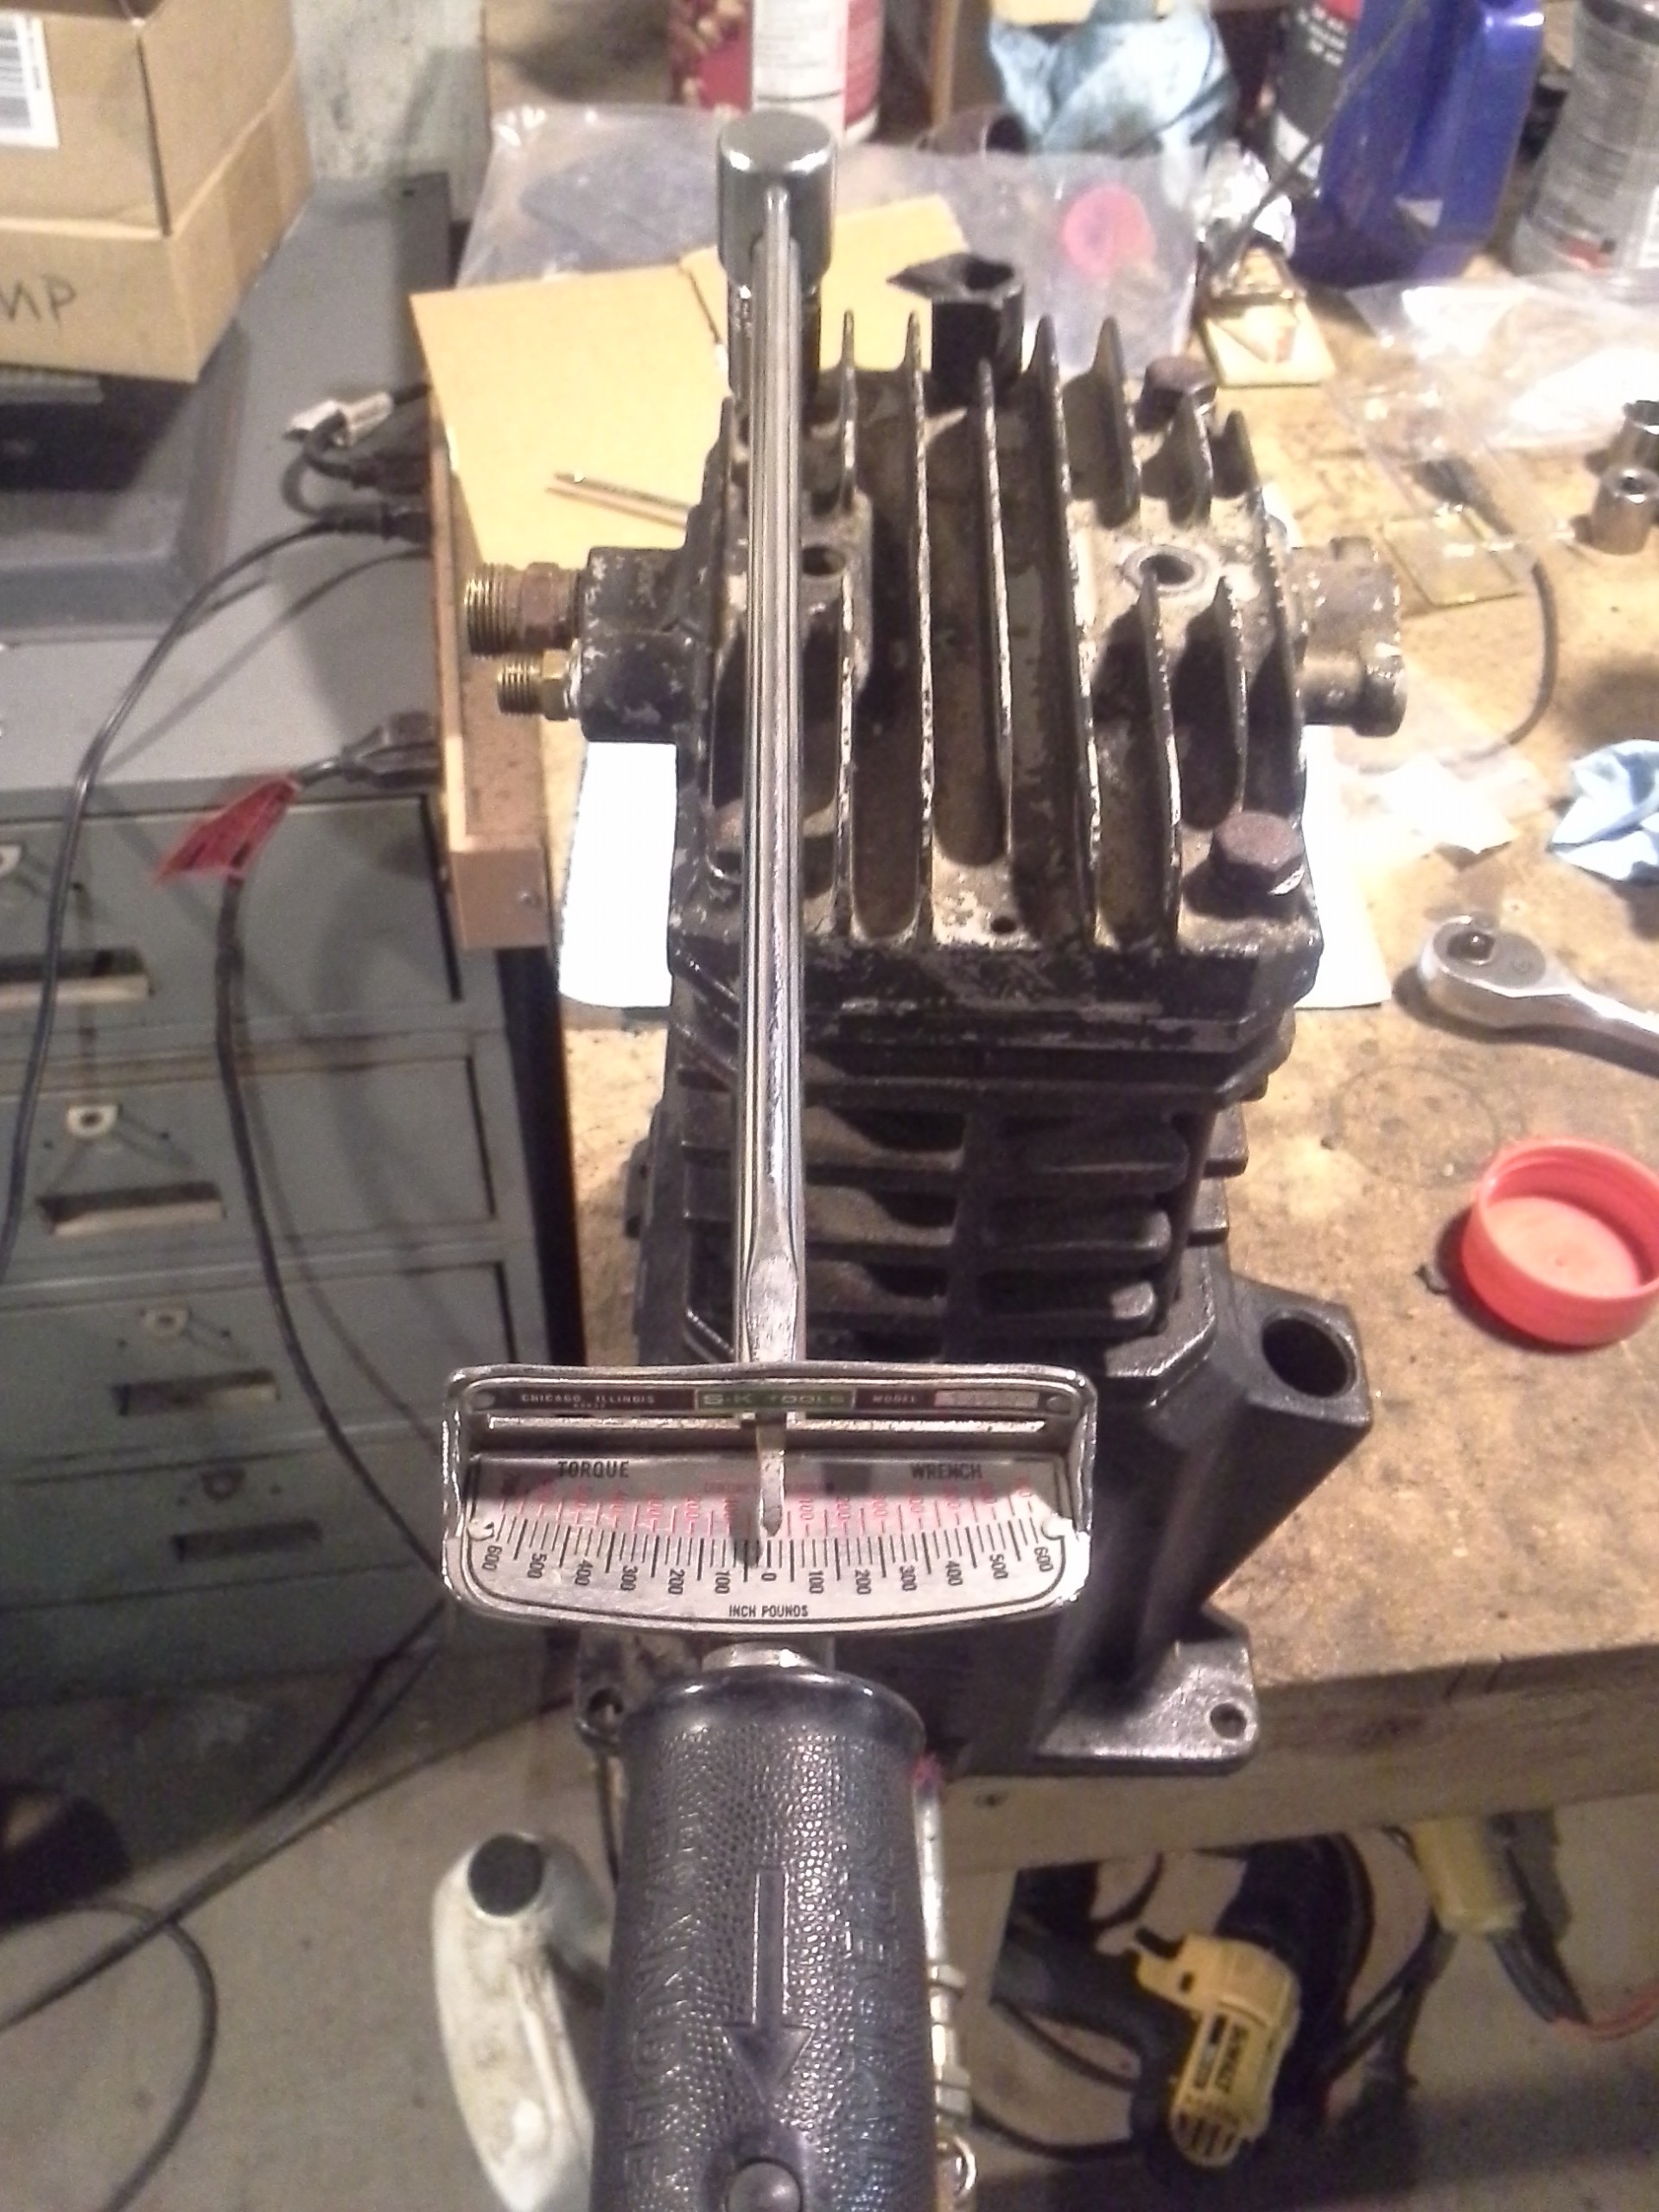
Install the headgasket, valve plate, valve plate gasket, and head (parts #5, #14, #15, and #16). Be careful to get it on the right way! Then torque the head bolts to 225 inch-pounds:
Insert the key into the pulley, then gently drive it on to the end of the crankshaft with a brass hammer:
Resist the urge to give it a good turn...
The pump takes 8.5 oz of oil, which is about half a pickle jar's worth:
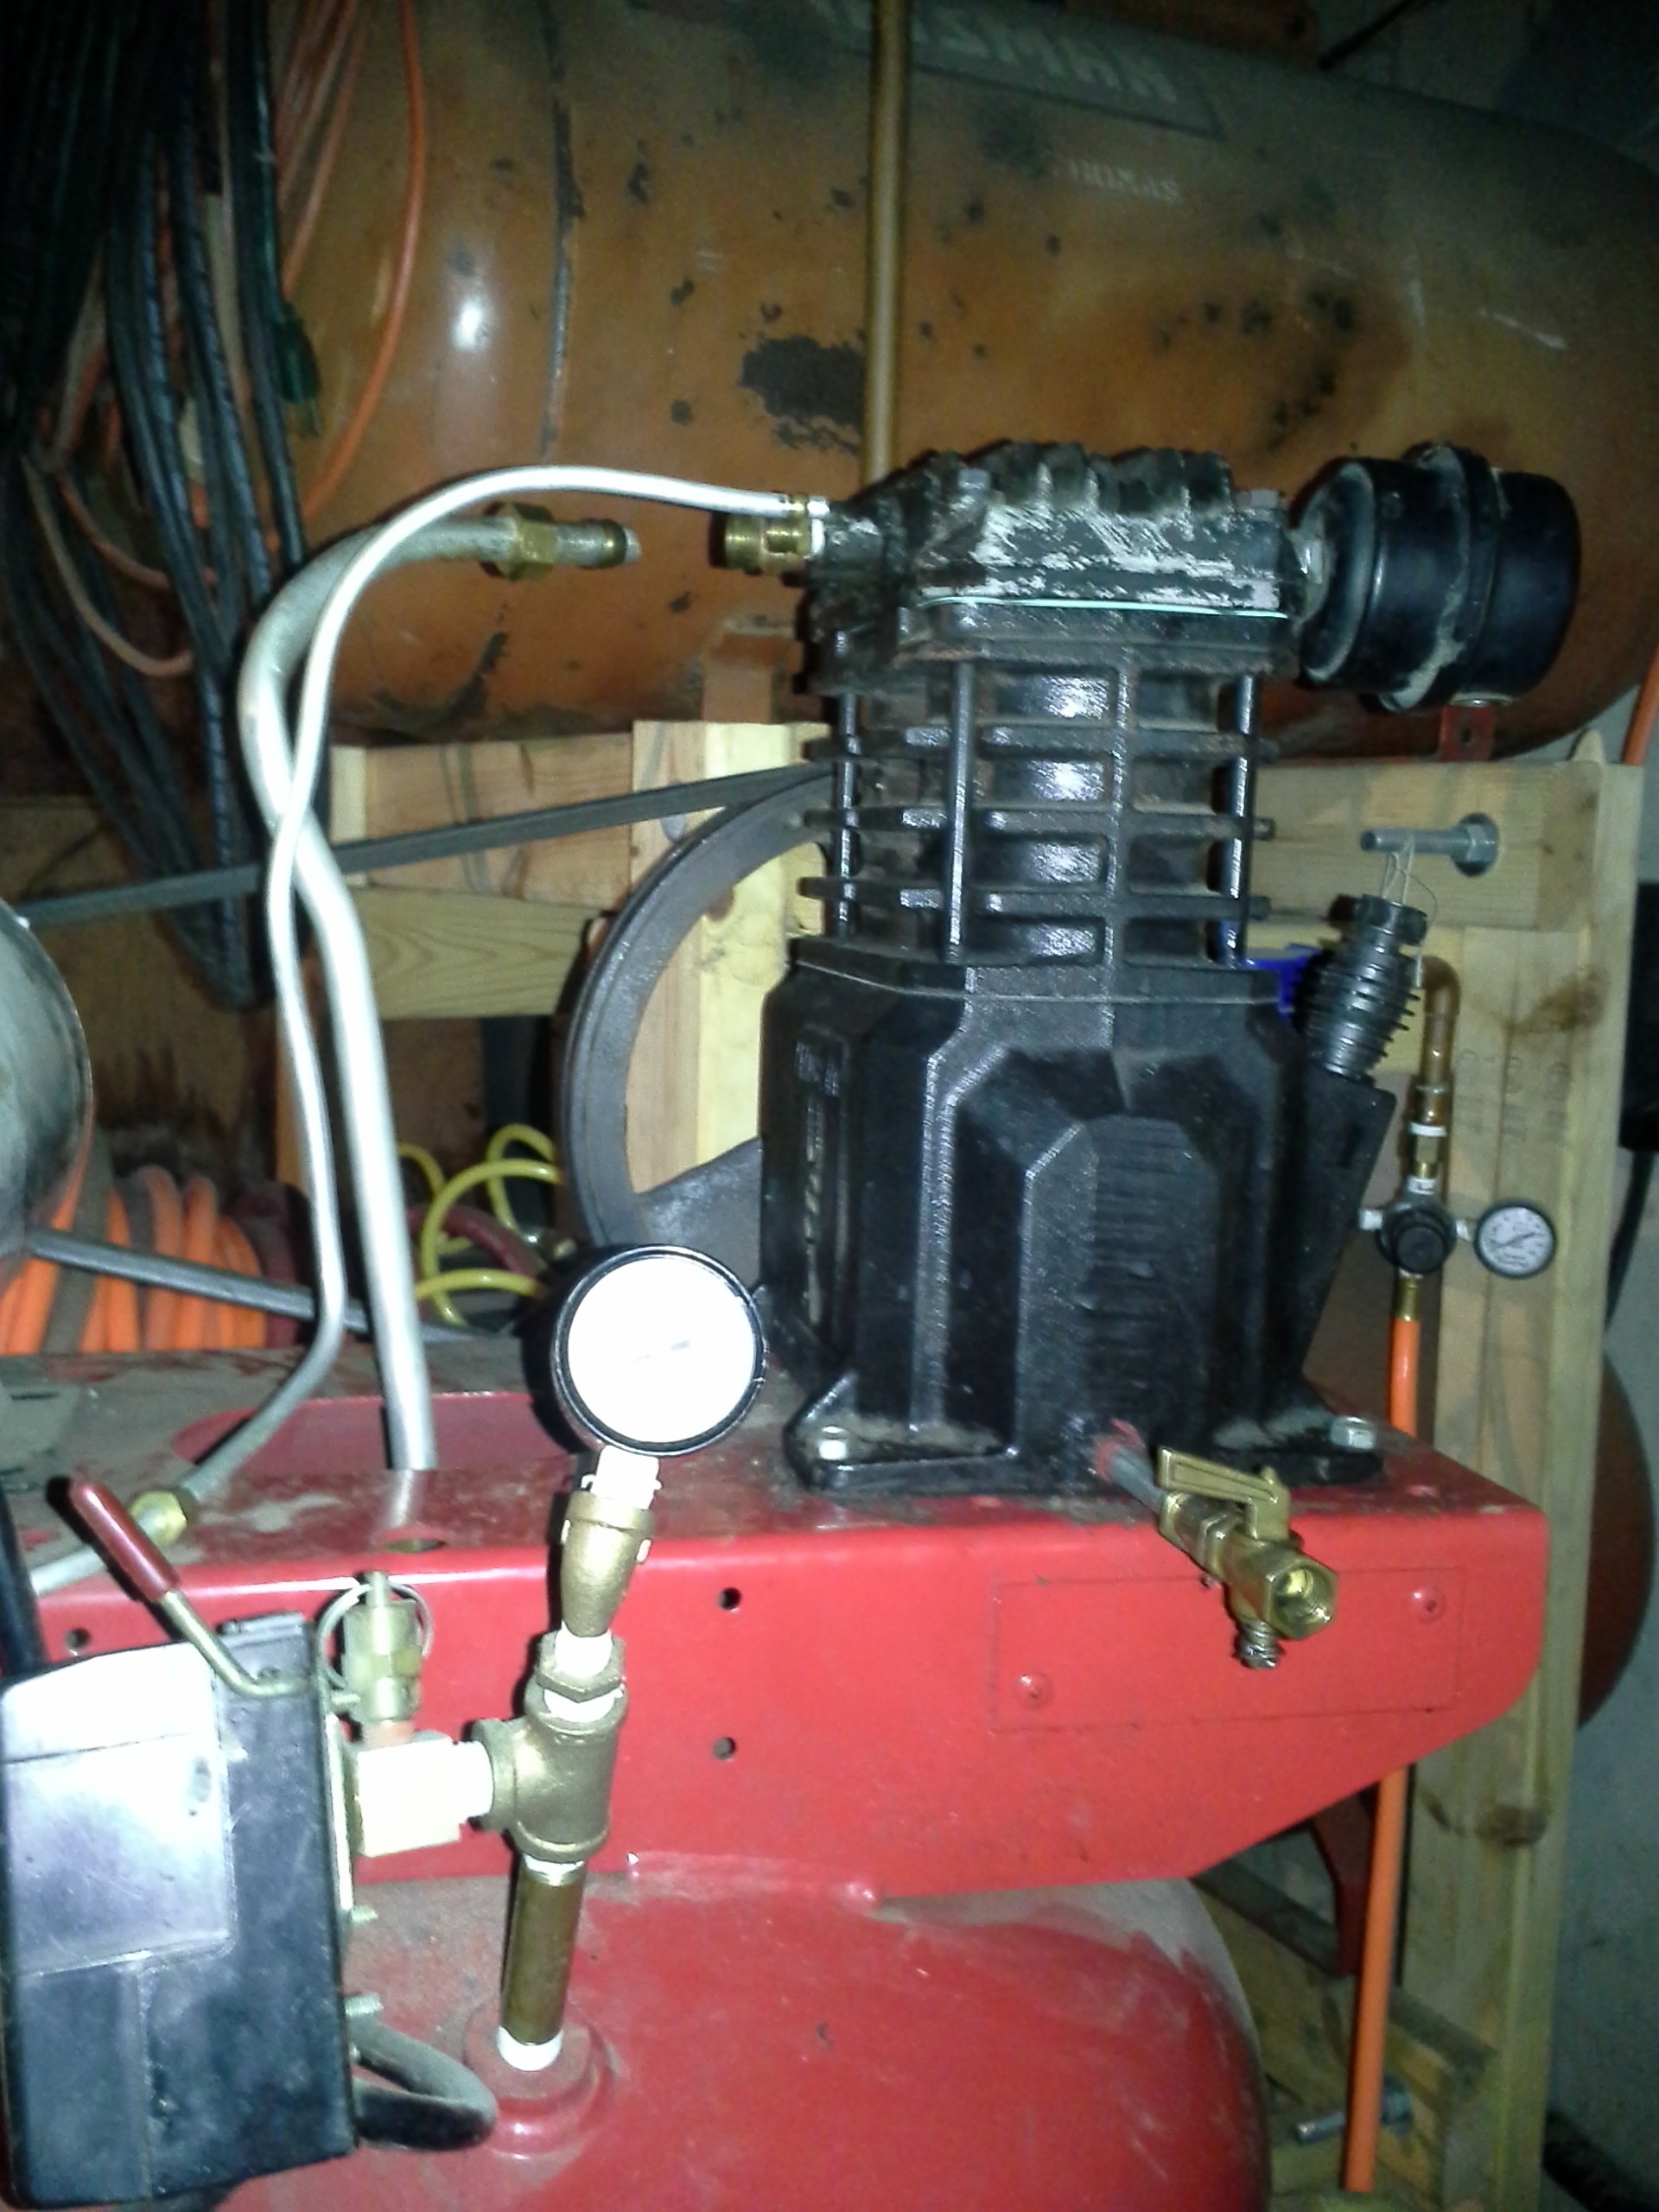
Now you can turn it! It sounded alright and built pressure at the exhaust, so I knew that I hadn't screwed up anything too badly. Reinstall the pump, run it for 10 or so minutes unloaded to ease it in, then plumb it up and let it go!
The pump definitely has a second note to its running tone now. Addionally, the breather in the dipstick doesn't whistle above 60 PSI like it did when I bought it!
(The dipstick has a breather because piston rings don't seal perfectly, and without a breather the crankcase would slowly fill with compressed air. My fix for the whistling consisted of a folded up shop towel held over the breather with a rubber band that served to muffle the whistle good enough.)
I'll change the oil in a month or two and check what comes out for metal shavings, but other than that, this air compressor should be good to go for a long while.
