So, here's some actual car work:
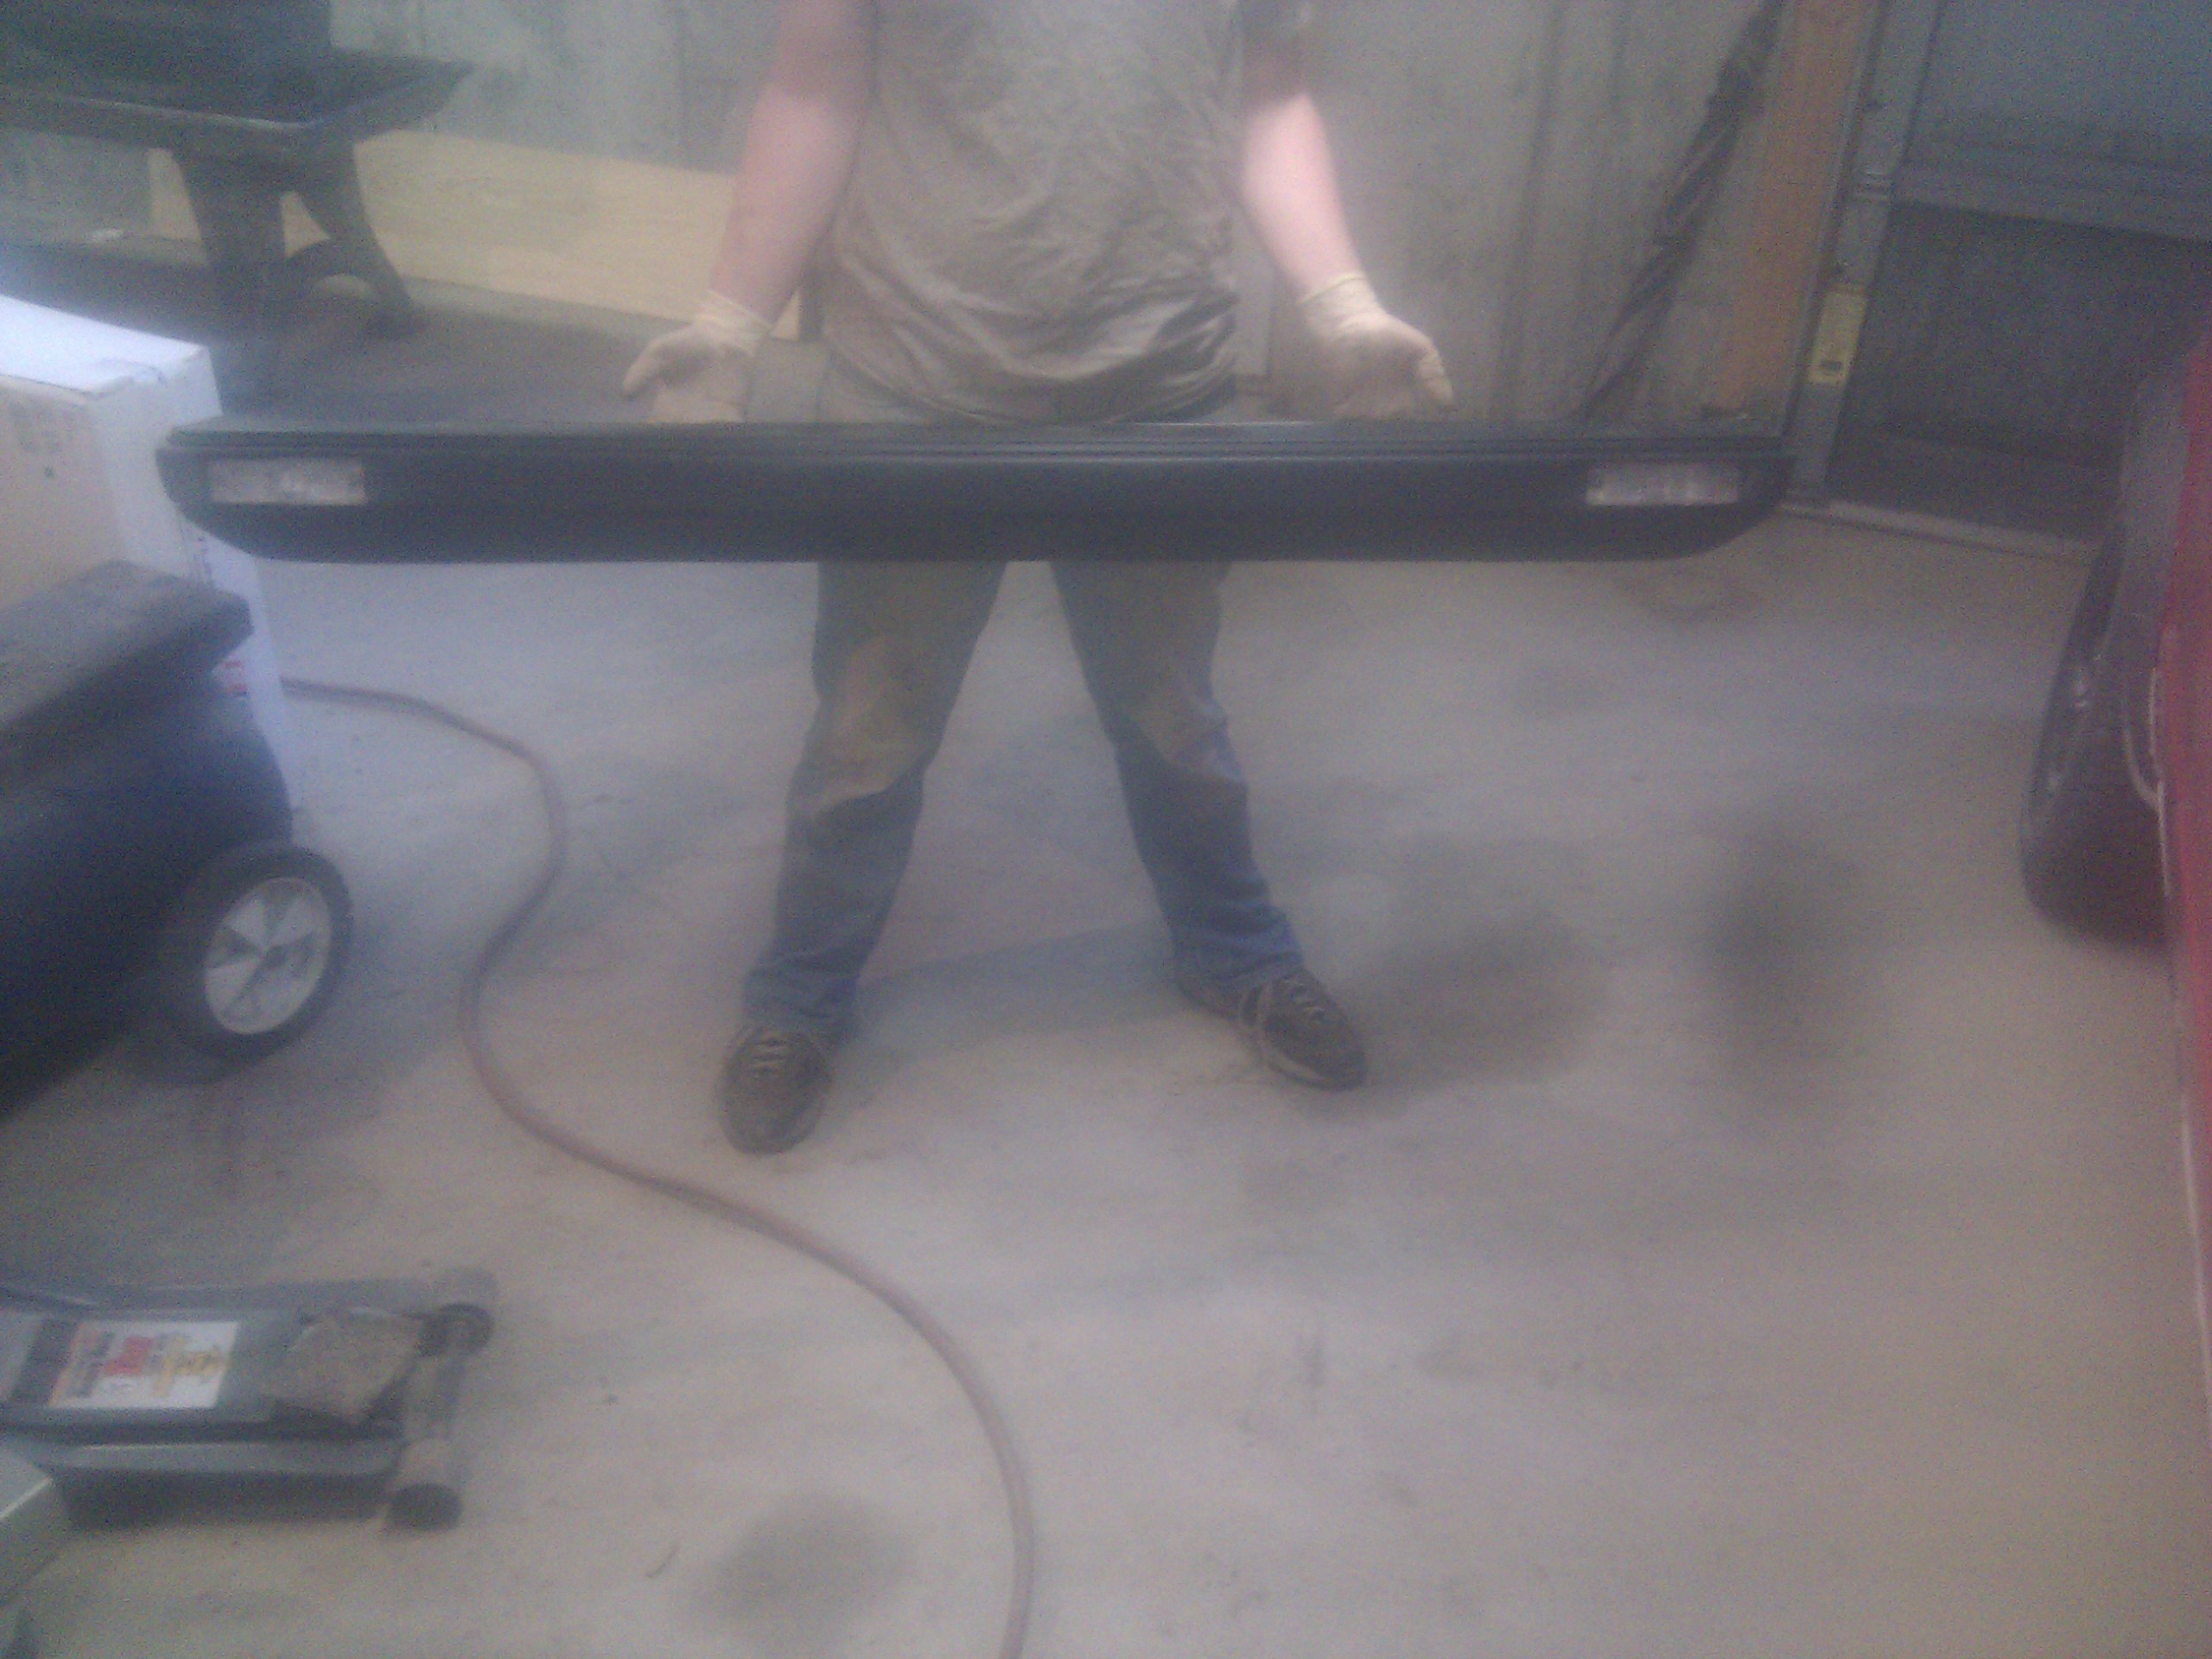
Minor bumper damage; time for a replacement. This picture makes me almost tempted to run without a bumper...
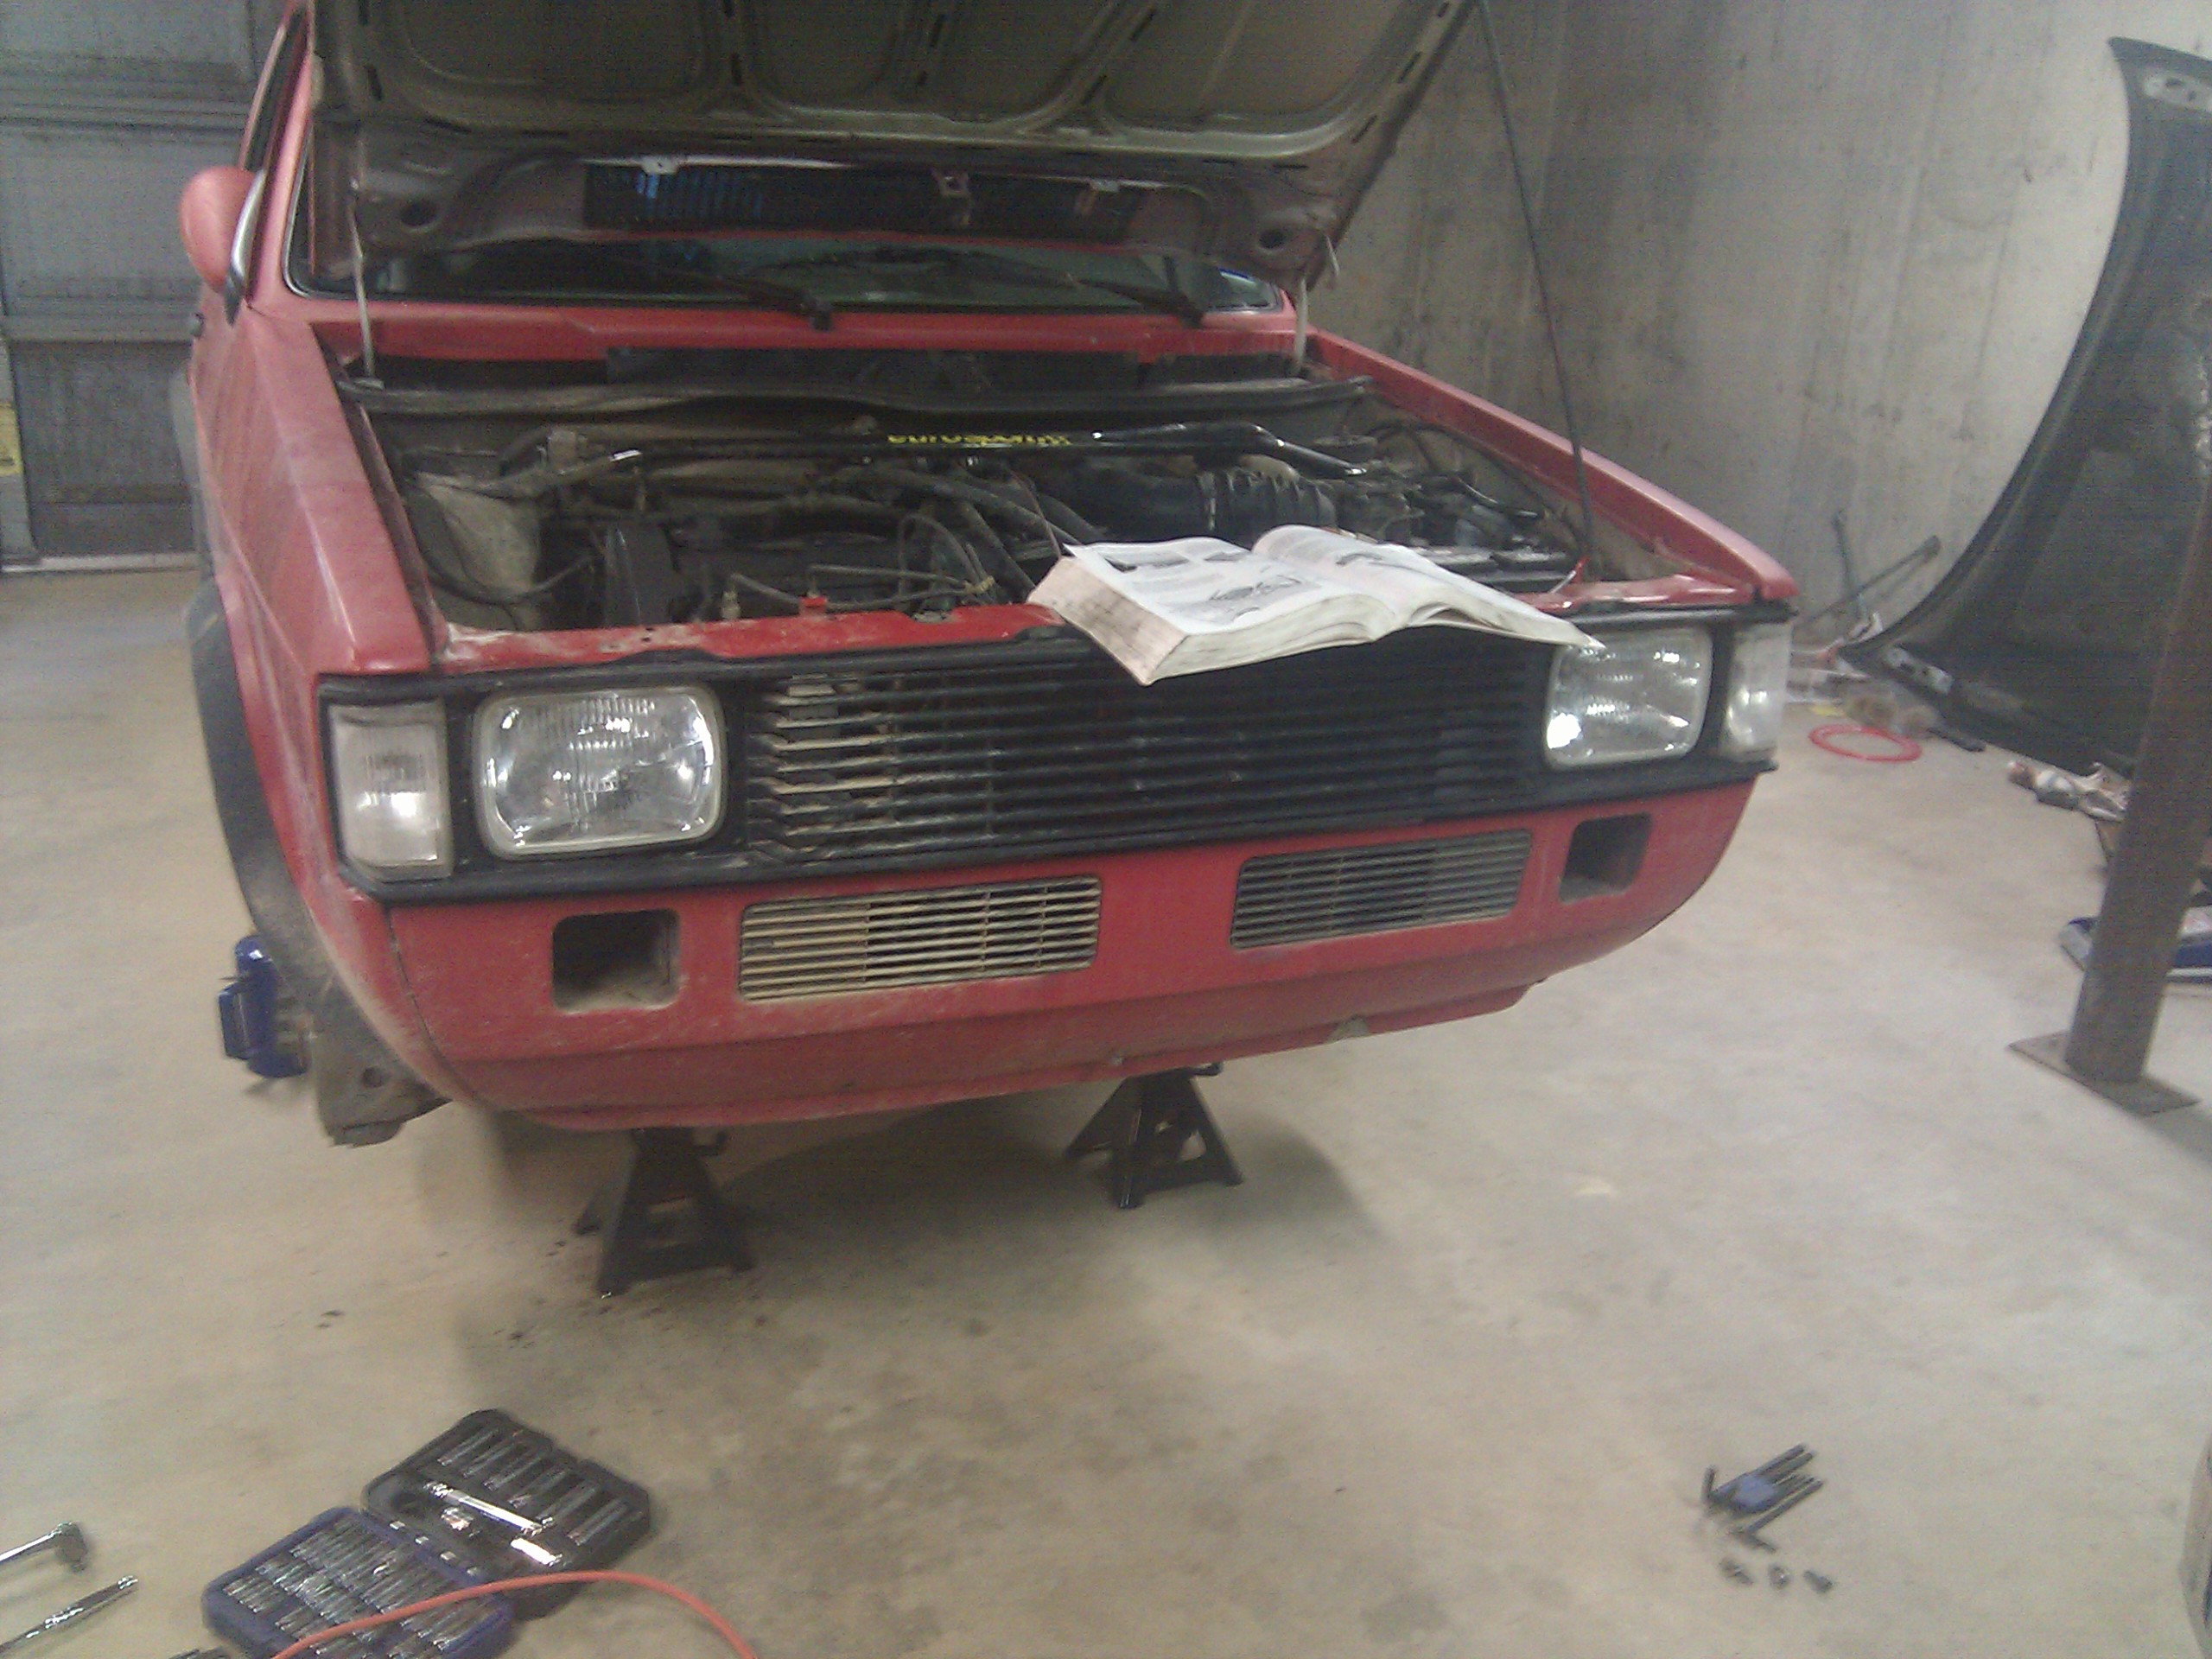
The replacement is an aftermarket part and not nearly as nice as the original, so maybe I'll learn plastic welding and see if I can fix the original one? I wish I would have realized that the lights aren't wired up when I redid the front wiring harness. I'll run wires for these someday. (I think I have pictures of the wiring harness redo if you want to see those.)
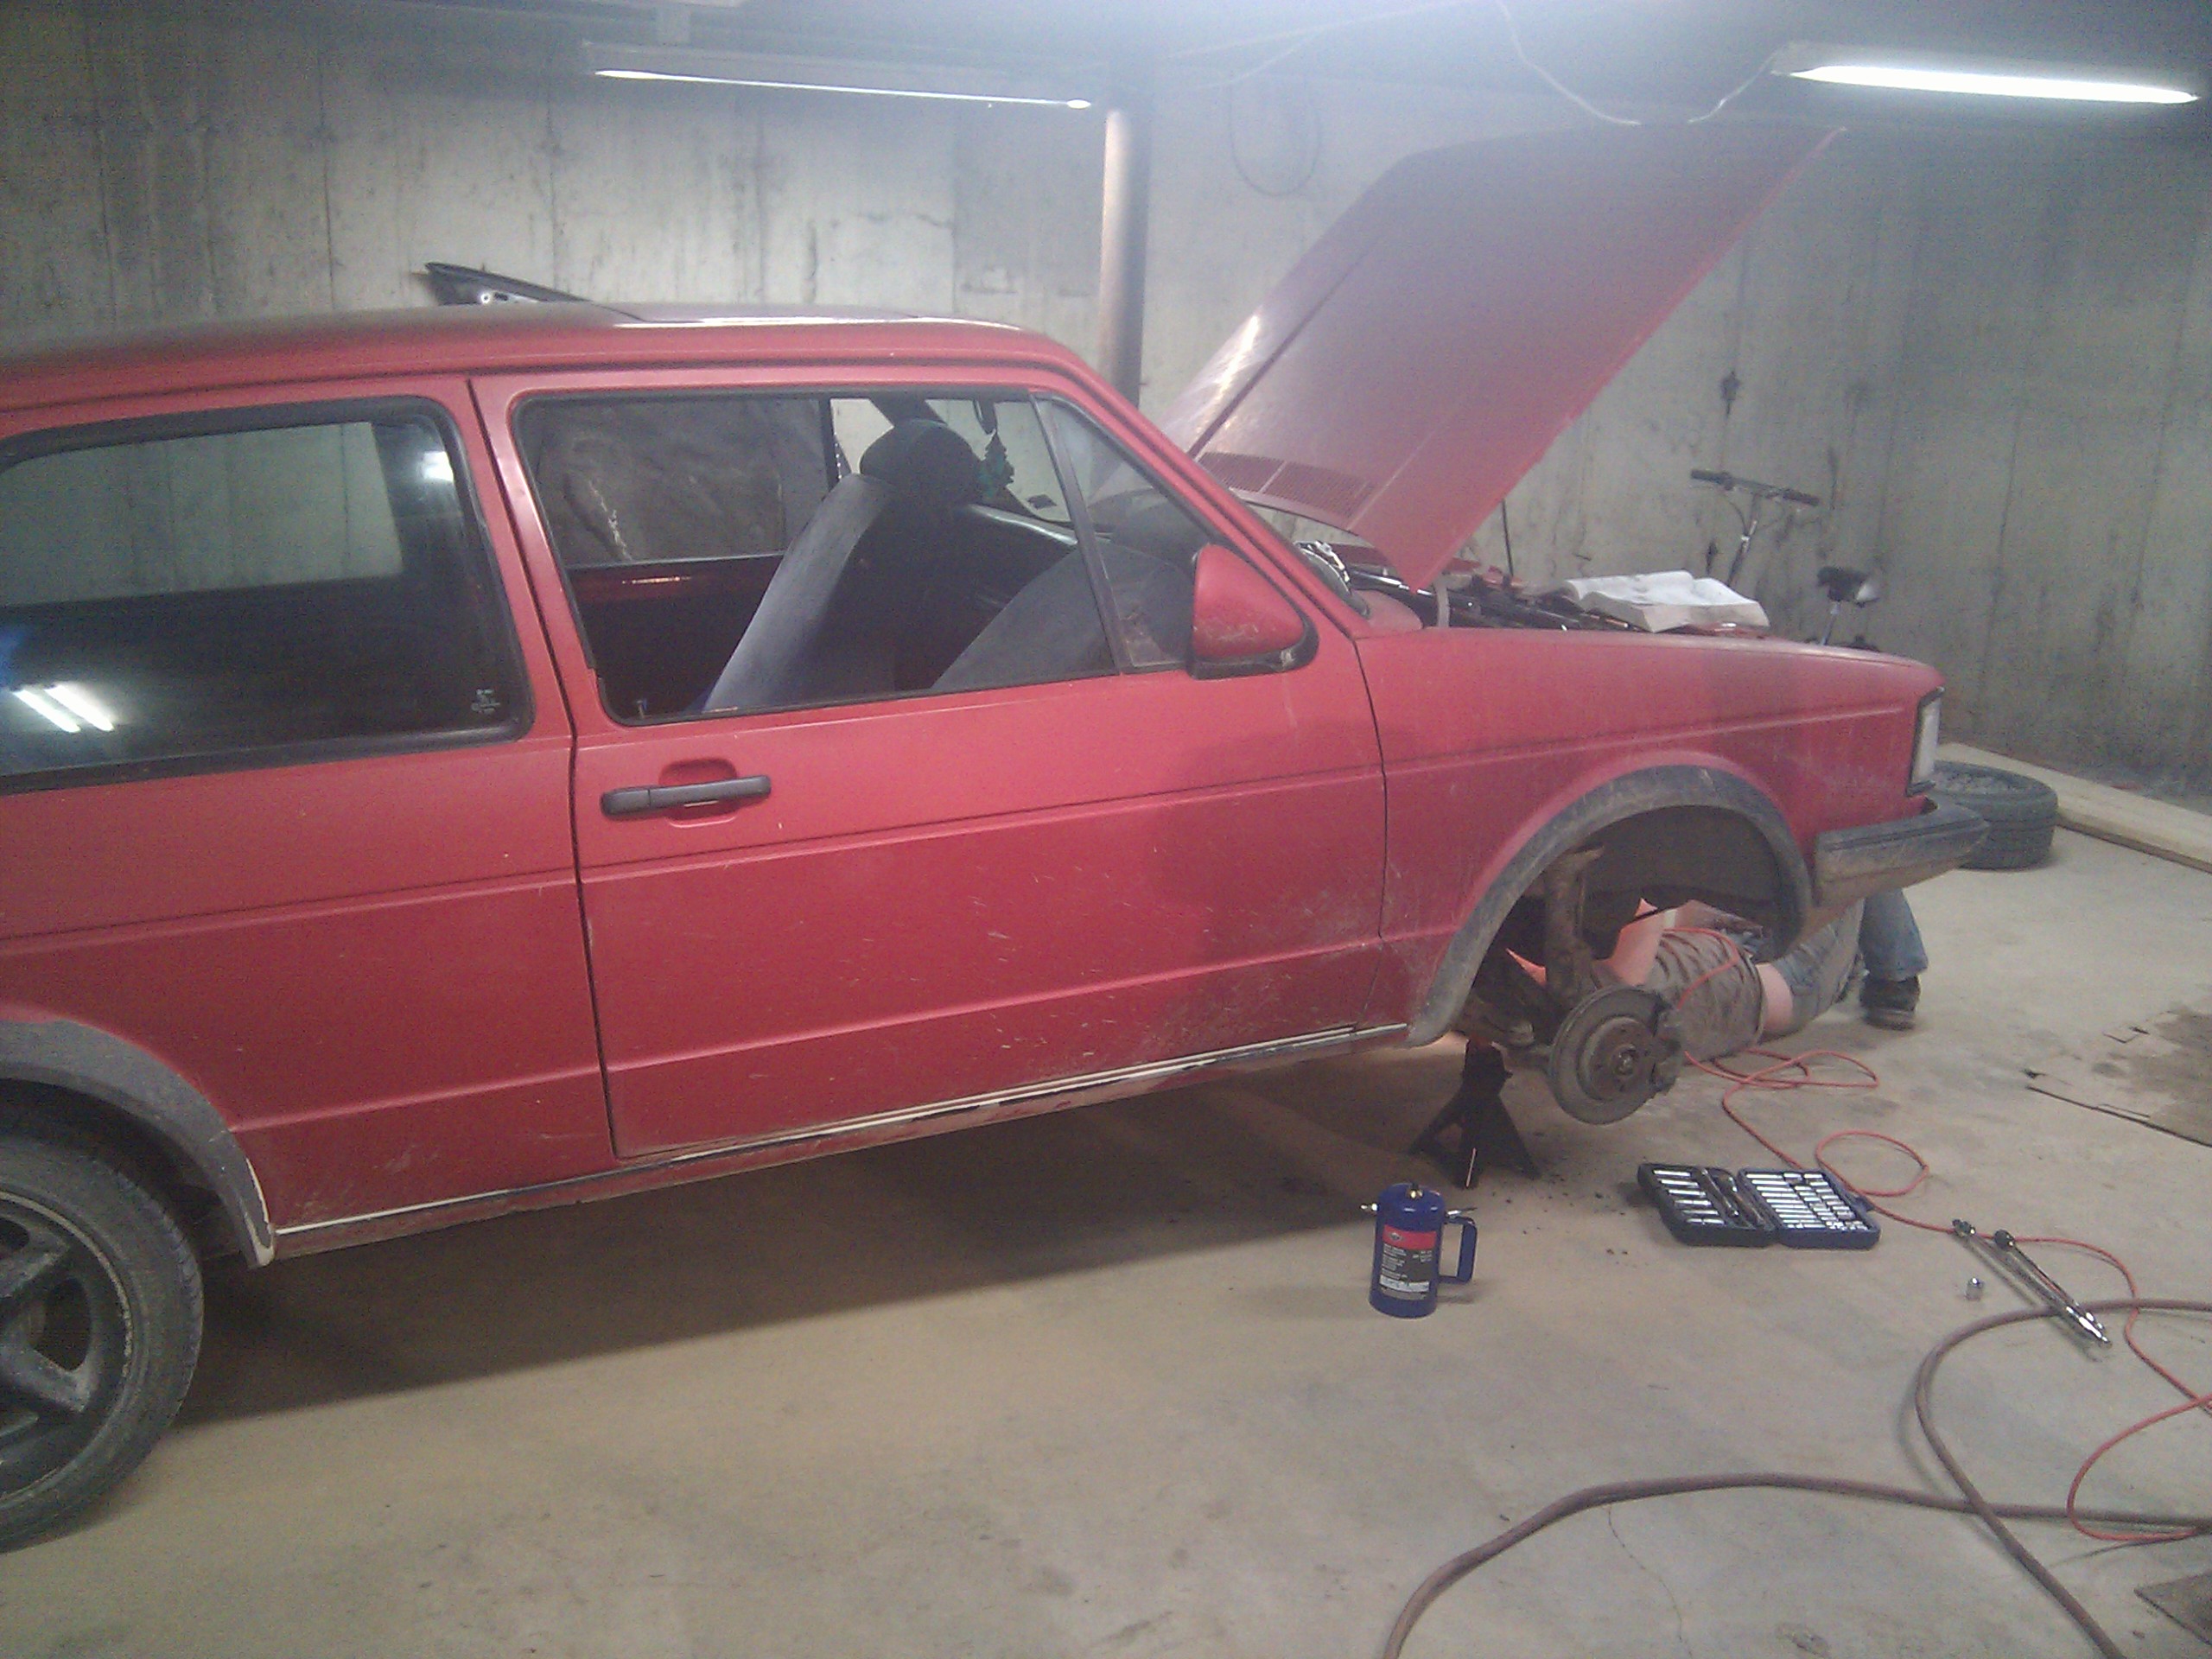
Now for suspension bushings:
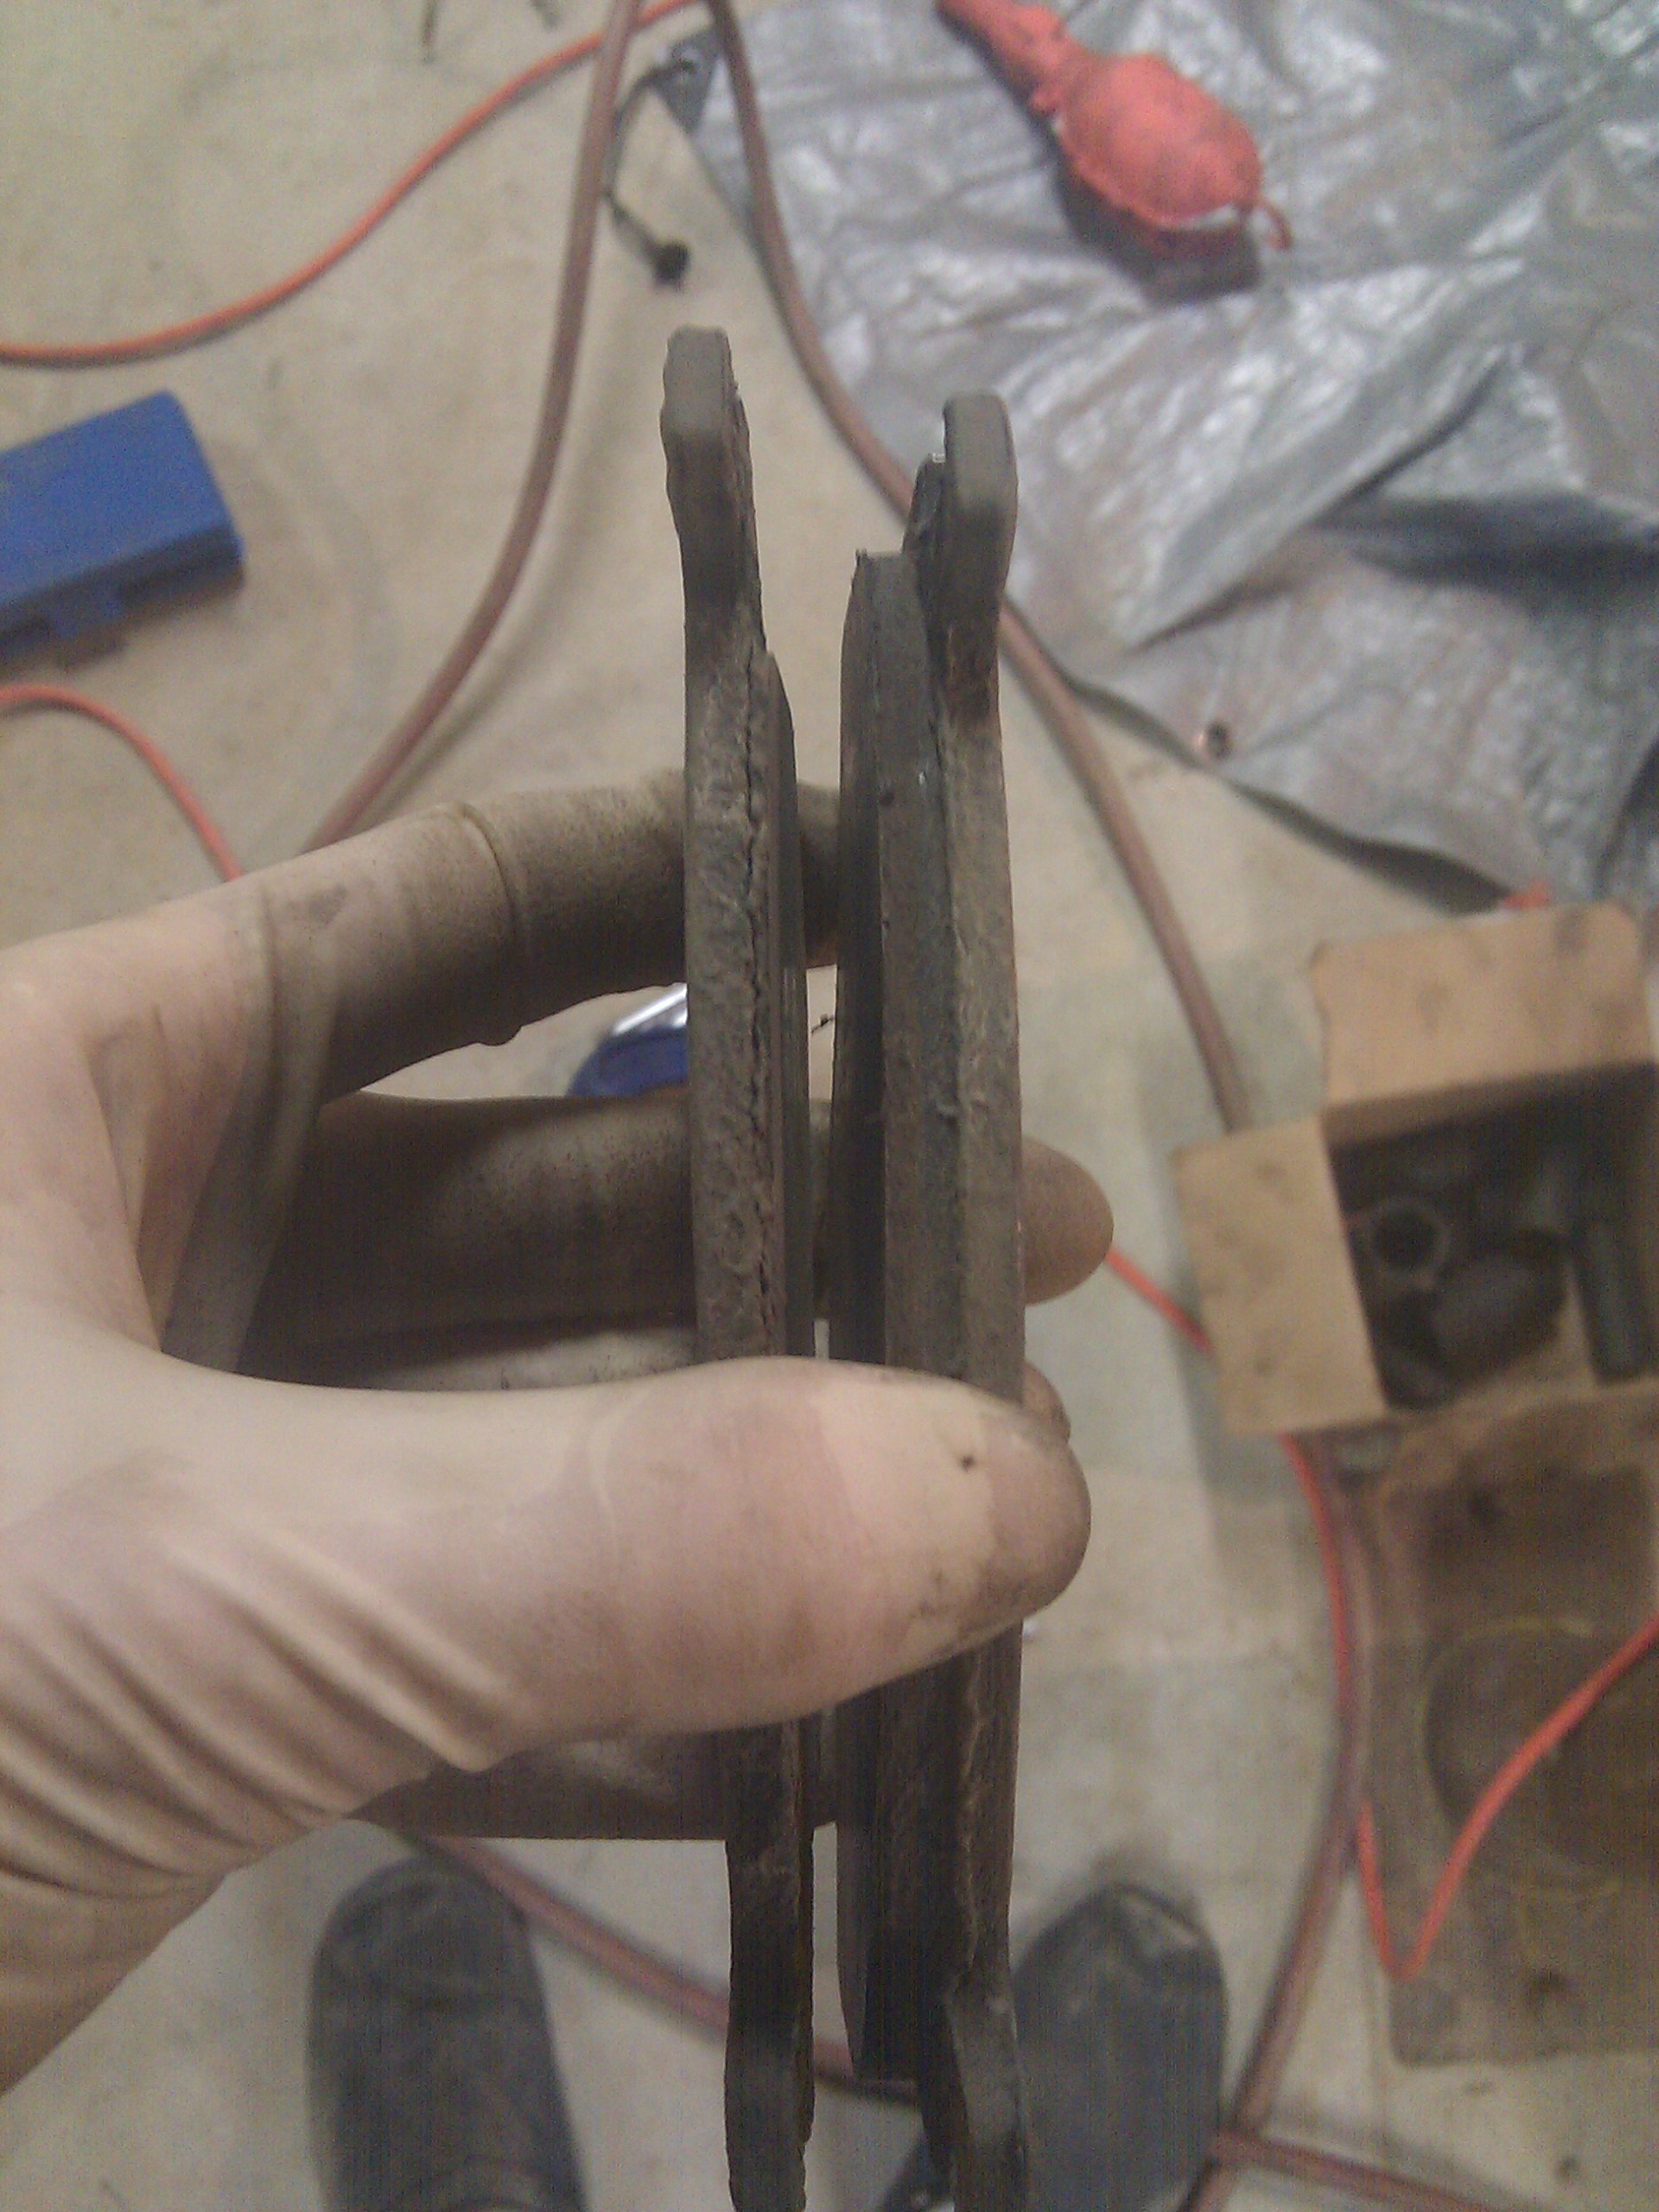
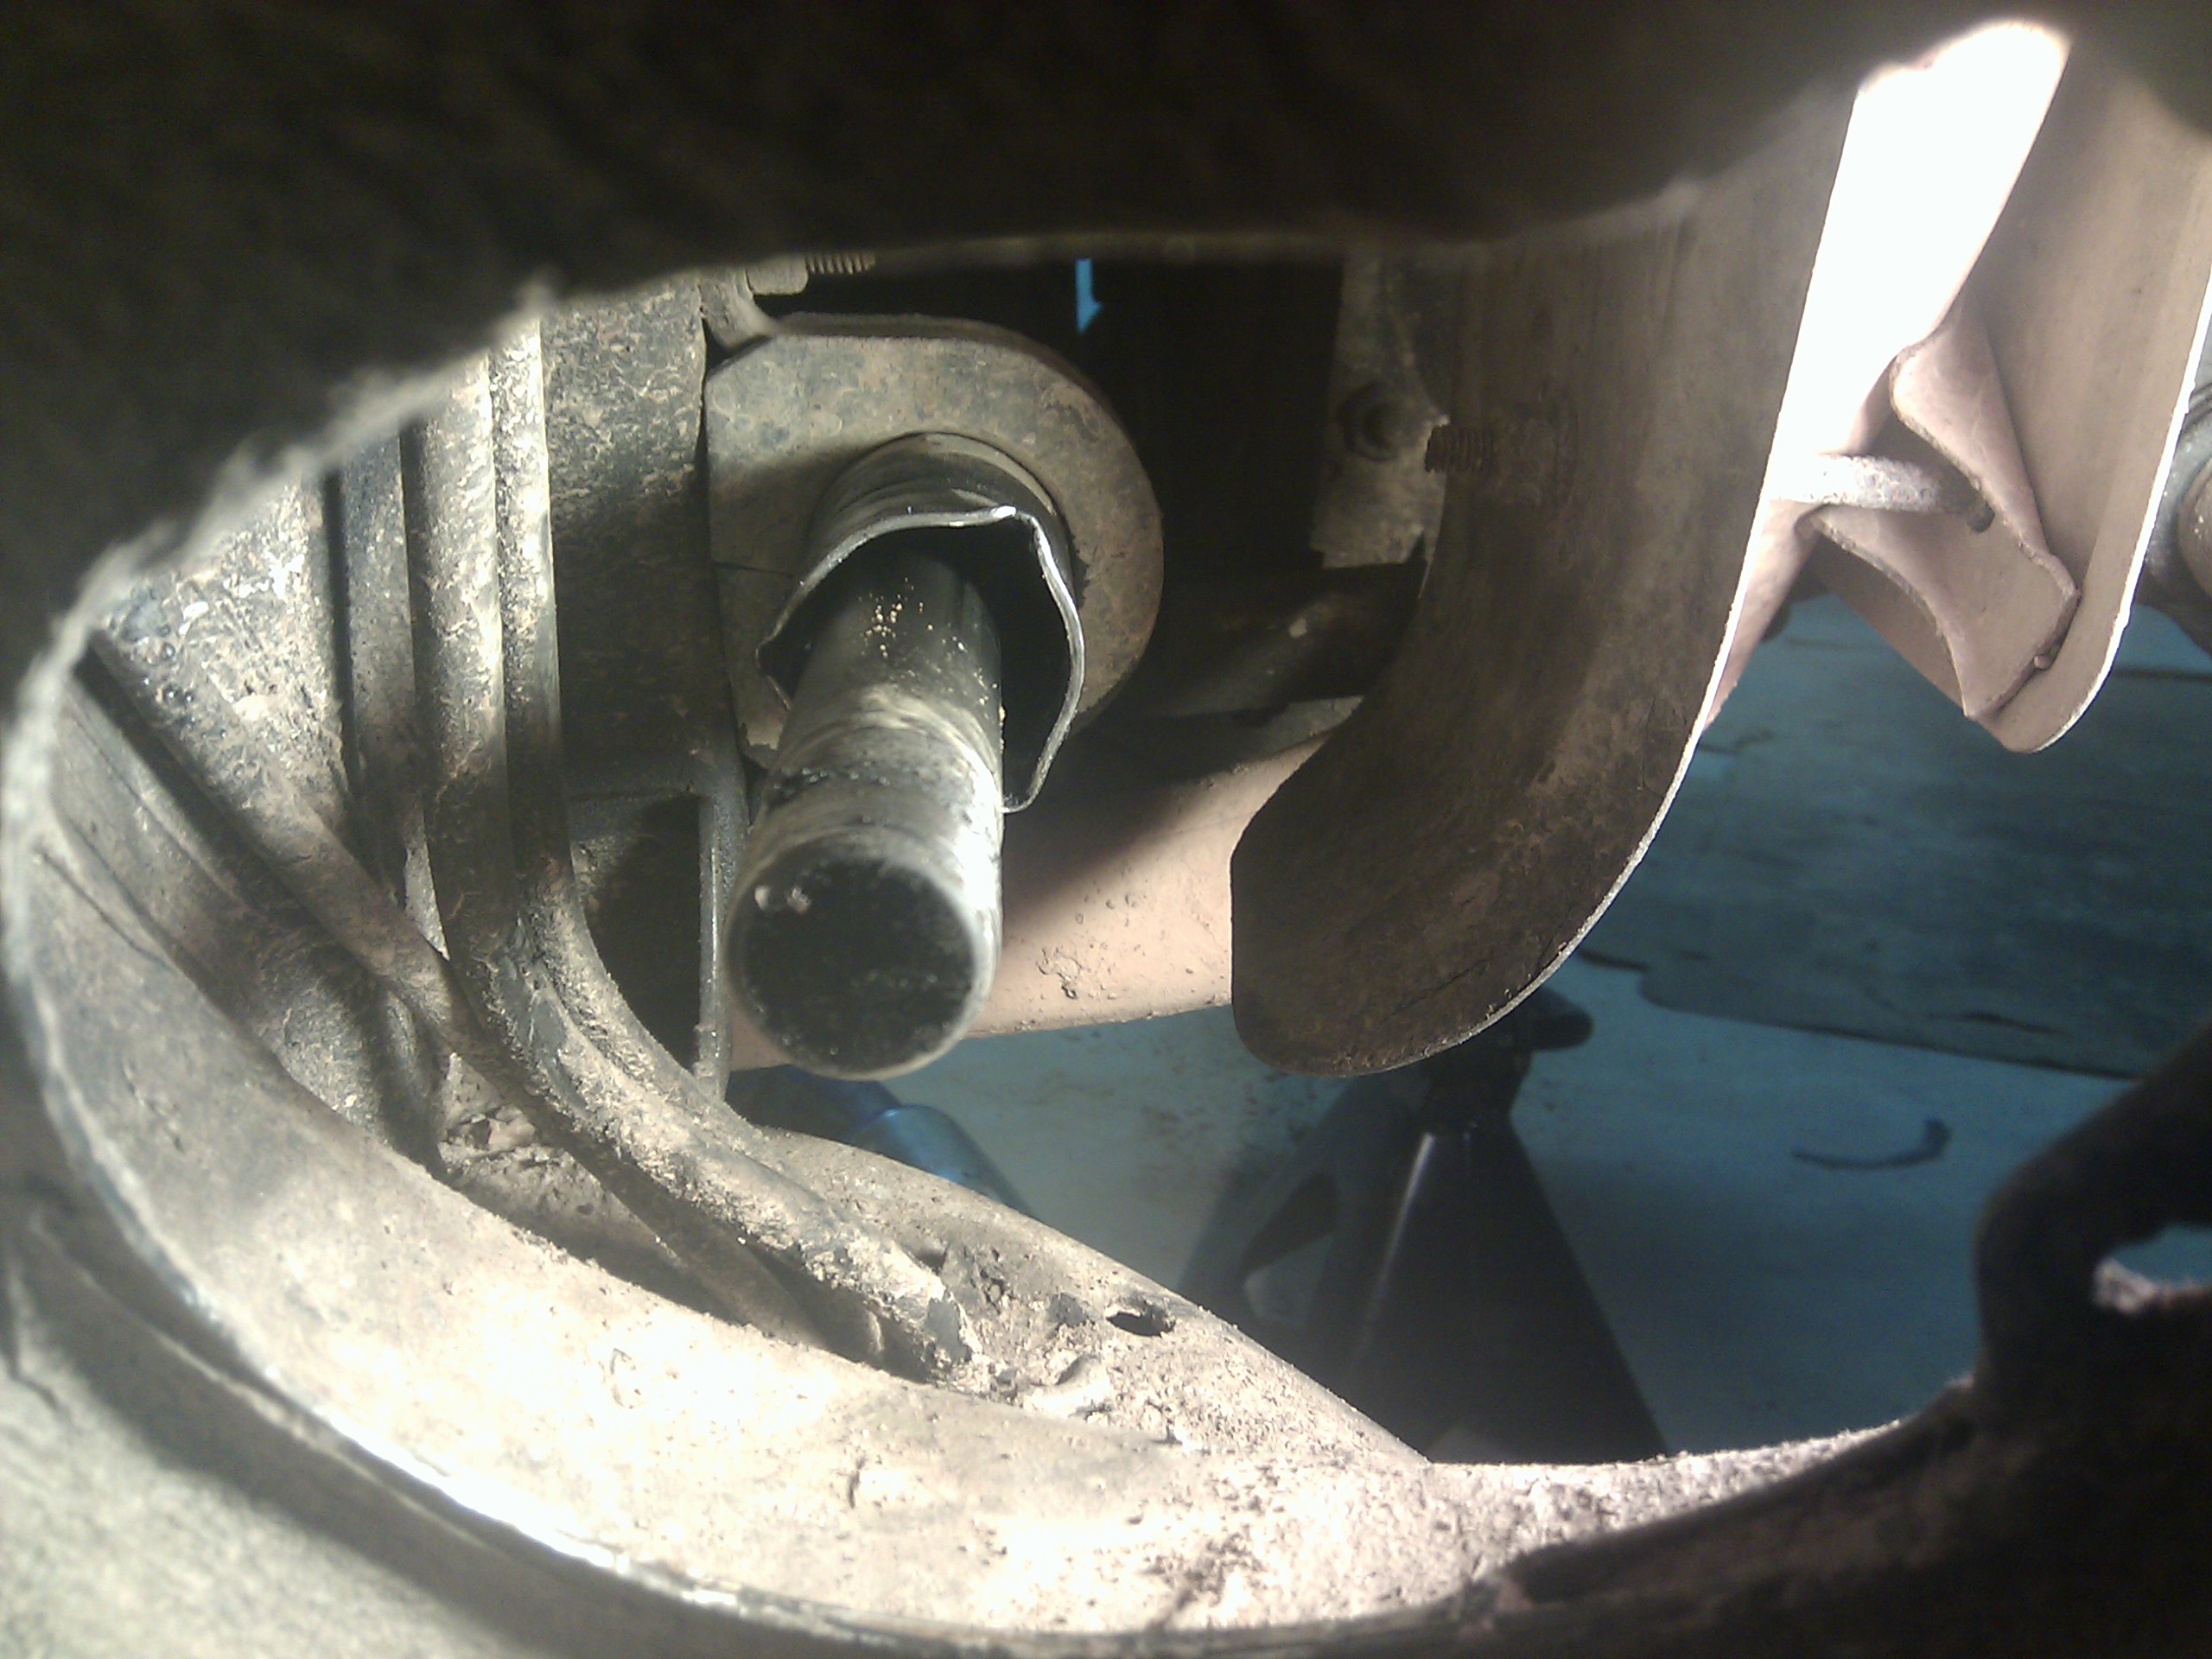
Remove the front brakes so you can get to the bolt for the lower ball joint:
Yikes! Good thing I have a new set of brake pads on the shelf.
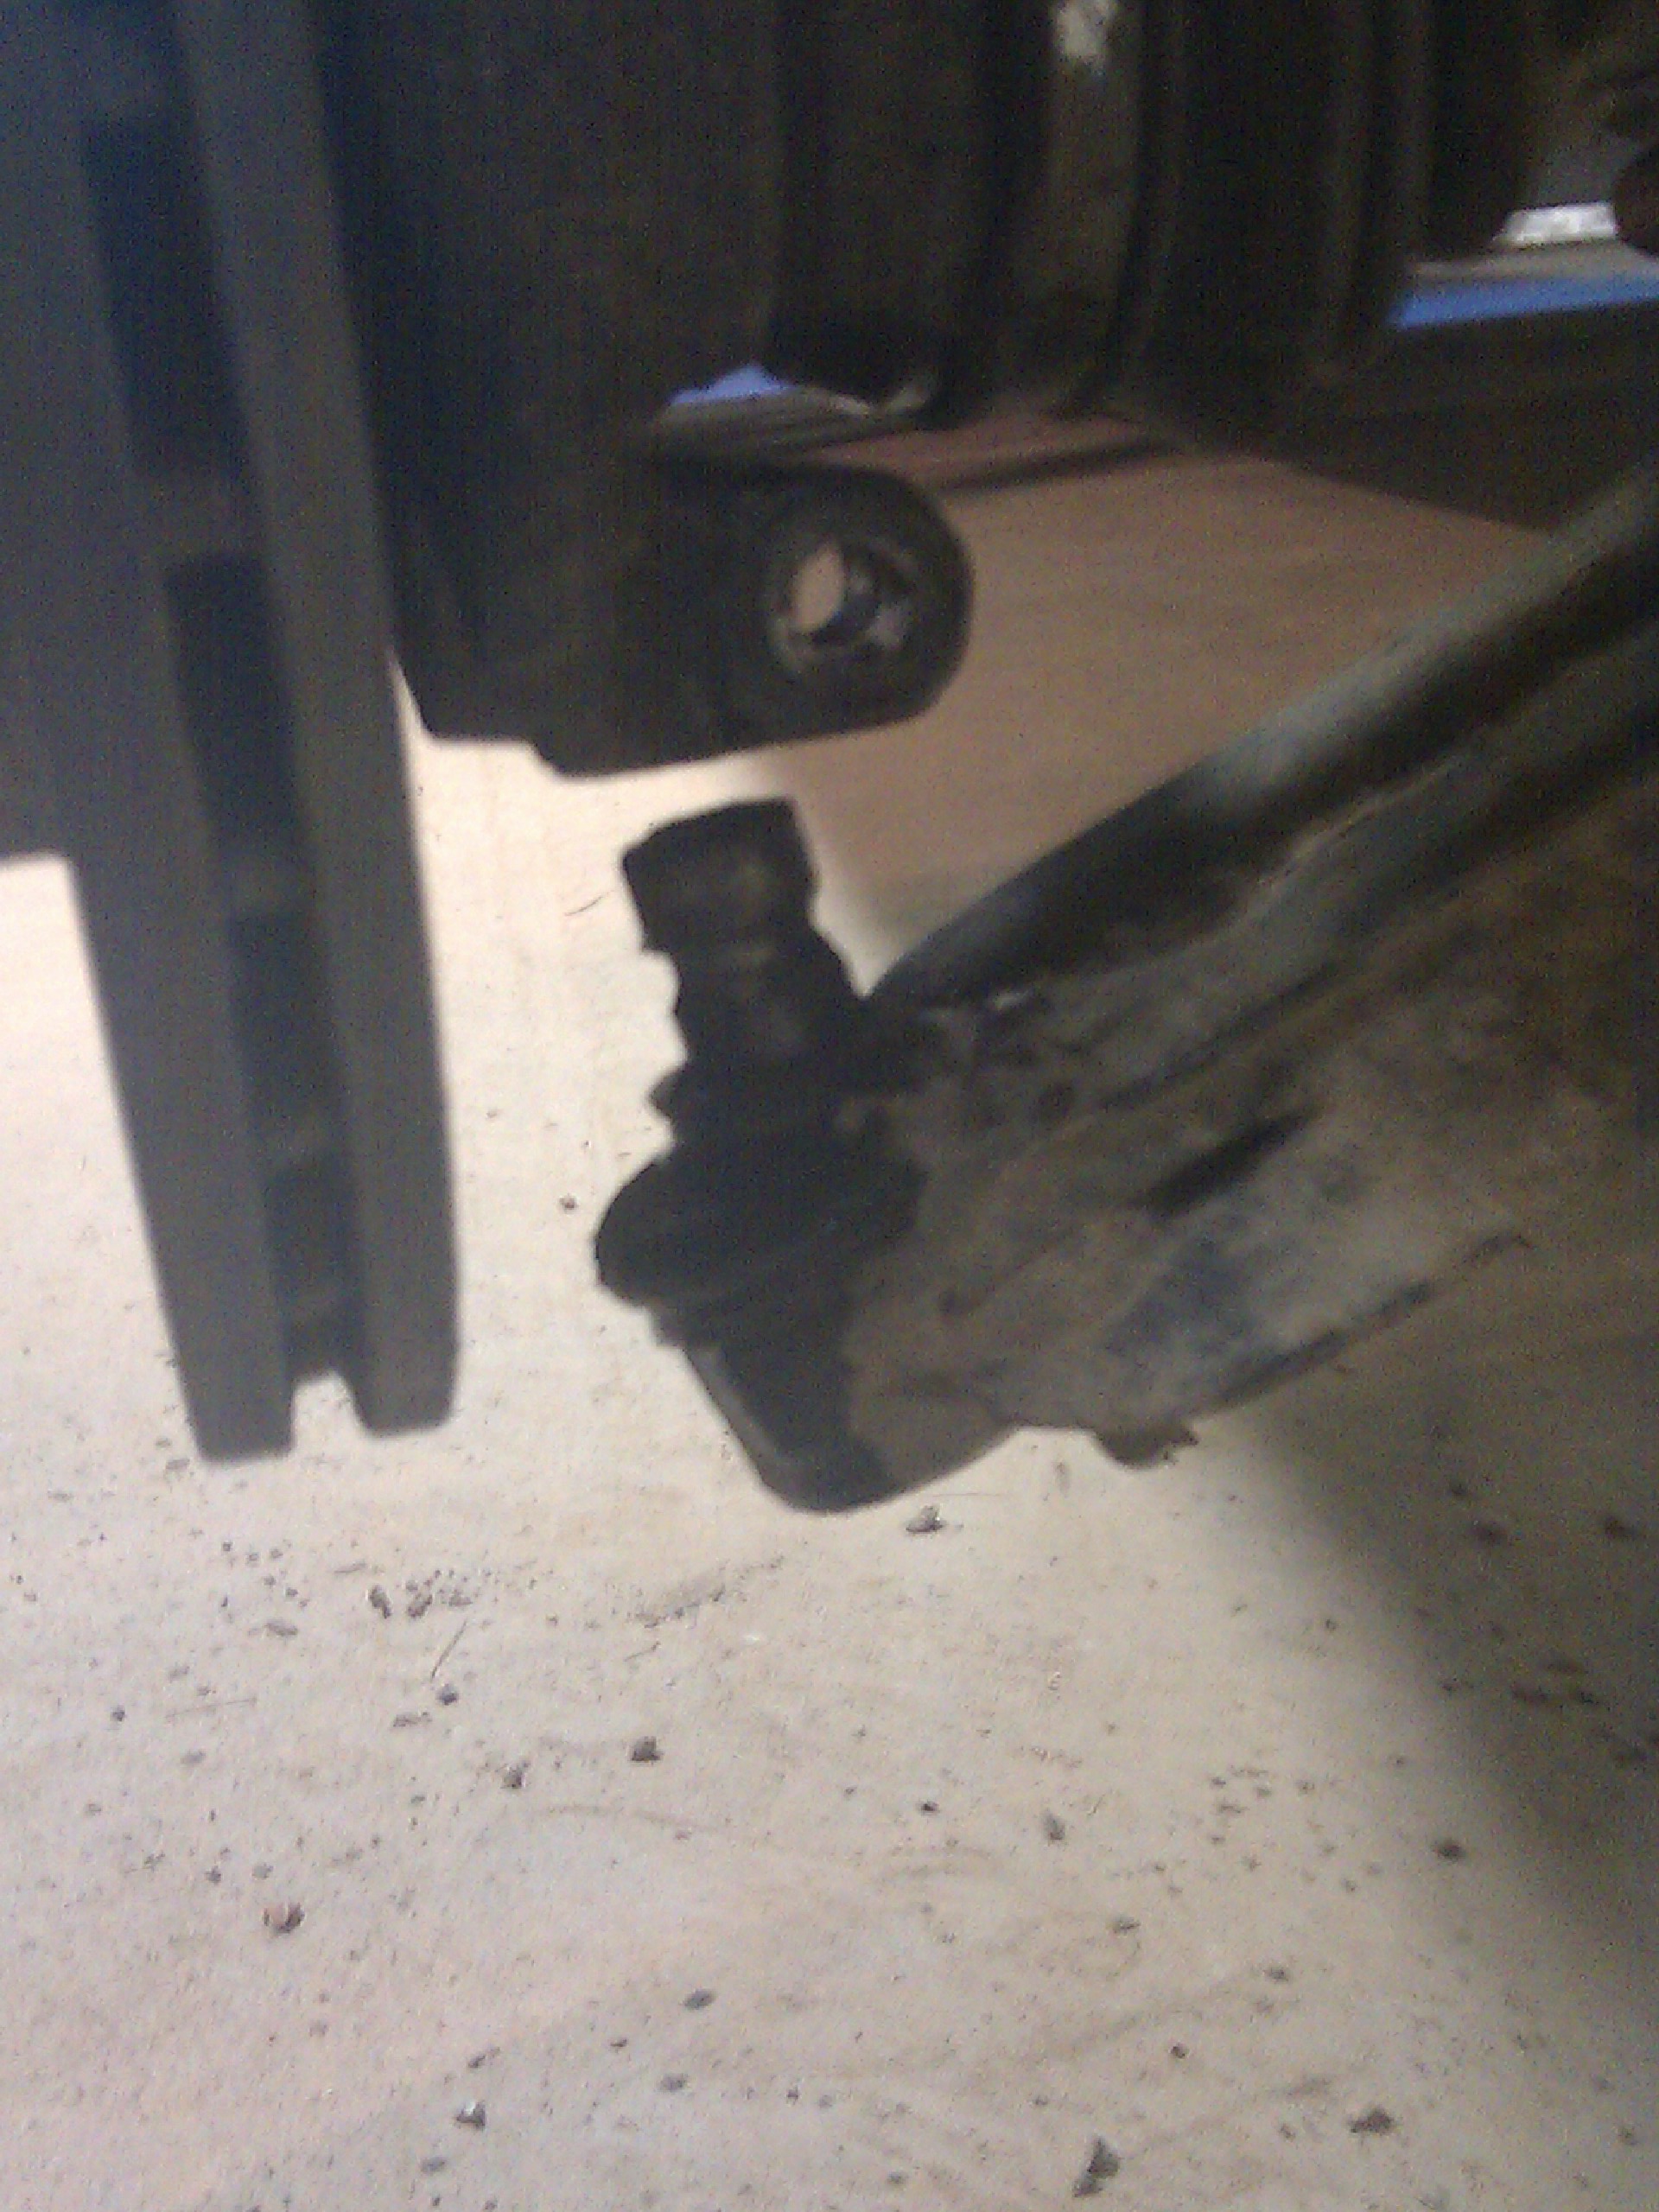
I have no idea how VW thought you were supposed to remove the ball joint from the steering knuckle. The shop manual just says to pull it out, which I suppose would work if you had gorilla arms. Being a scrawny nerd, I used a hammer and a big pin punch on the lower control arm itself and that seemed to work fine.
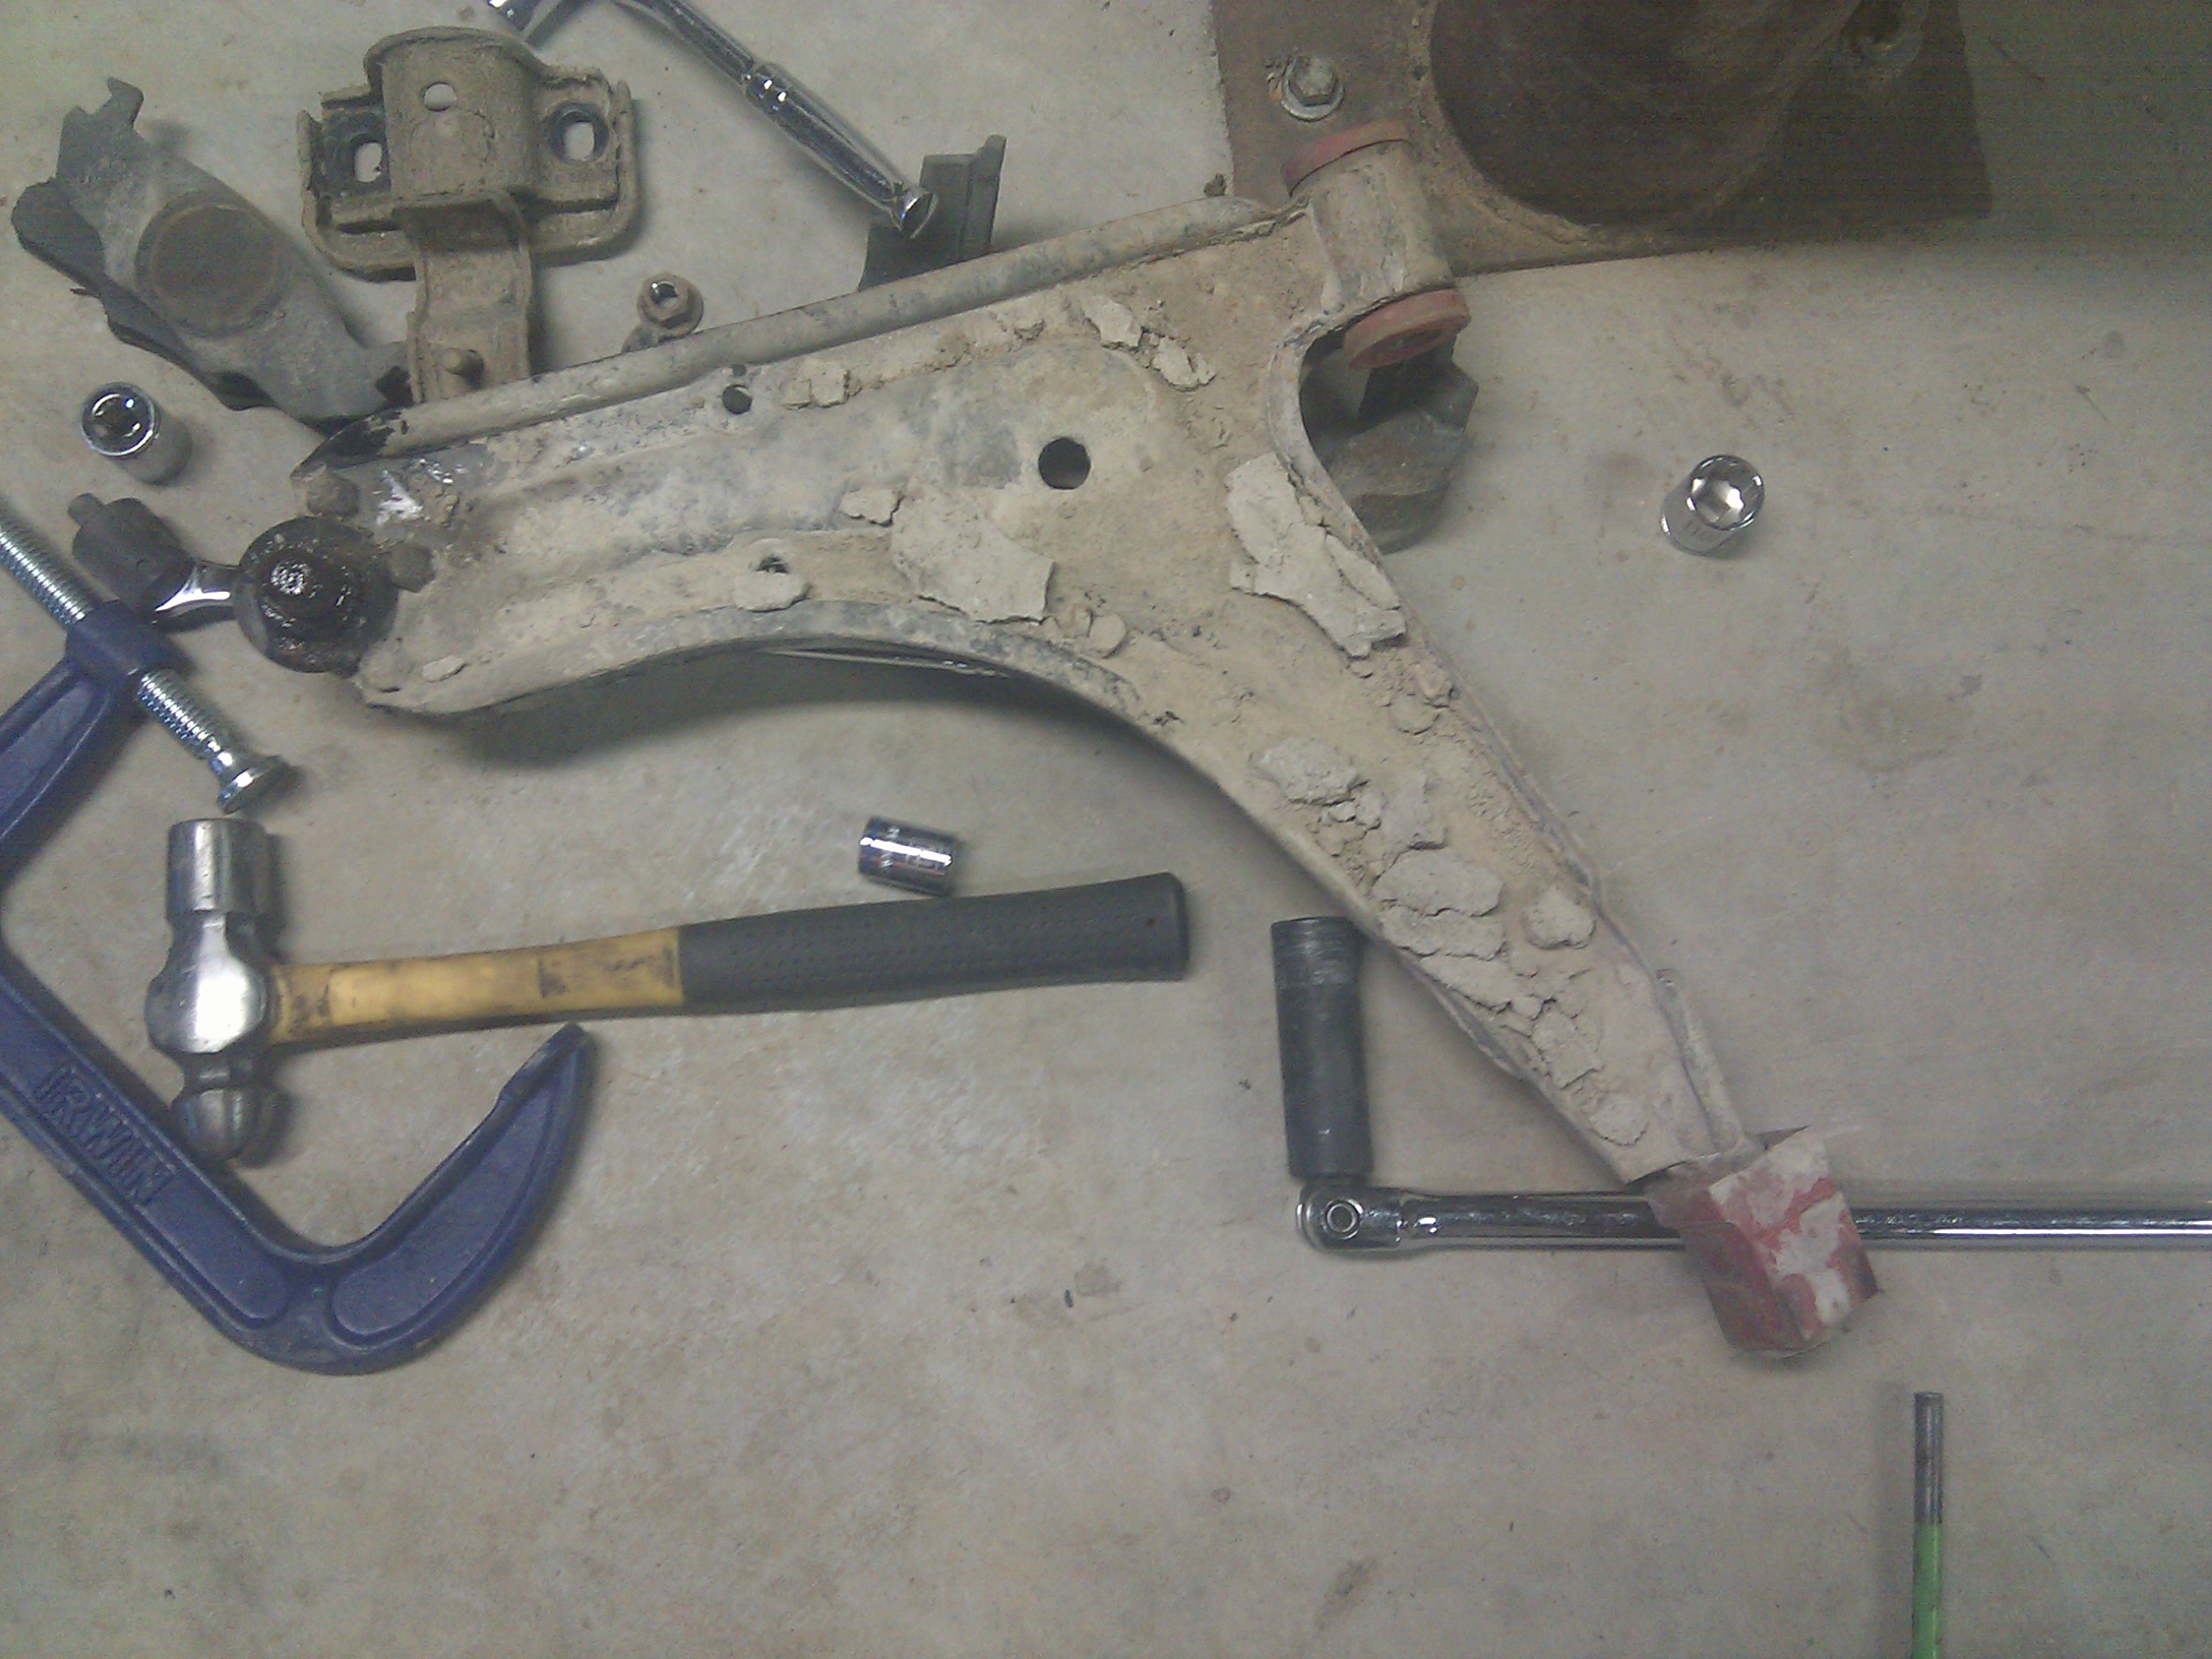
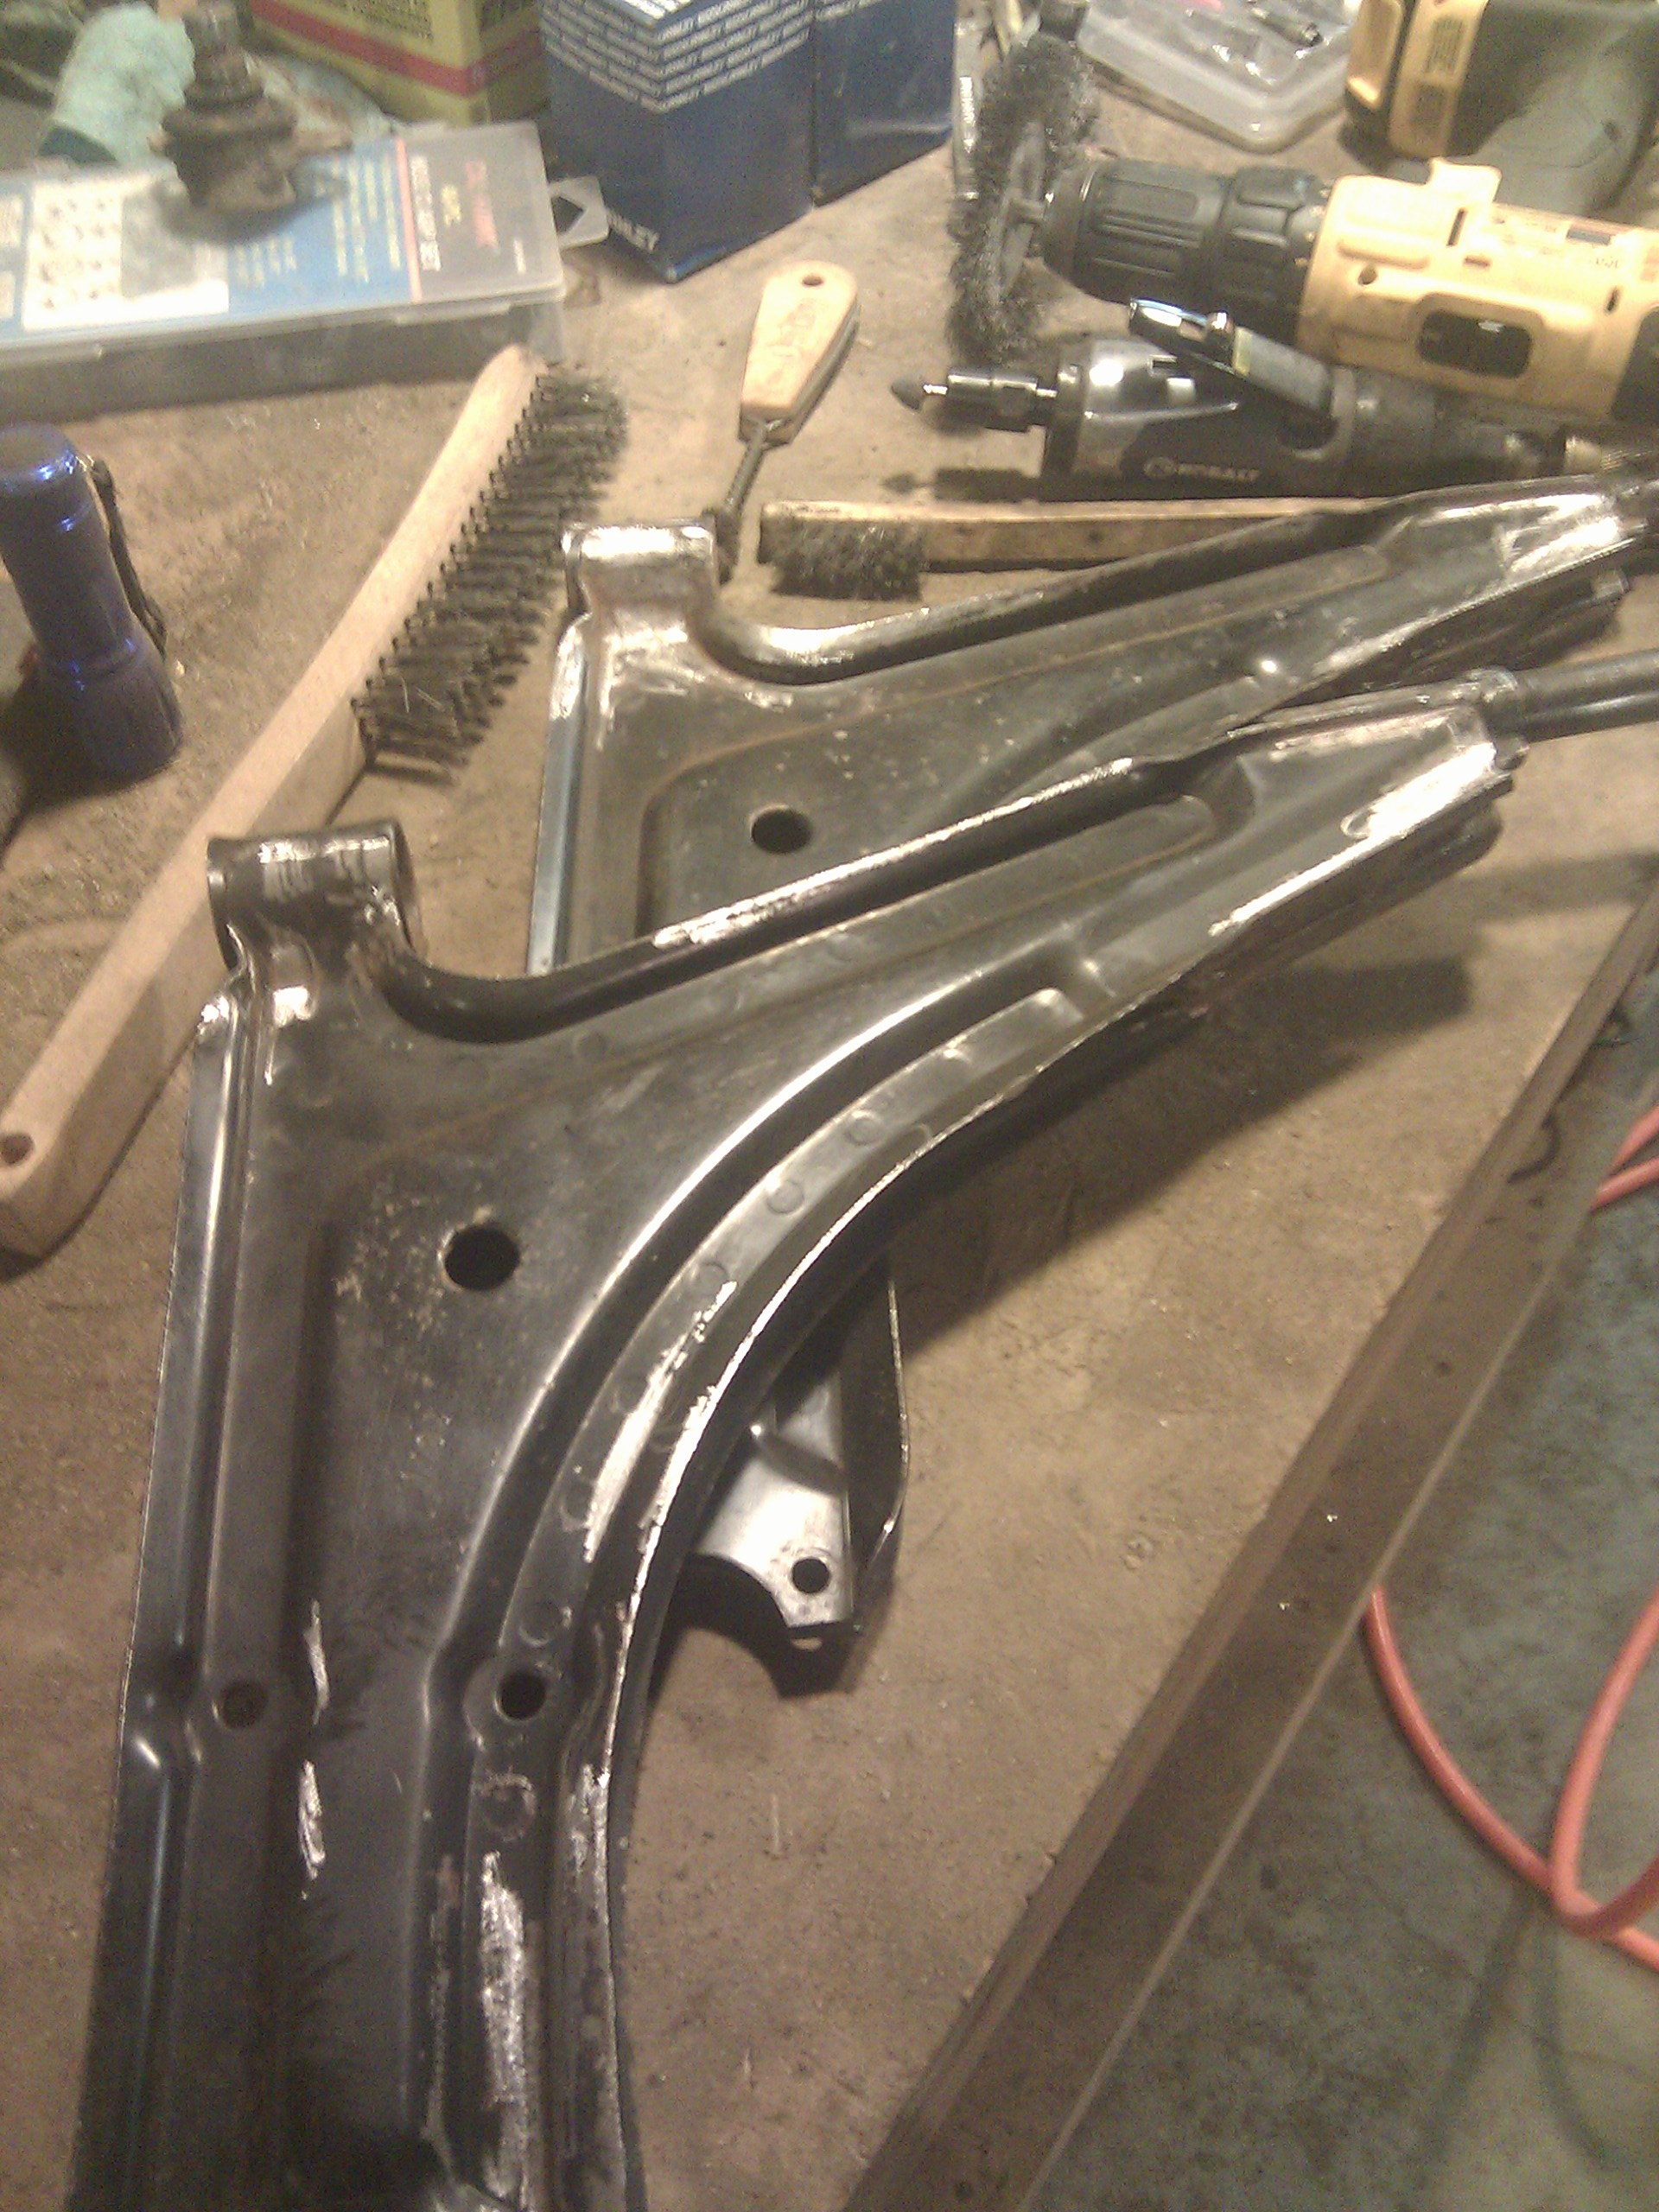
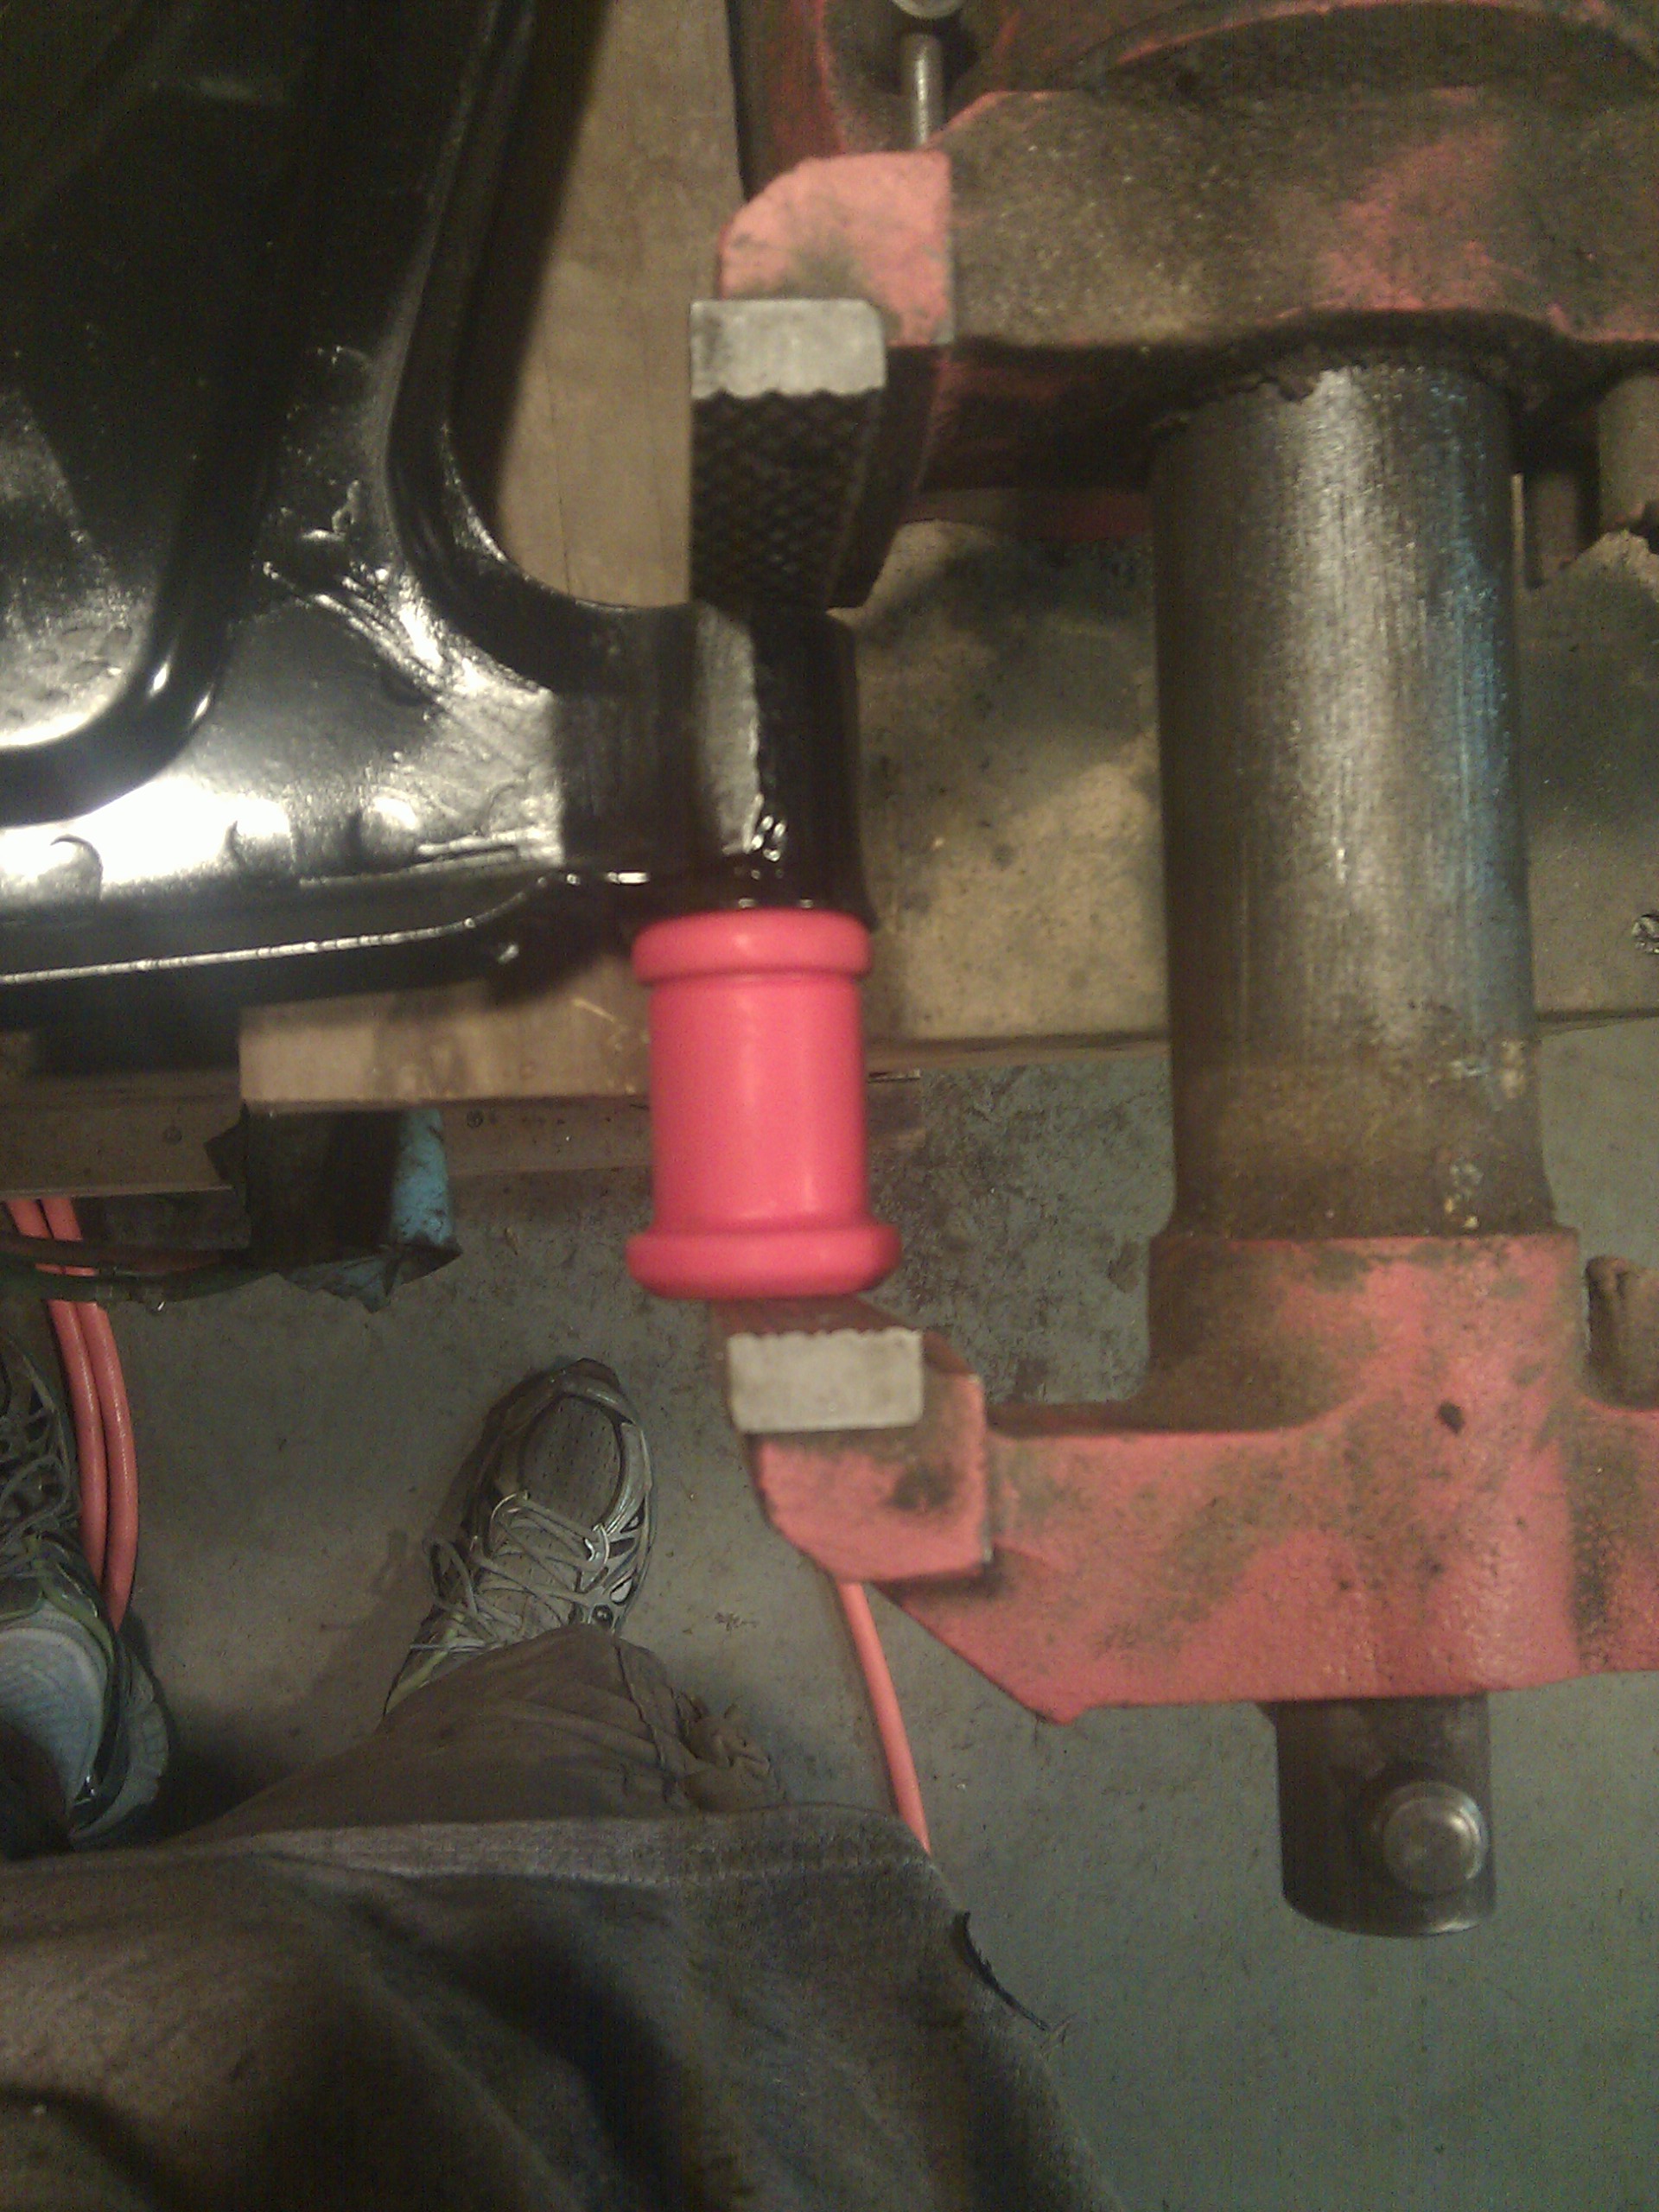
Remove the six bolts that hold the lower control arm in place and remove your cool racecar part:

(Lower suspension brace; Rabbits were meant to be zippy commuters, not racecars, so people who autocross them noticed that over time the whole front end tends to move around!)
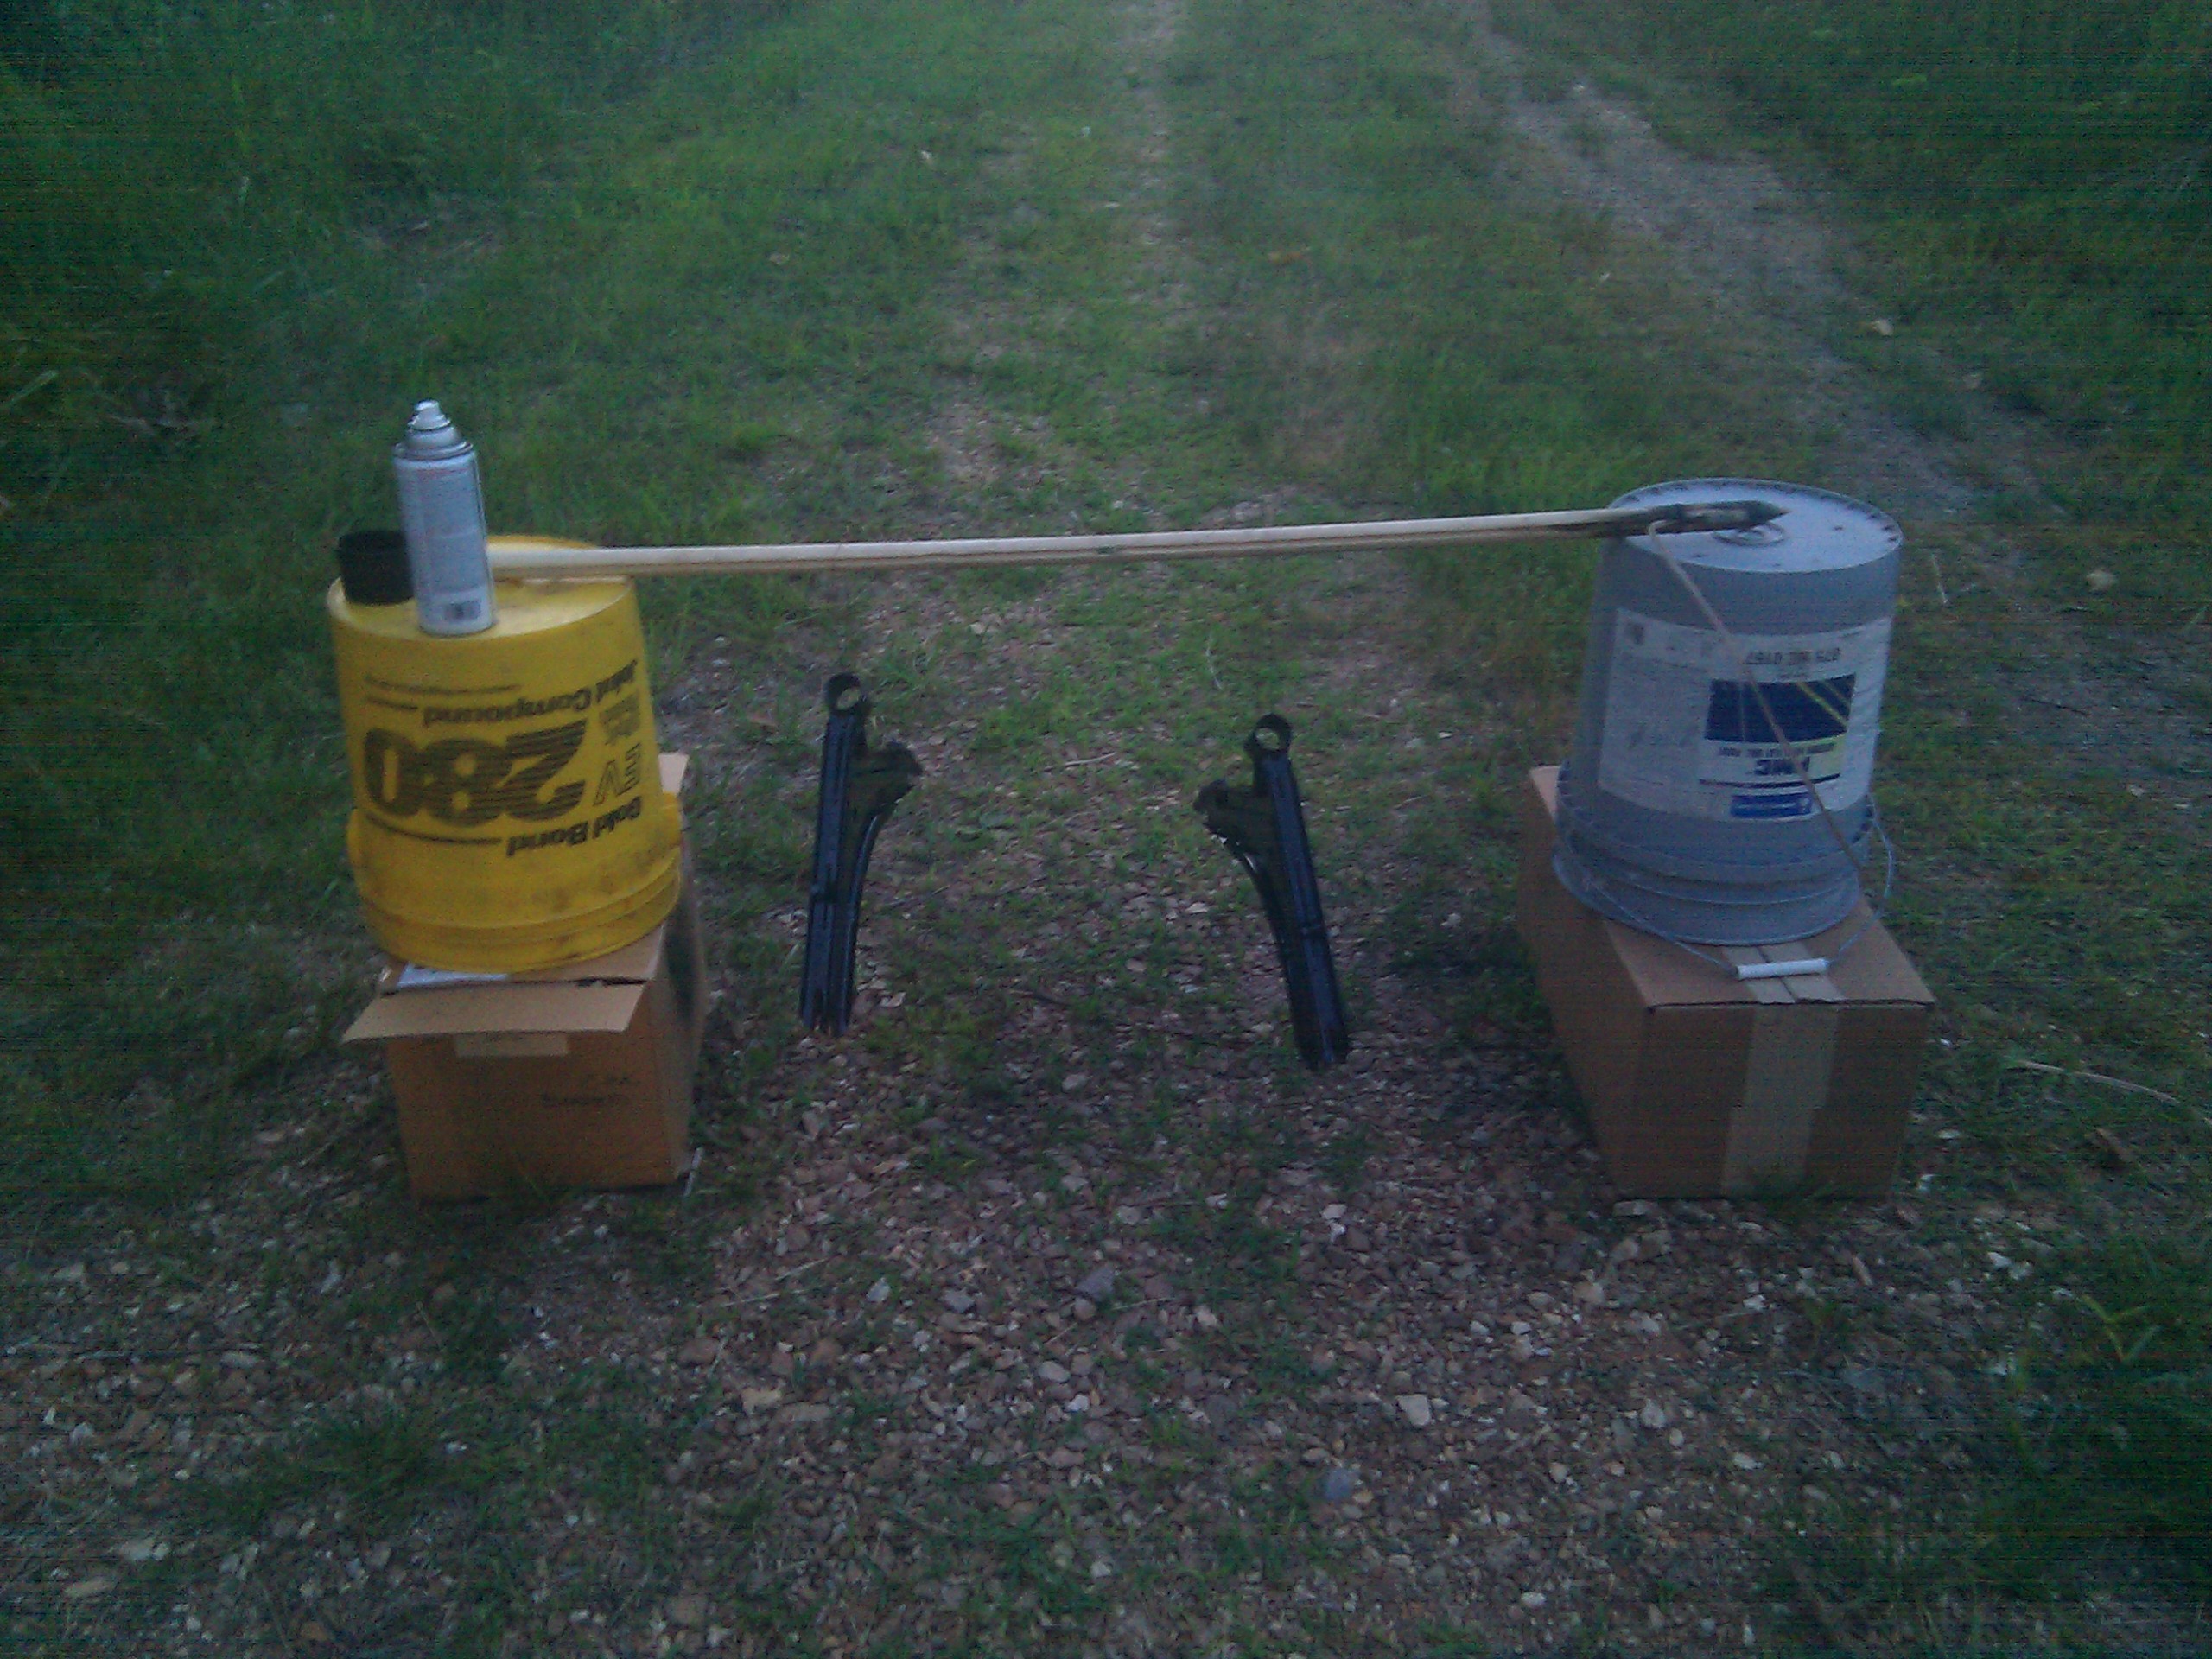
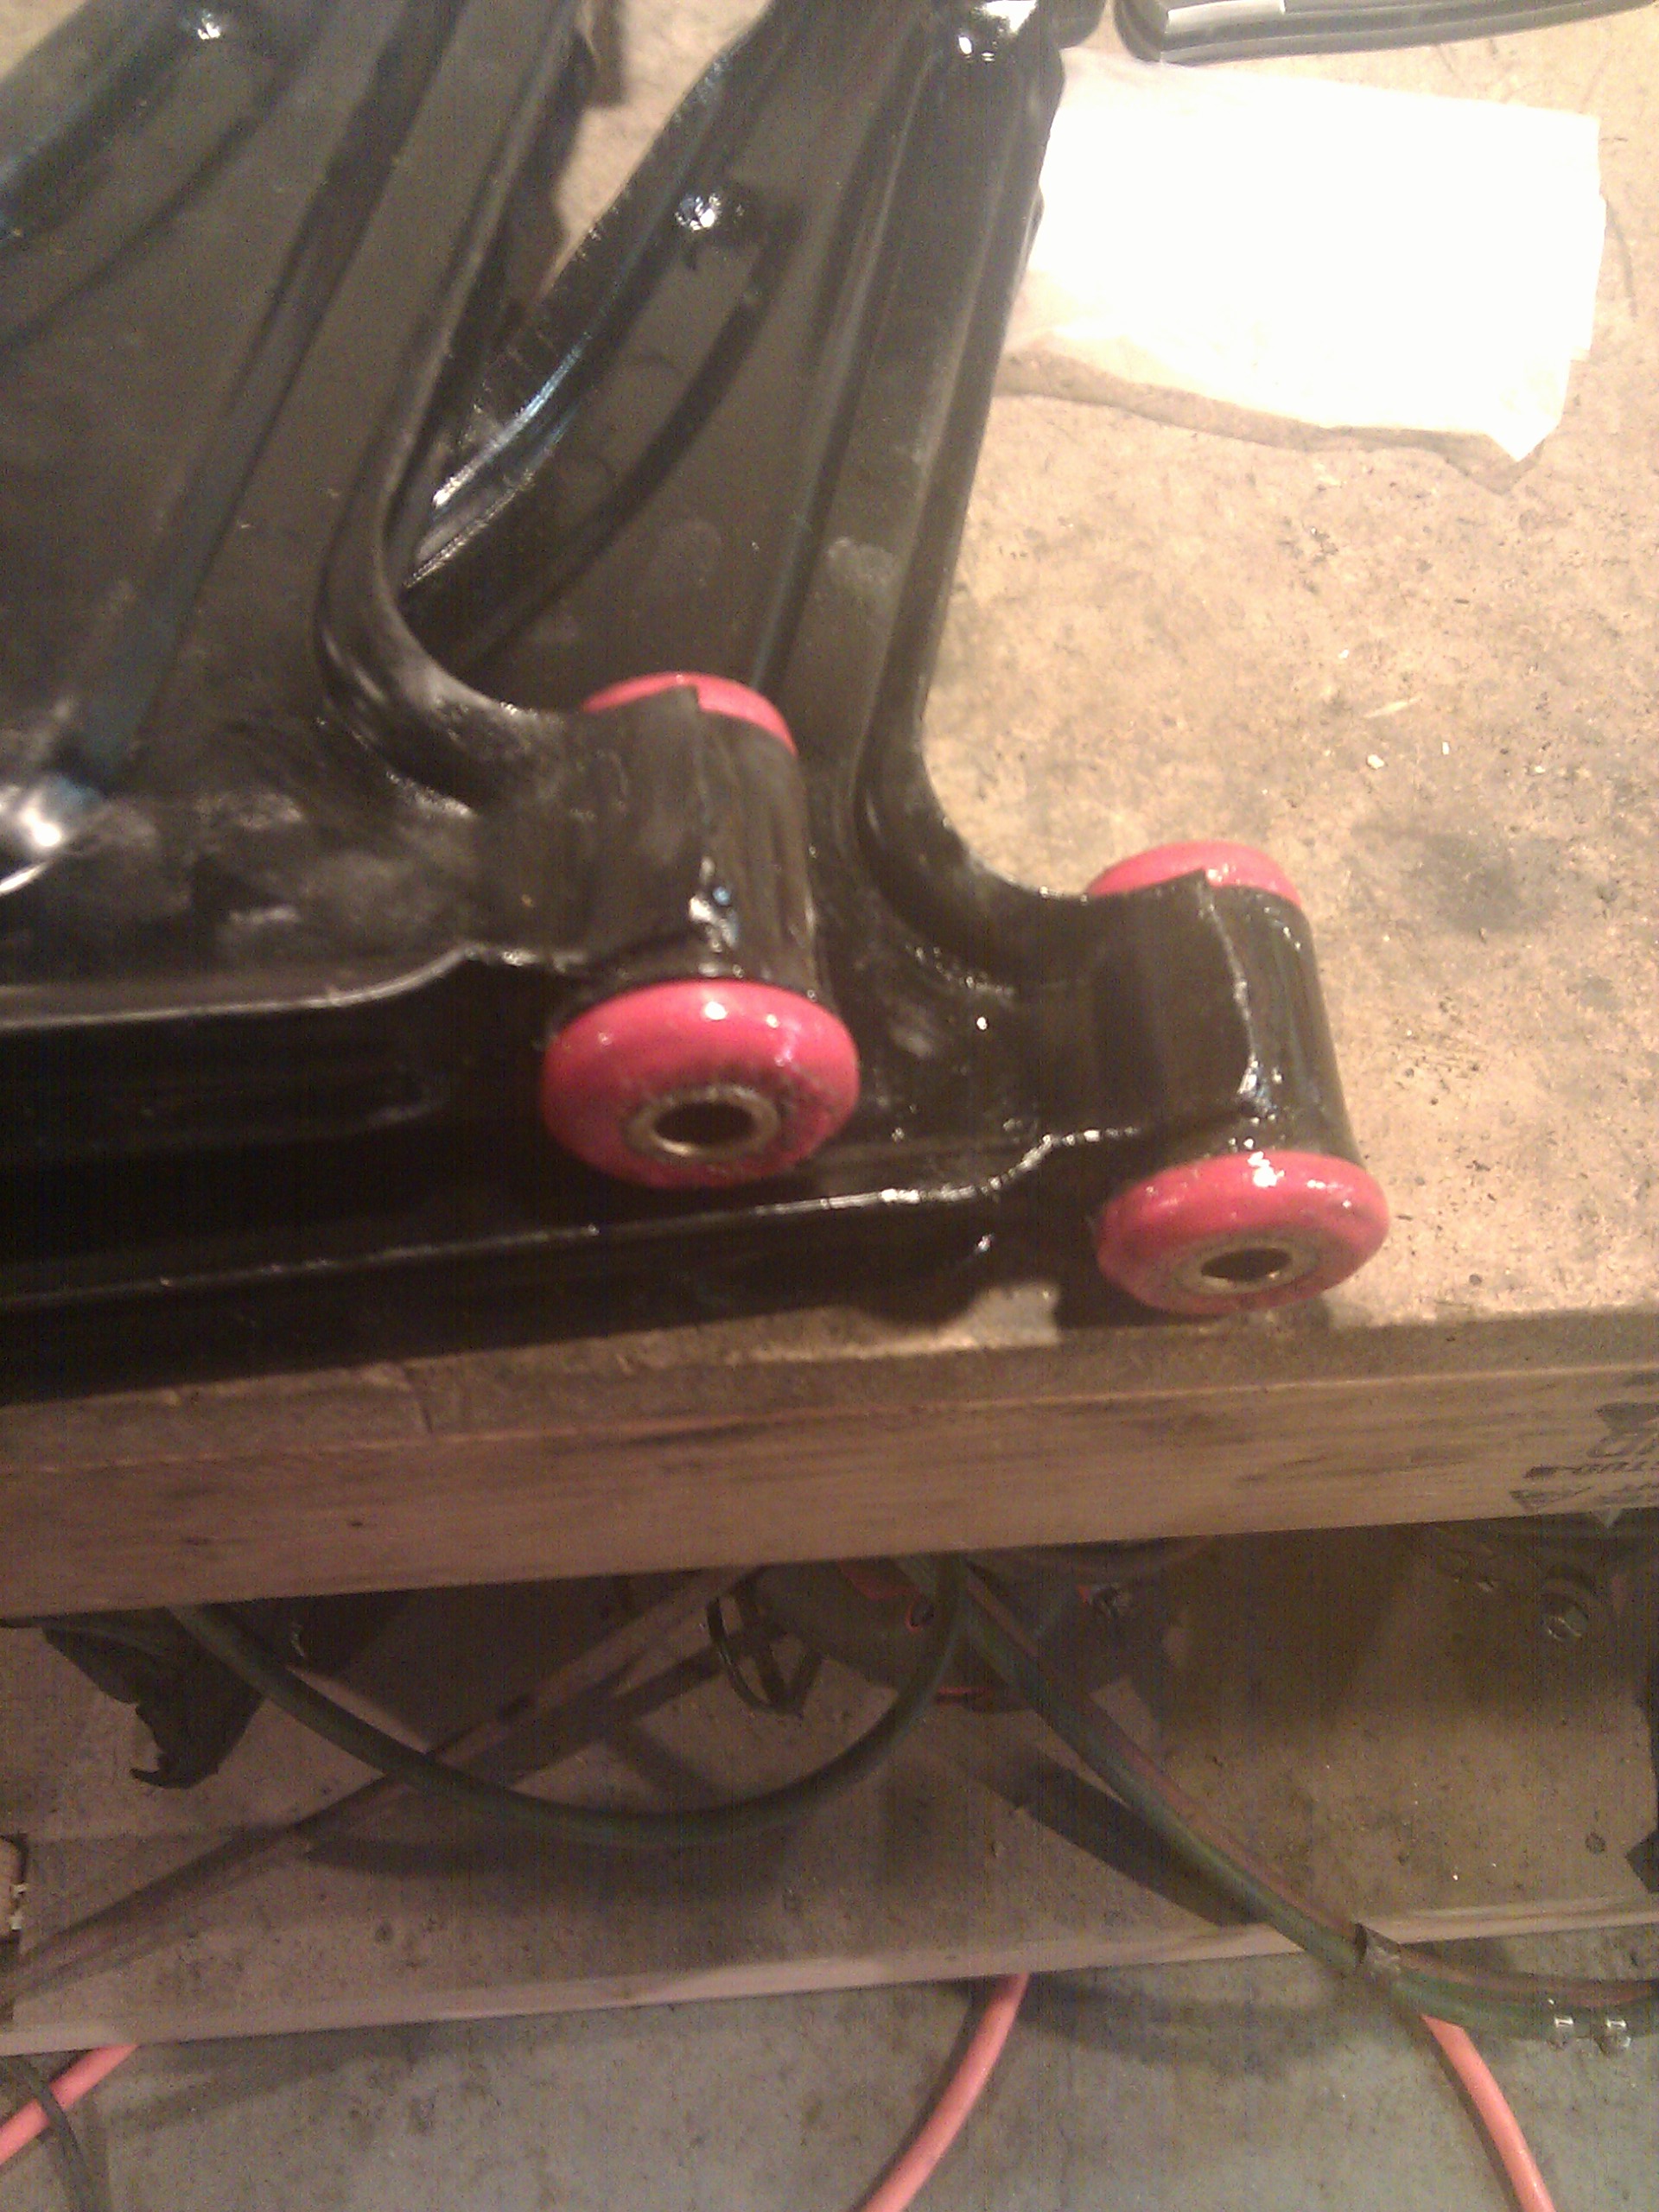
One lower control arm out. That is a hell of a lot of dirt from the gravel road to my house.
Old bushings on the outside, new ones on the inside. The new ones look a lot better made than the old ones, so that's a plus. These are polyurethane instead of rubber because I like feeling every rock I drive over.

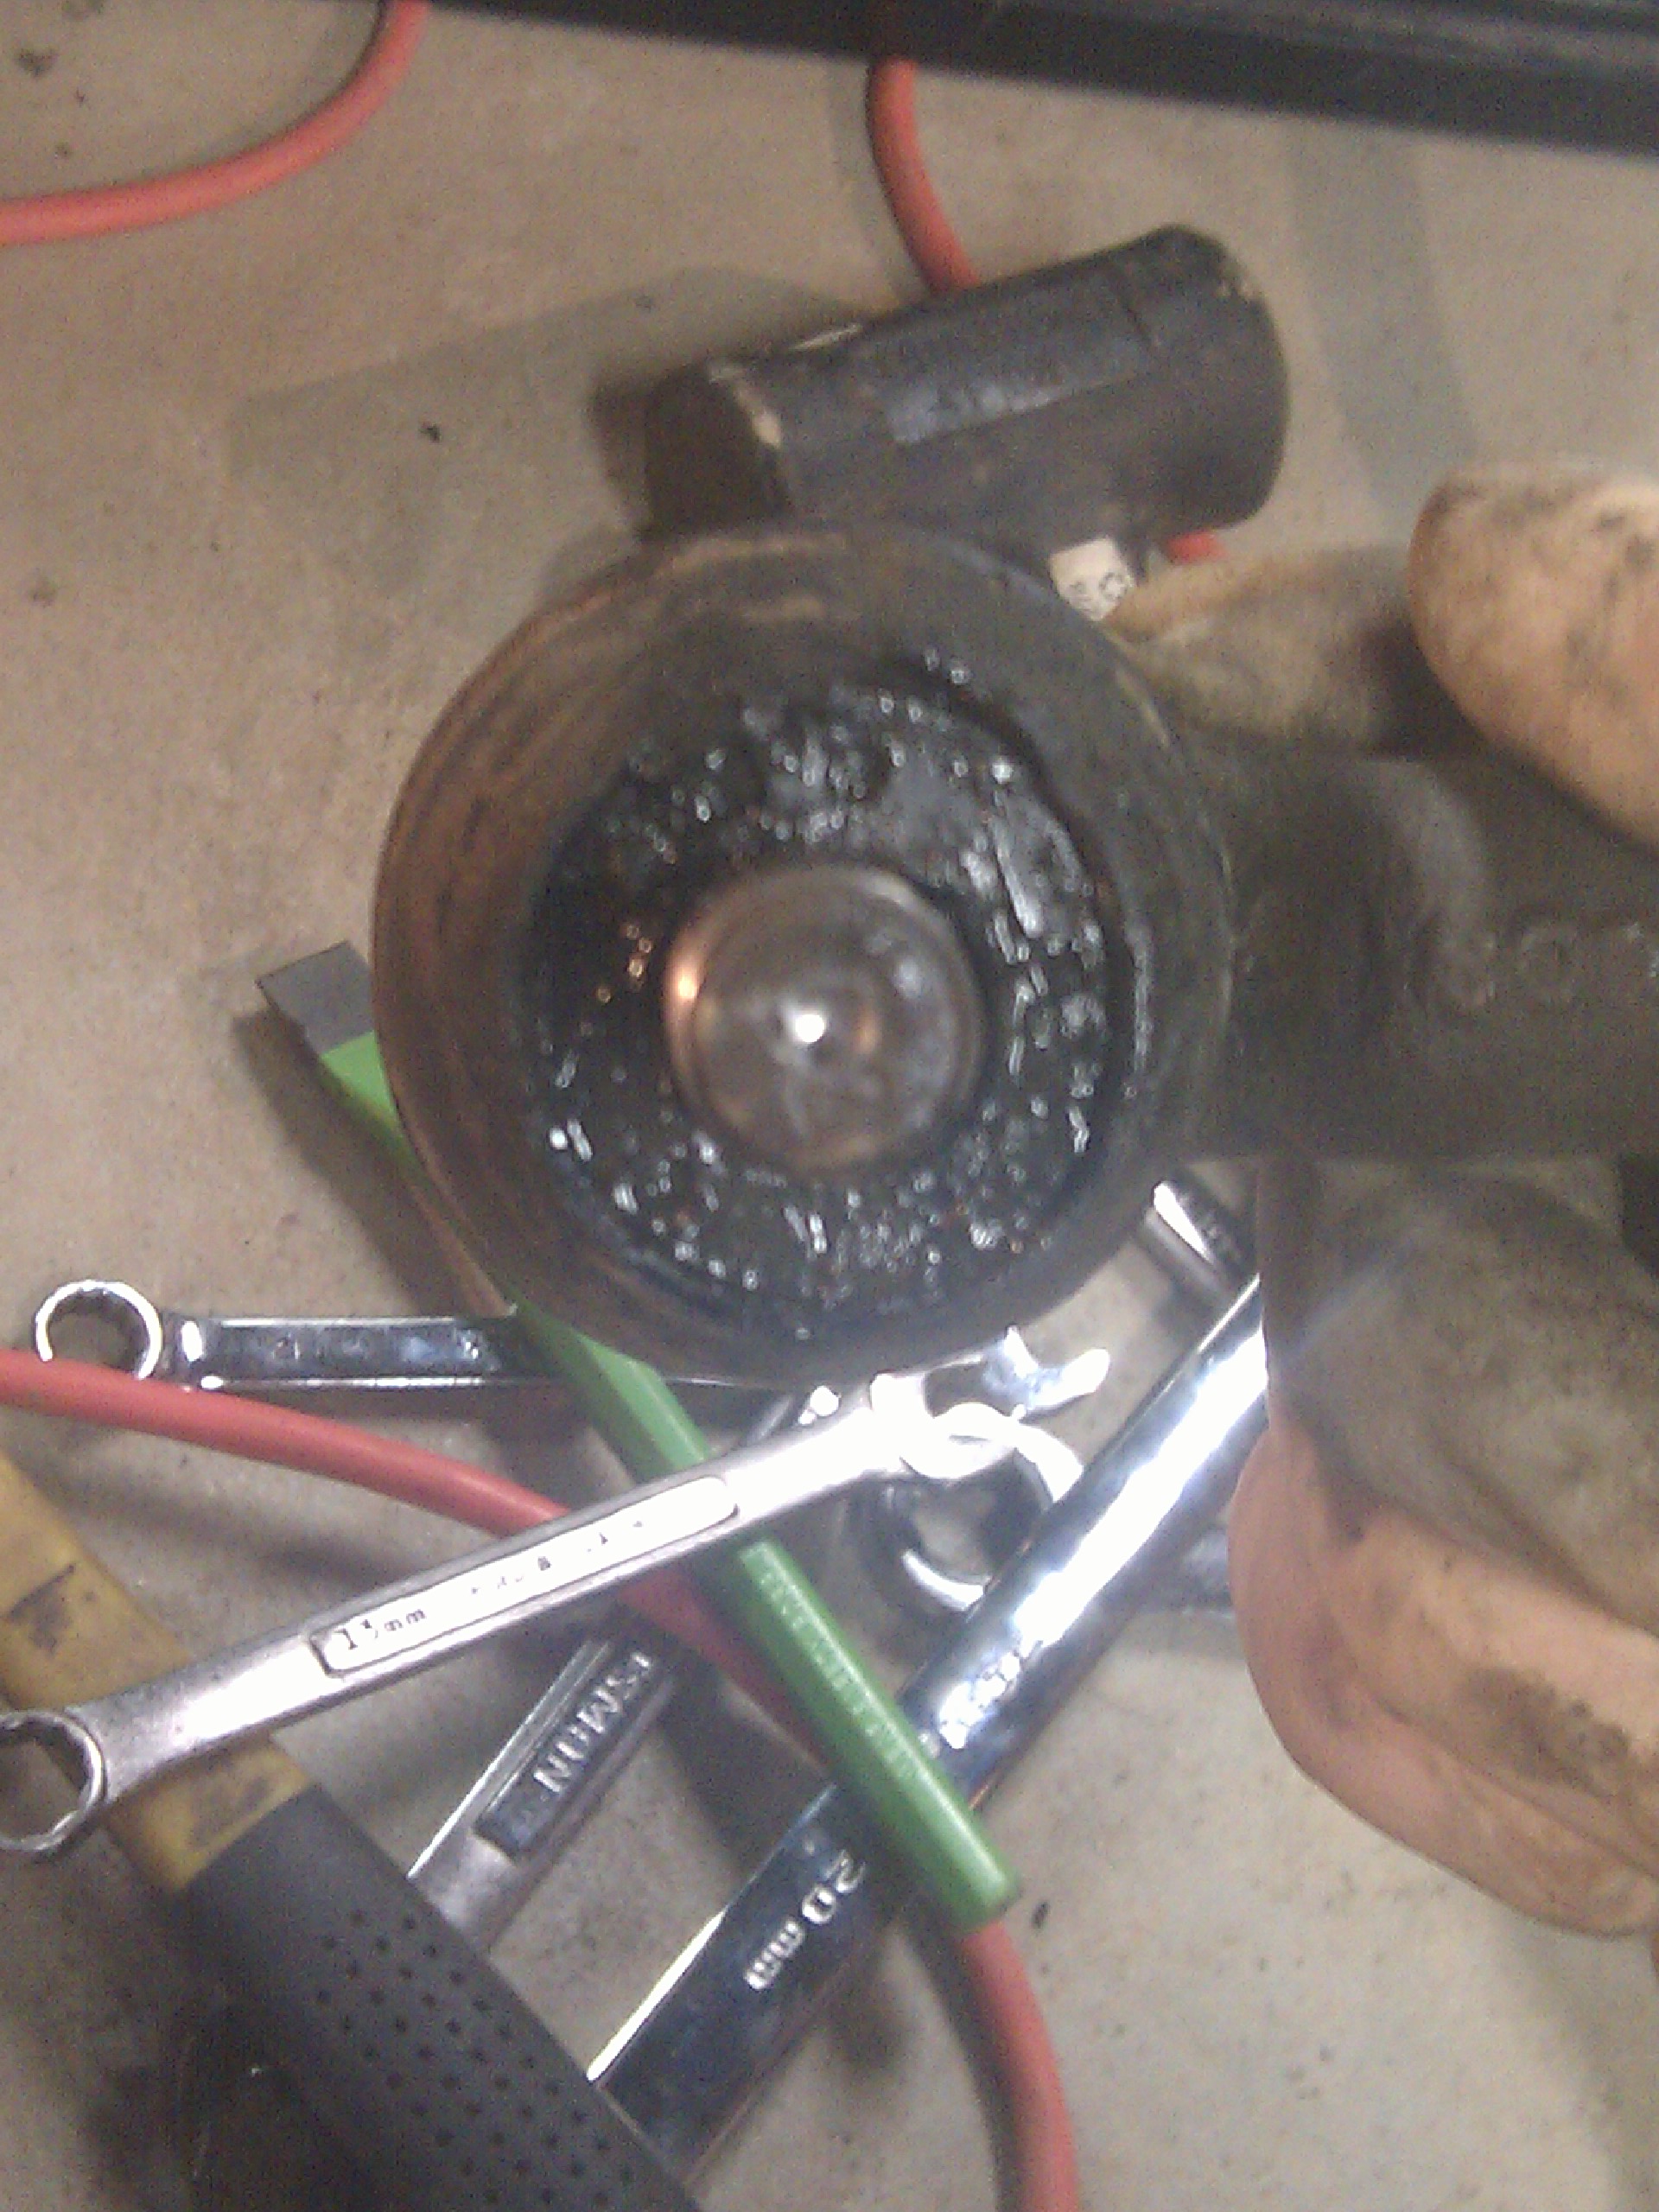
One of the ball joints had a split boot, so I figured I'd replace both while I was in here. Volkswagen, in their eternal genius, decided to rivet these in place, so to replace them you have to drill the rivets out and bolt in new ball joints. Fortunately, some other sucker replaced these before me. Unfortunately, those clever Germans did not design the rivets to be easily accessible by wrench:
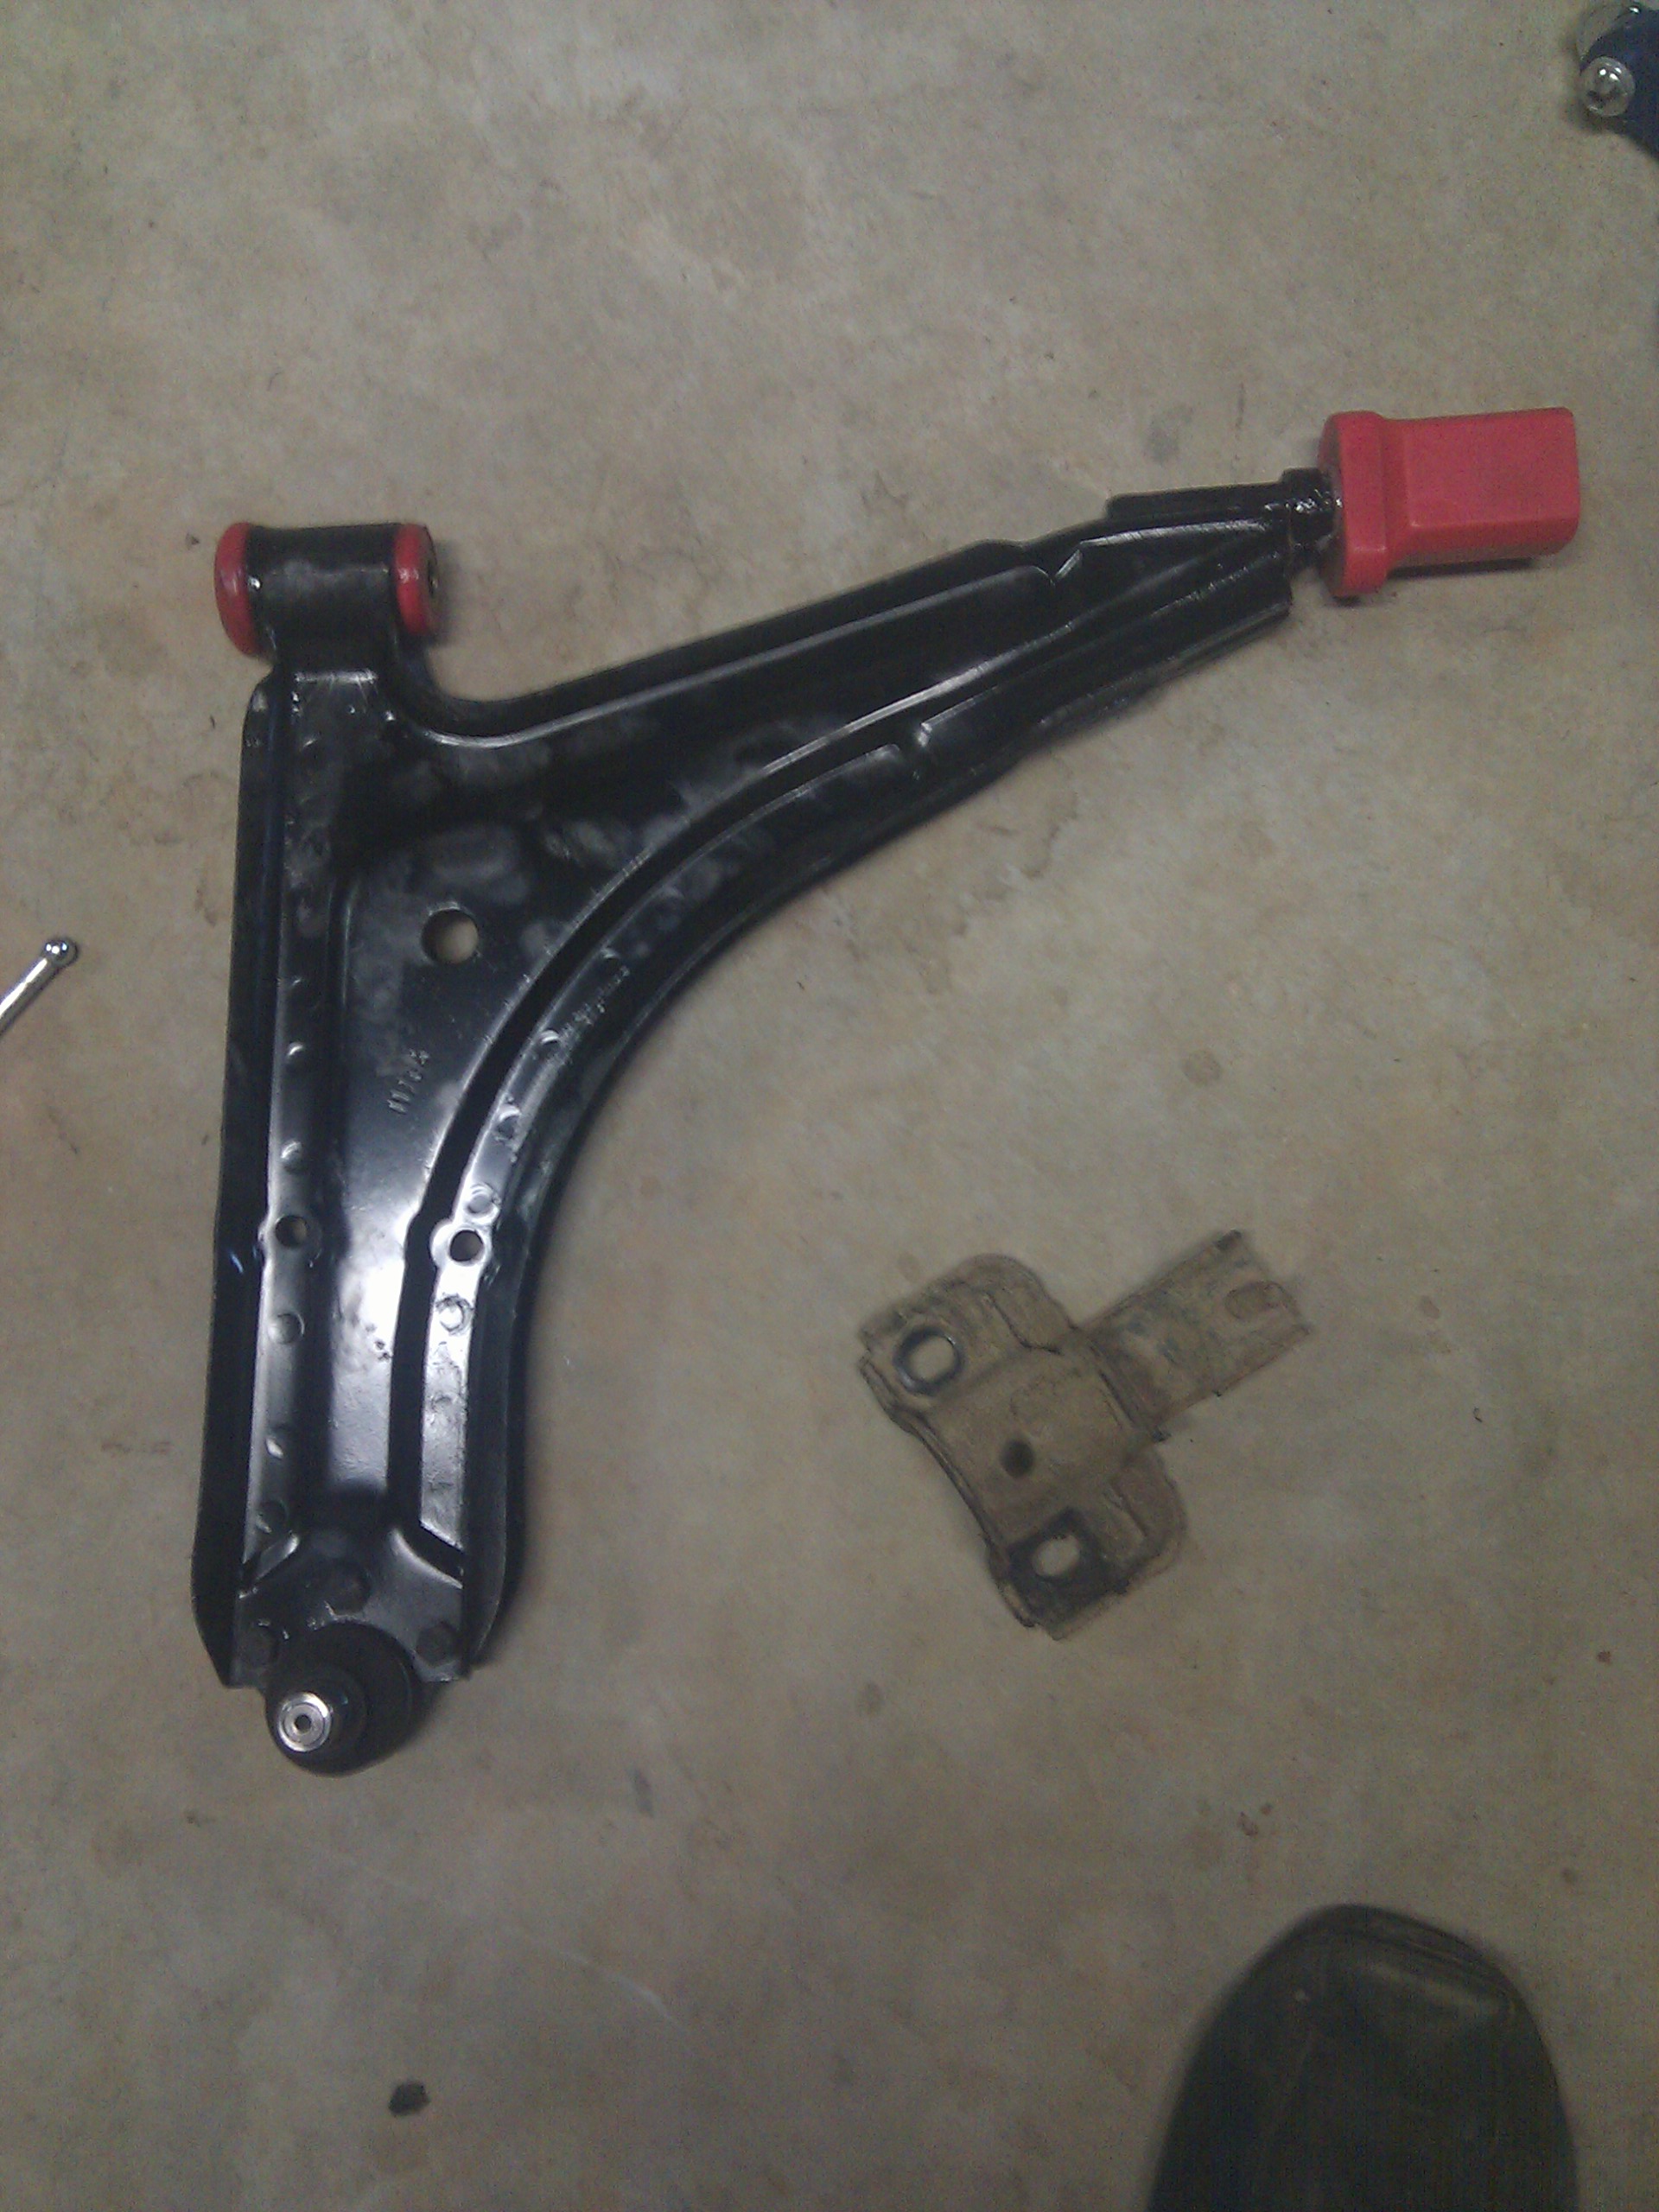
At this point, I thought, why not paint the control arms while I'm at it? Half an hour later, I remembered that sanding and painting sucks, but by that point it was too late to turn back:
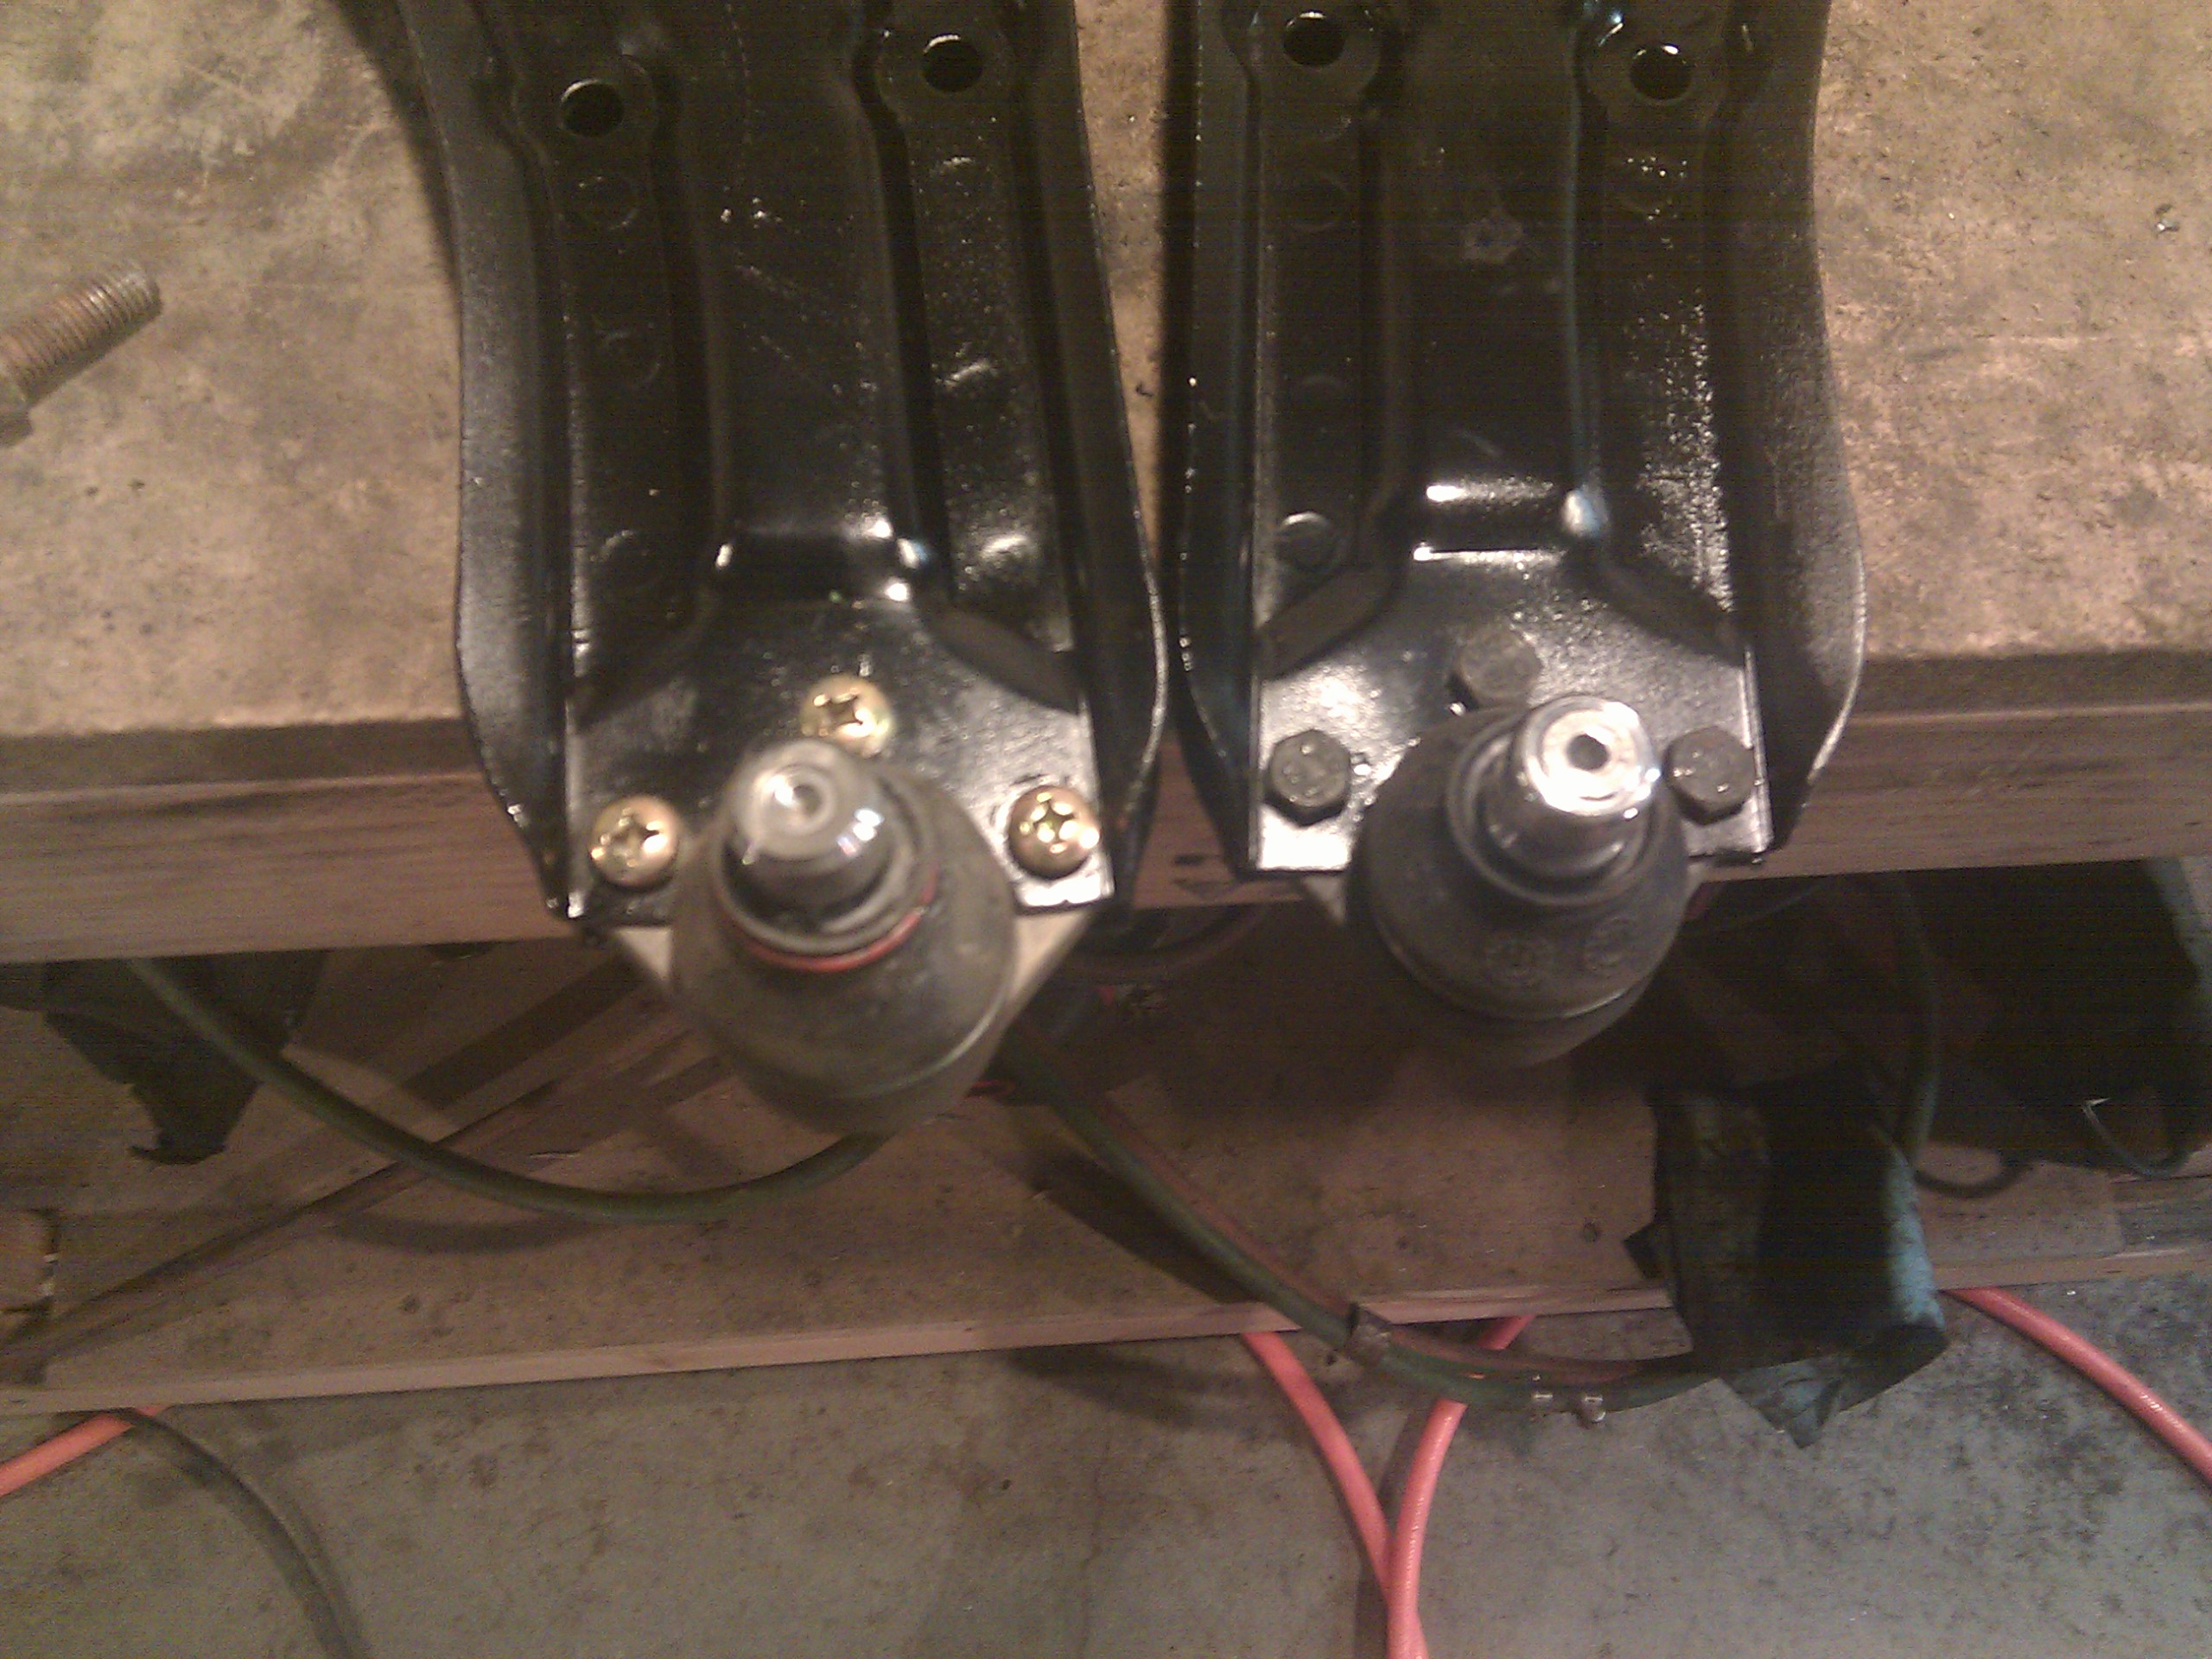
Installed new ball joints. For whatever reason, Beck-Arnley changed the hardware they ship with their ball joints in between making the two I bought:
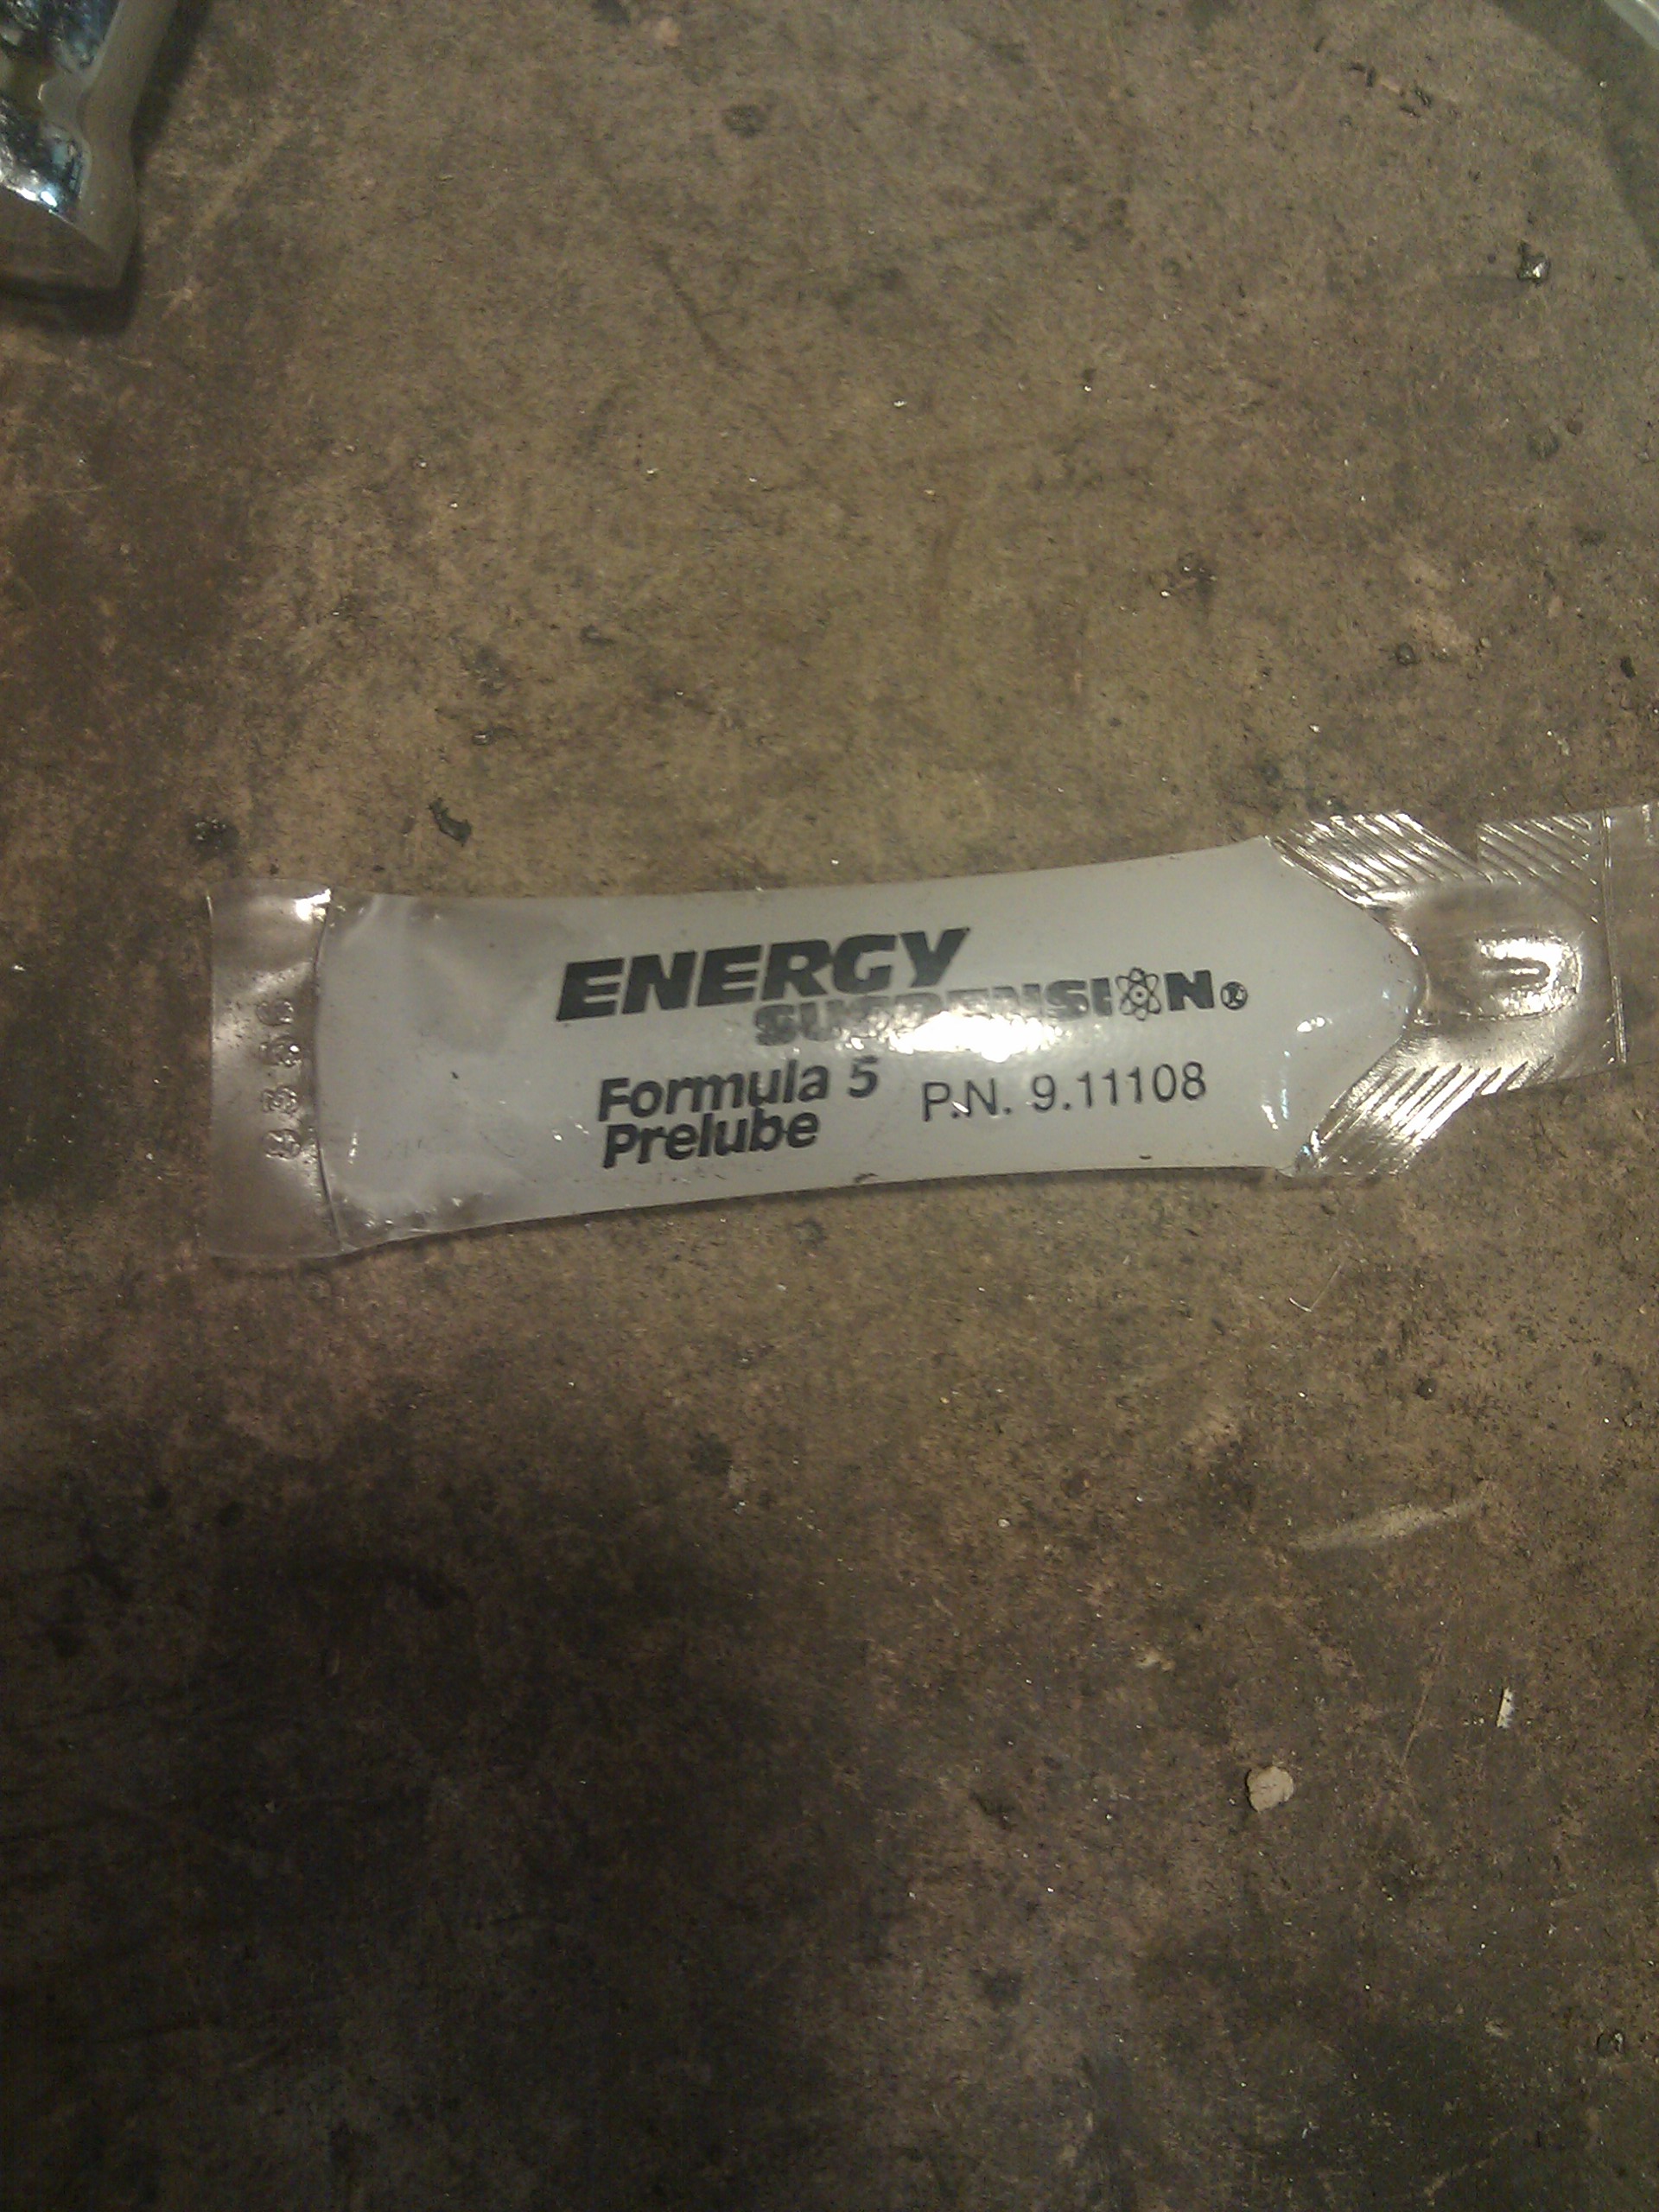
Poly bushings will squeak like a motherfucker if you don't grease them well. This stuff is incredibly viscous and sticky, so I didn't take a lot of photos since I try my damndest to not get grease all over everything.
Don't use your vise as a press. That said, these bushings require very little force to install, so...
The brass bushing inside the poly bushing allows the control arm to pivot on a bolt without destroying everything.
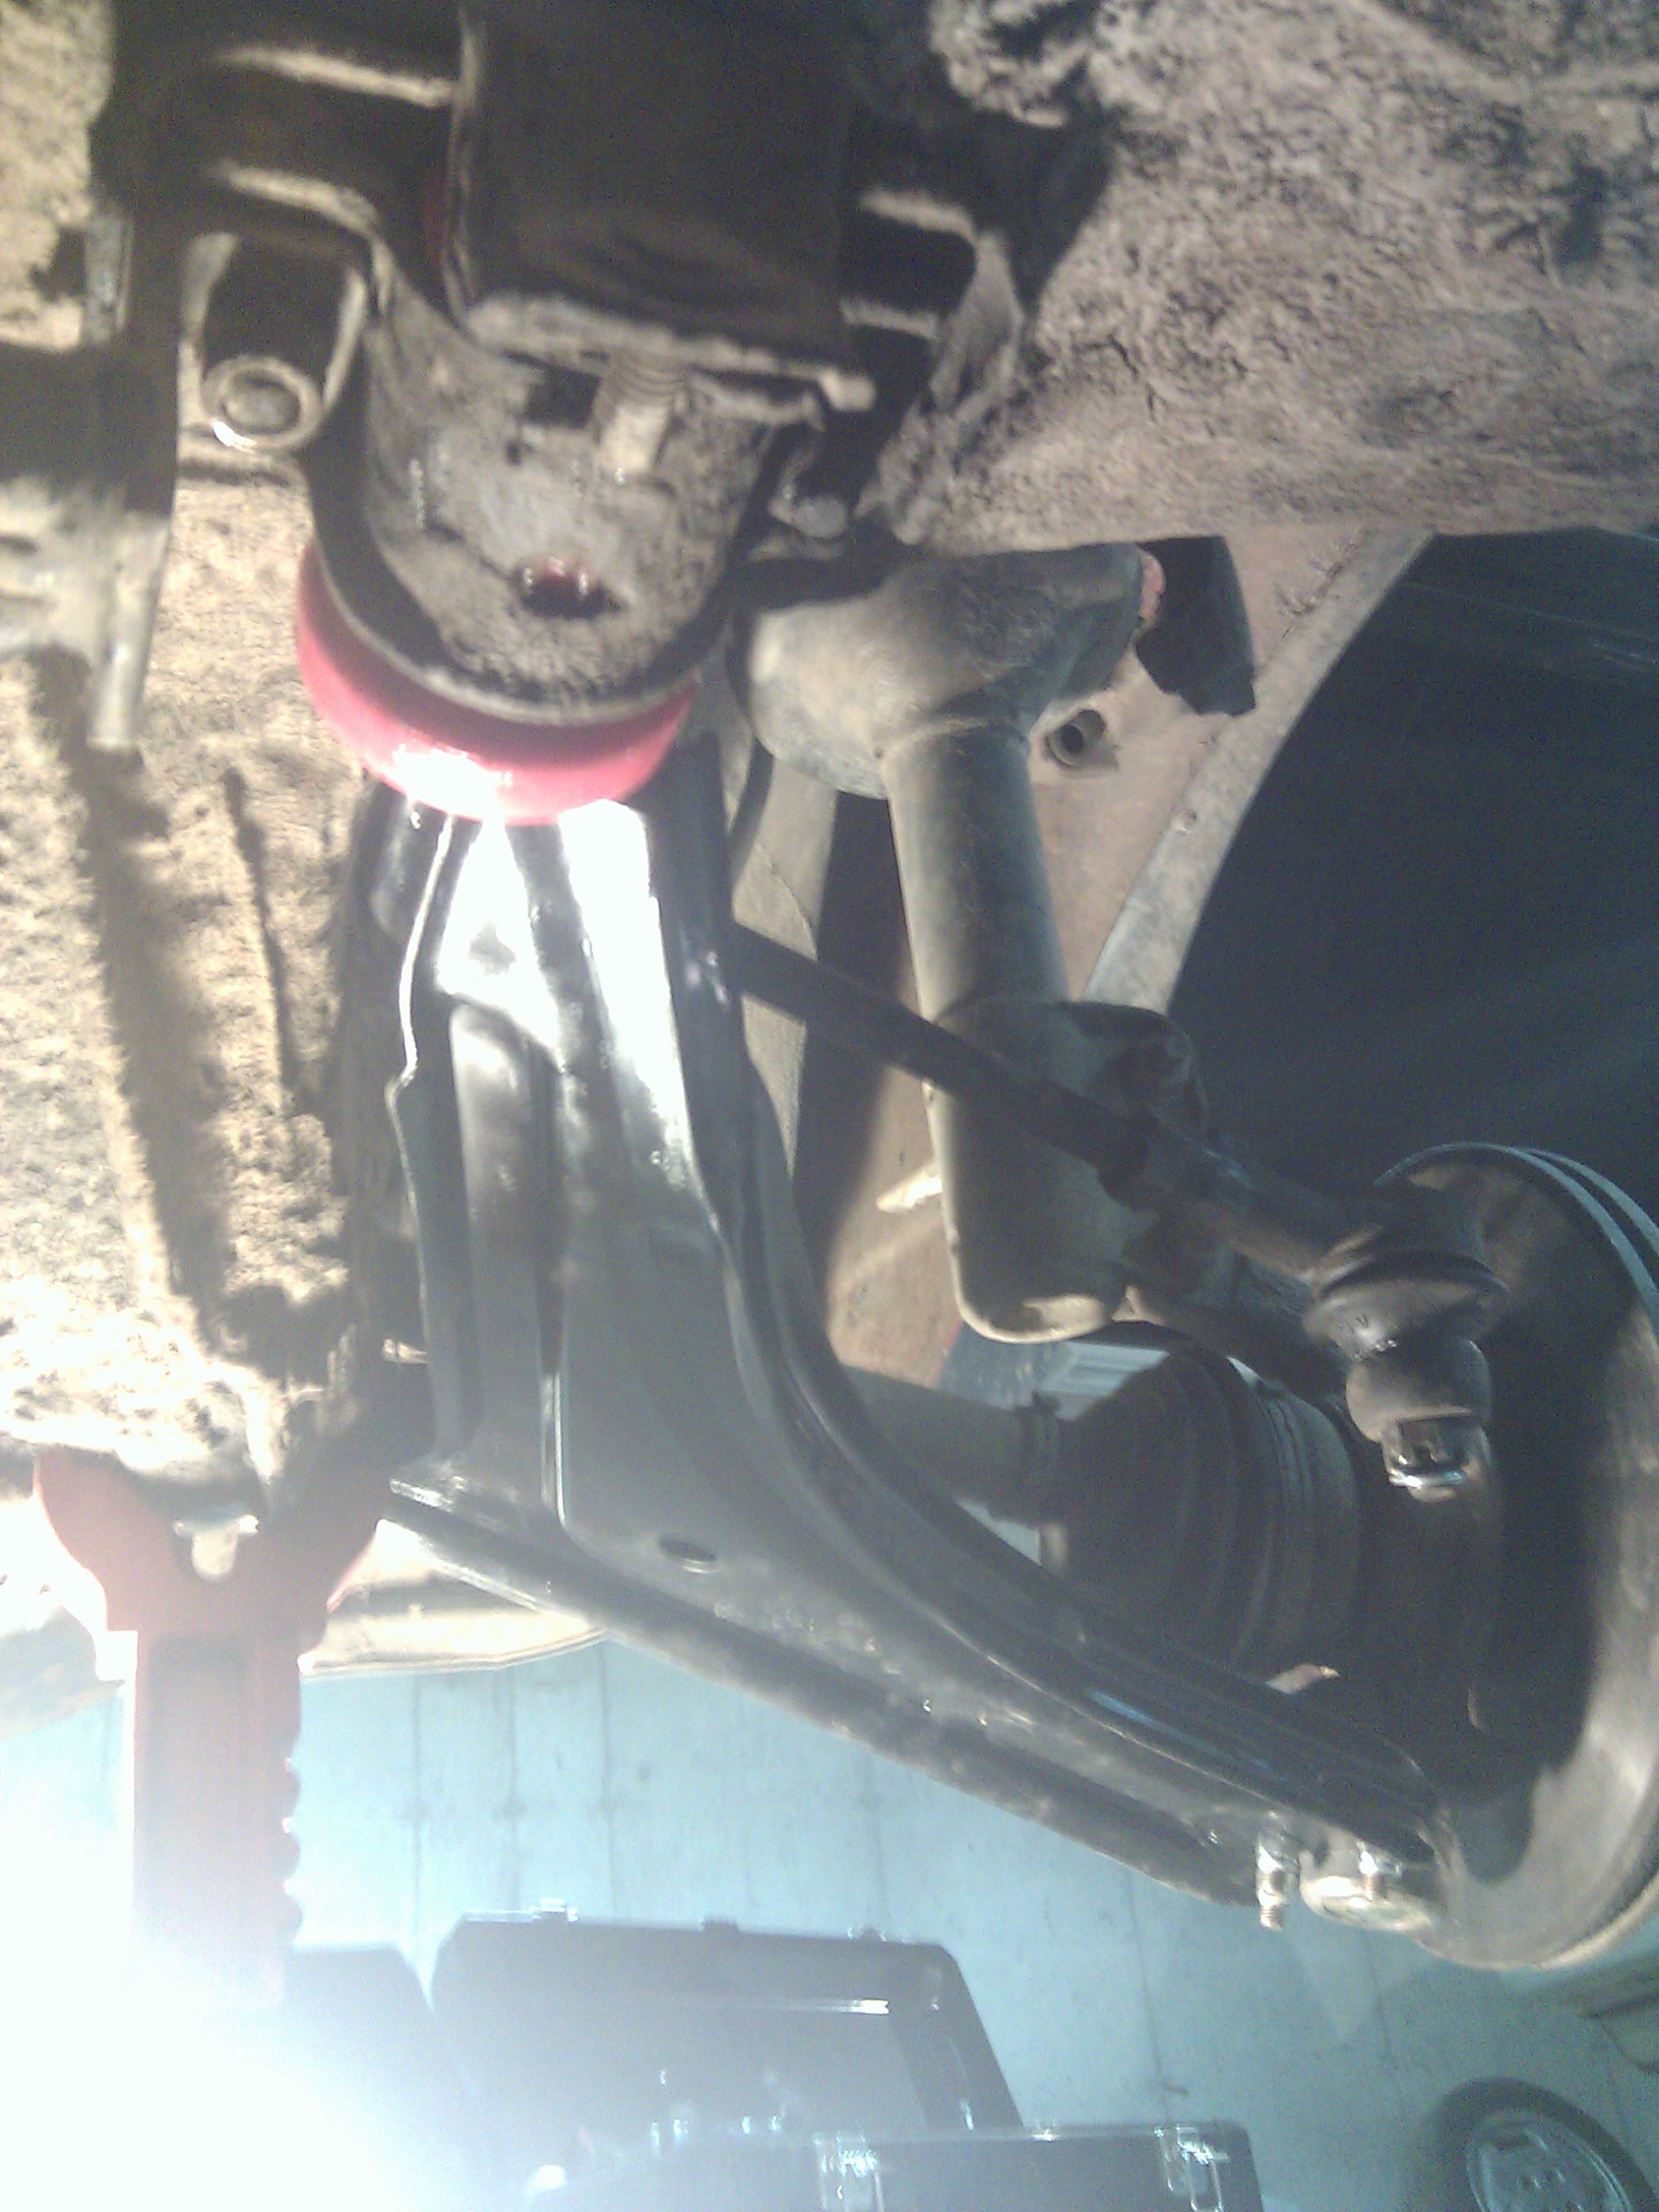
New bushings on:
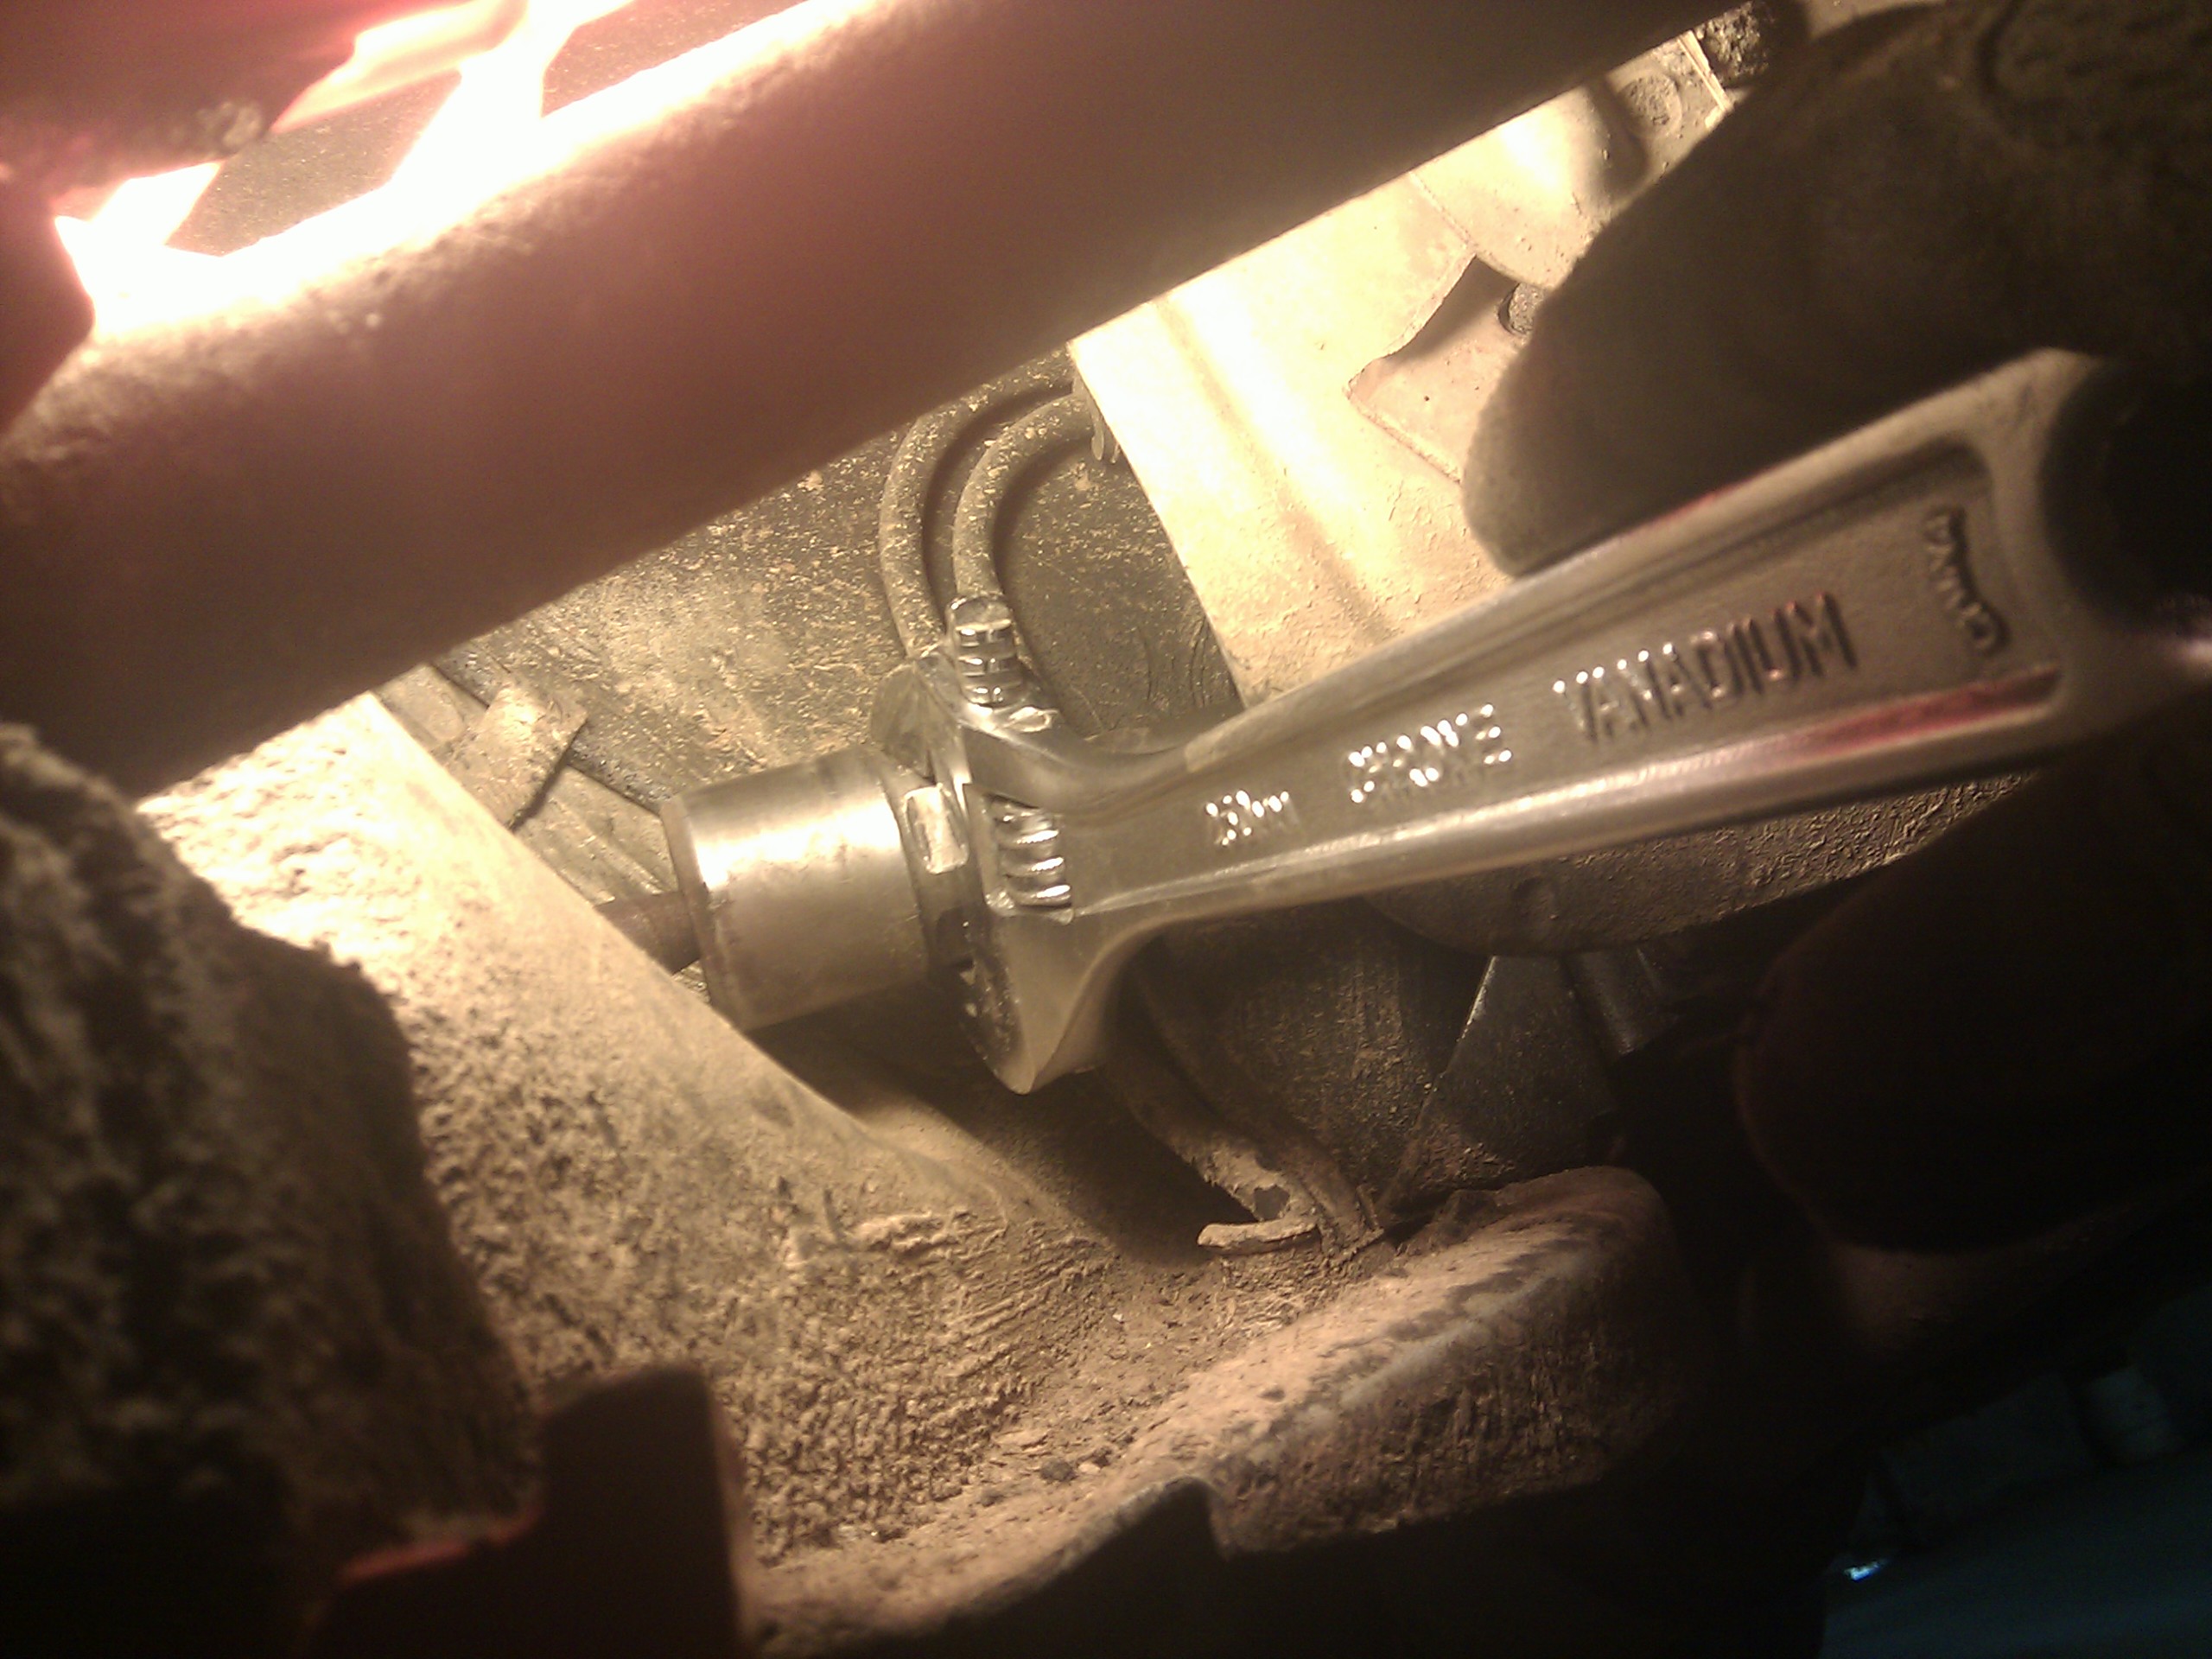
One of the nuts on the rear bushing retainer is 14mm and the other is 15mm. I can only assume the engineers building this car were really bored and decided to spec every last piece of hardware as precisely as possible. Also, some of them must have really liked oddball size allen bolts. What normal person even has a 7mm allen wrench? I do, because I need one to remove one (but not the other two) bolts on my alternator!
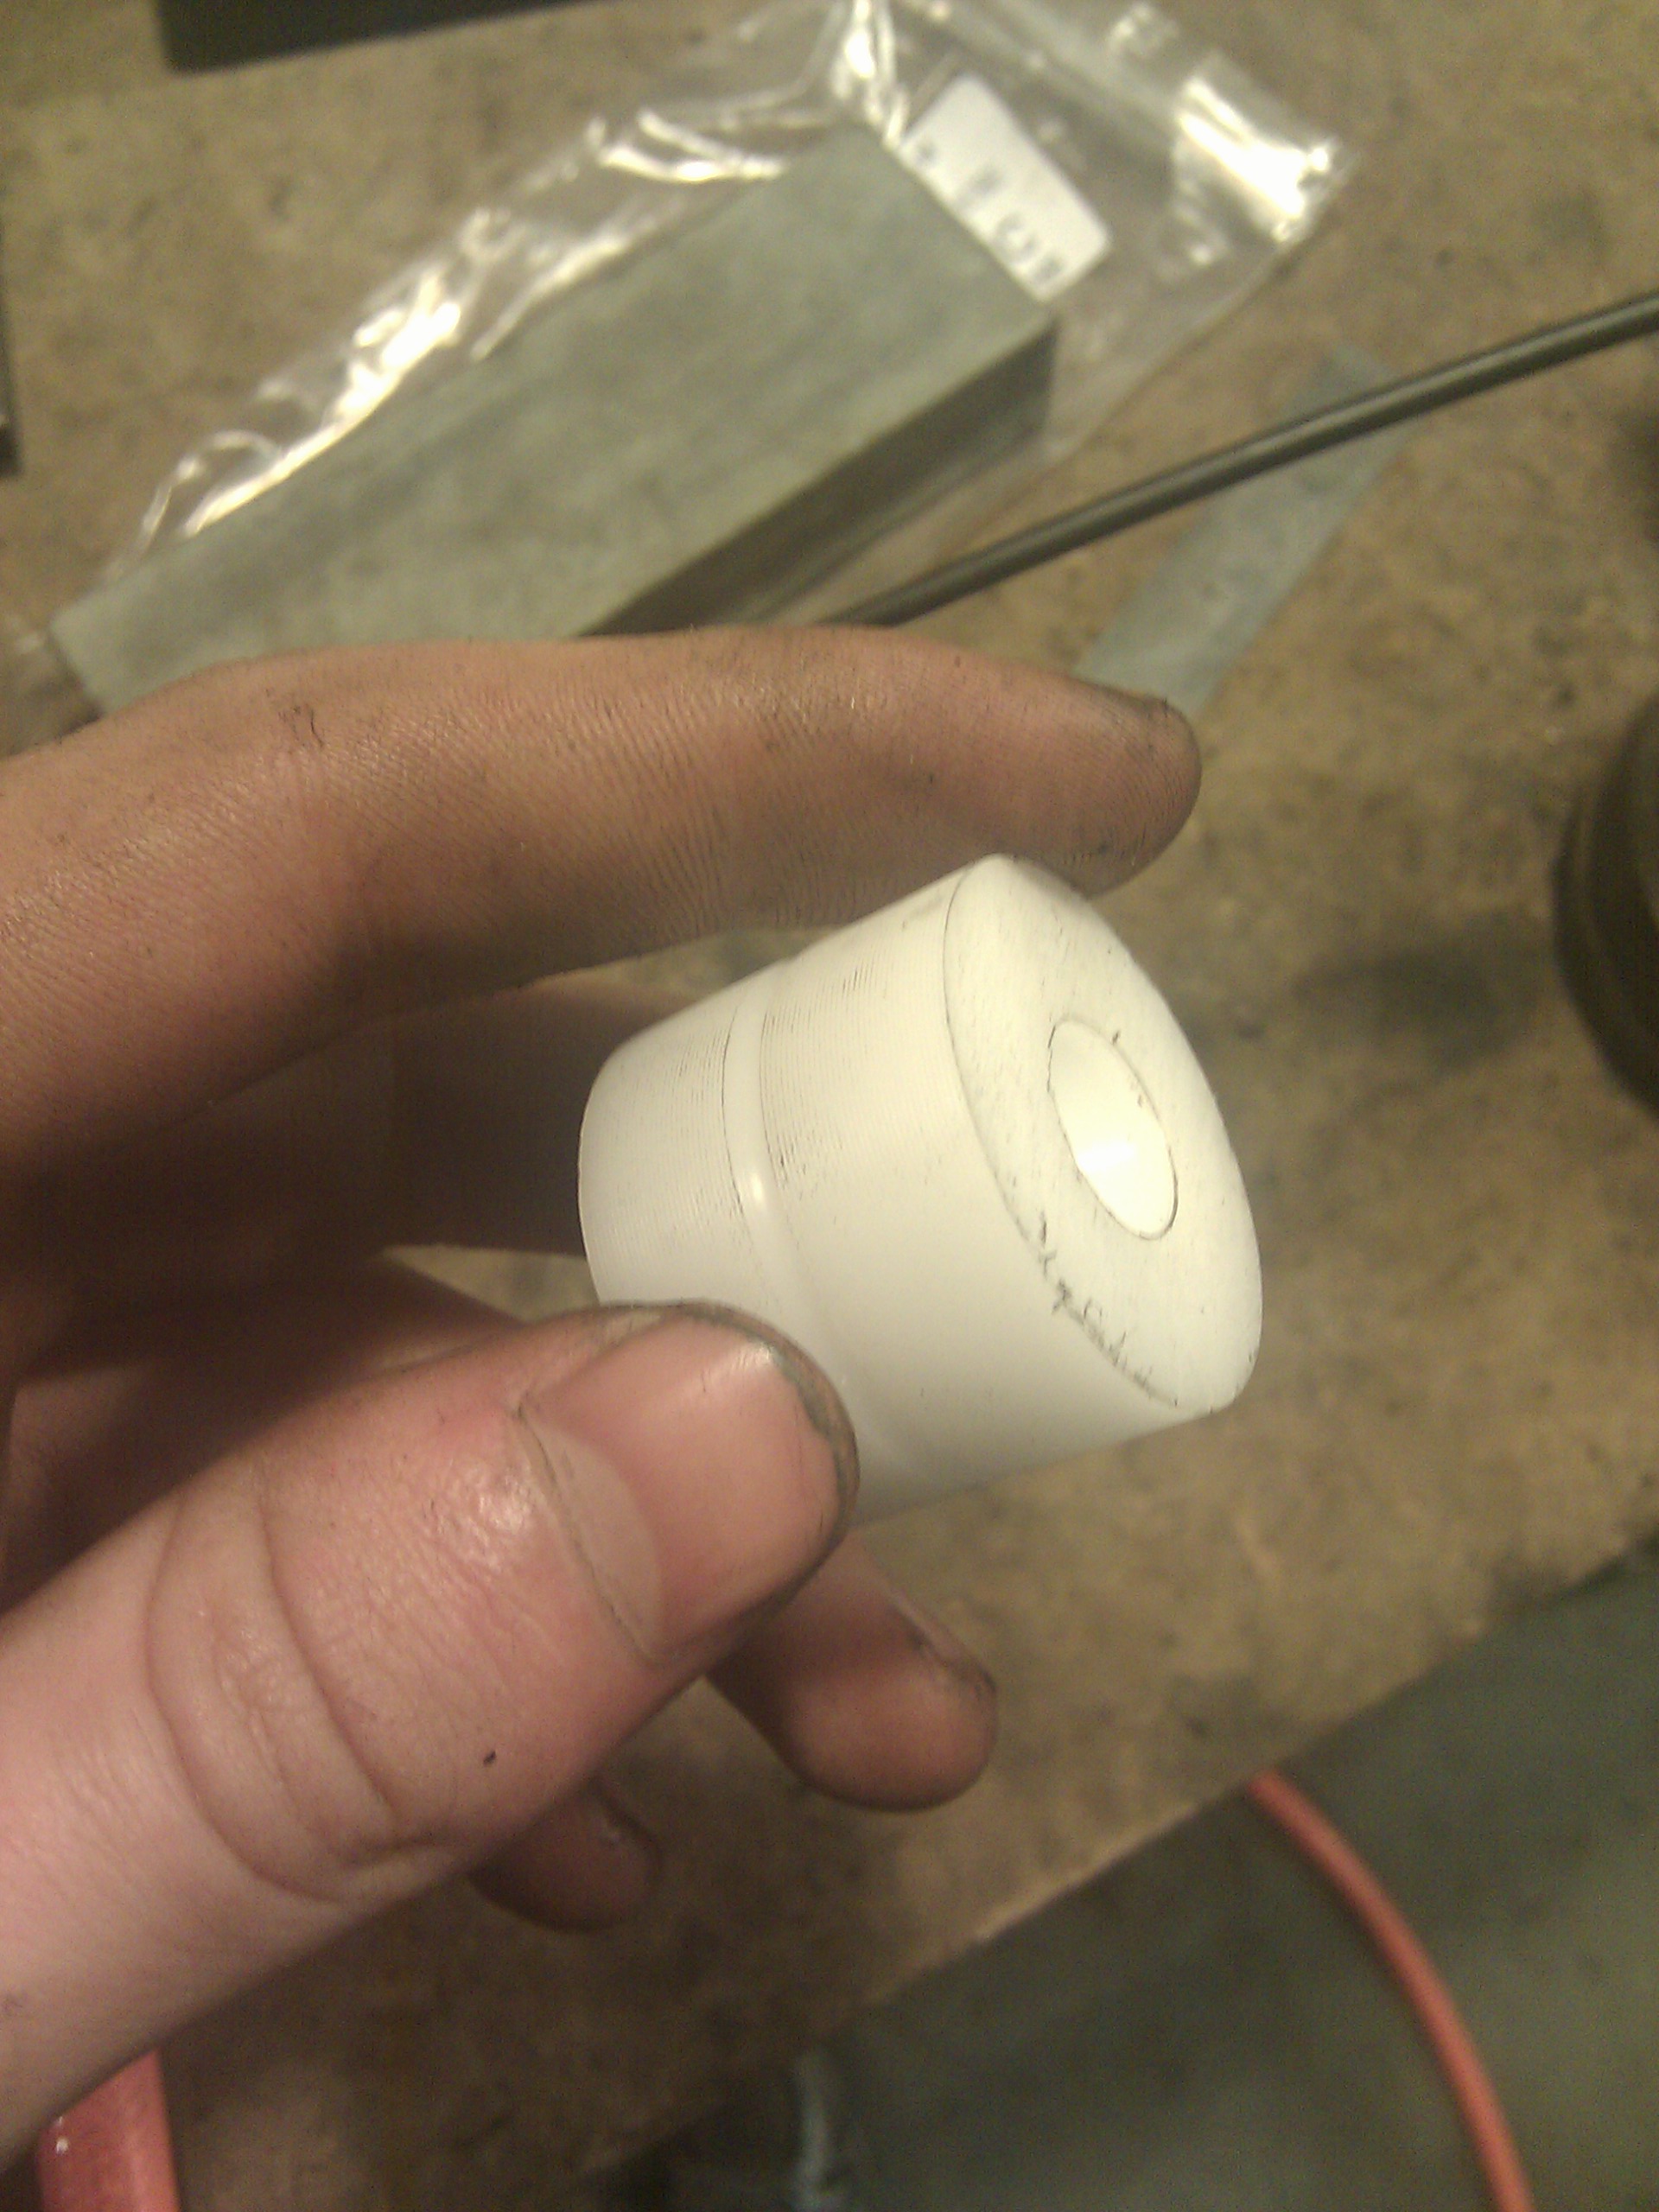
Now for the bushing in the steering rack. The actual rack that slides back and forth is held in a round housing. On the driver side, the steering pinion and some bearings hold it in place, and on the passengers side, there's a round bushing that keeps it from flopping around in the housing. This threw in the towel after 30+ years, so I'm making a new one.
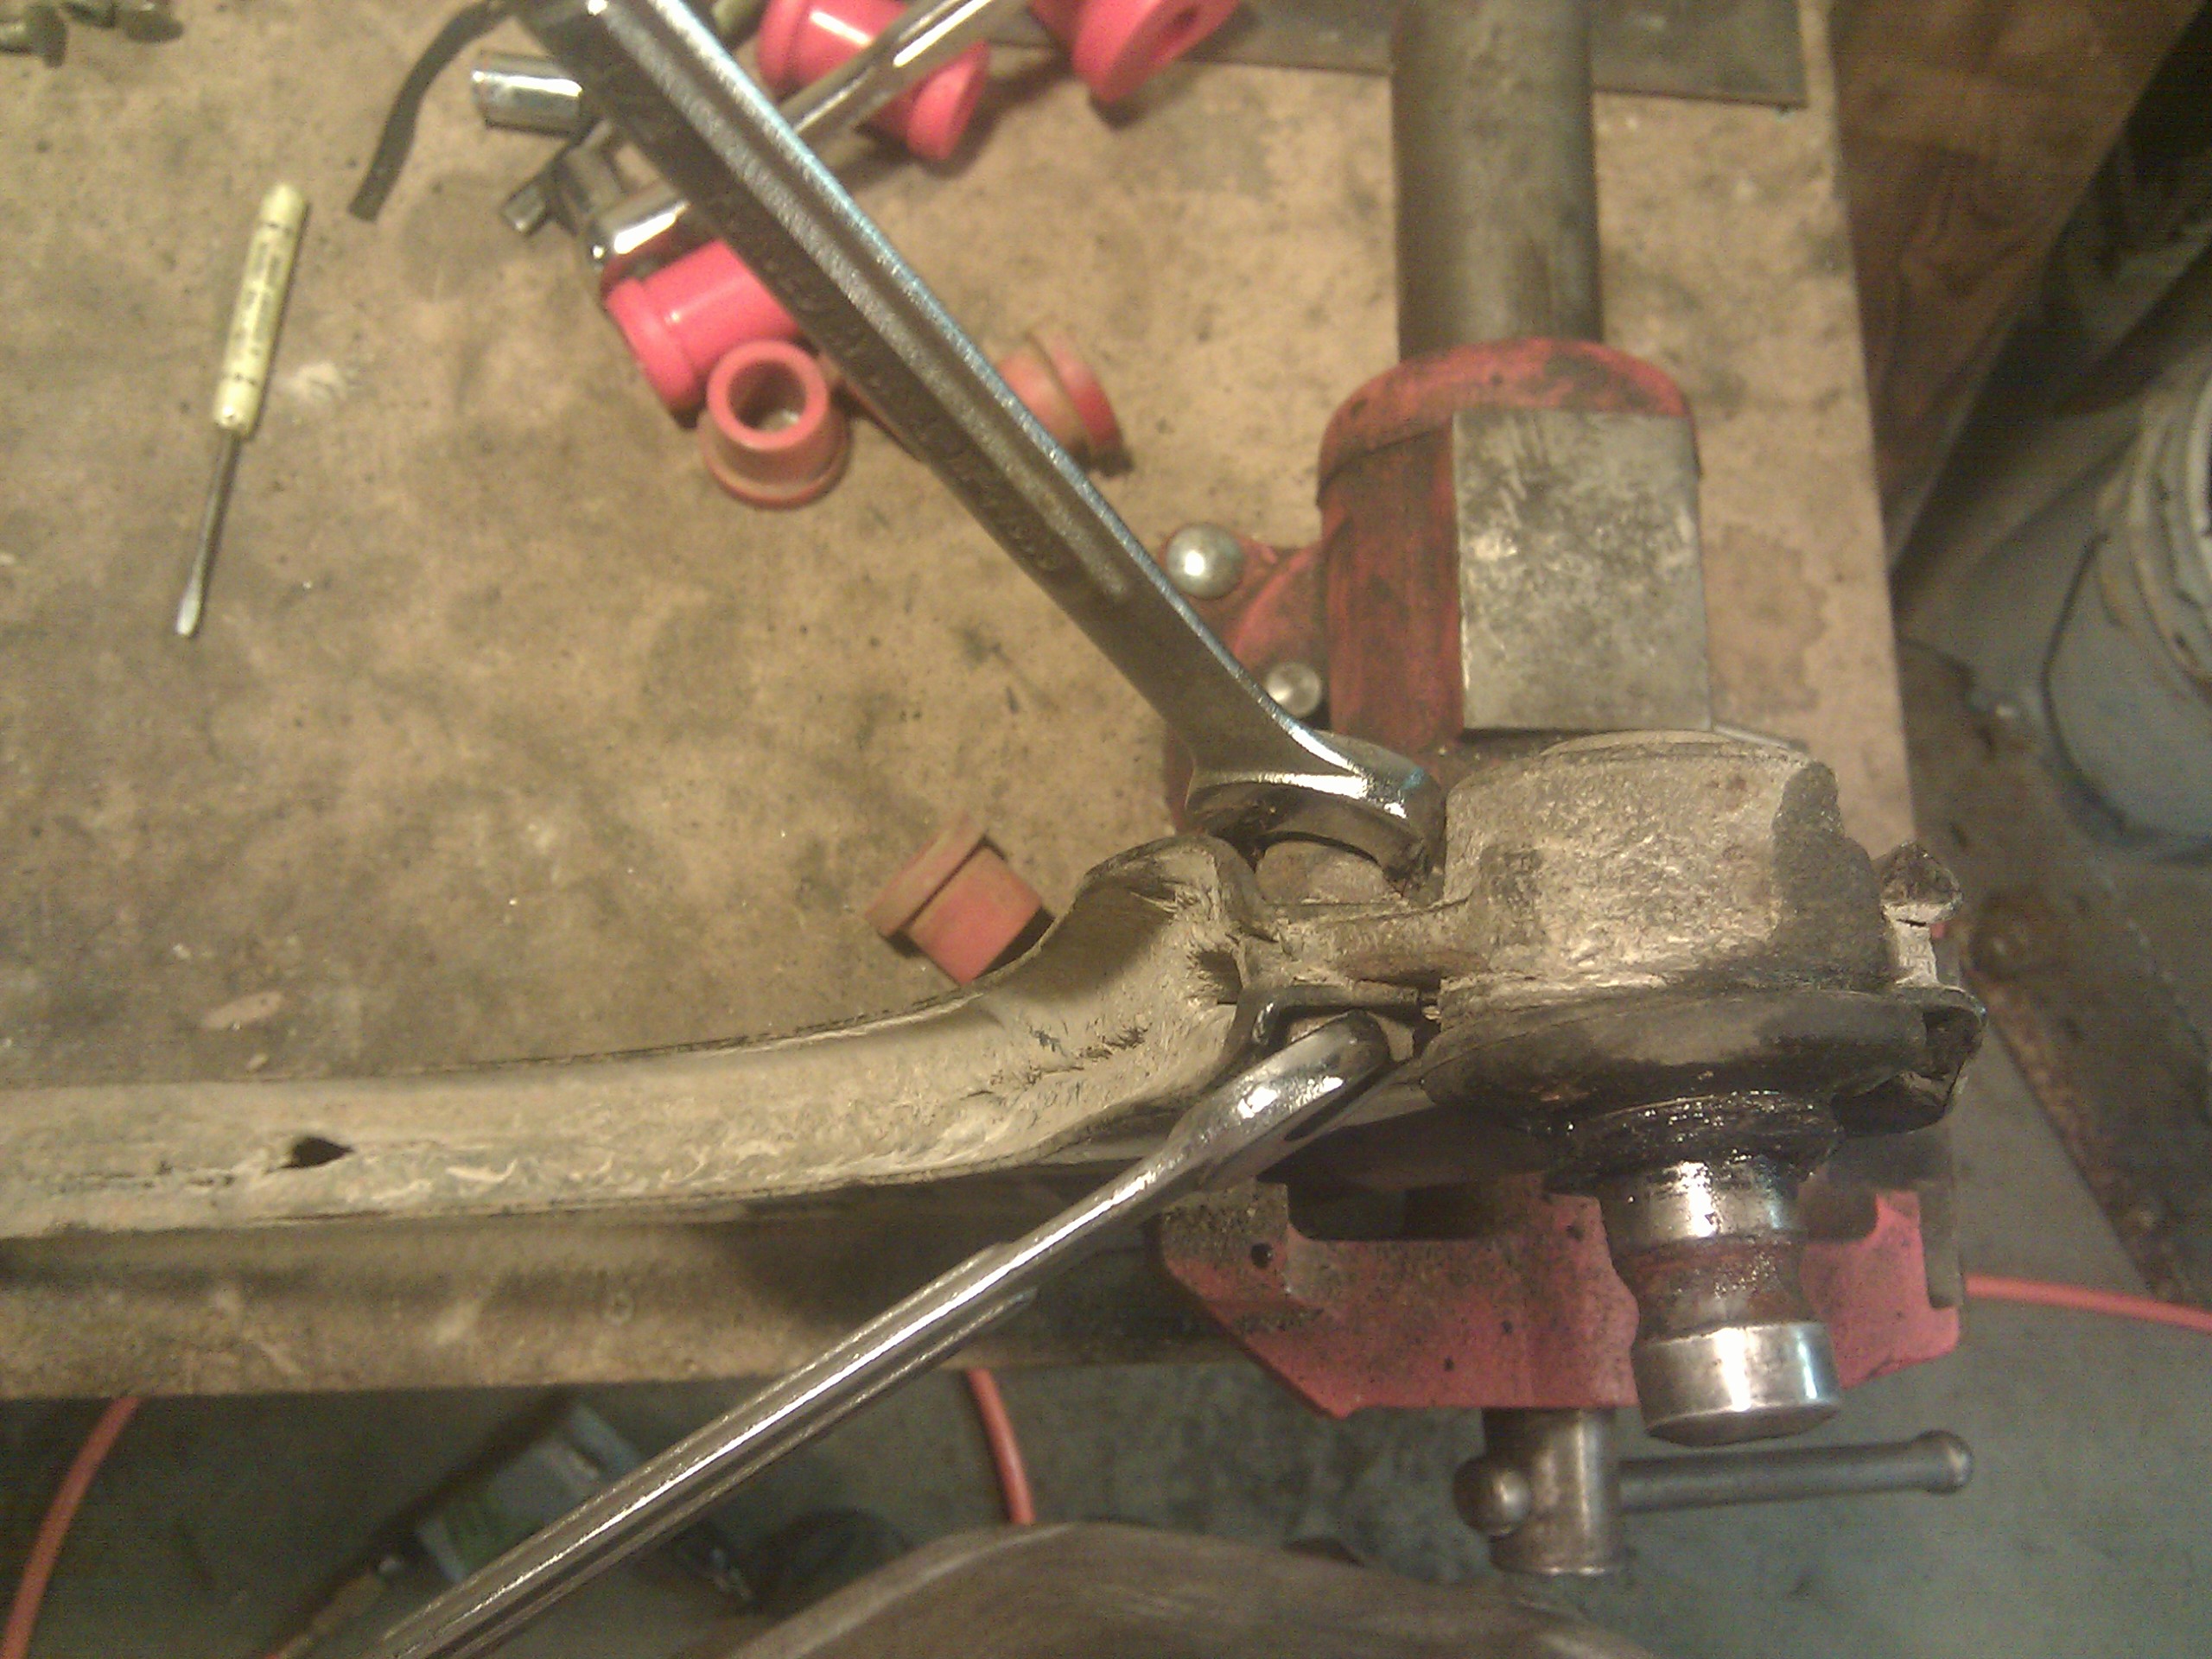
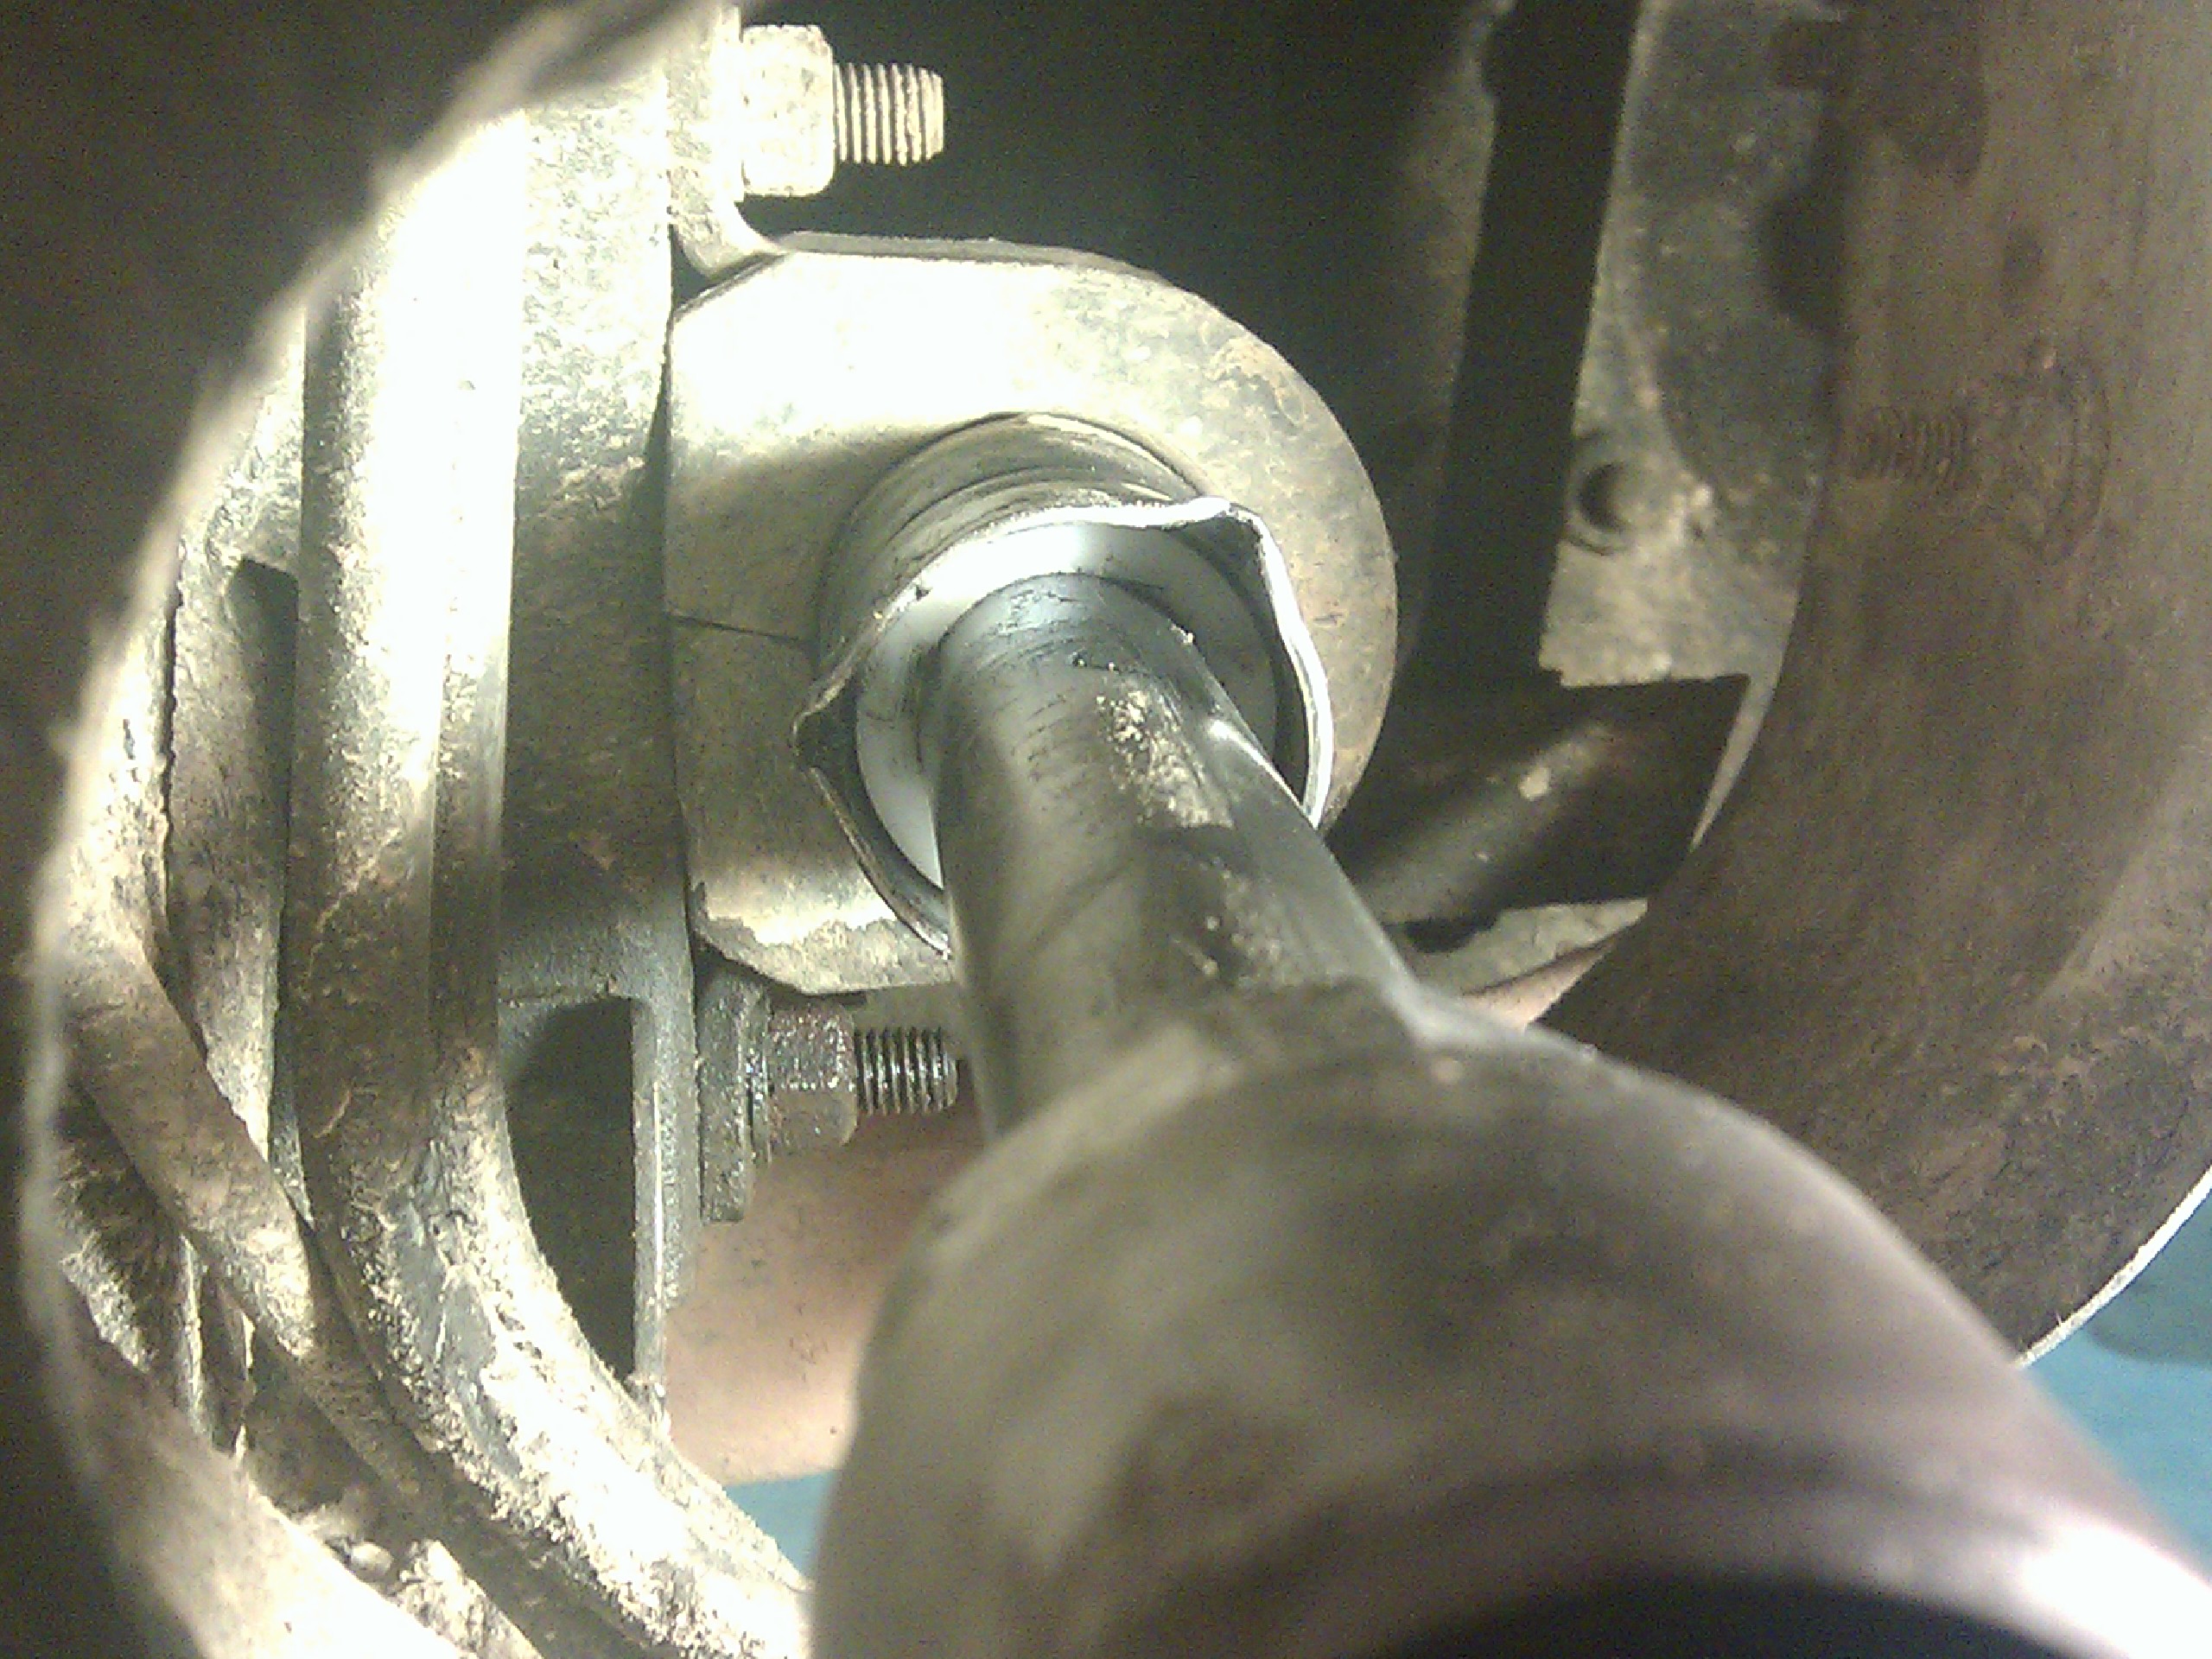
First, press the passenger side tie rod out of the steering knuckle. For whatever godforsaken reason, the manufacturer of this tie rod end didn't dimple the end of the shaft for a standard 2-jaw puller, so I had to put one in myself. This stuff is apparently hardened, so it wrecked my centerpunch when I tried to drill it. Fortunately, I bought a set of carbide grinding bits for my die grinder that cut the hardened shaft just fine. (These grinding bits are worth the money; don't bother with the cheapo stones most die grinders come with if you need to do any serious grinding.)
Now, get the tie rod end off of the tie rod. This is always incredibly difficult; on a different car I once used a car jack to turn the wrench. This time, I just hit the wrench with a deadblow hammer.

I pulled off the protective sleeve on the inner tie rod and dumped out most of the old steering bushing. RIP.
The inner tie rod can be removed by shoving a huge wrench into a space only slightly bigger than the wrench, turning 1/12 of a revolution, flipping the wrench, turning another 1/12. Repeat ad nauseam.
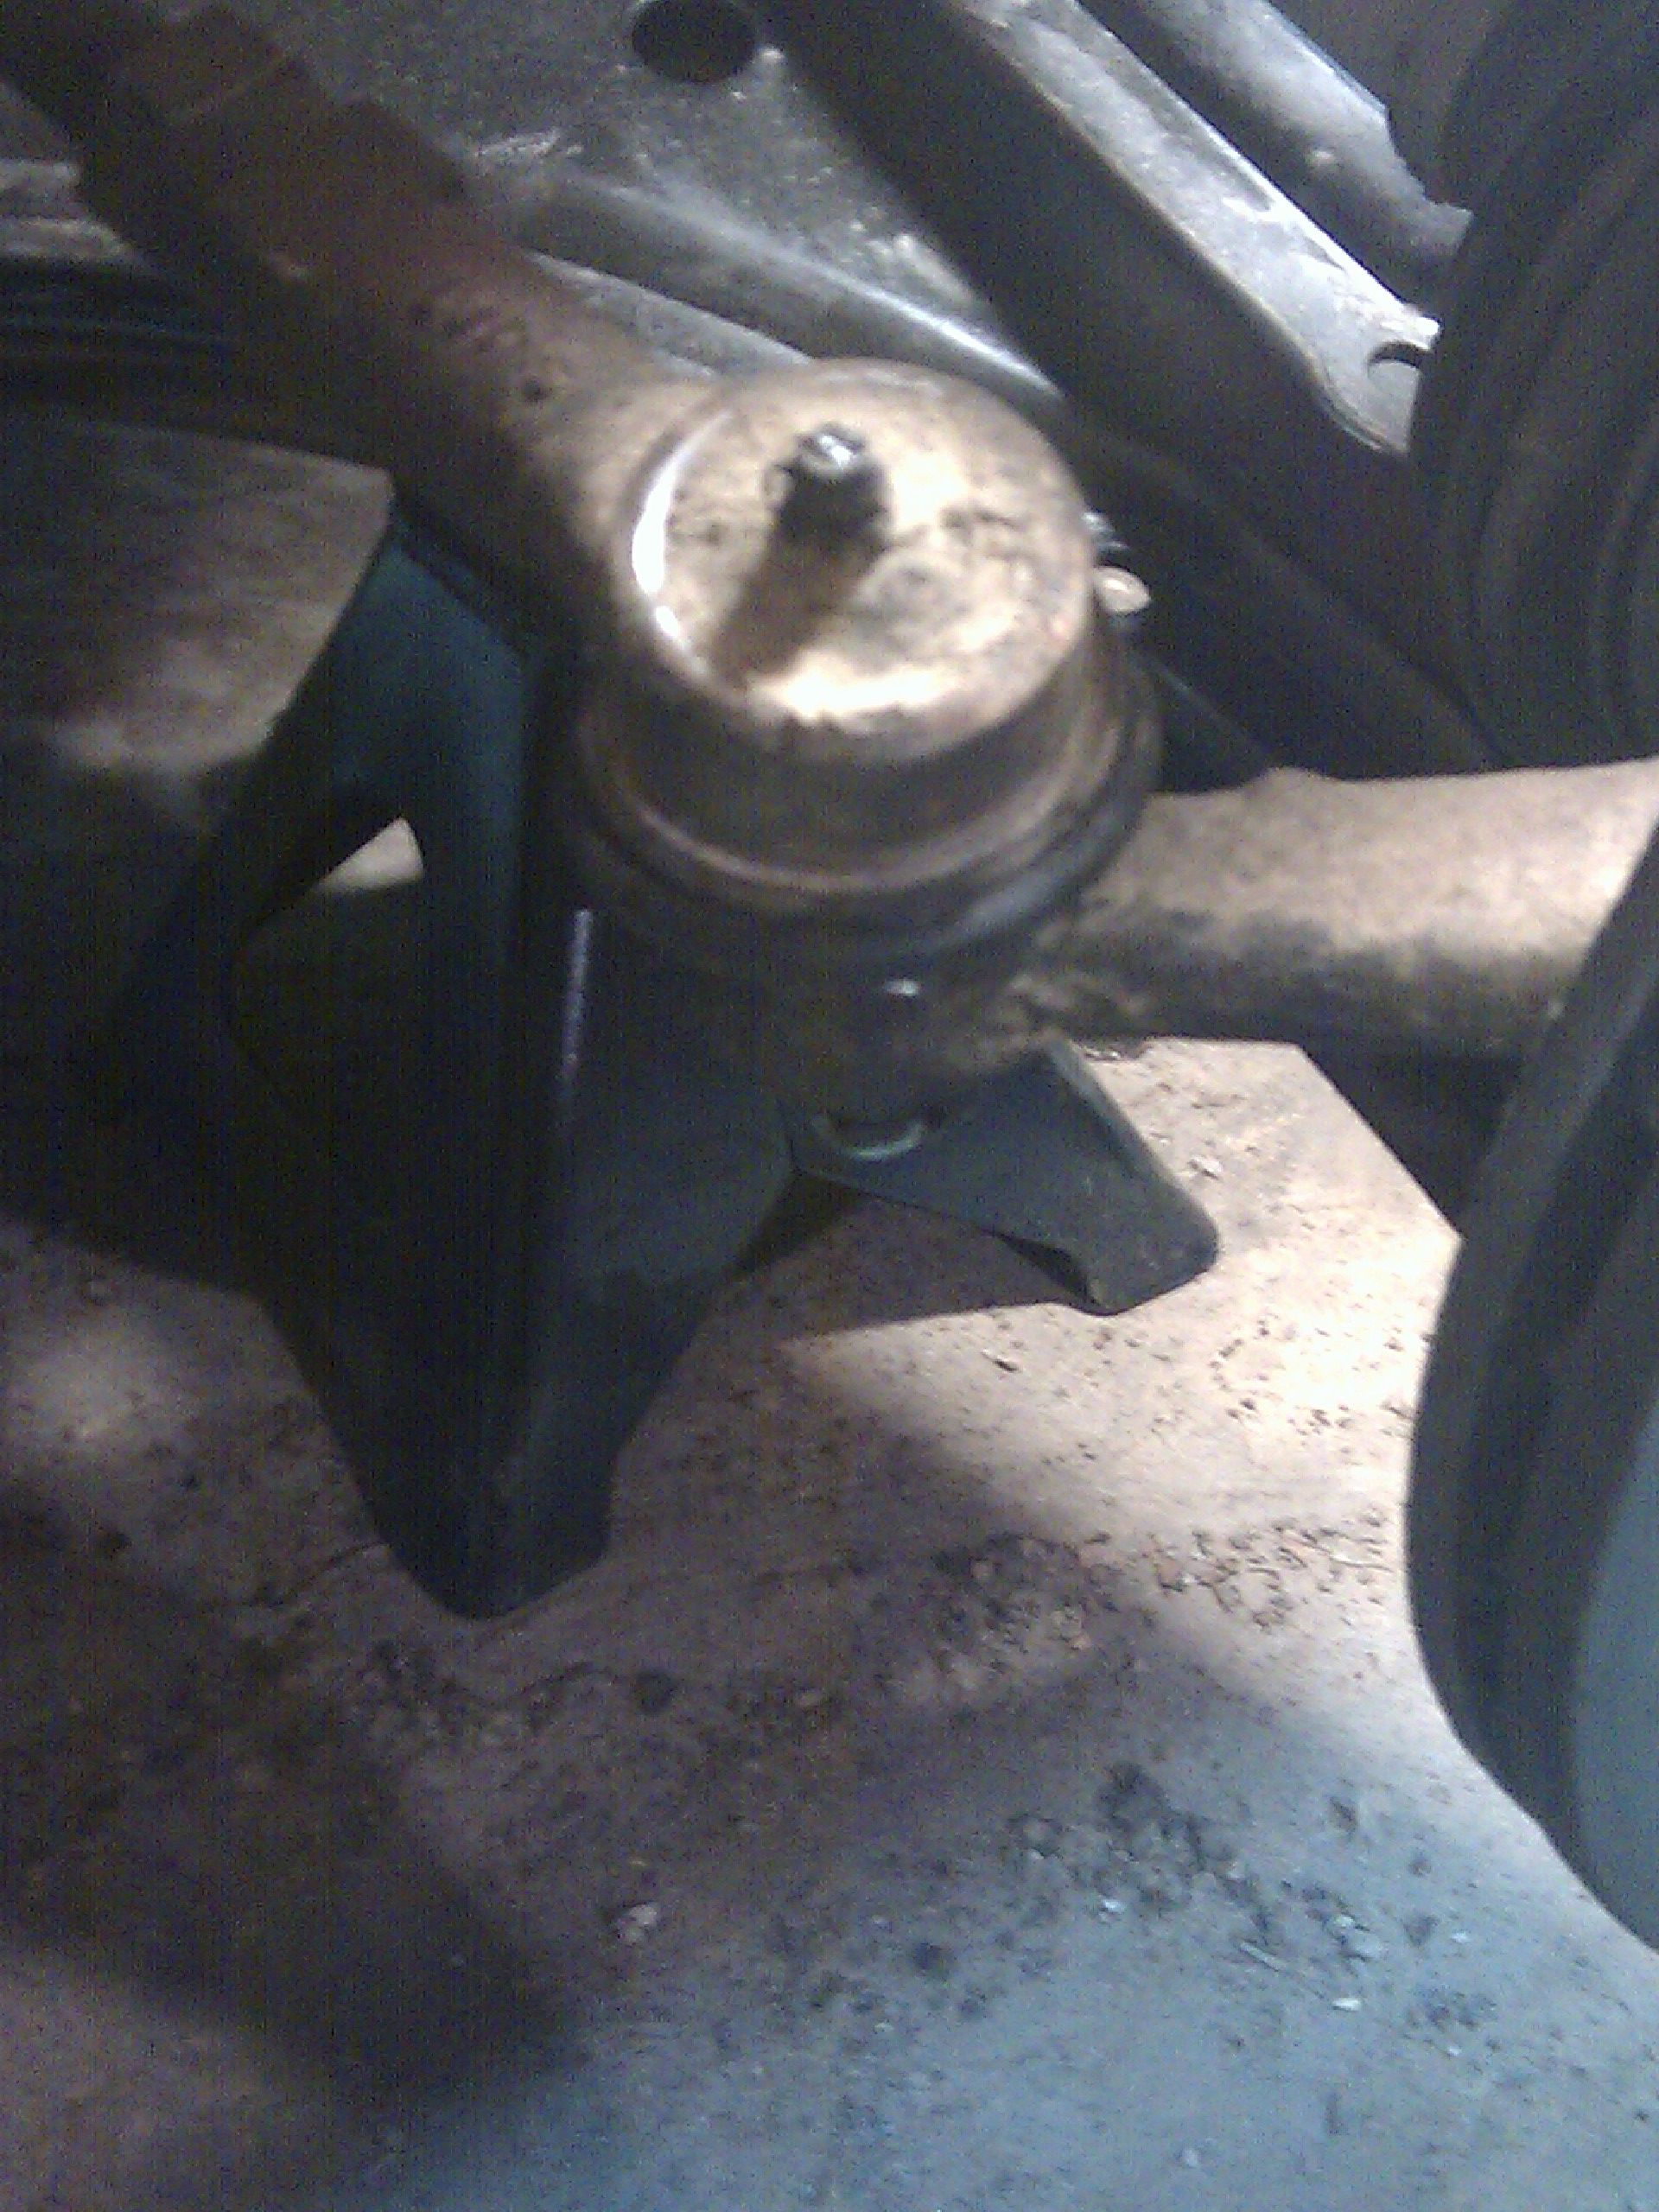
And here's the steering rack and the housing.
To make a bushing, start with a rod of acetal, better known as Delrin. This stuff is durable, resistant to grease, and makes a good bearing surface. I bought a big chunk since I wasn't quite sure how much I'd need.
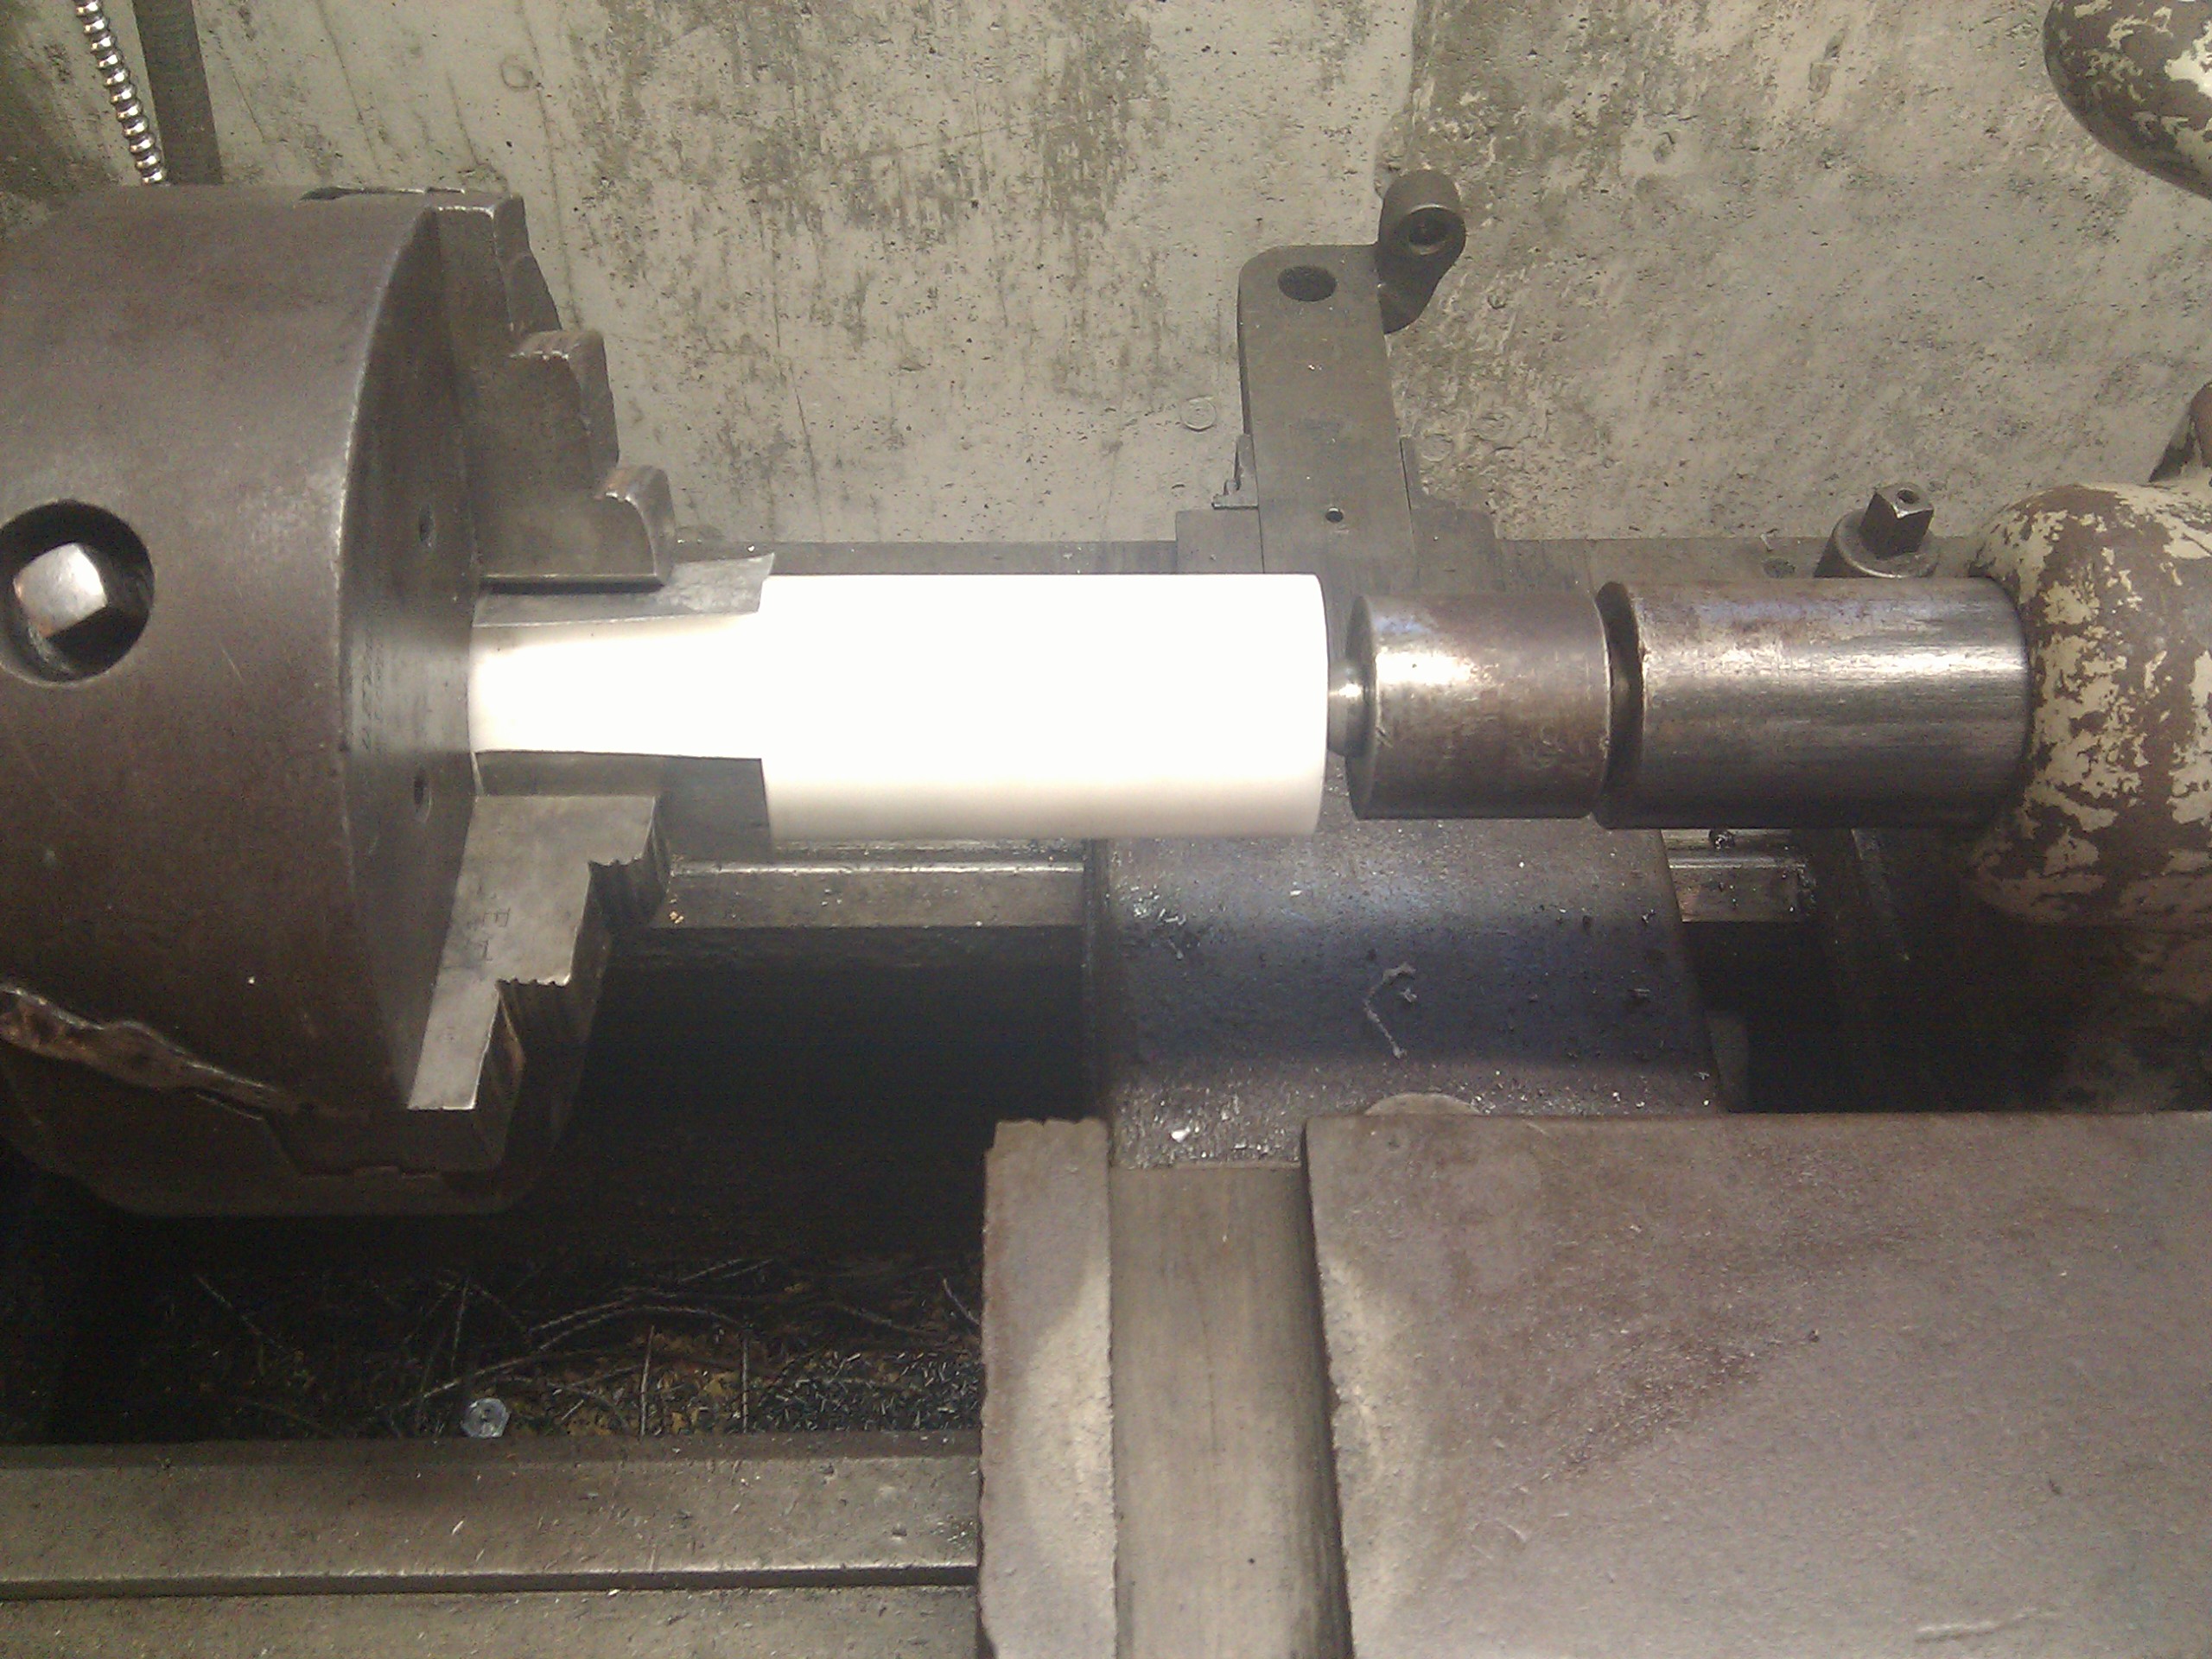
Turn the outer diameter down to fit the inside of the housing. If you don't have layout die, dry erase marker works pretty well as a replacement.
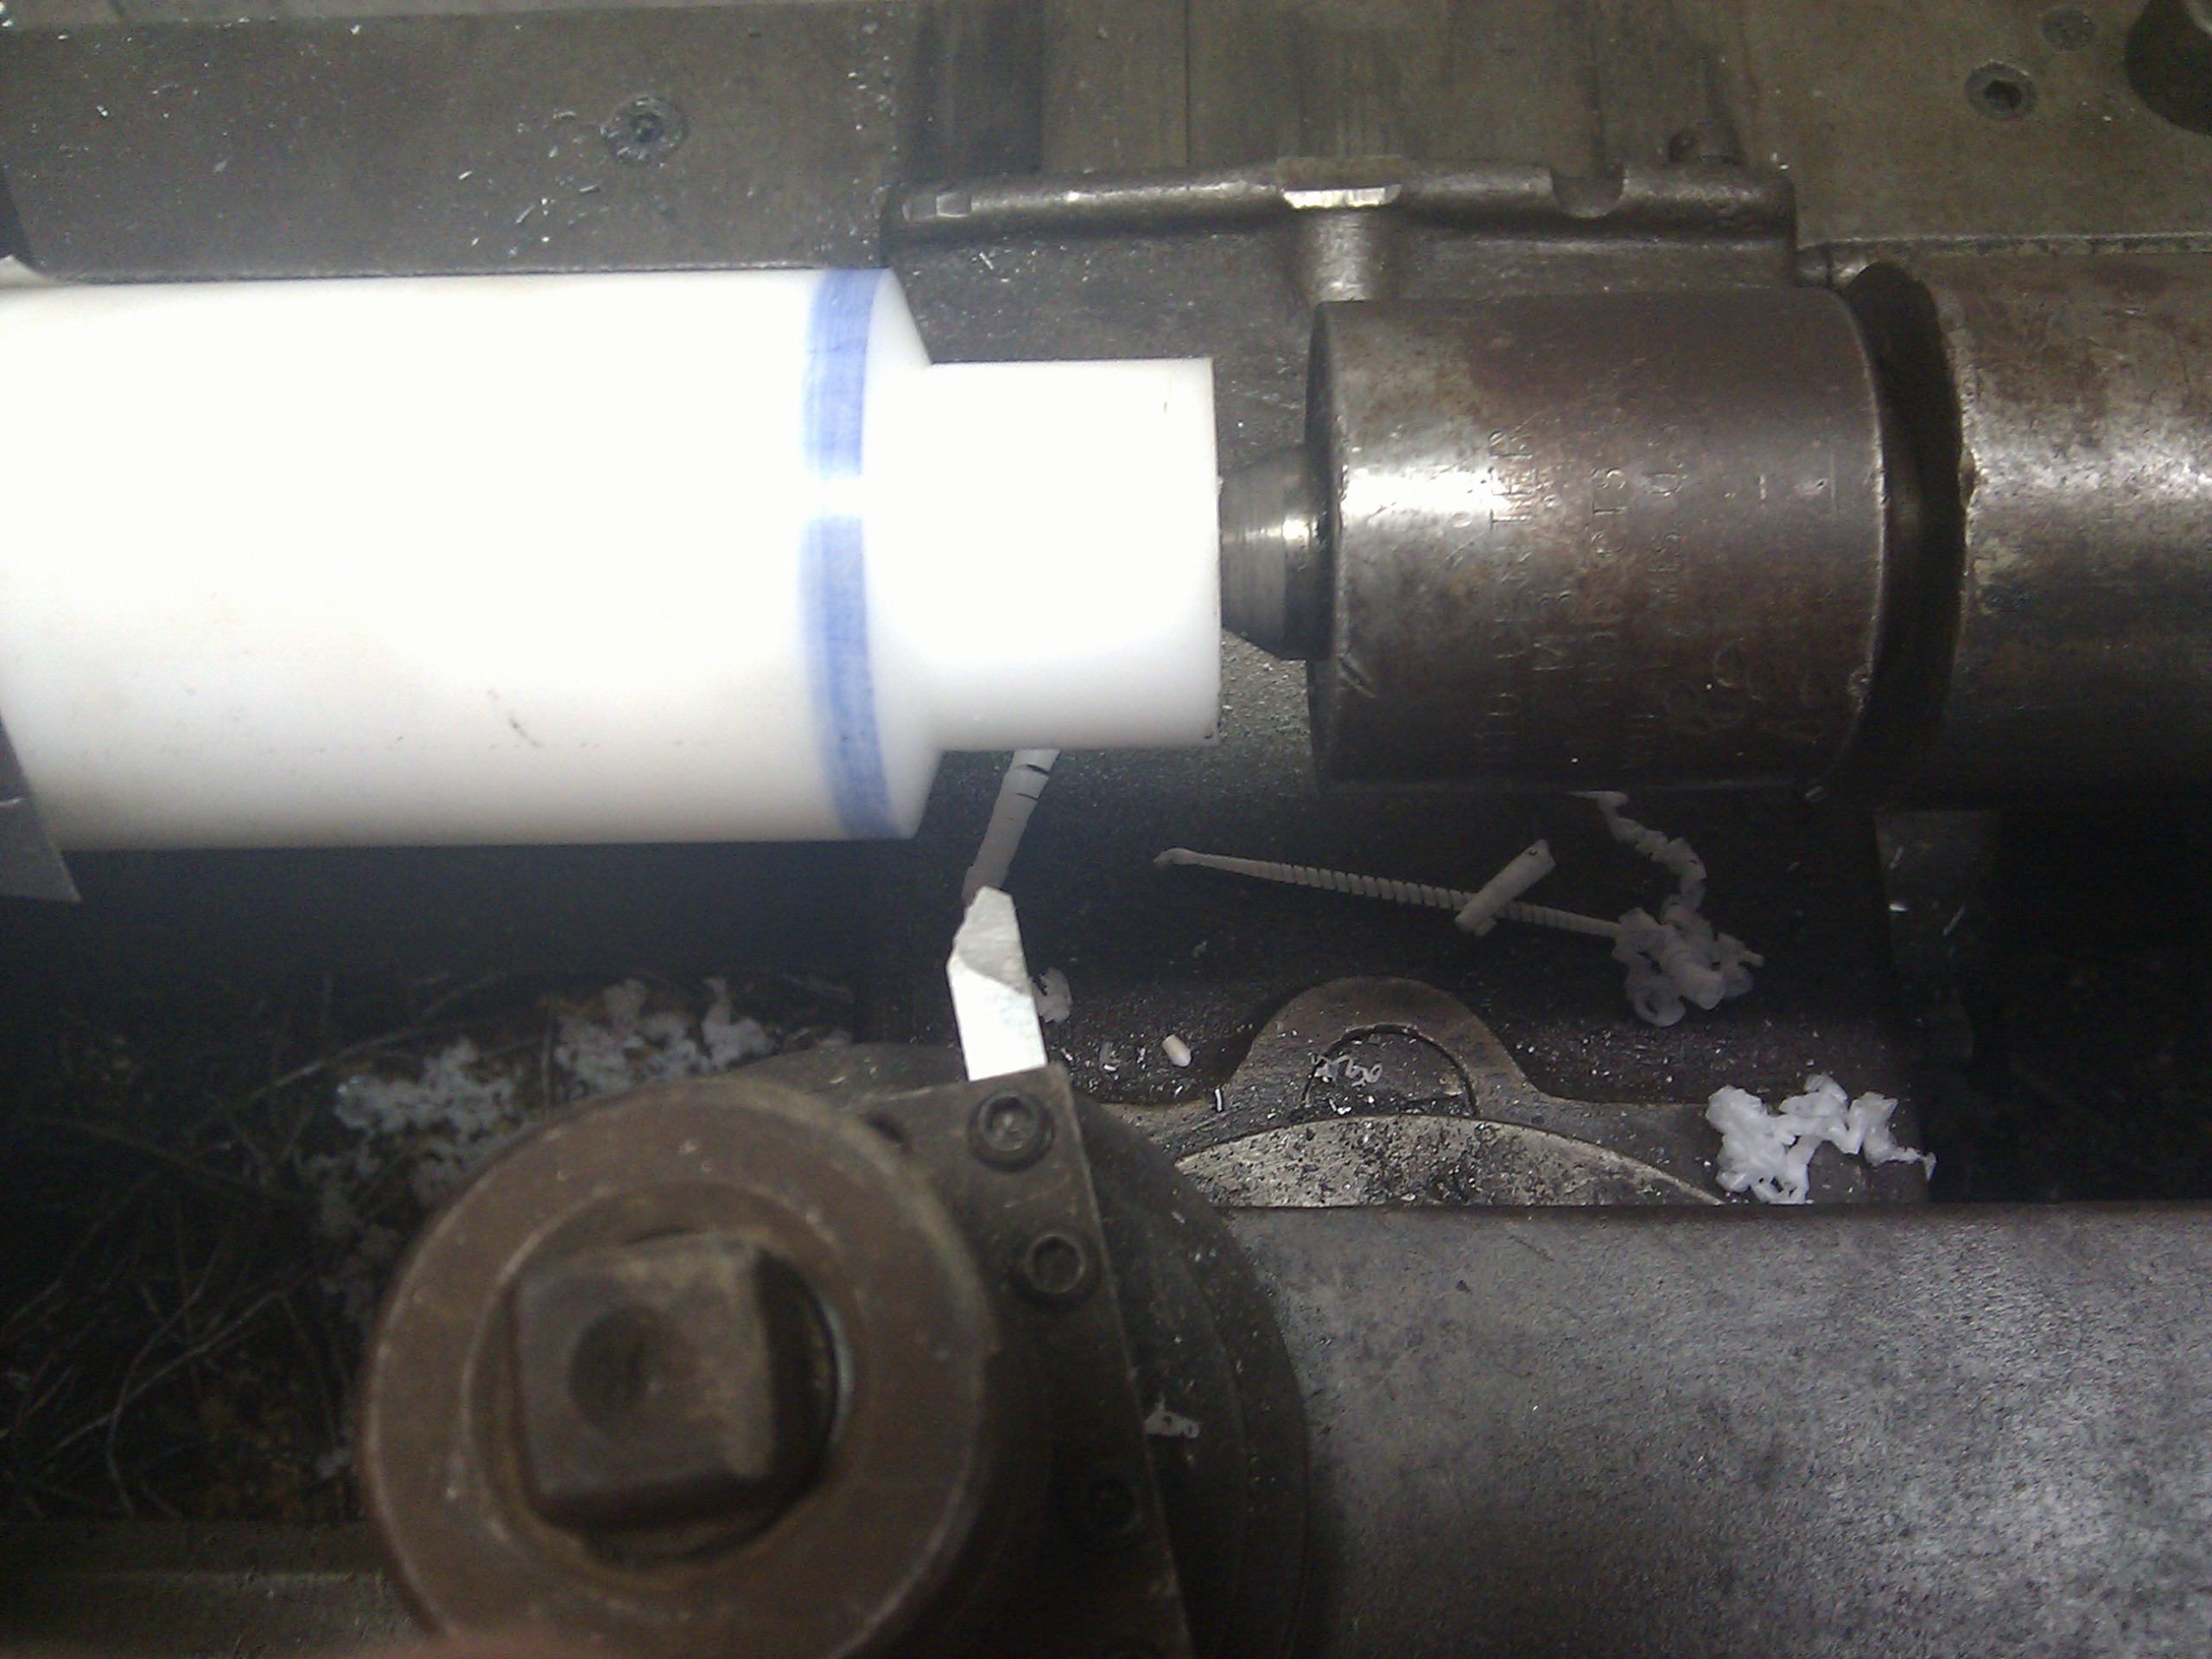
The housing has an indent that holds the bushing in place so it doesn't slide out. Cut a groove for the indent:
And part the bushing off:
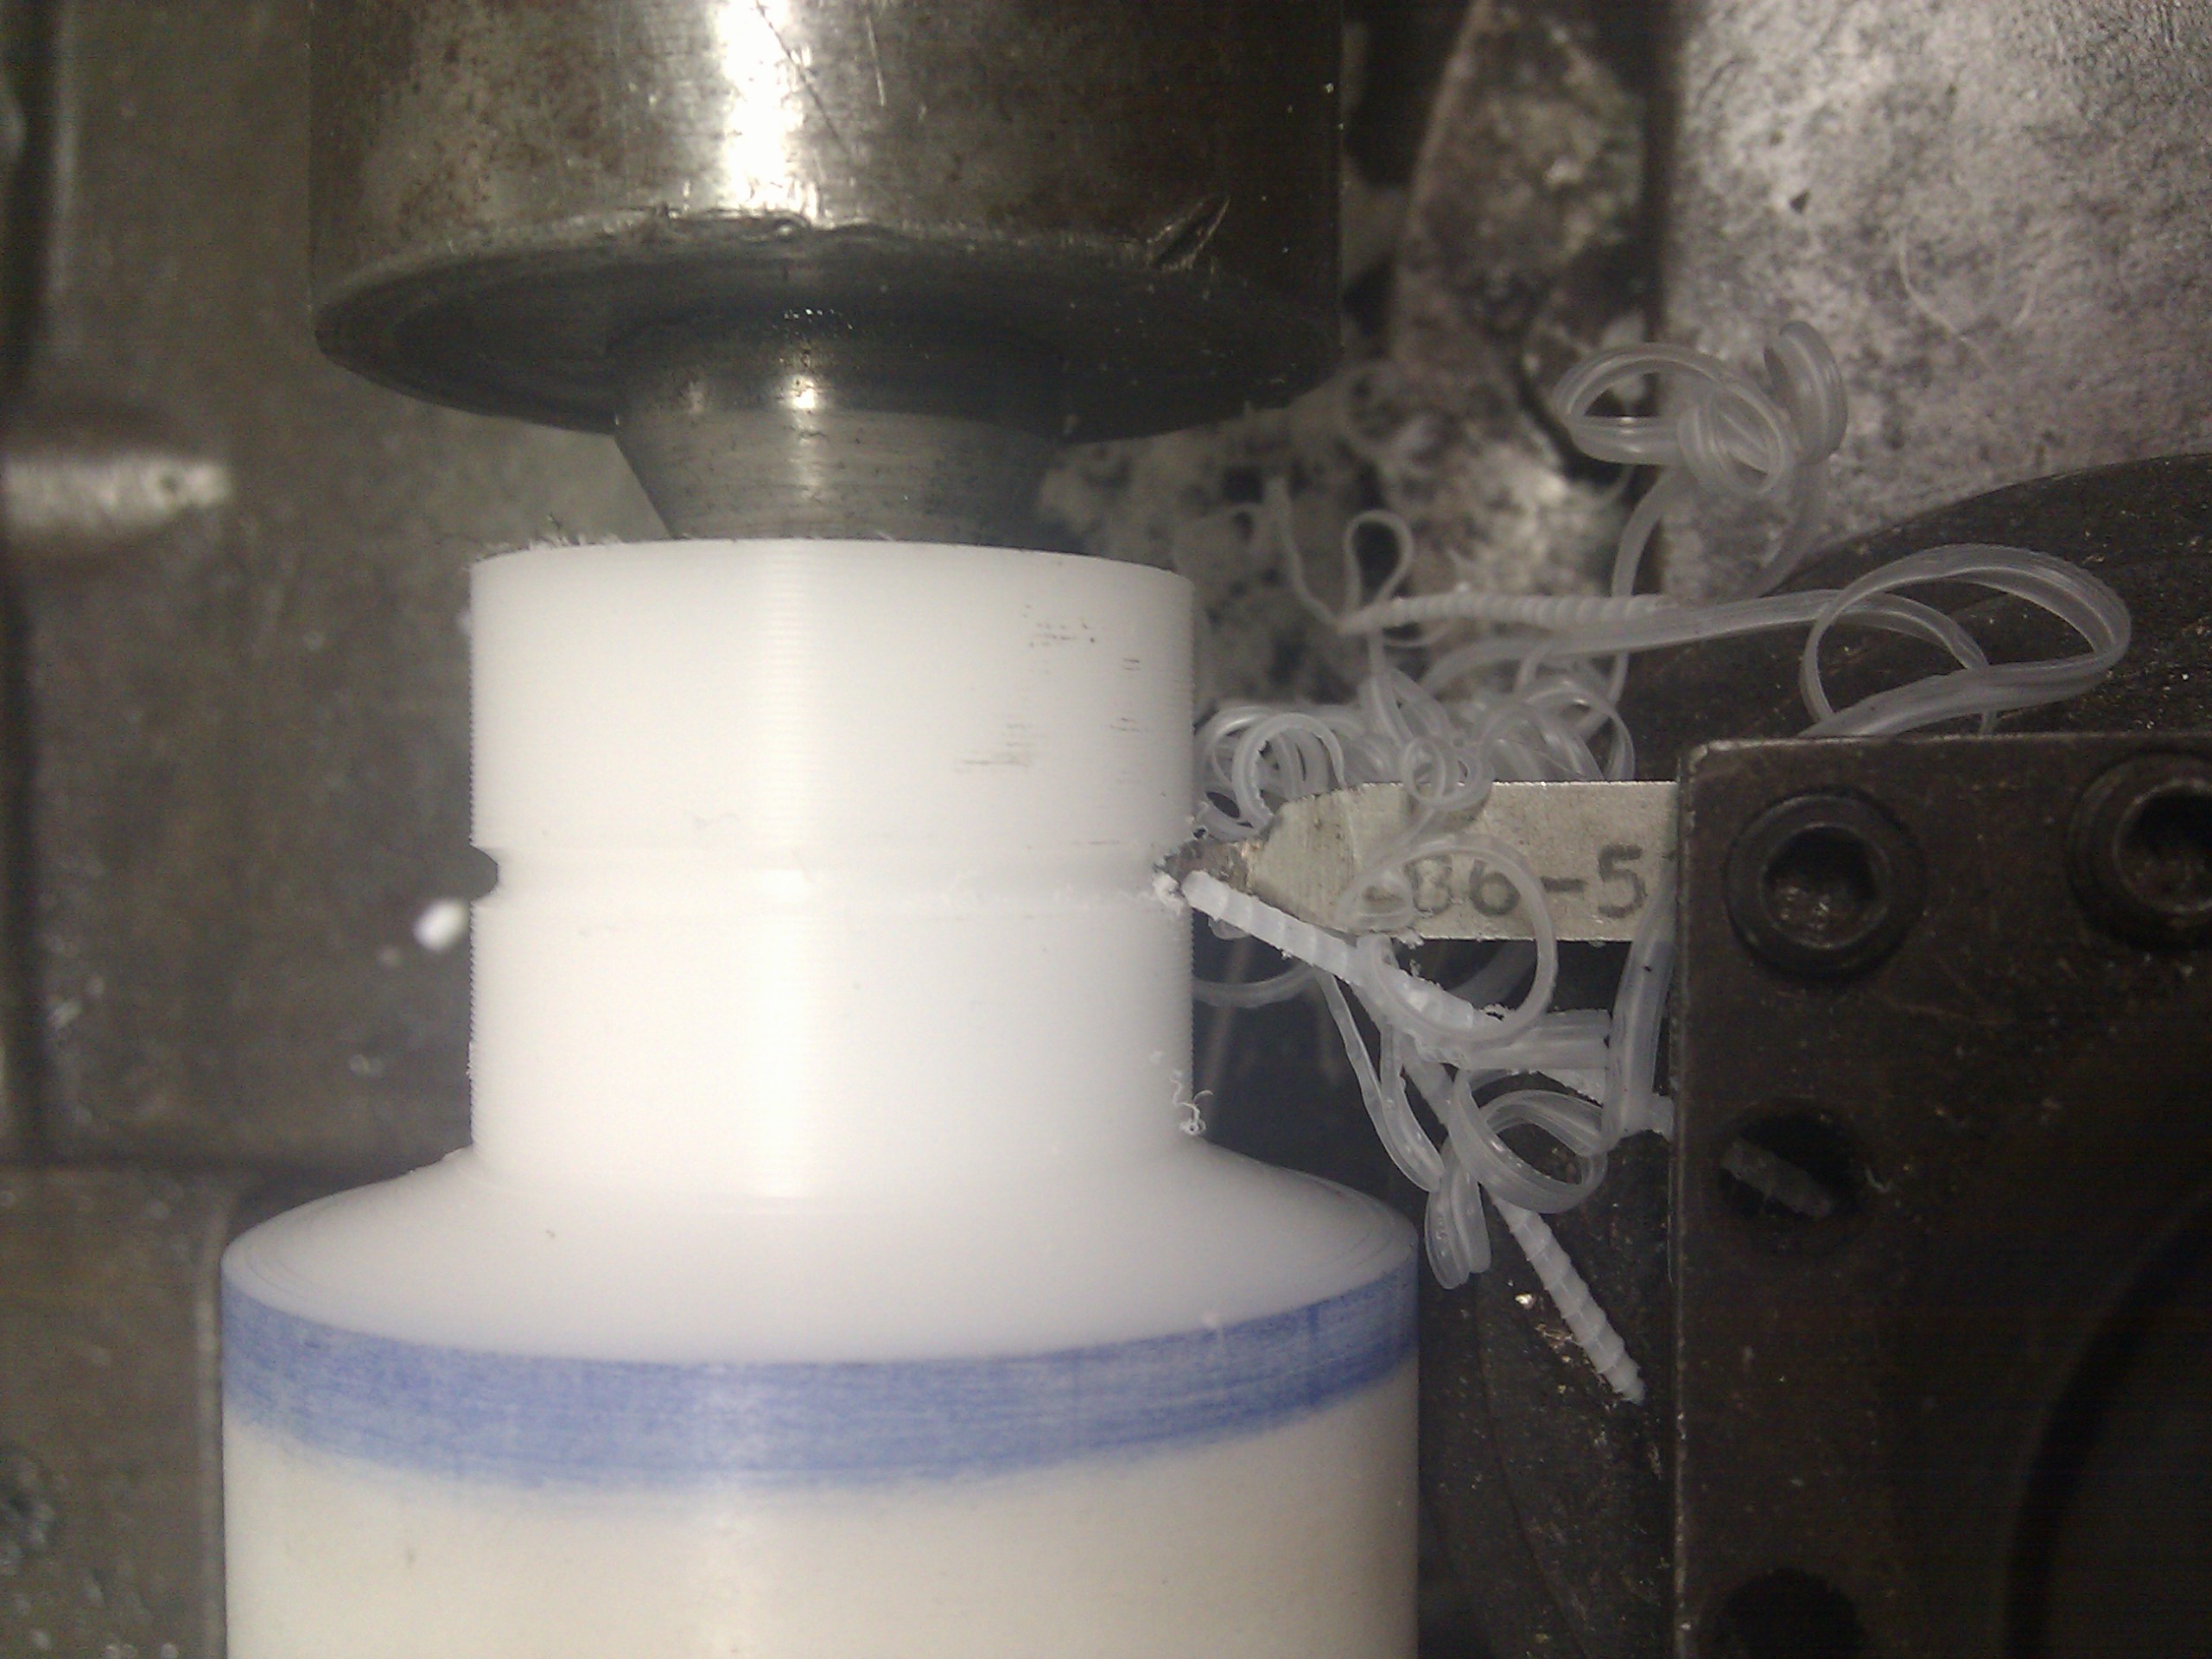
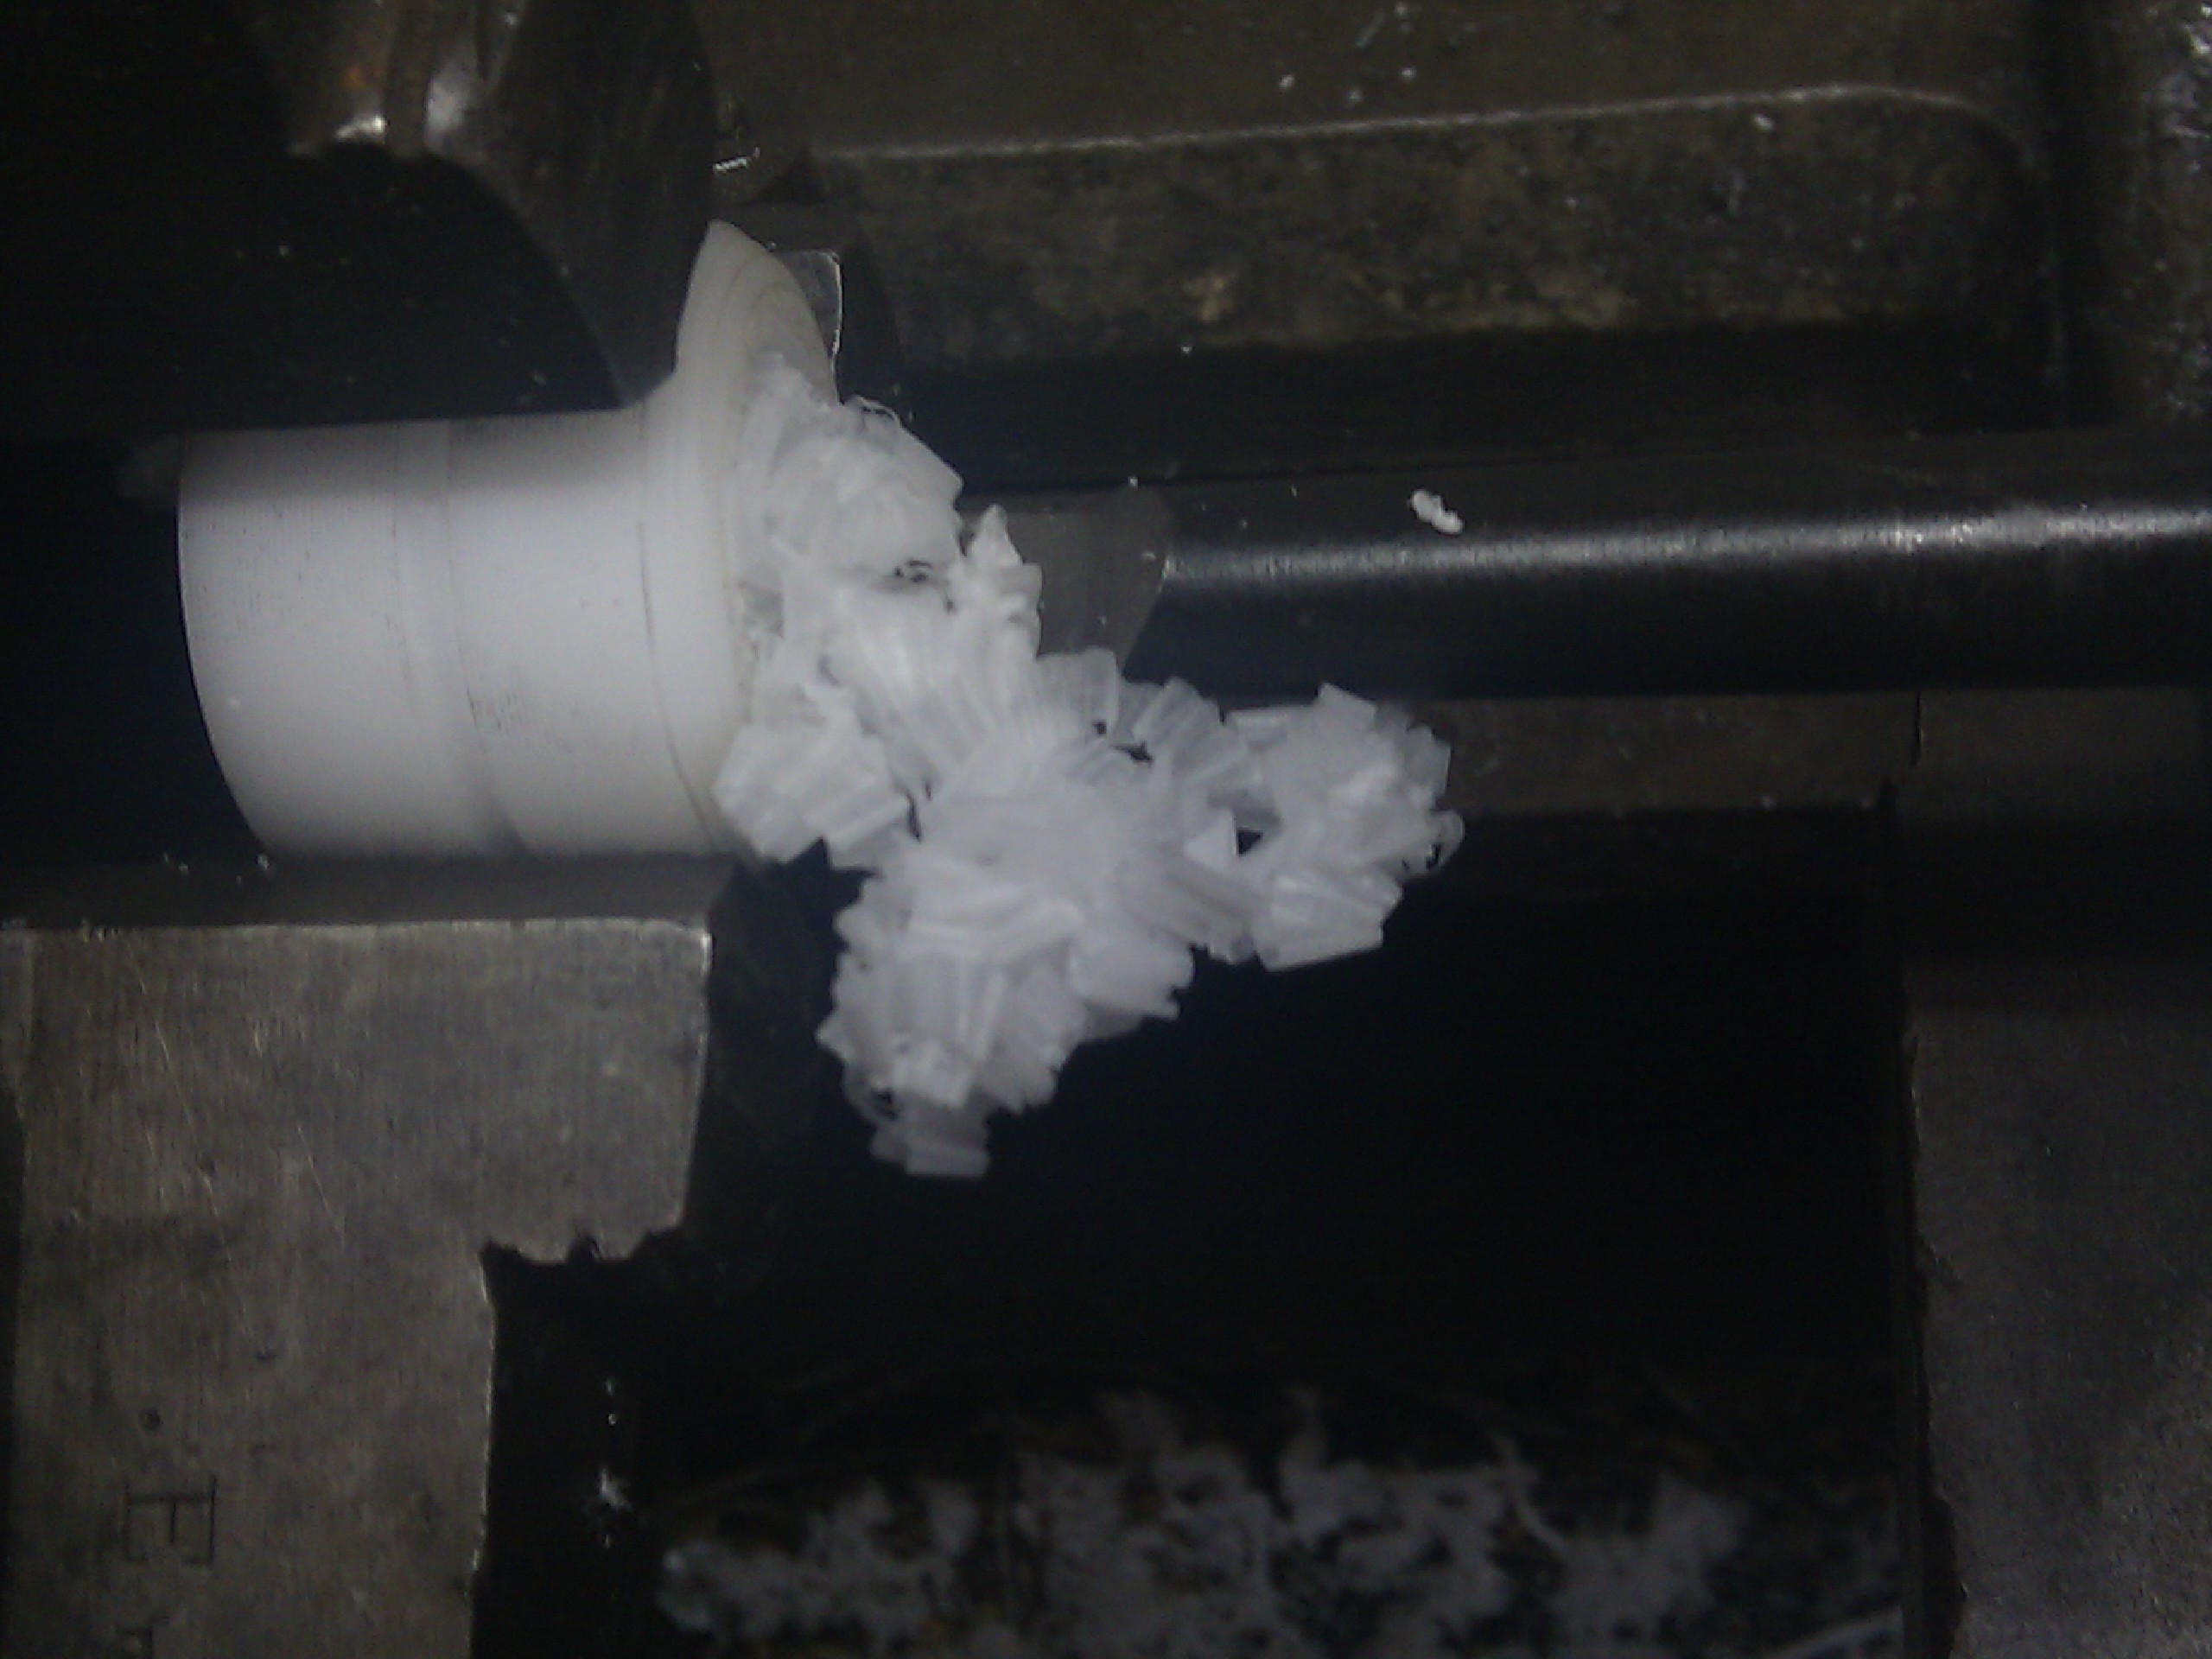
Now, chuck it up and drill the inside:
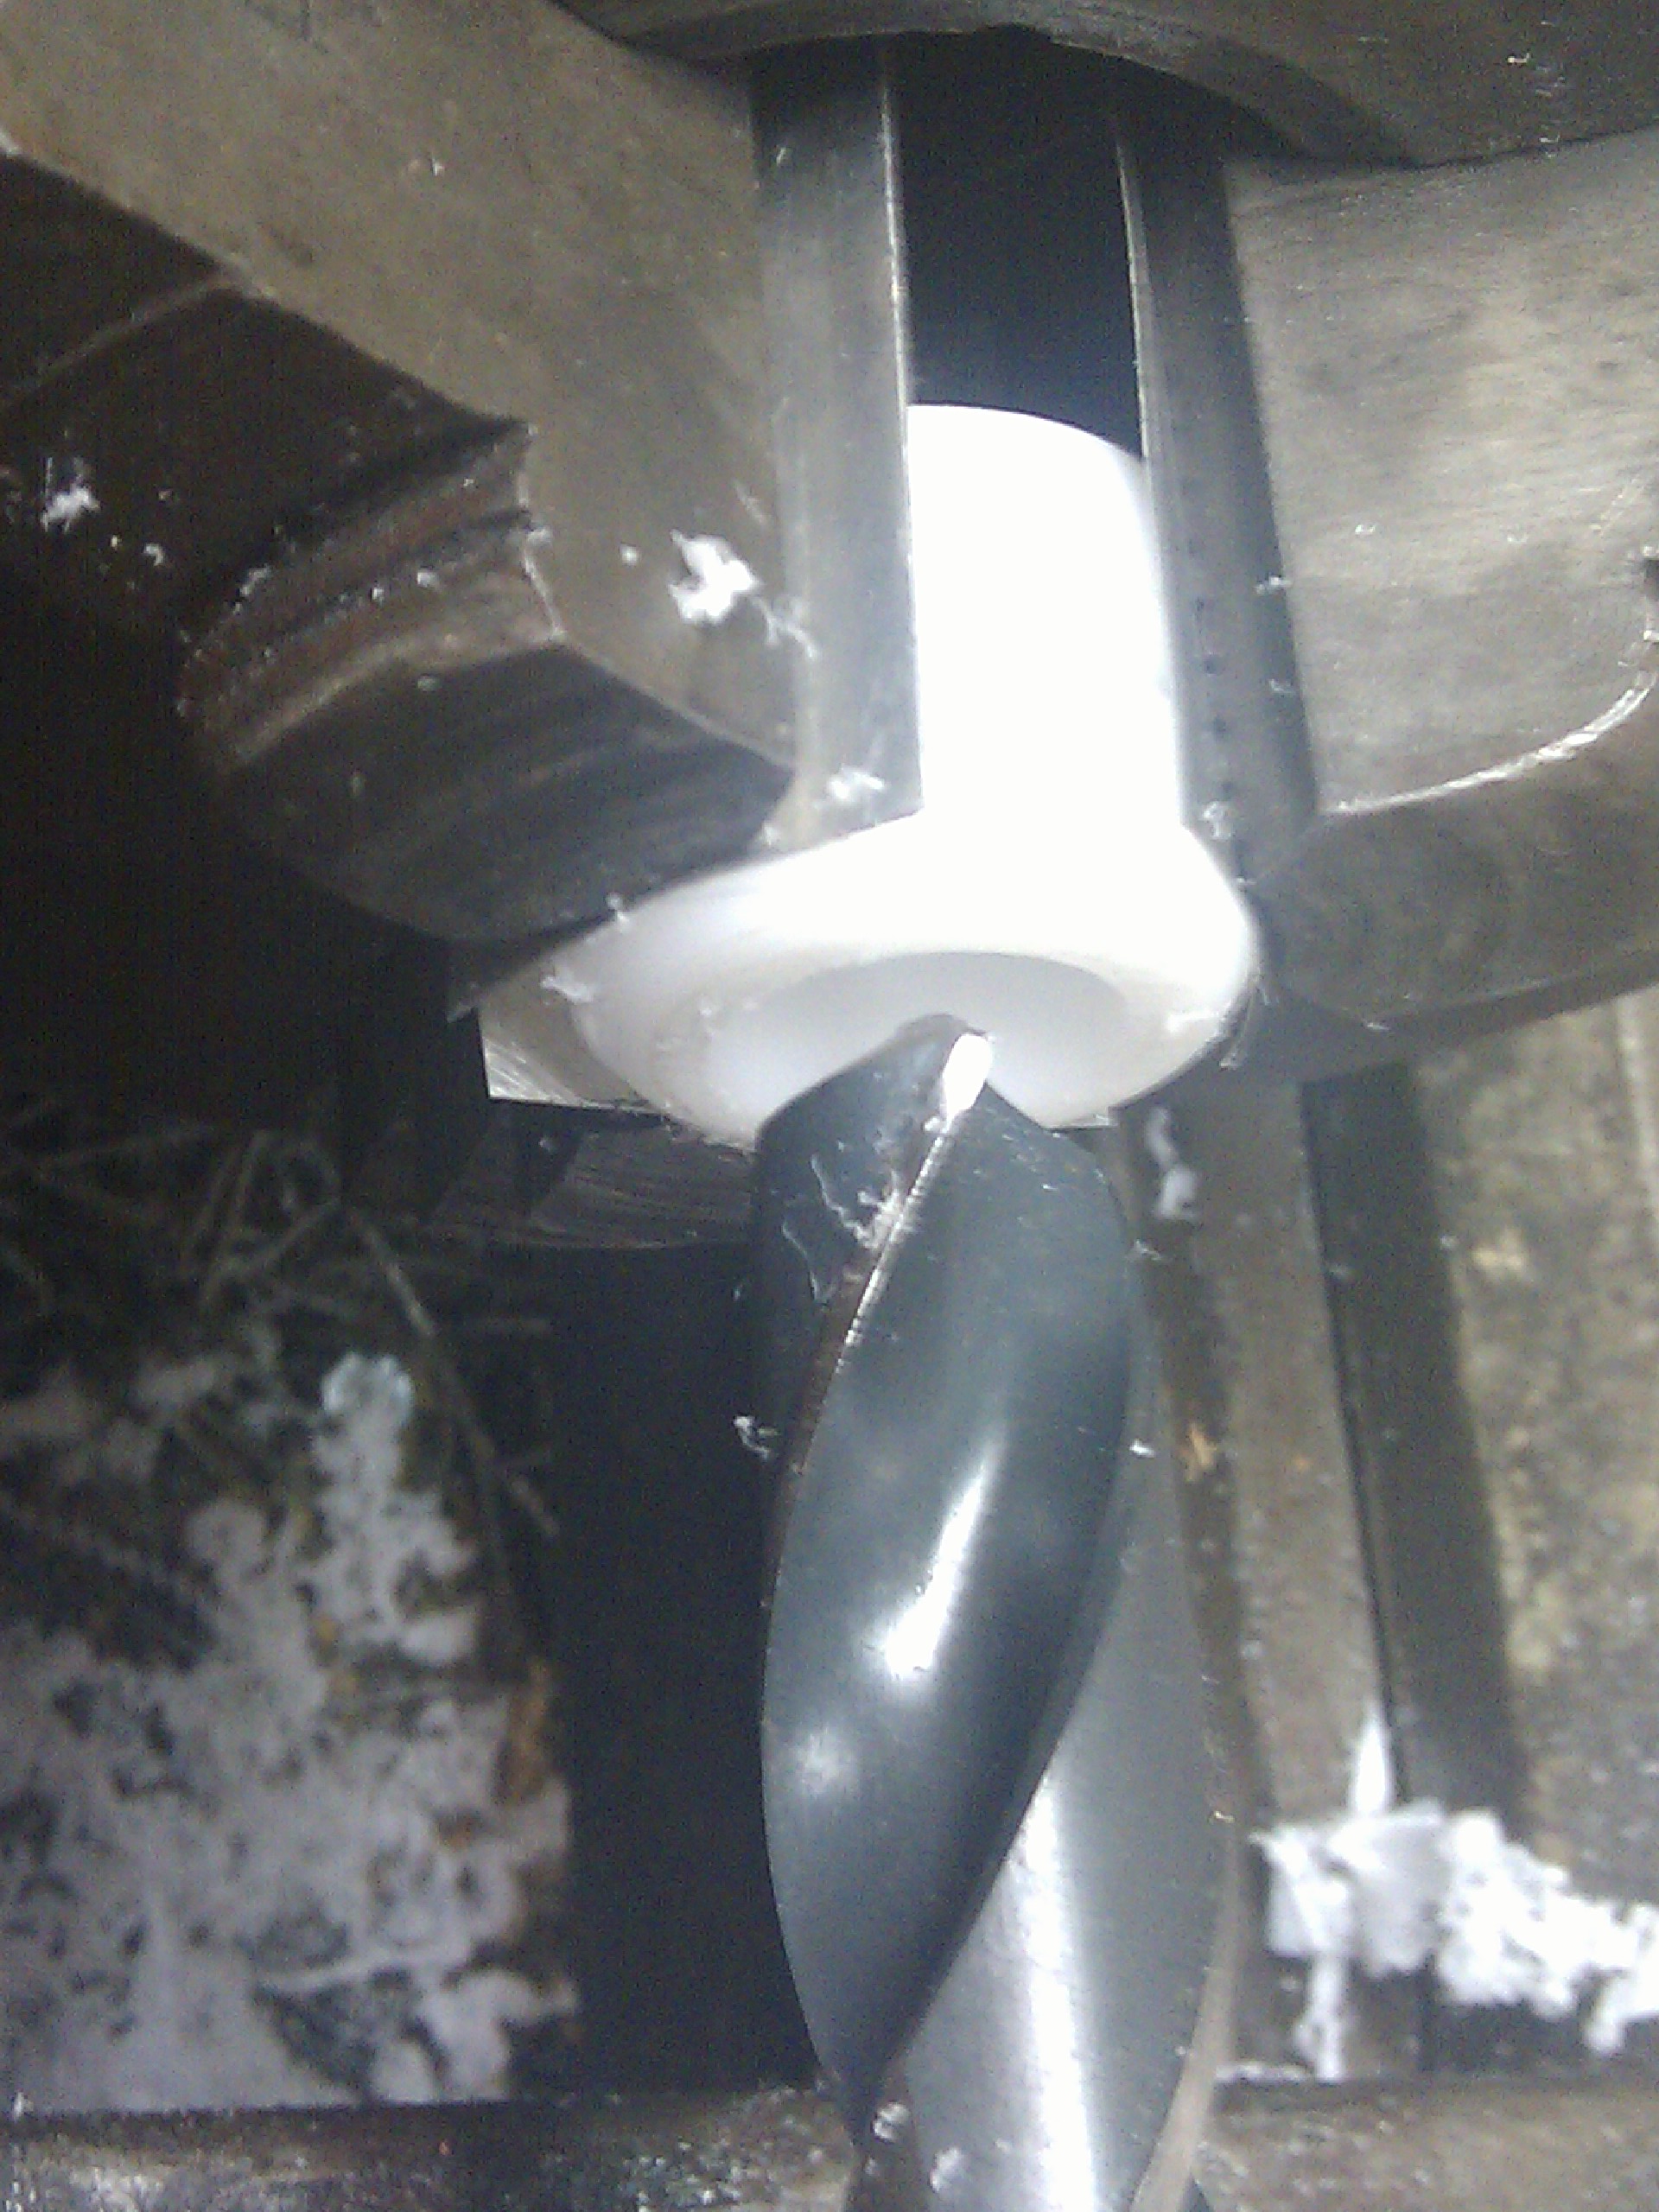
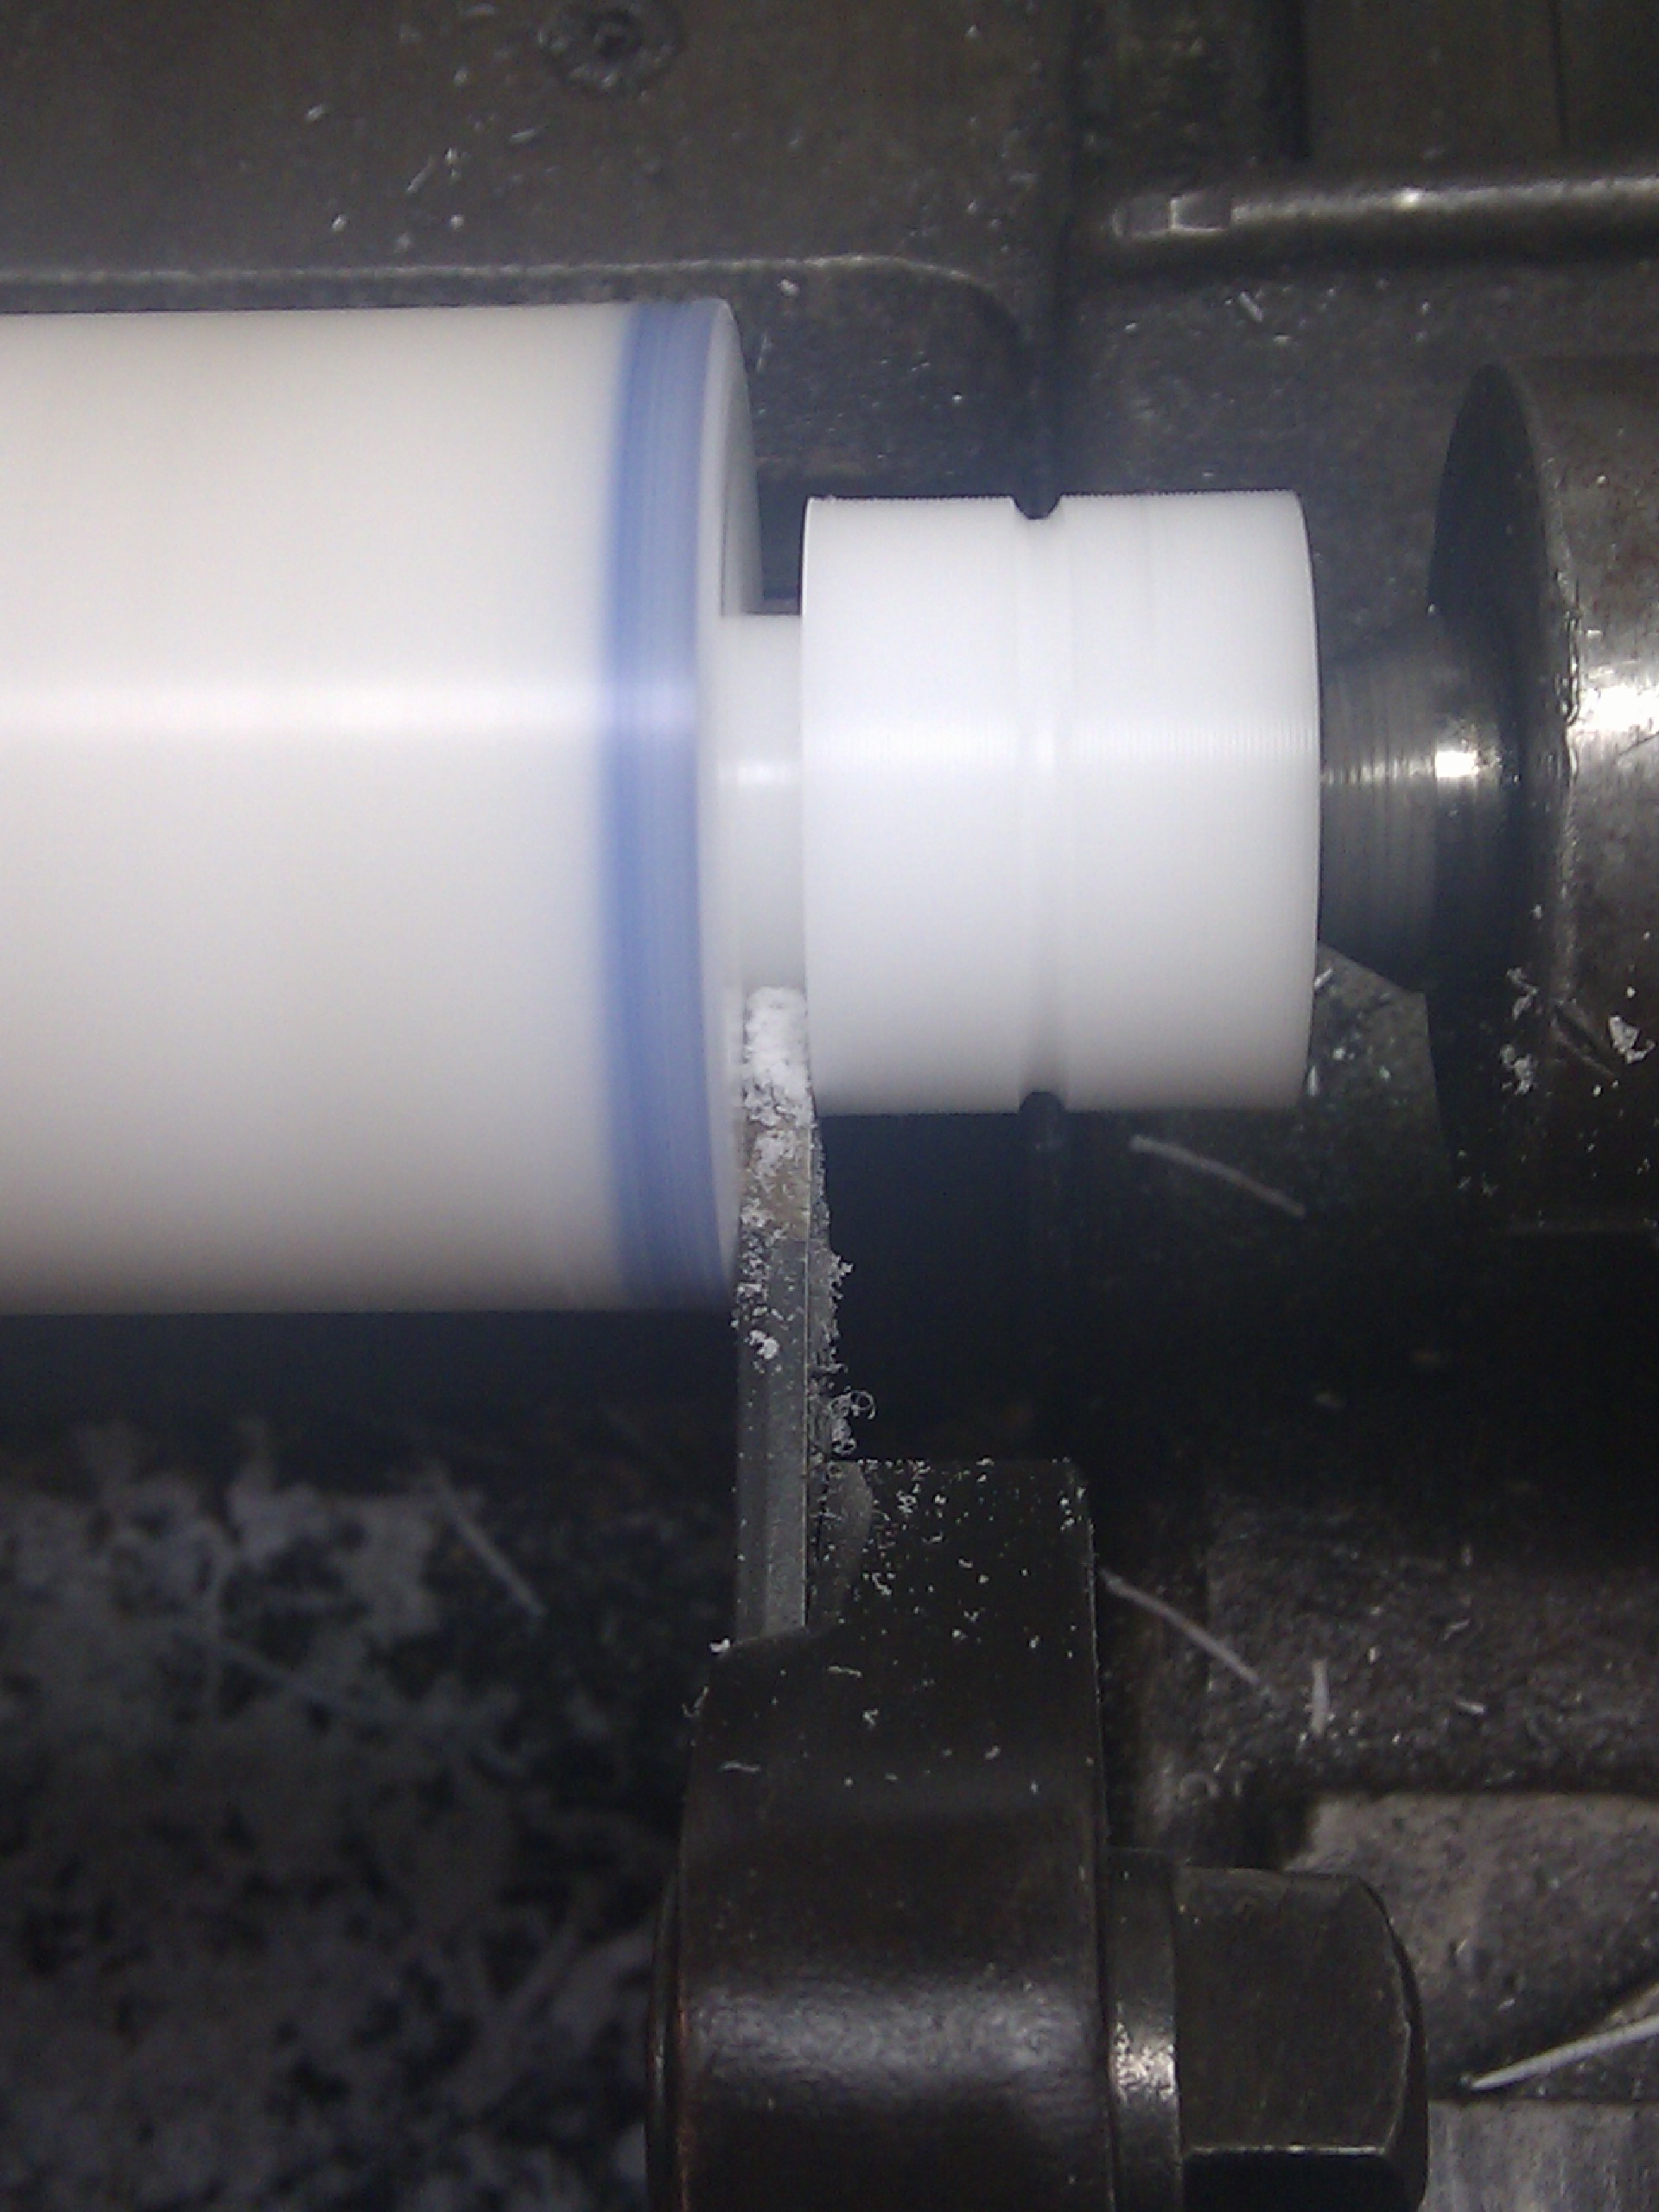
Then bore (using a nifty boring bar holder) to fit the steering rack itself:
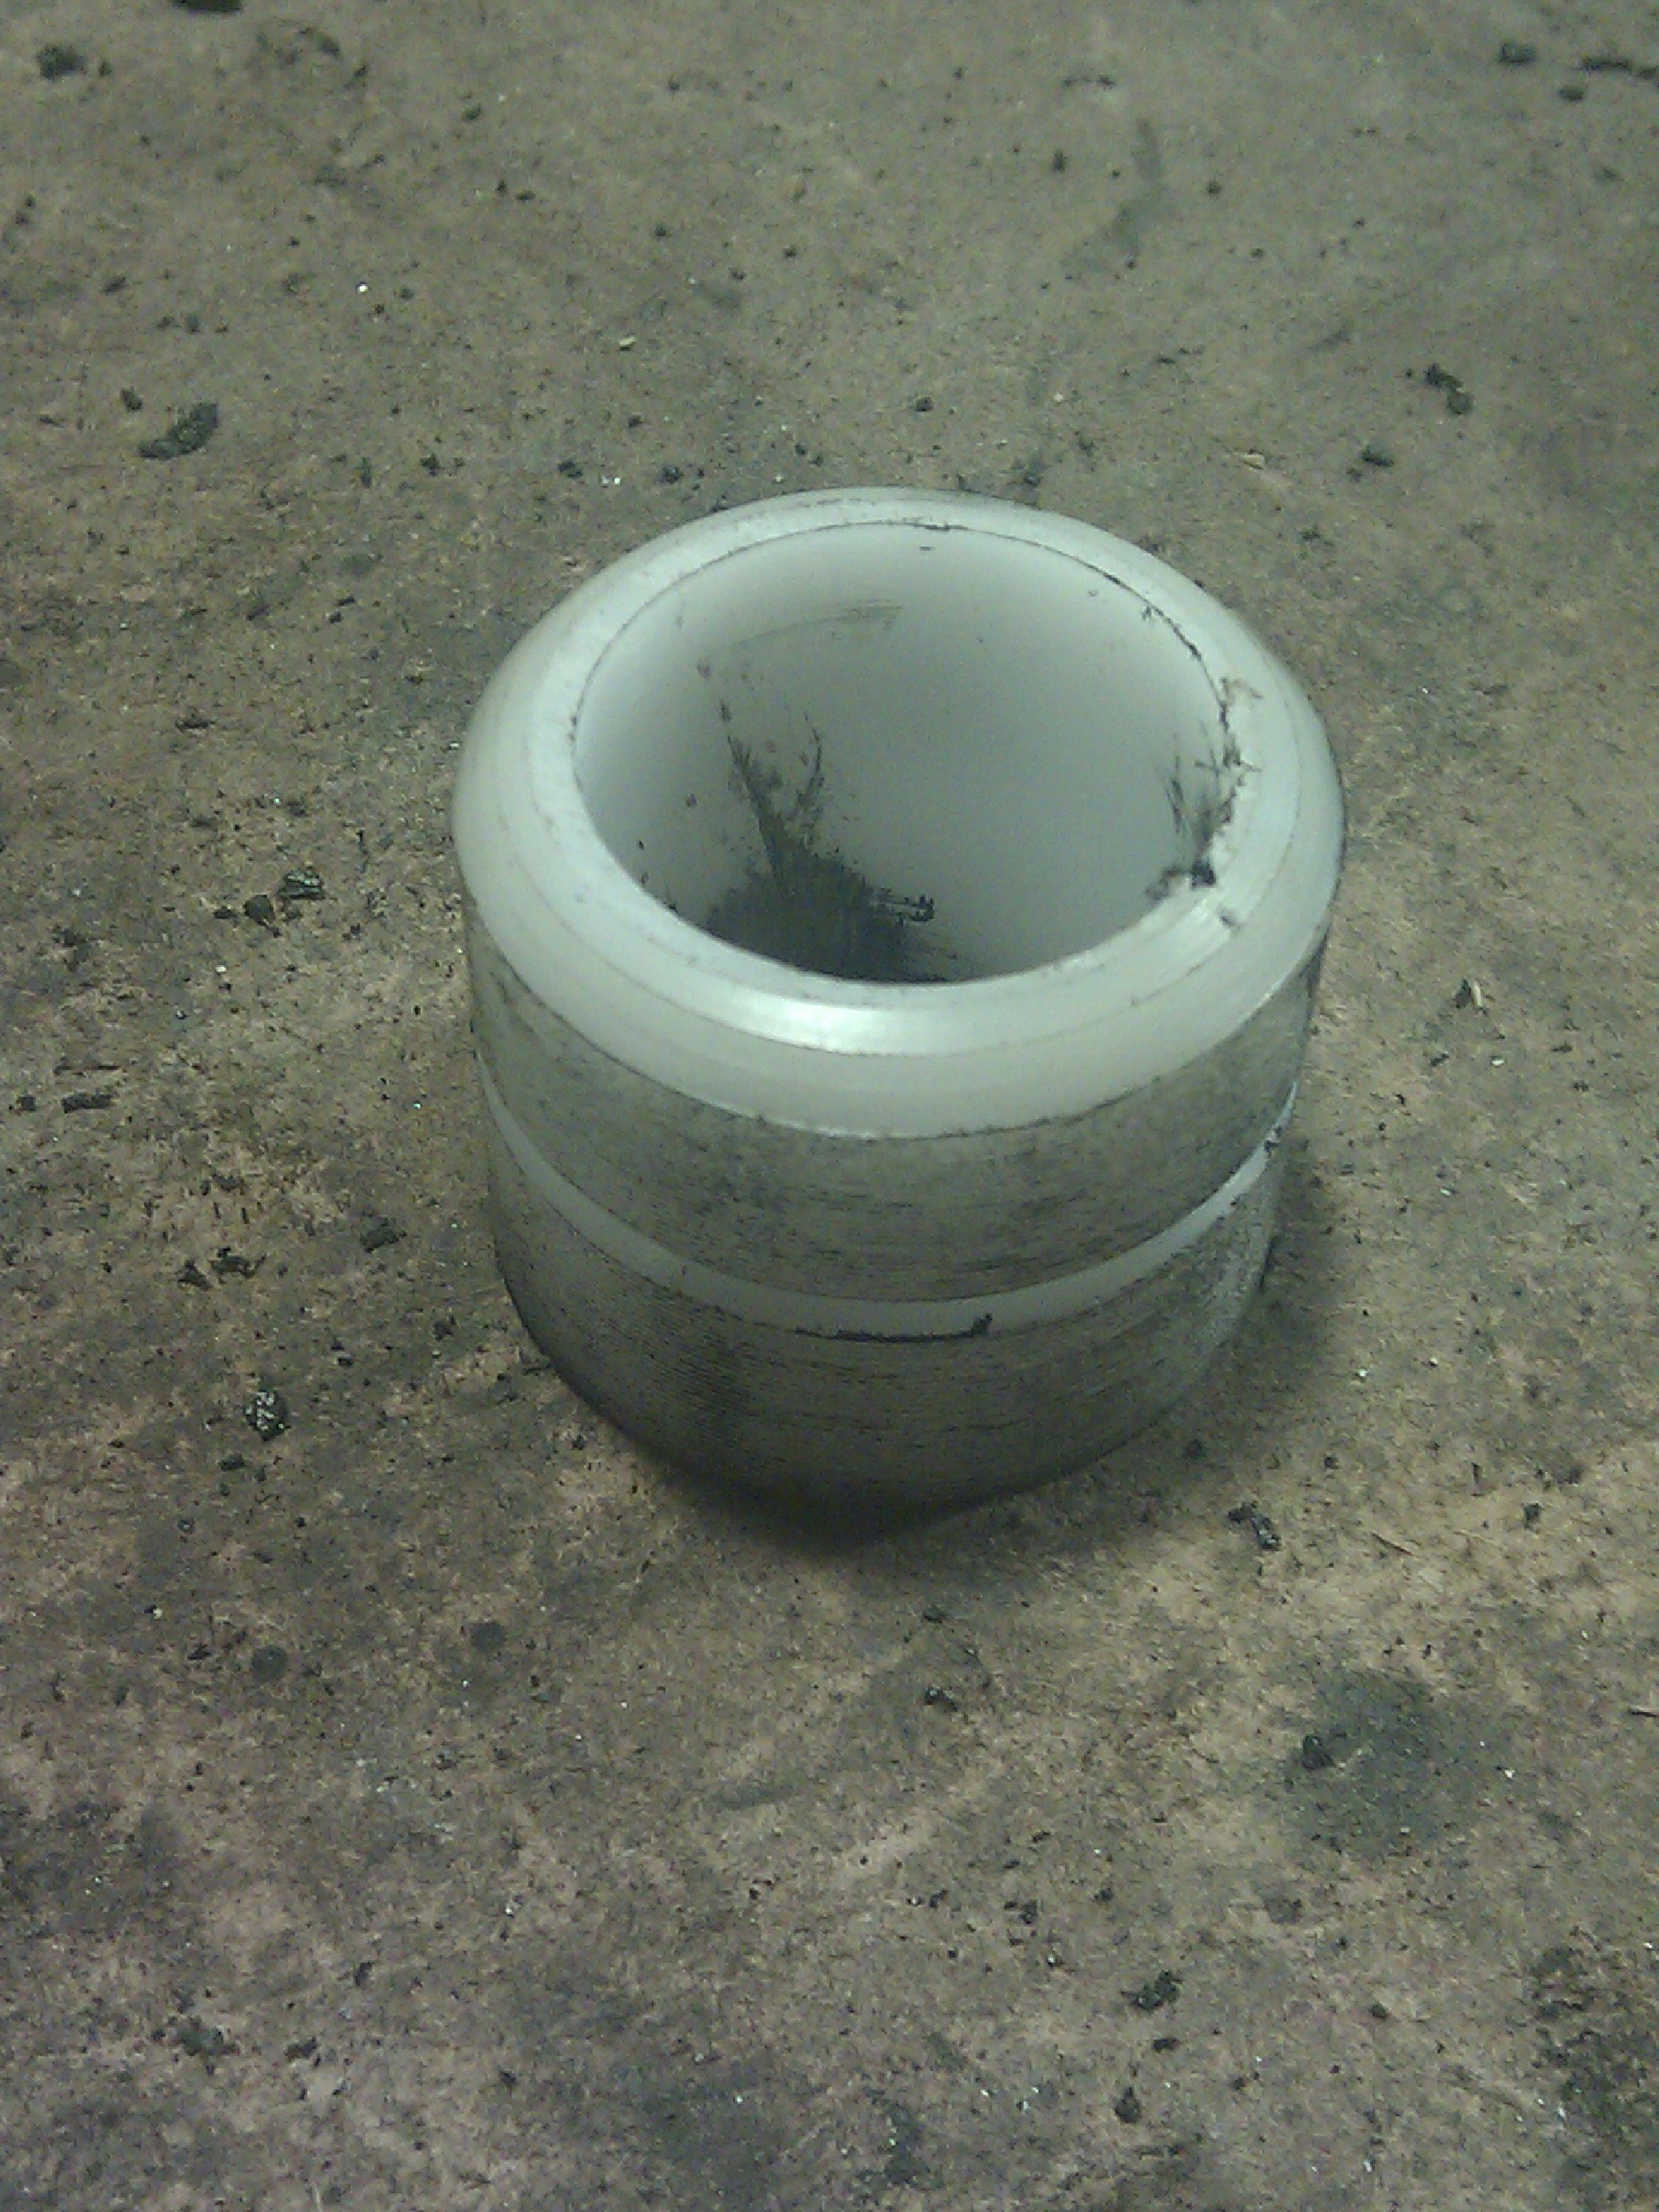
Final product, slightly dirty from test fitting it:
Take your heirloom genuine OEM VW steering bushing installation tool:
Place the bearing onto the end of the steering rack, install the tie rod onto the end of the rack, place the installation tool on top of the rack (hold it in place with a dab of grease if it slips off), then turn the steering wheel all the way to the right. The tie rod nut will push the bushing onto the indent in the housing.
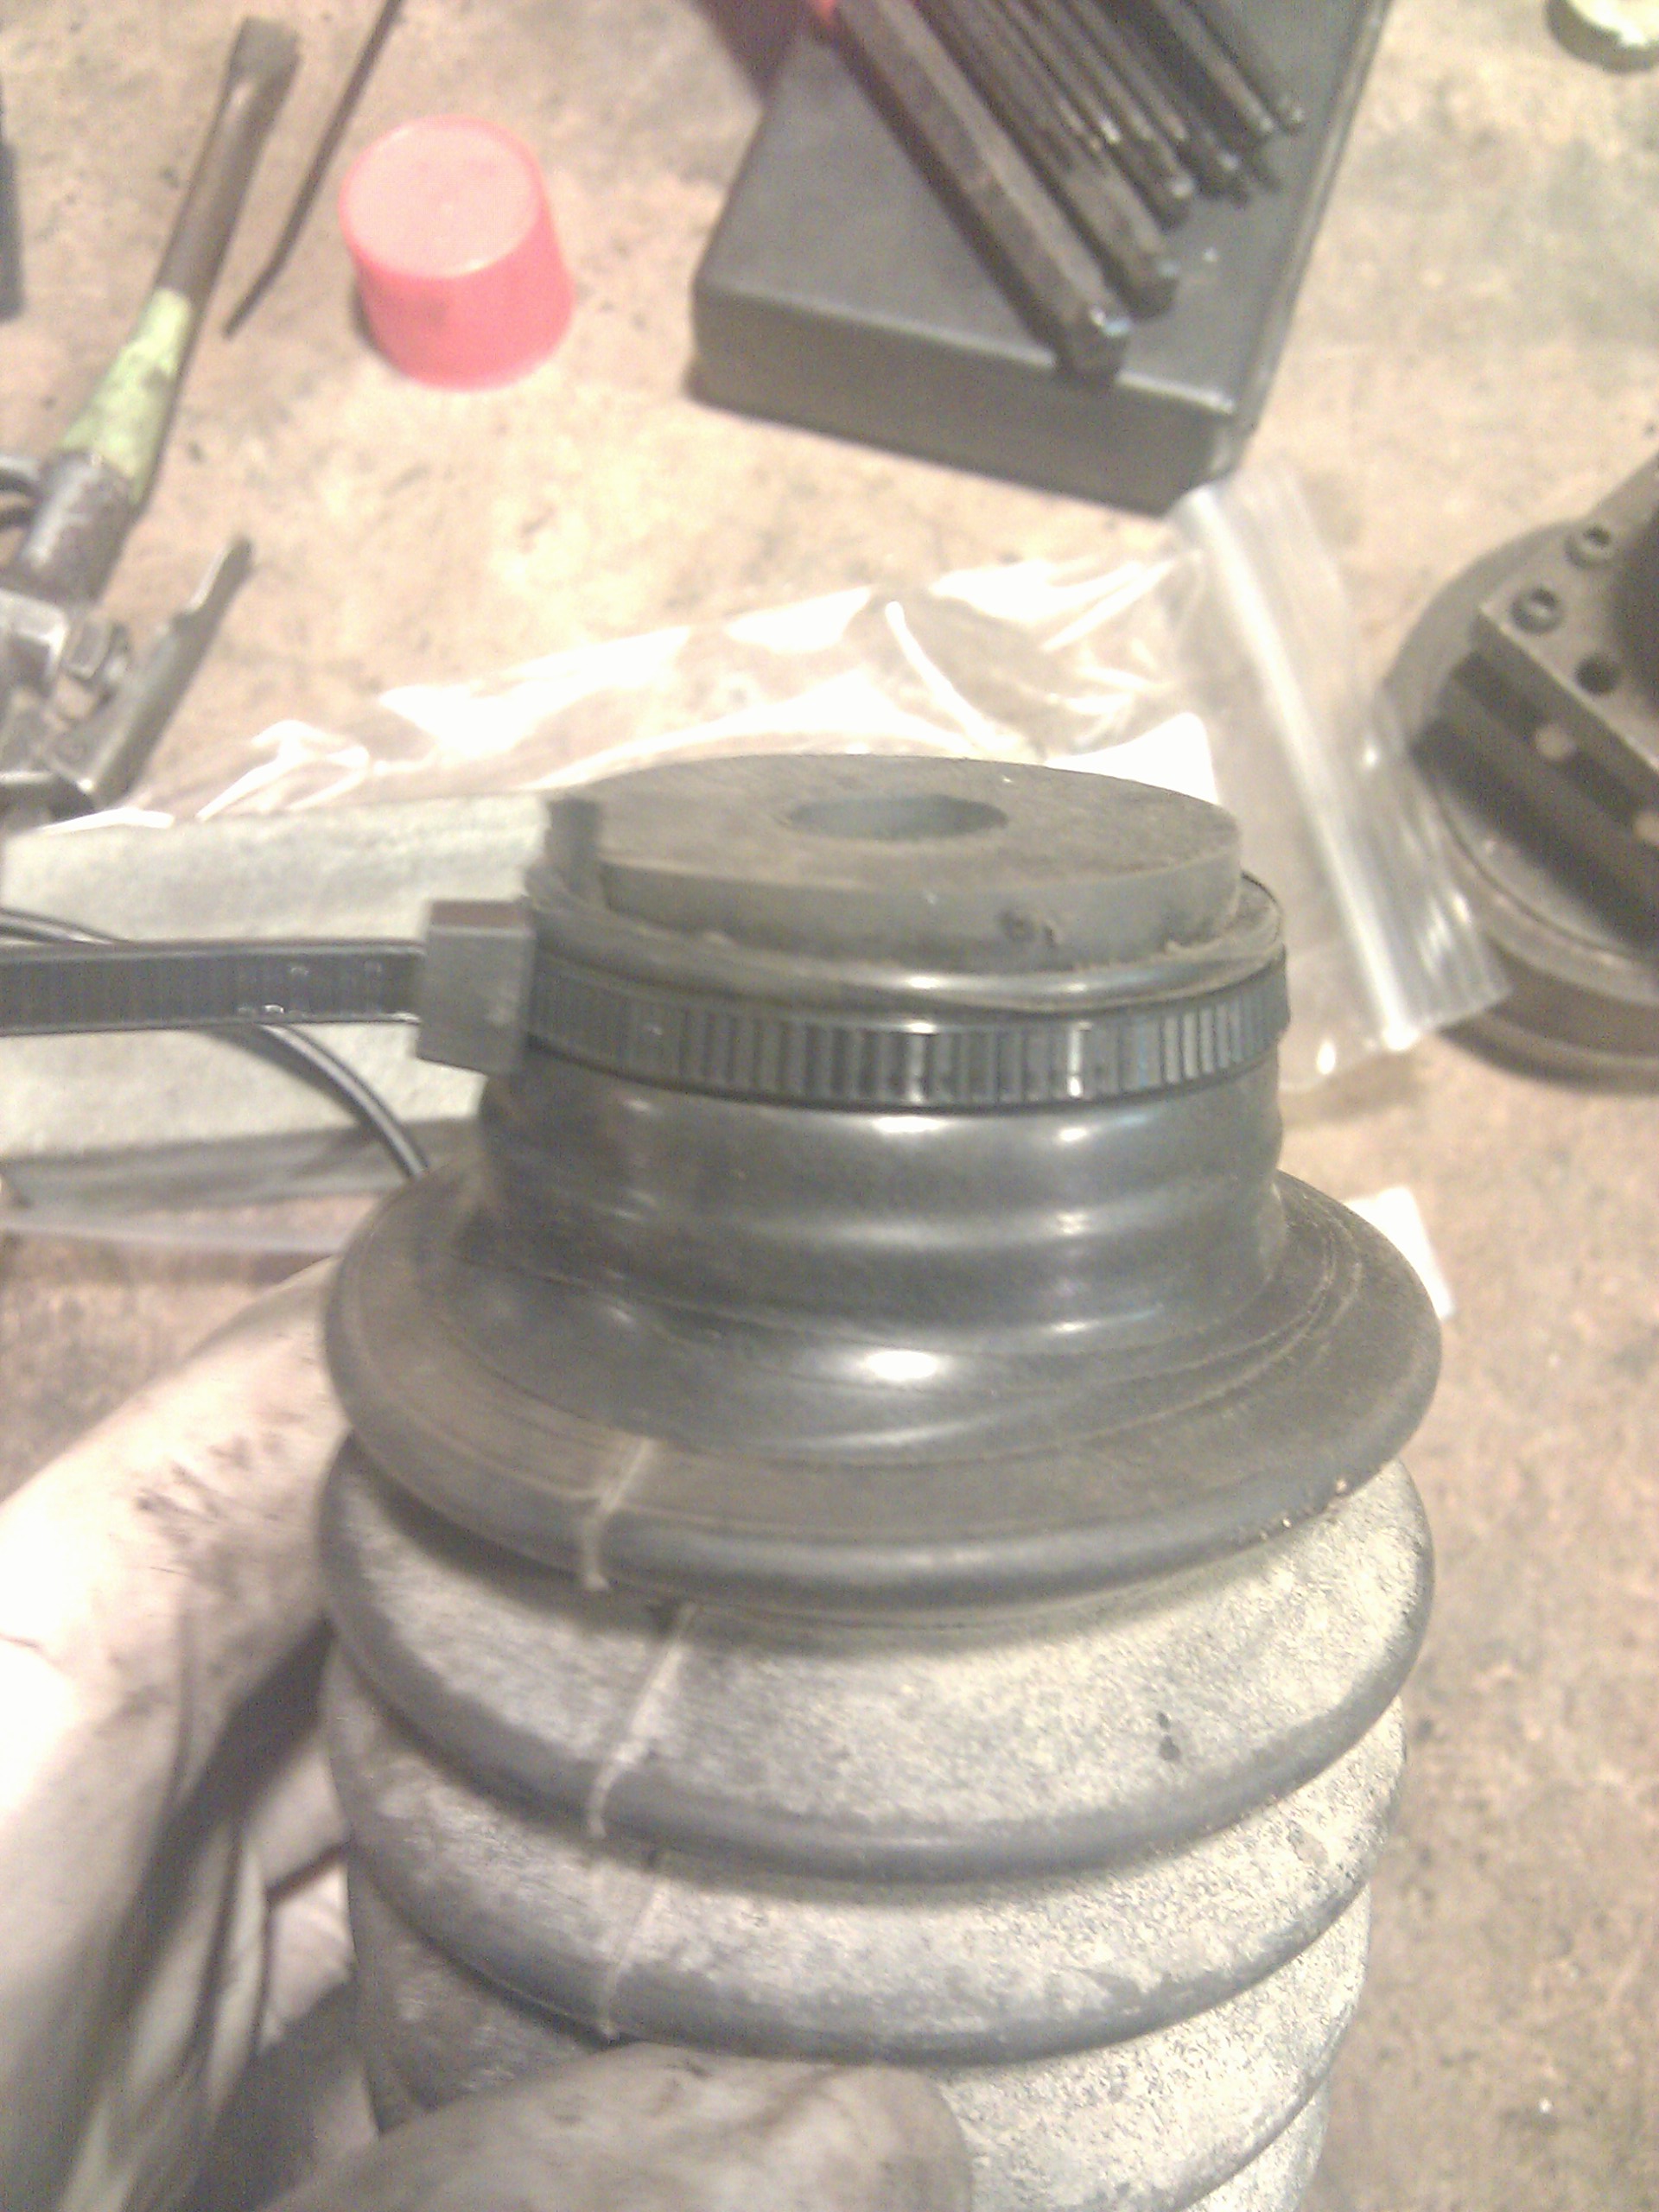
Install the protective tie rod boot with dealer-supplied zip ties, only $20 a piece:
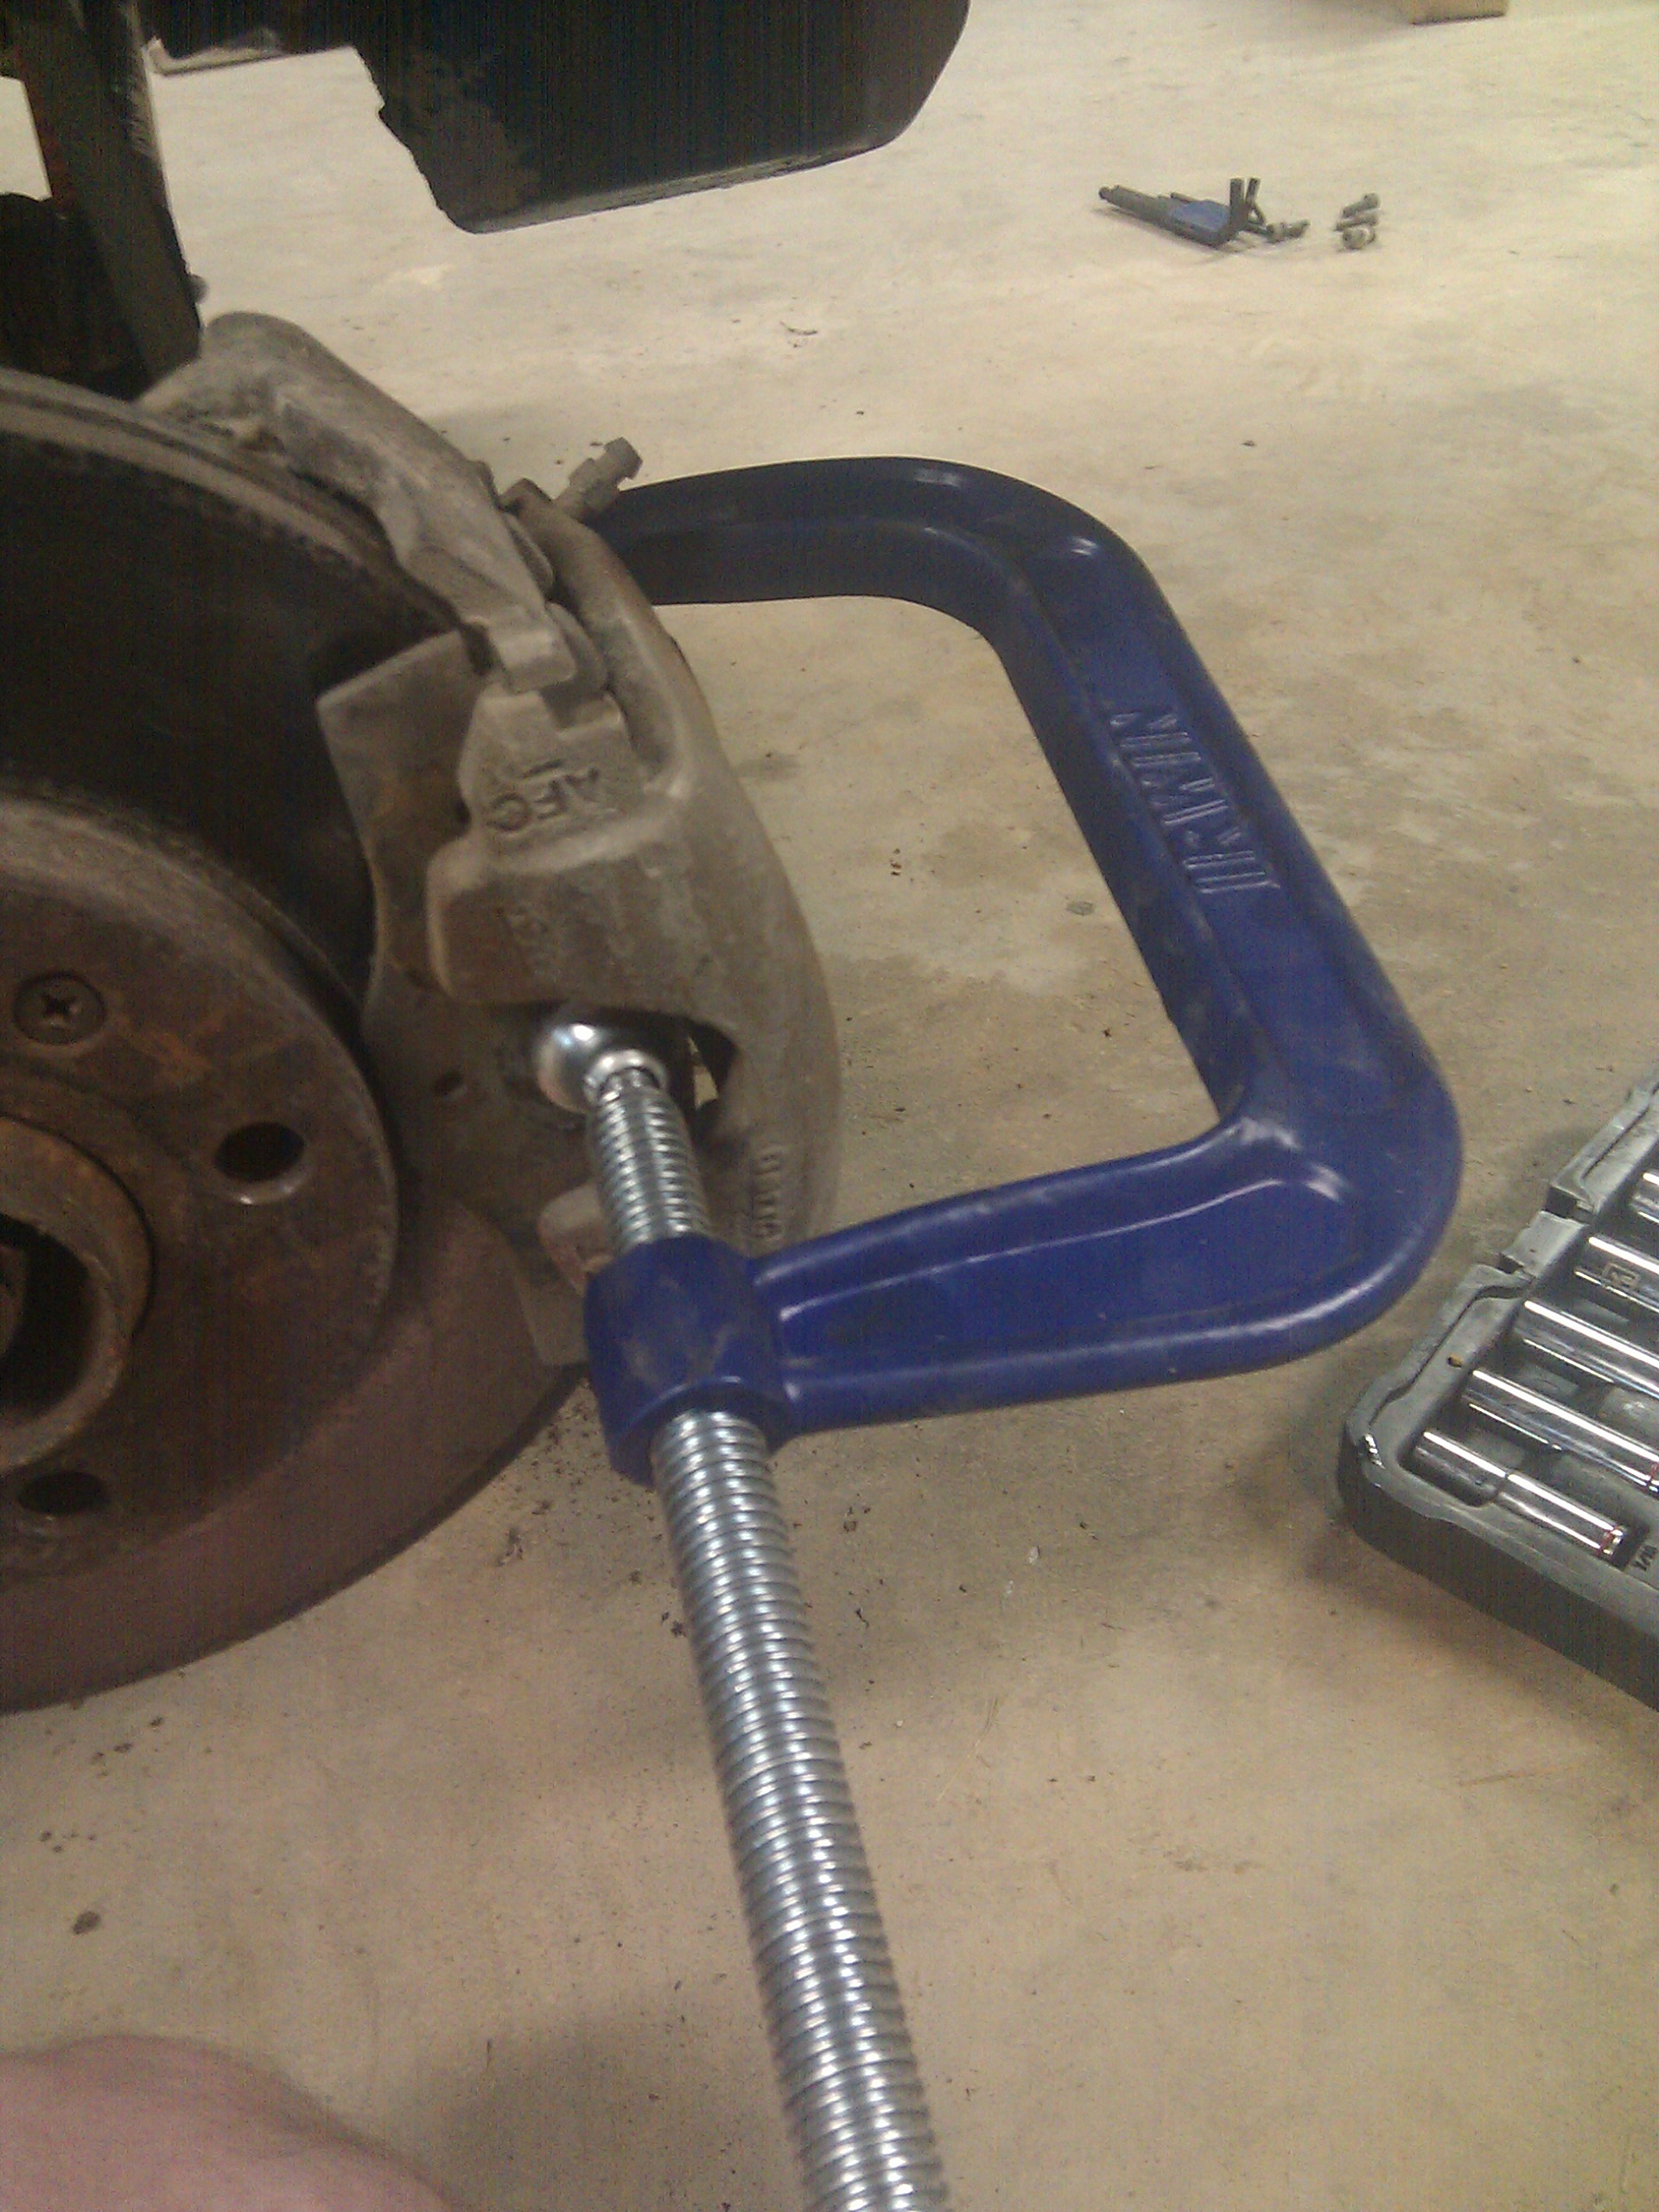
Reinstall the tie rod end. This tie rod end is real fancy and has a grease zerk on it:
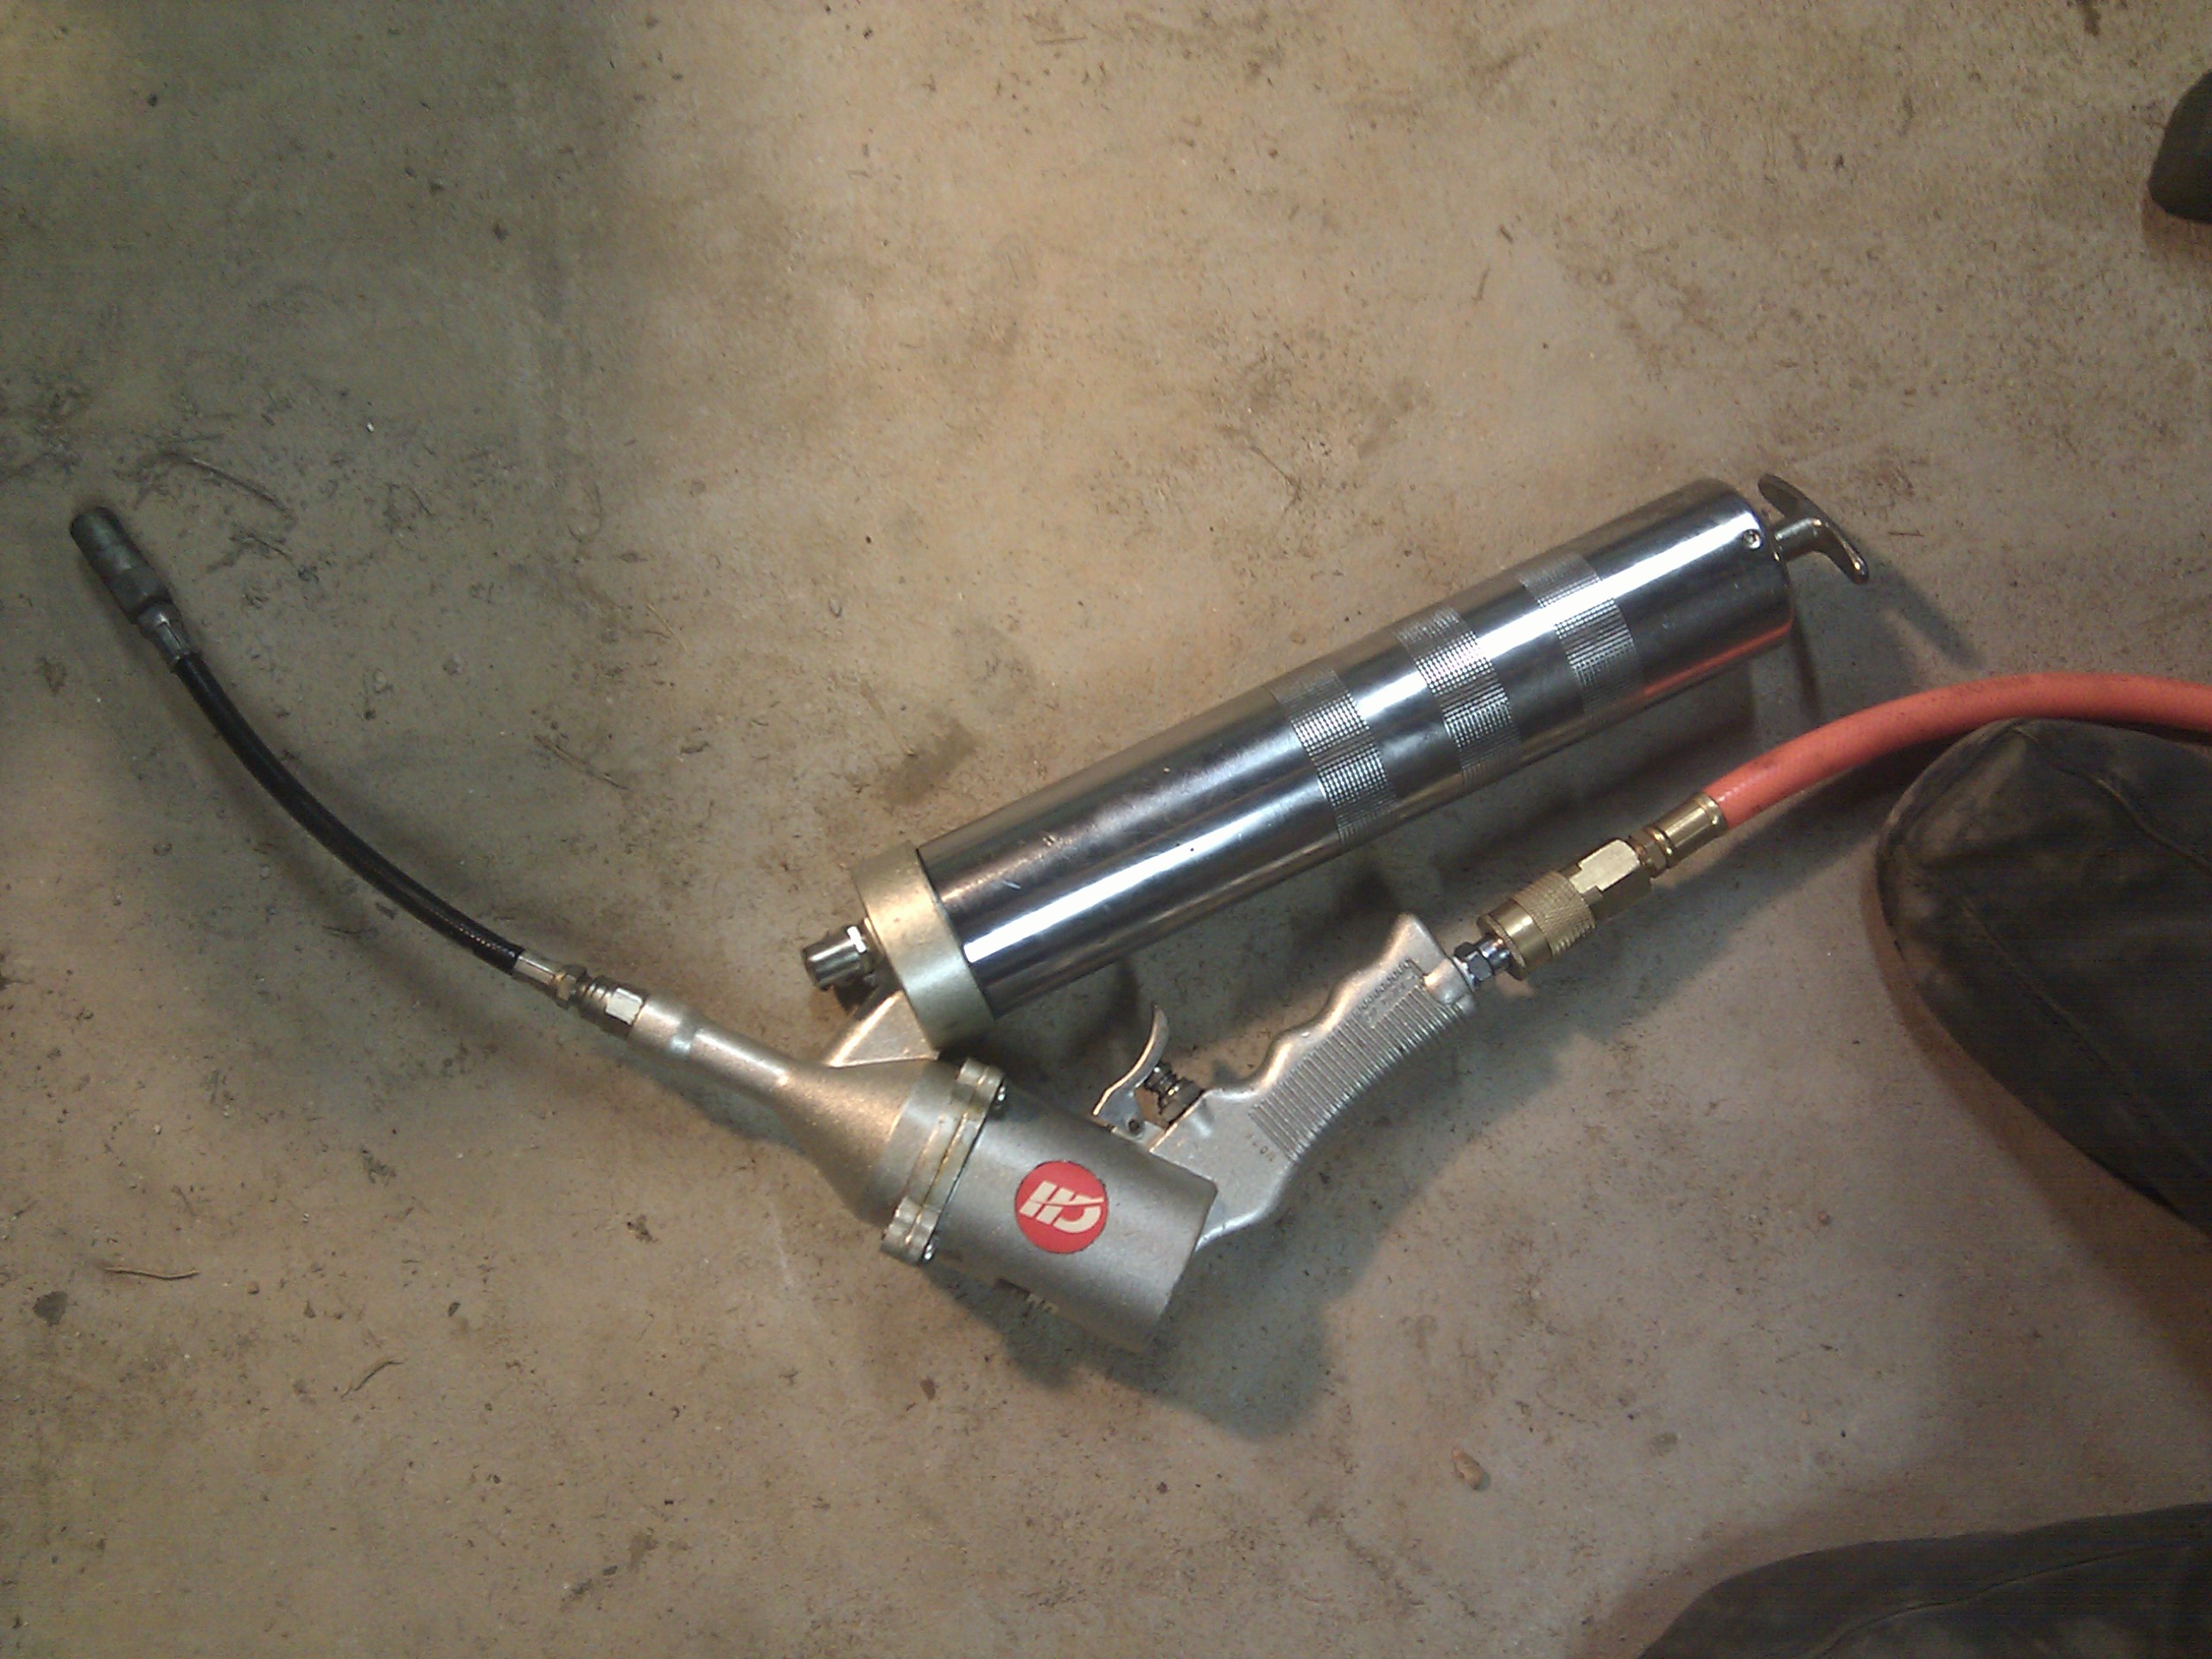
Grease the ball joint with your handy air grease gun (bought used for $5 more than a brand new manual one):
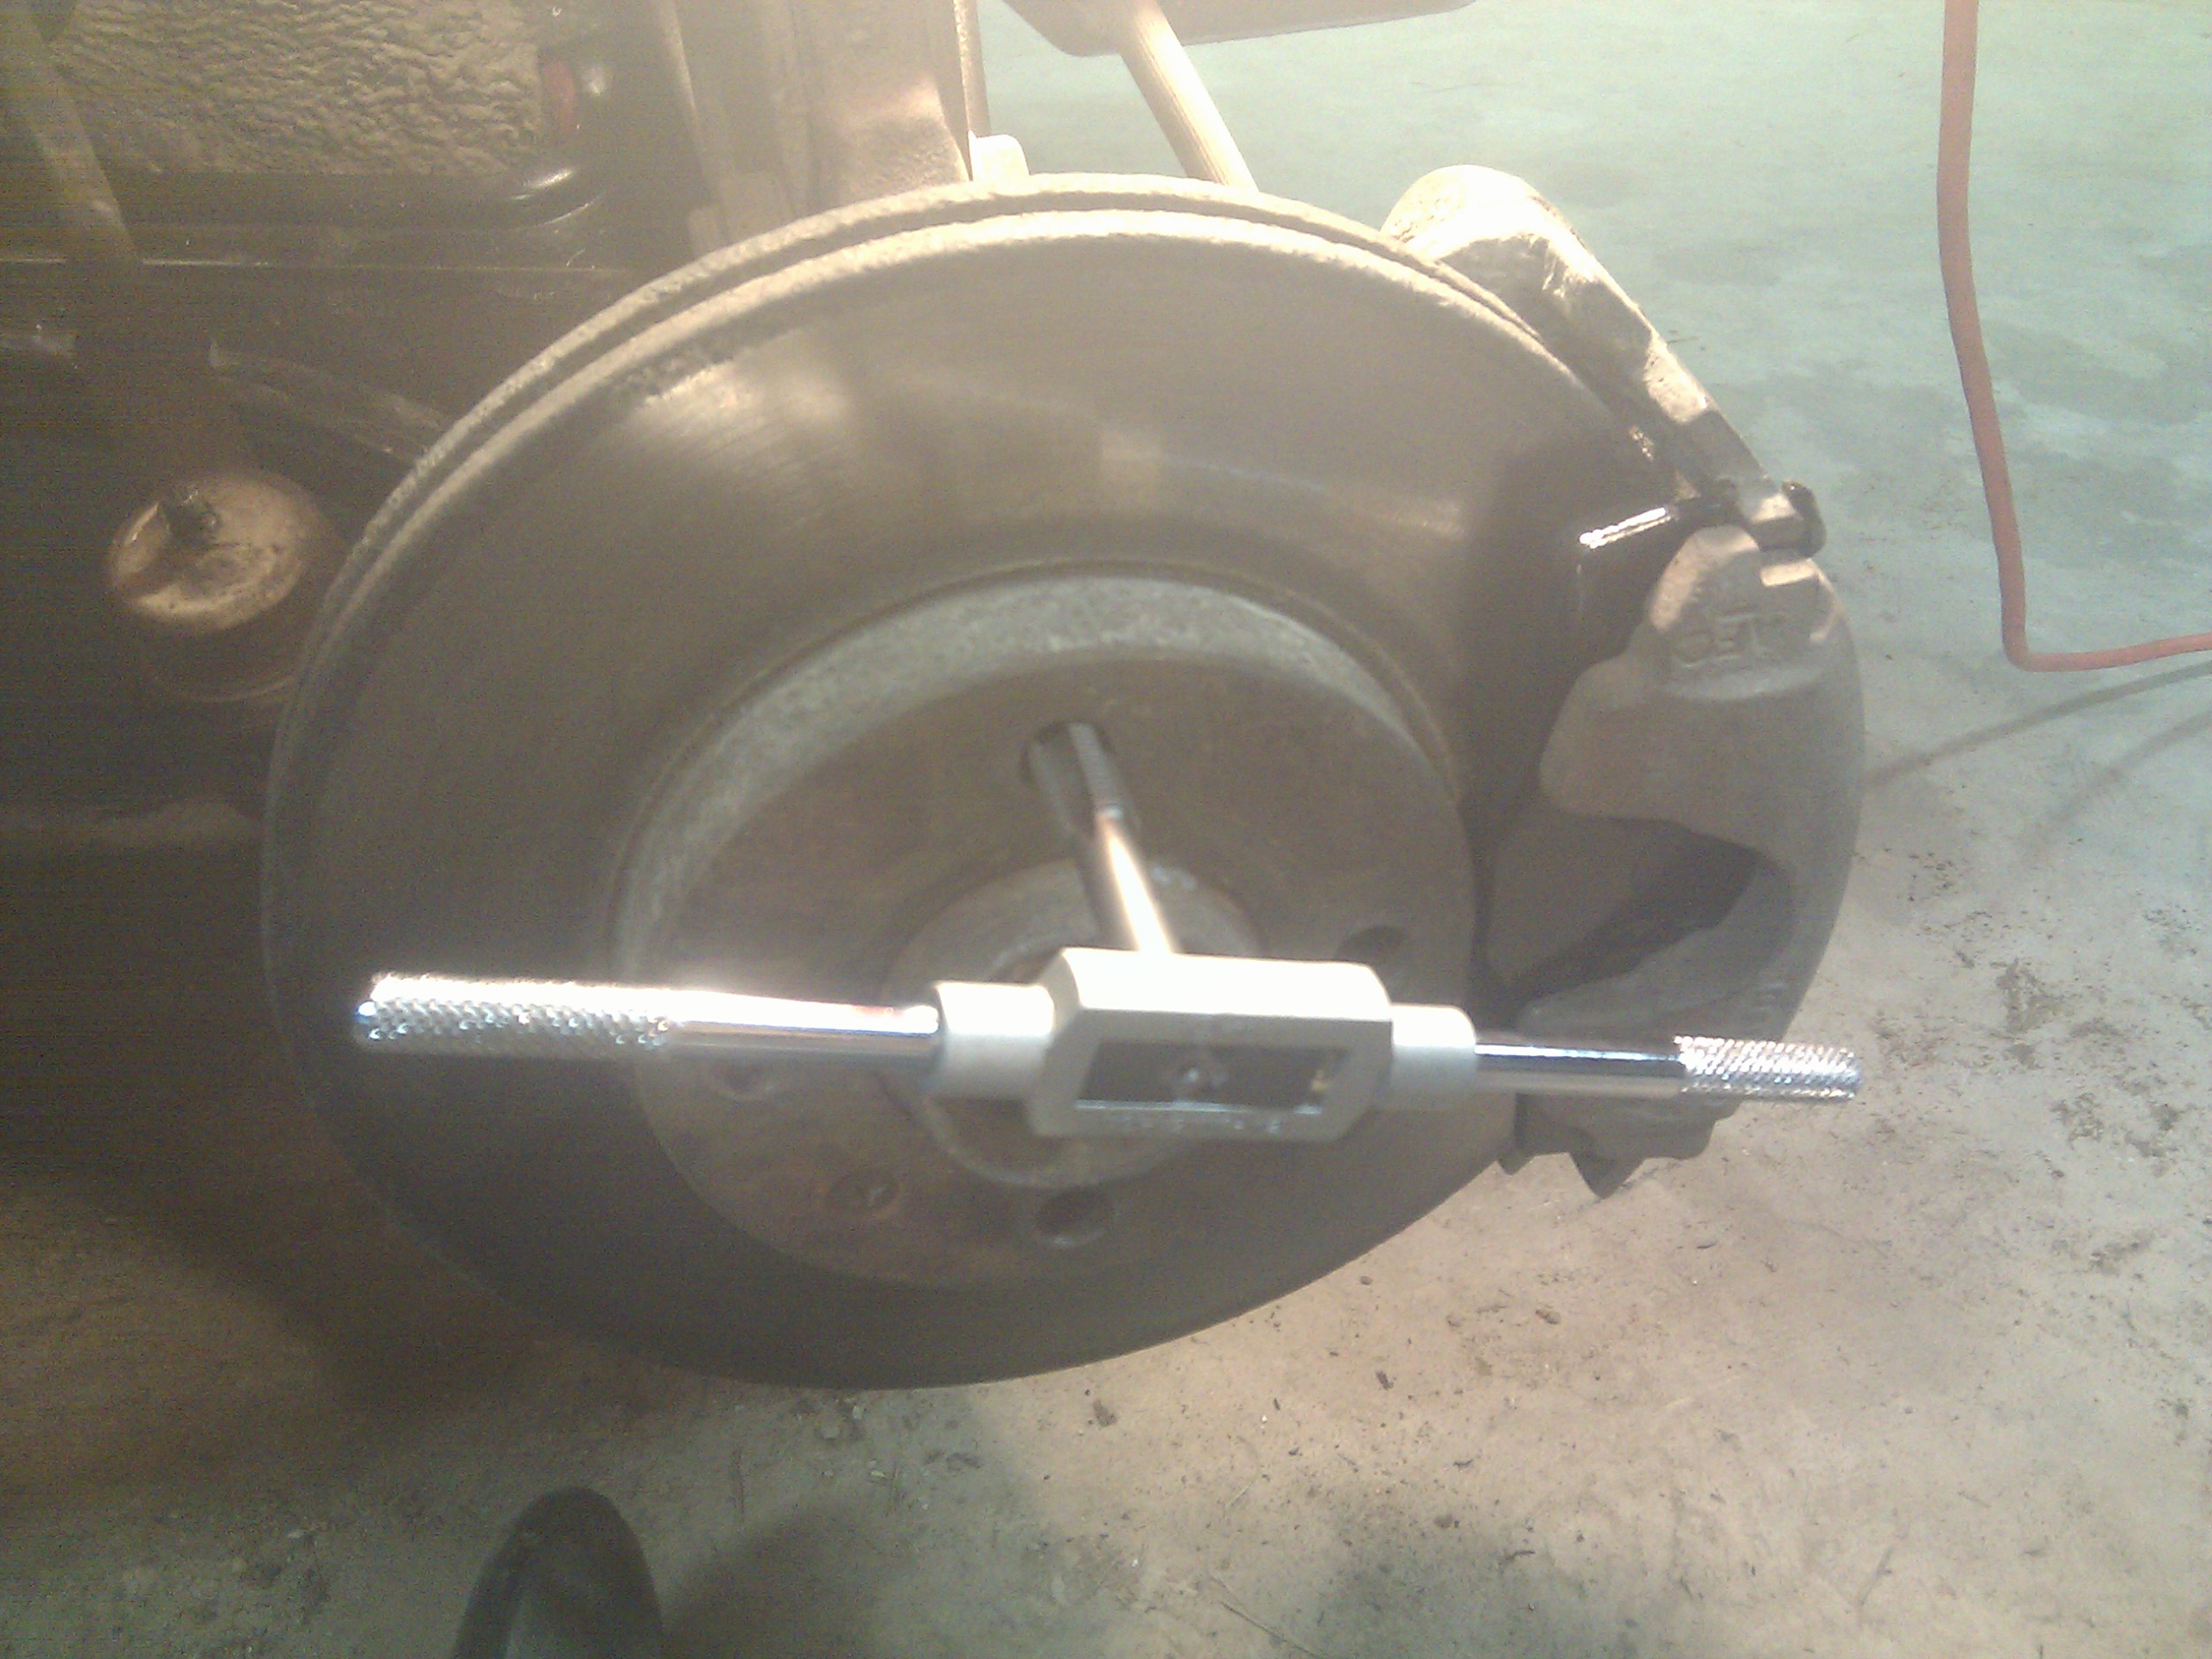
A friend (right, a friend, definitely not me) forgot to torque their lug bolts after installing them and had a wheel come off. Fortunately the bolts were softer than the hub, so I got an 12x1.5 thread chasing tap and cleaned out the threads in the hub and all was good. I did this side as well just because there was a lot of road grime hanging out in the threads:
And that's it!