So, about two years ago I parked the MR2 in the basement to replace the wheel bearings. To replace wheel bearings, you generally need a hydraulic press. So, I built a press. Then, because I live in the sticks, I put up a 50' tower so I could get non-satellite internet. Then, I did front wheel bearings on the Rabbit. Then, I started teaching classes for a 'living'. Then I bought a lathe because I needed one to make that steering bushing for the Rabbit.
This whole time, my poor MR2 has been sitting there, waiting for me to finish what I started. Today, I finally did.
I did the rear bearings a while back, so no pics of those. It's a very similar process though. By the way, I hope you like wheel bearing posts because I am doing the rears on the Rabbit in a couple days.
One front suspension:
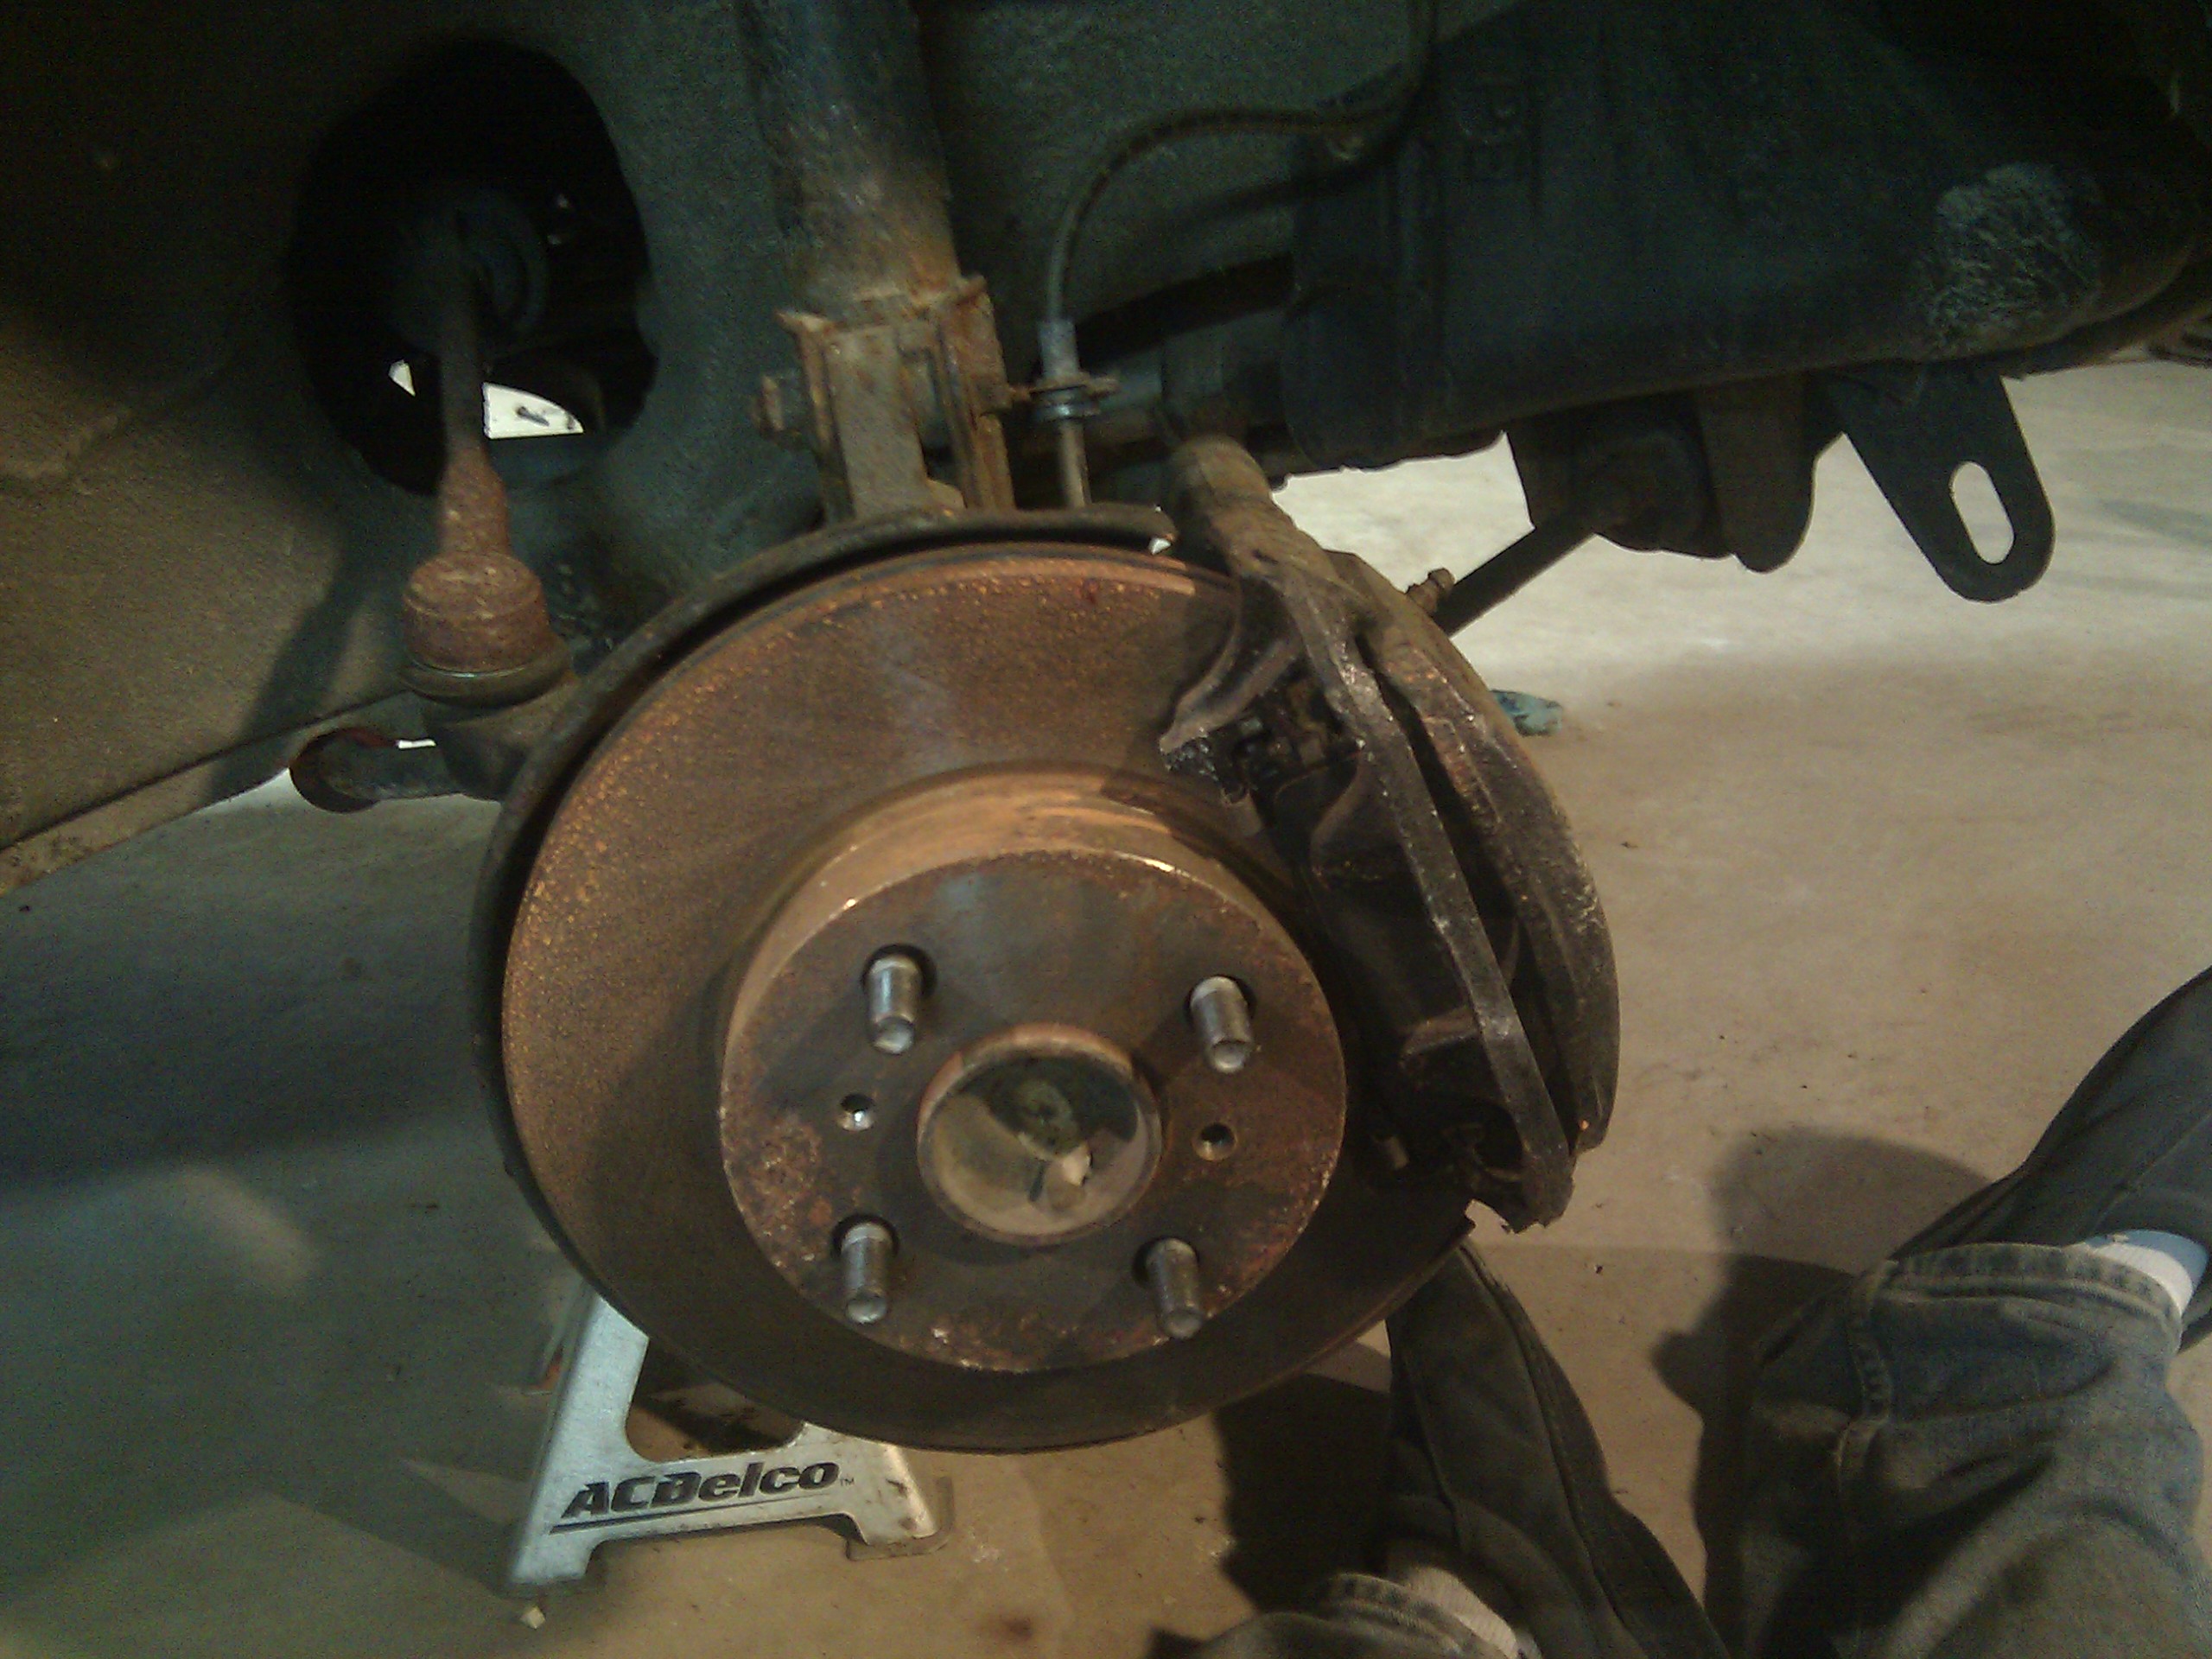
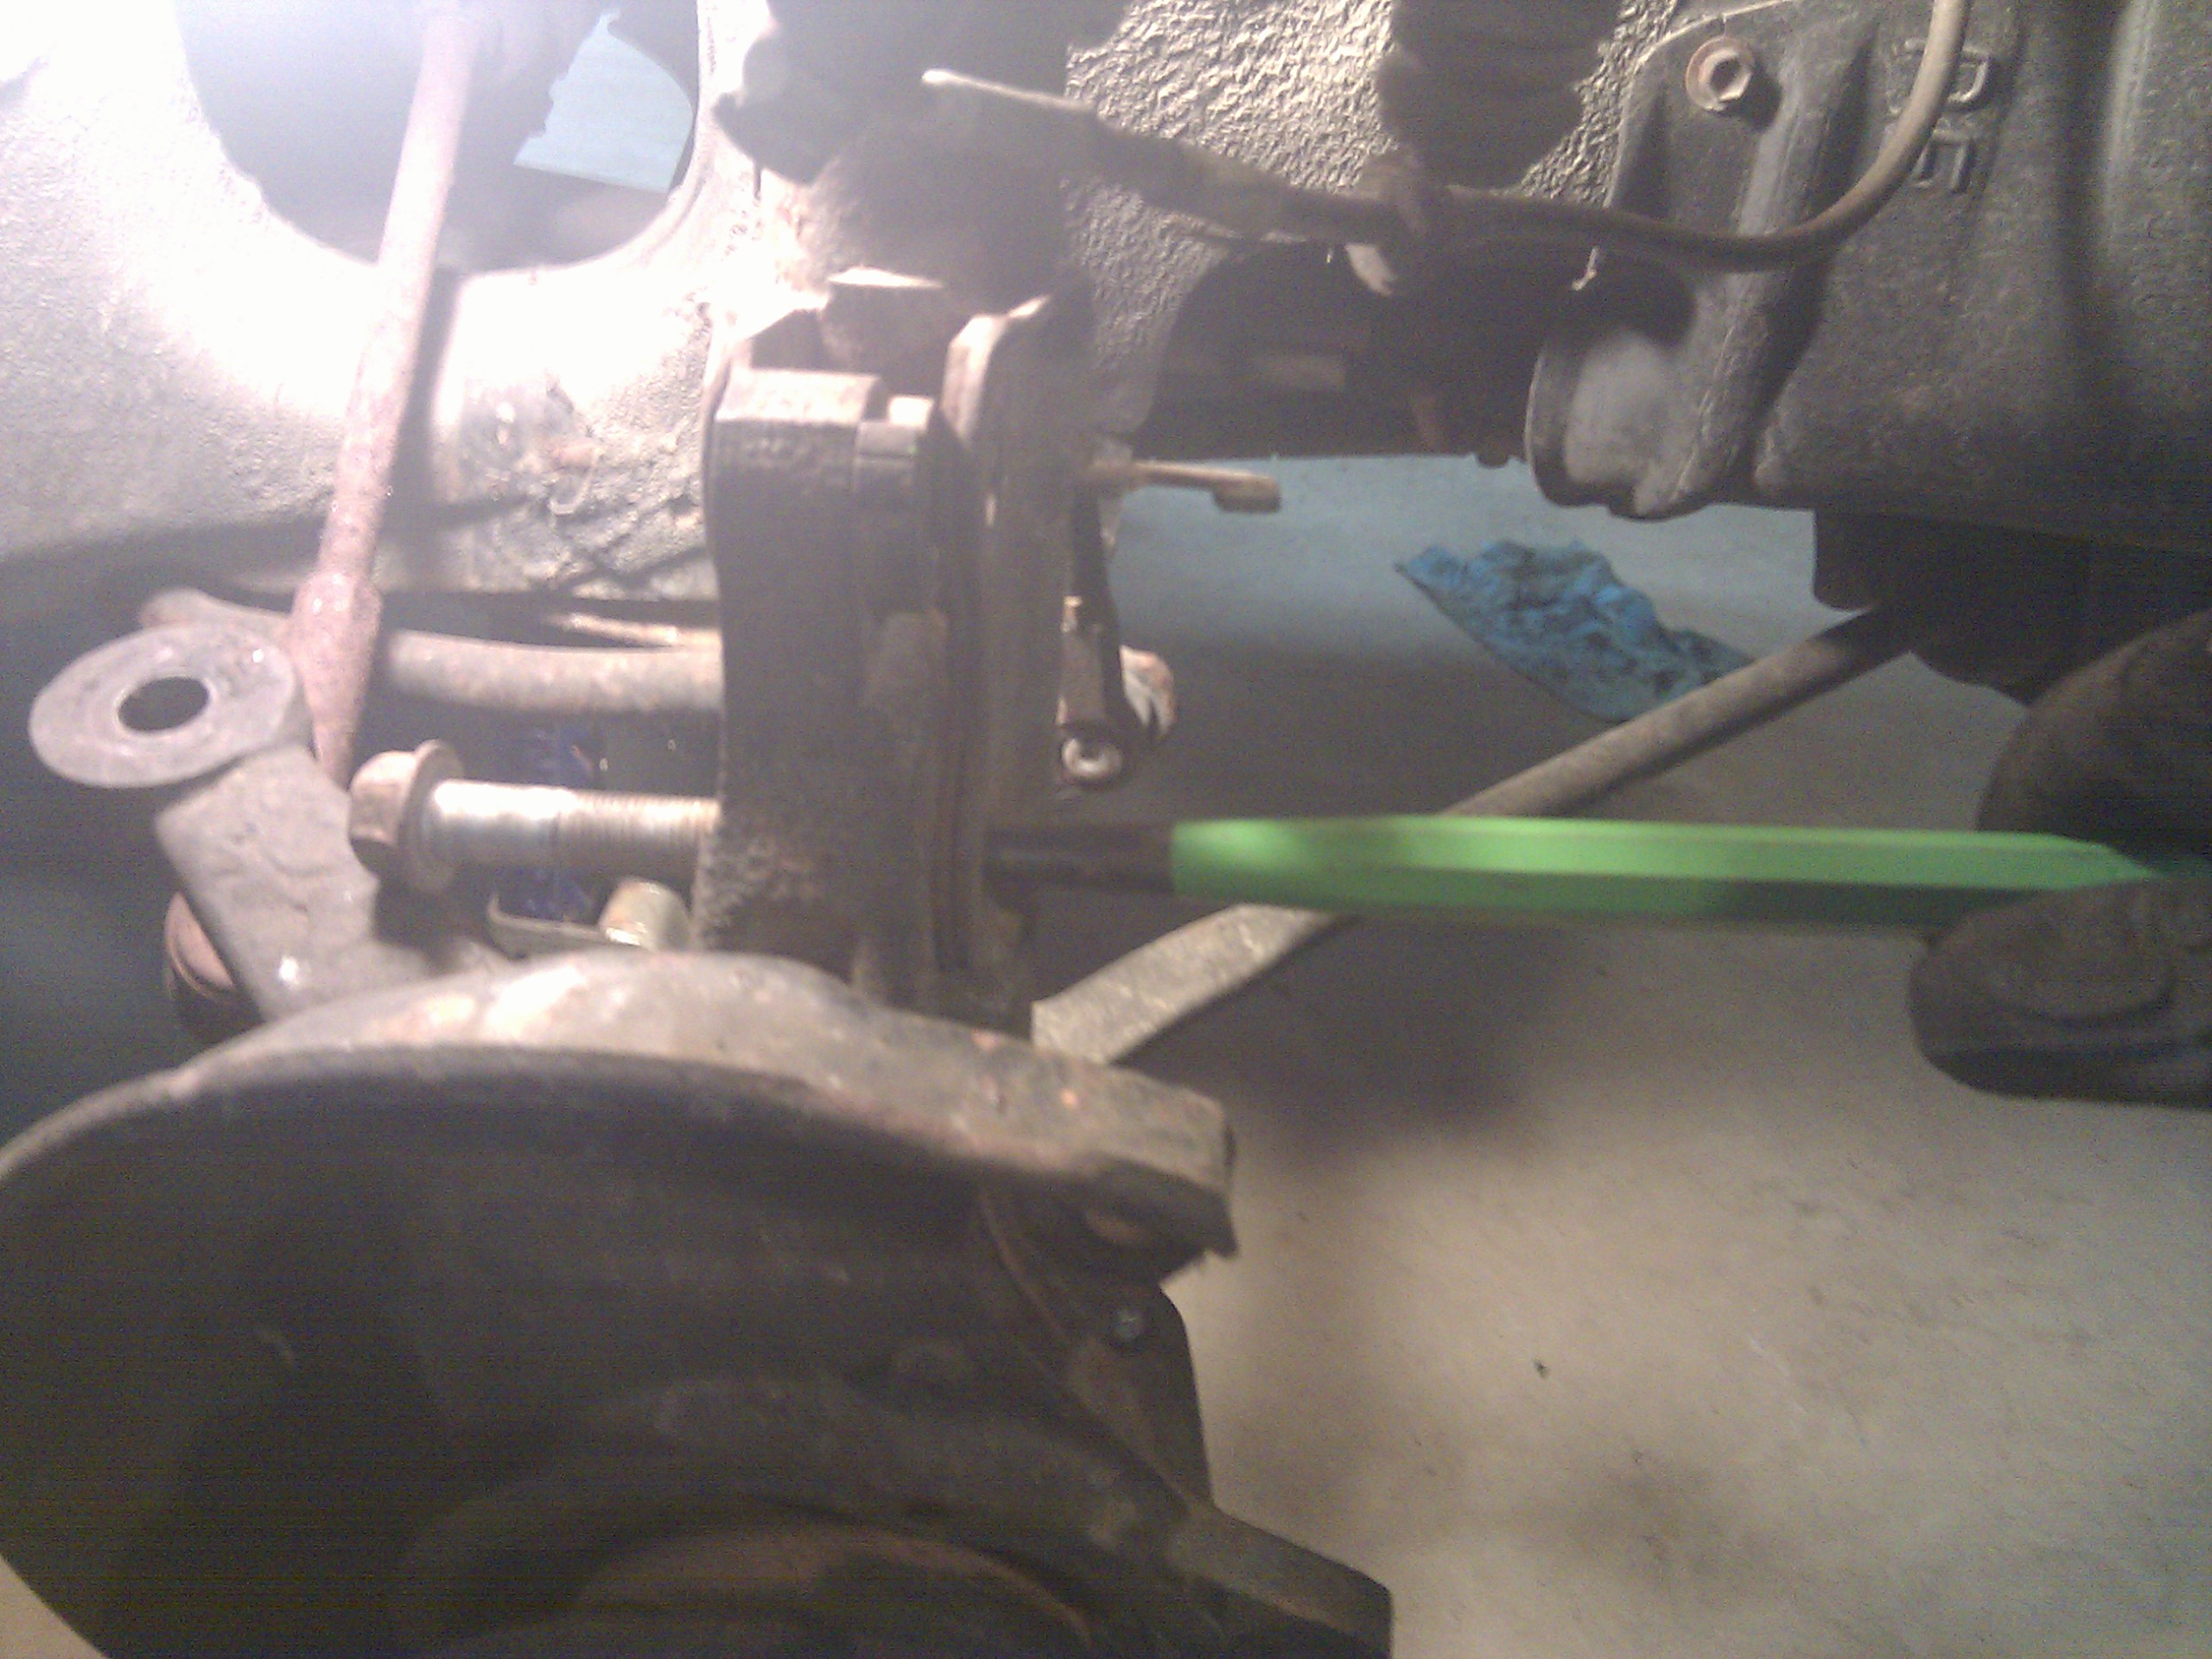
Remove all the brake stuff. Be glad that past you used a bunch of caliper grease so everything comes apart easily. I like to hang the caliper off the suspension, but I also tie it out of the way with a zip tie or a piece of MIG wire.
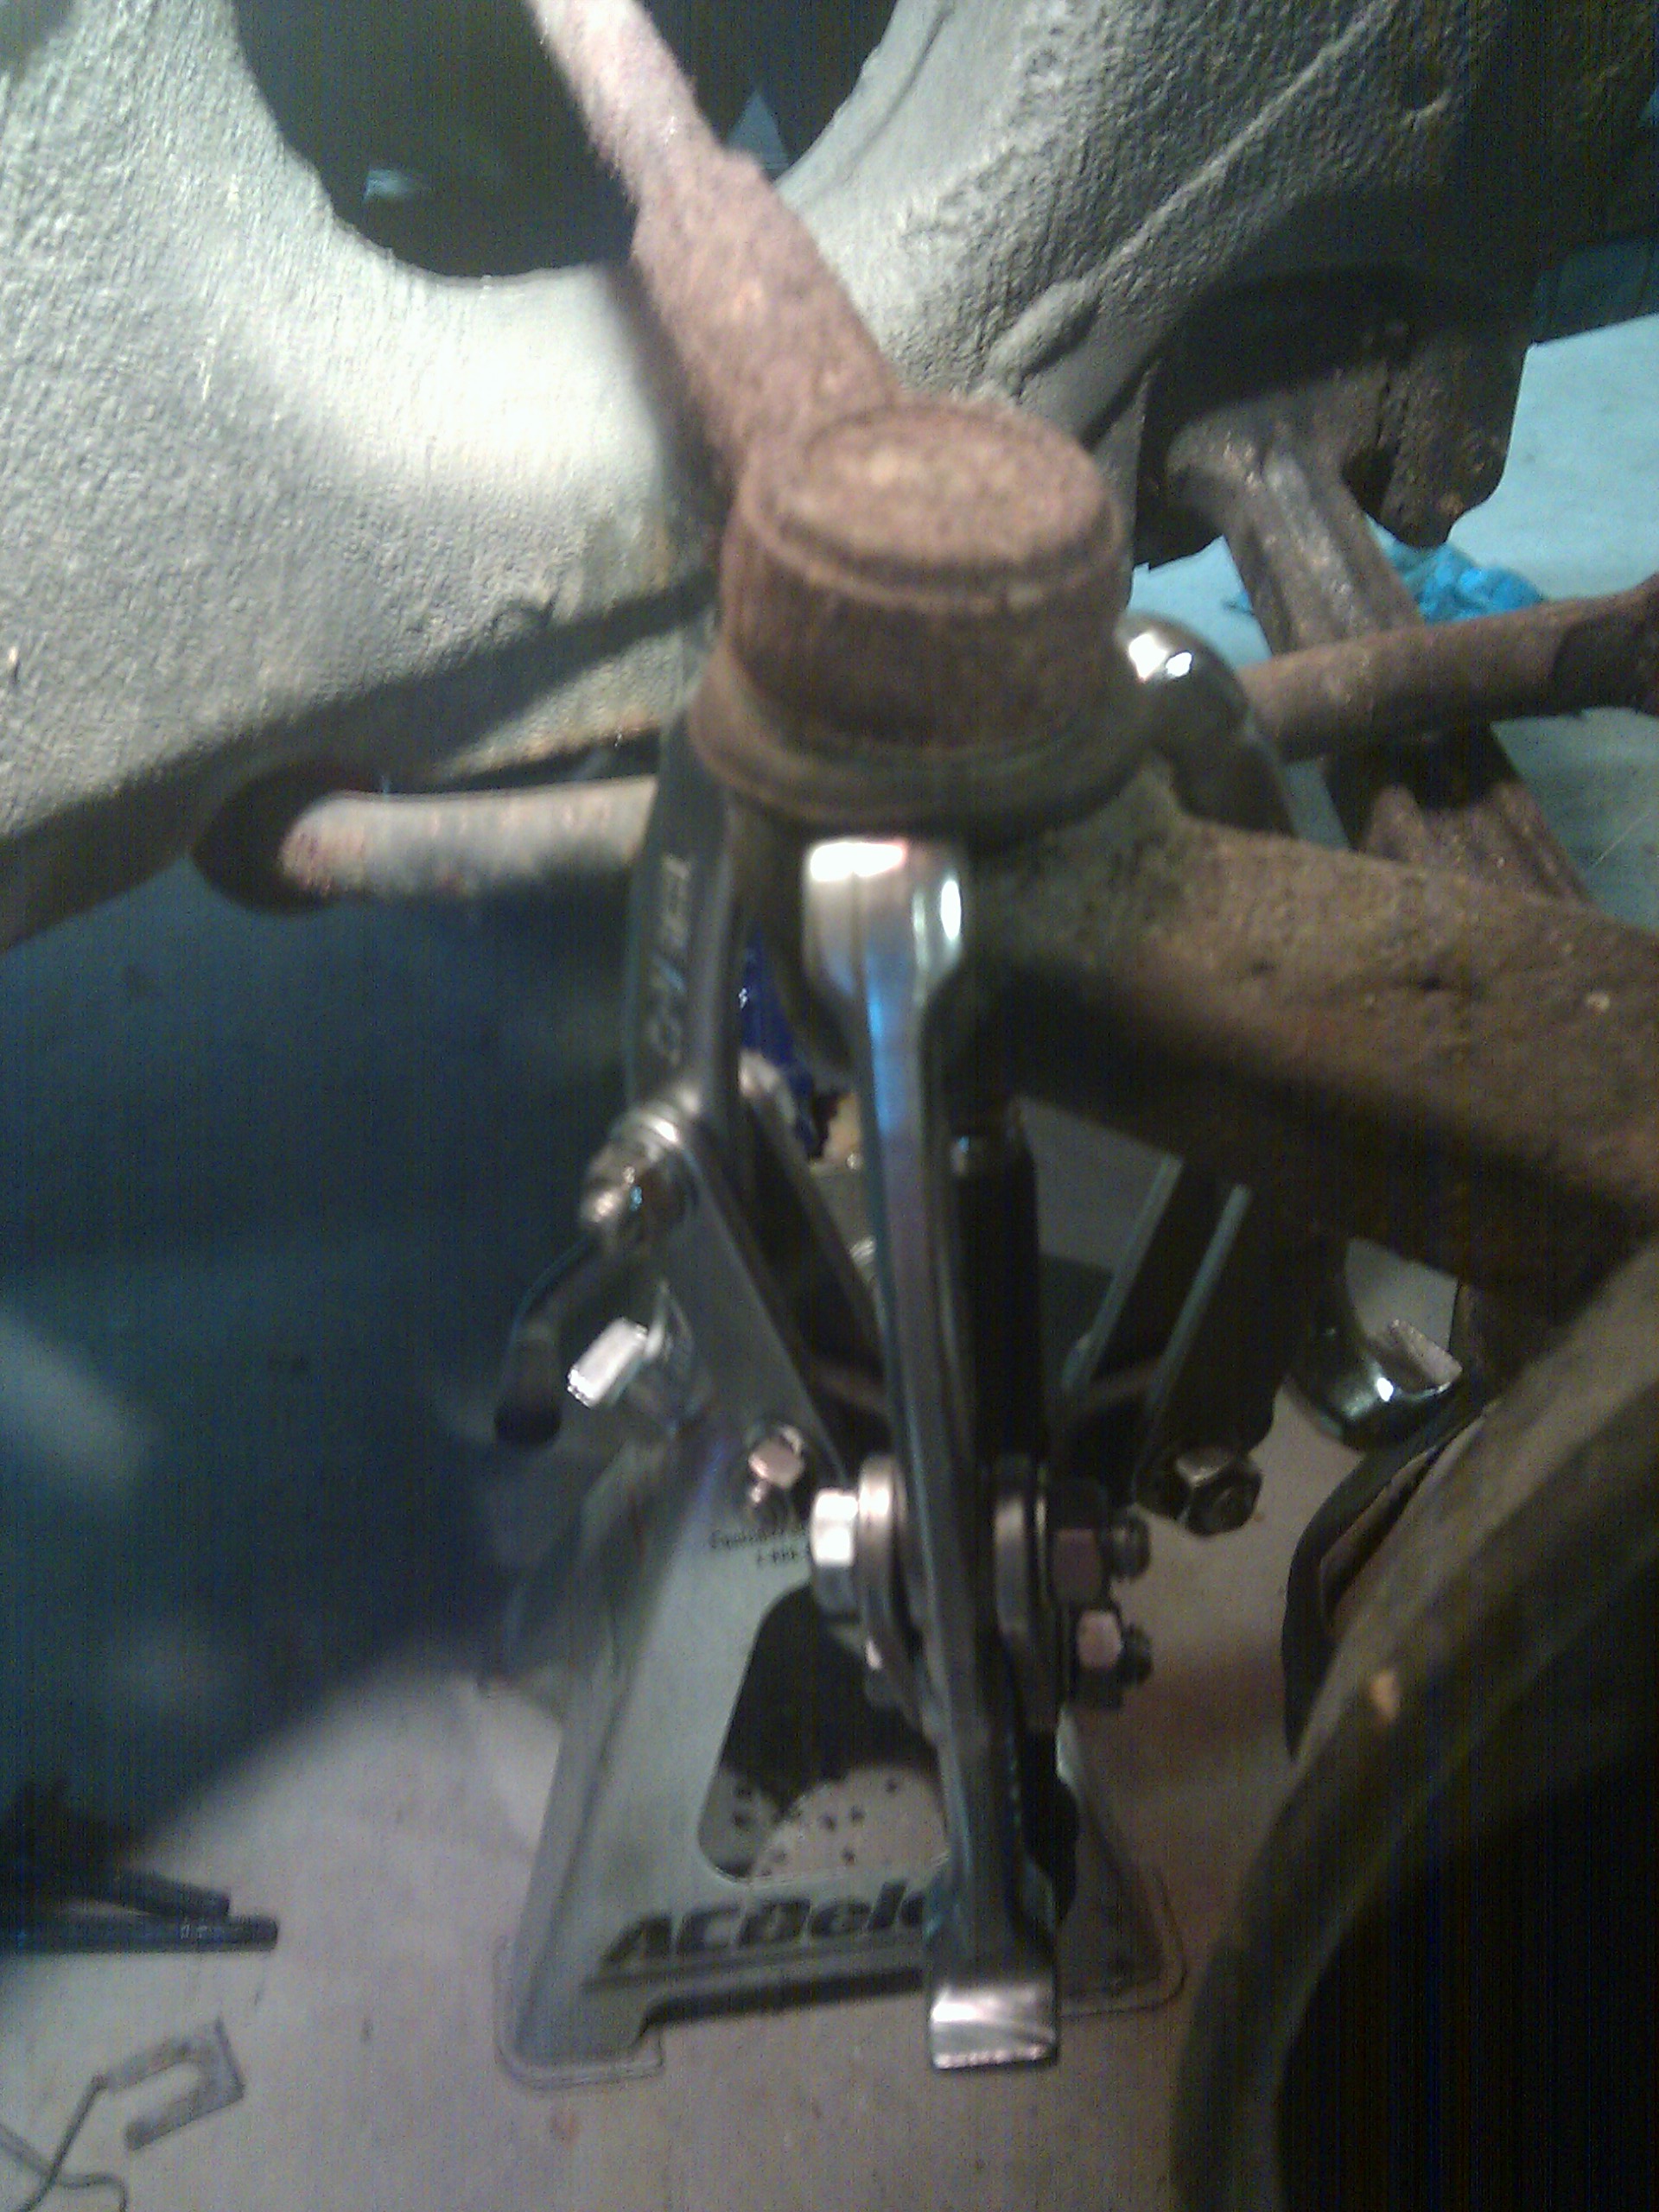
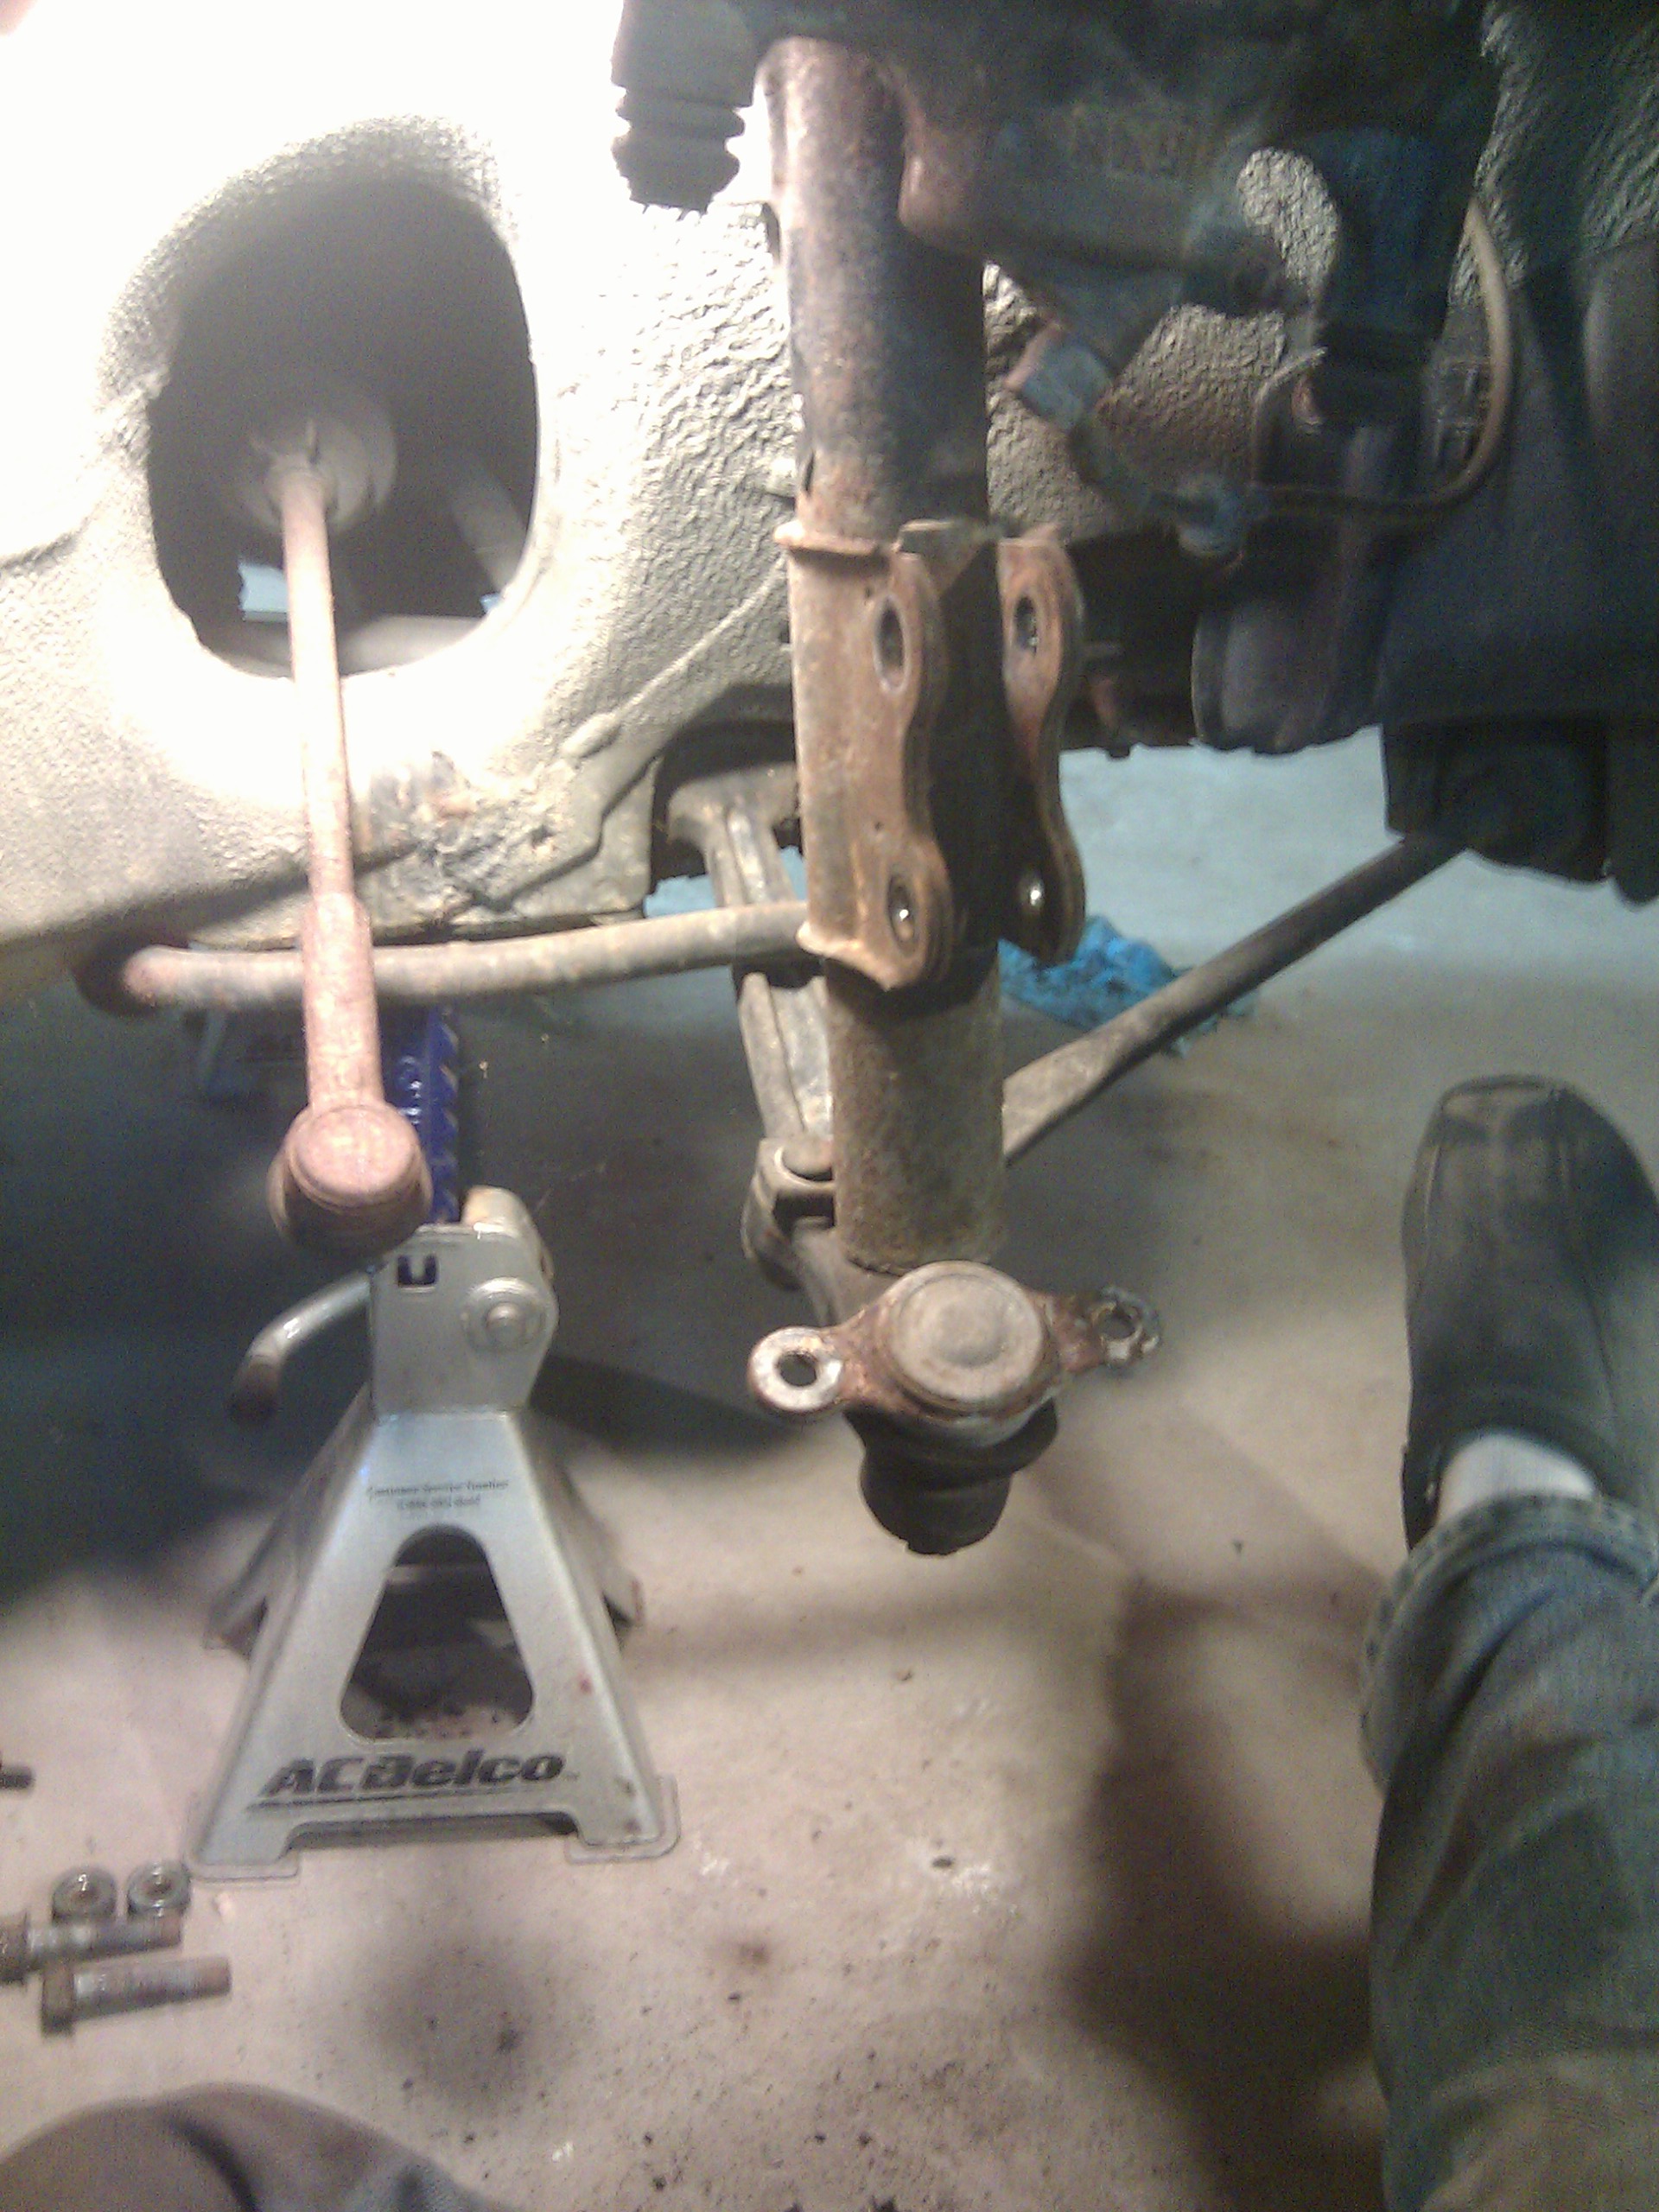
Remove the tie rod end link with a 3-jaw puller. In places like this, it's easy to see the improved build quality the MR2 has compared to the Rabbit. On the Rabbit, it's a fight to get the puller to not slip off the steering knuckle. Here, it's nothing.
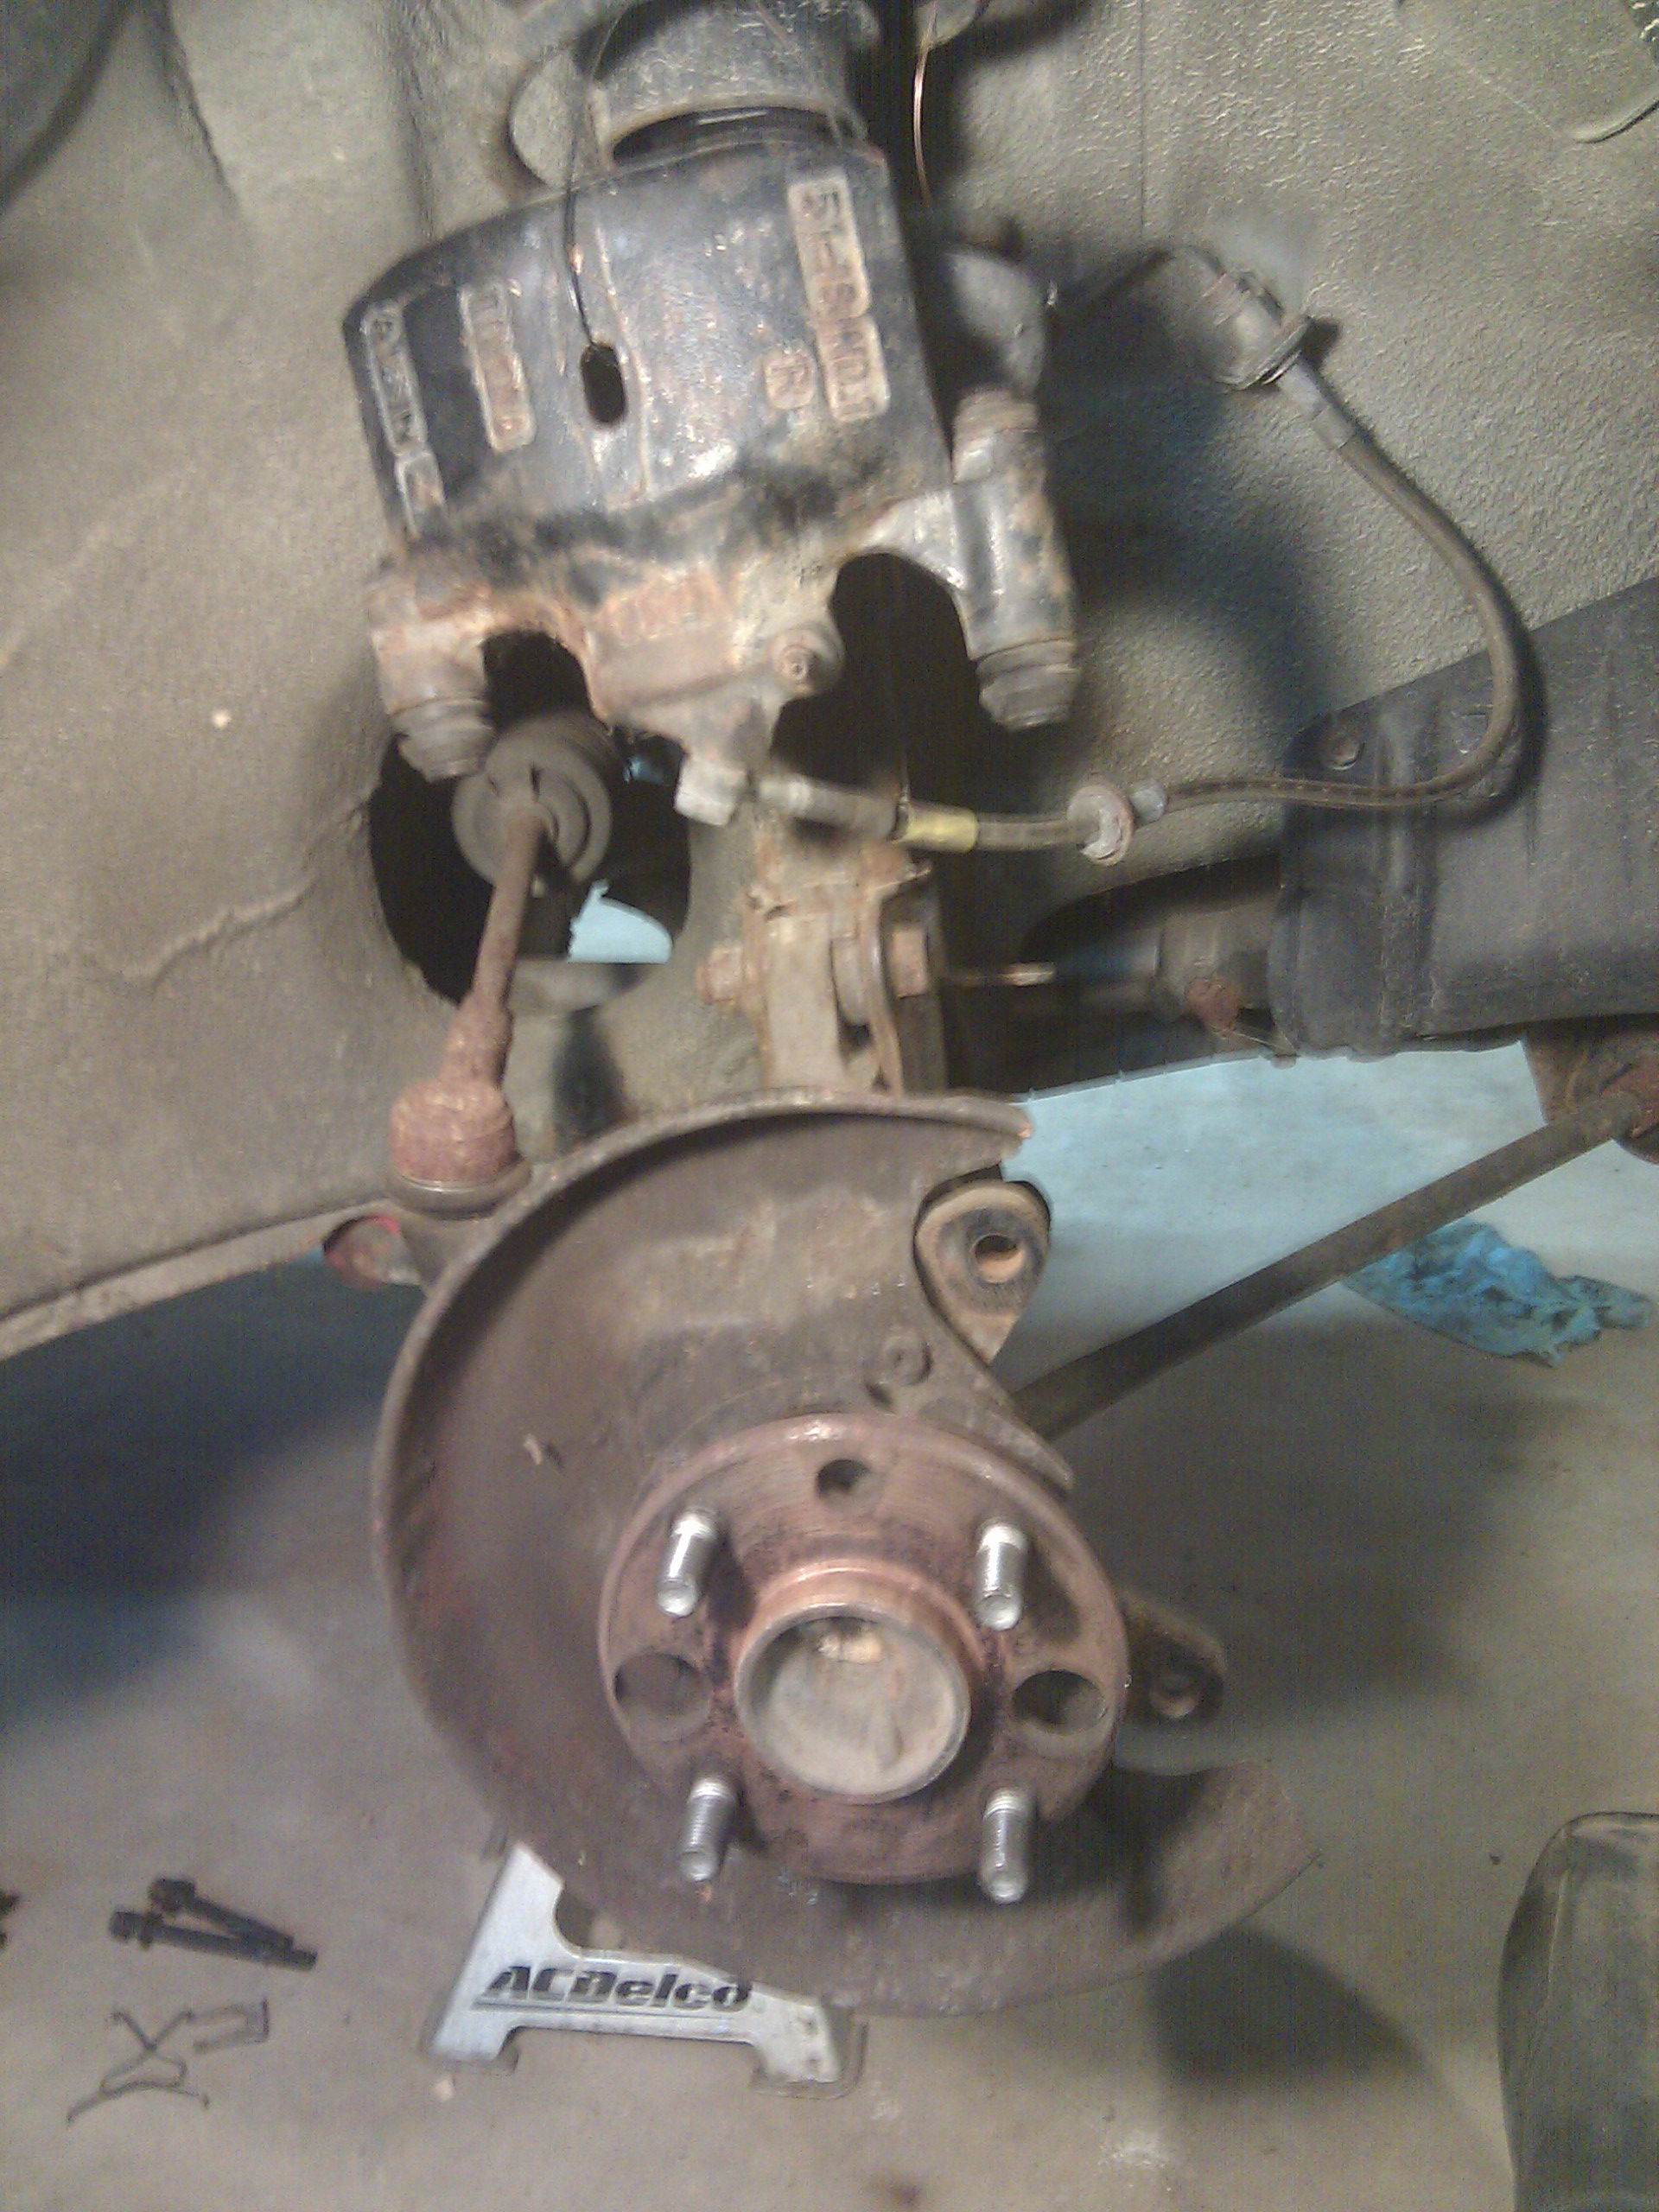
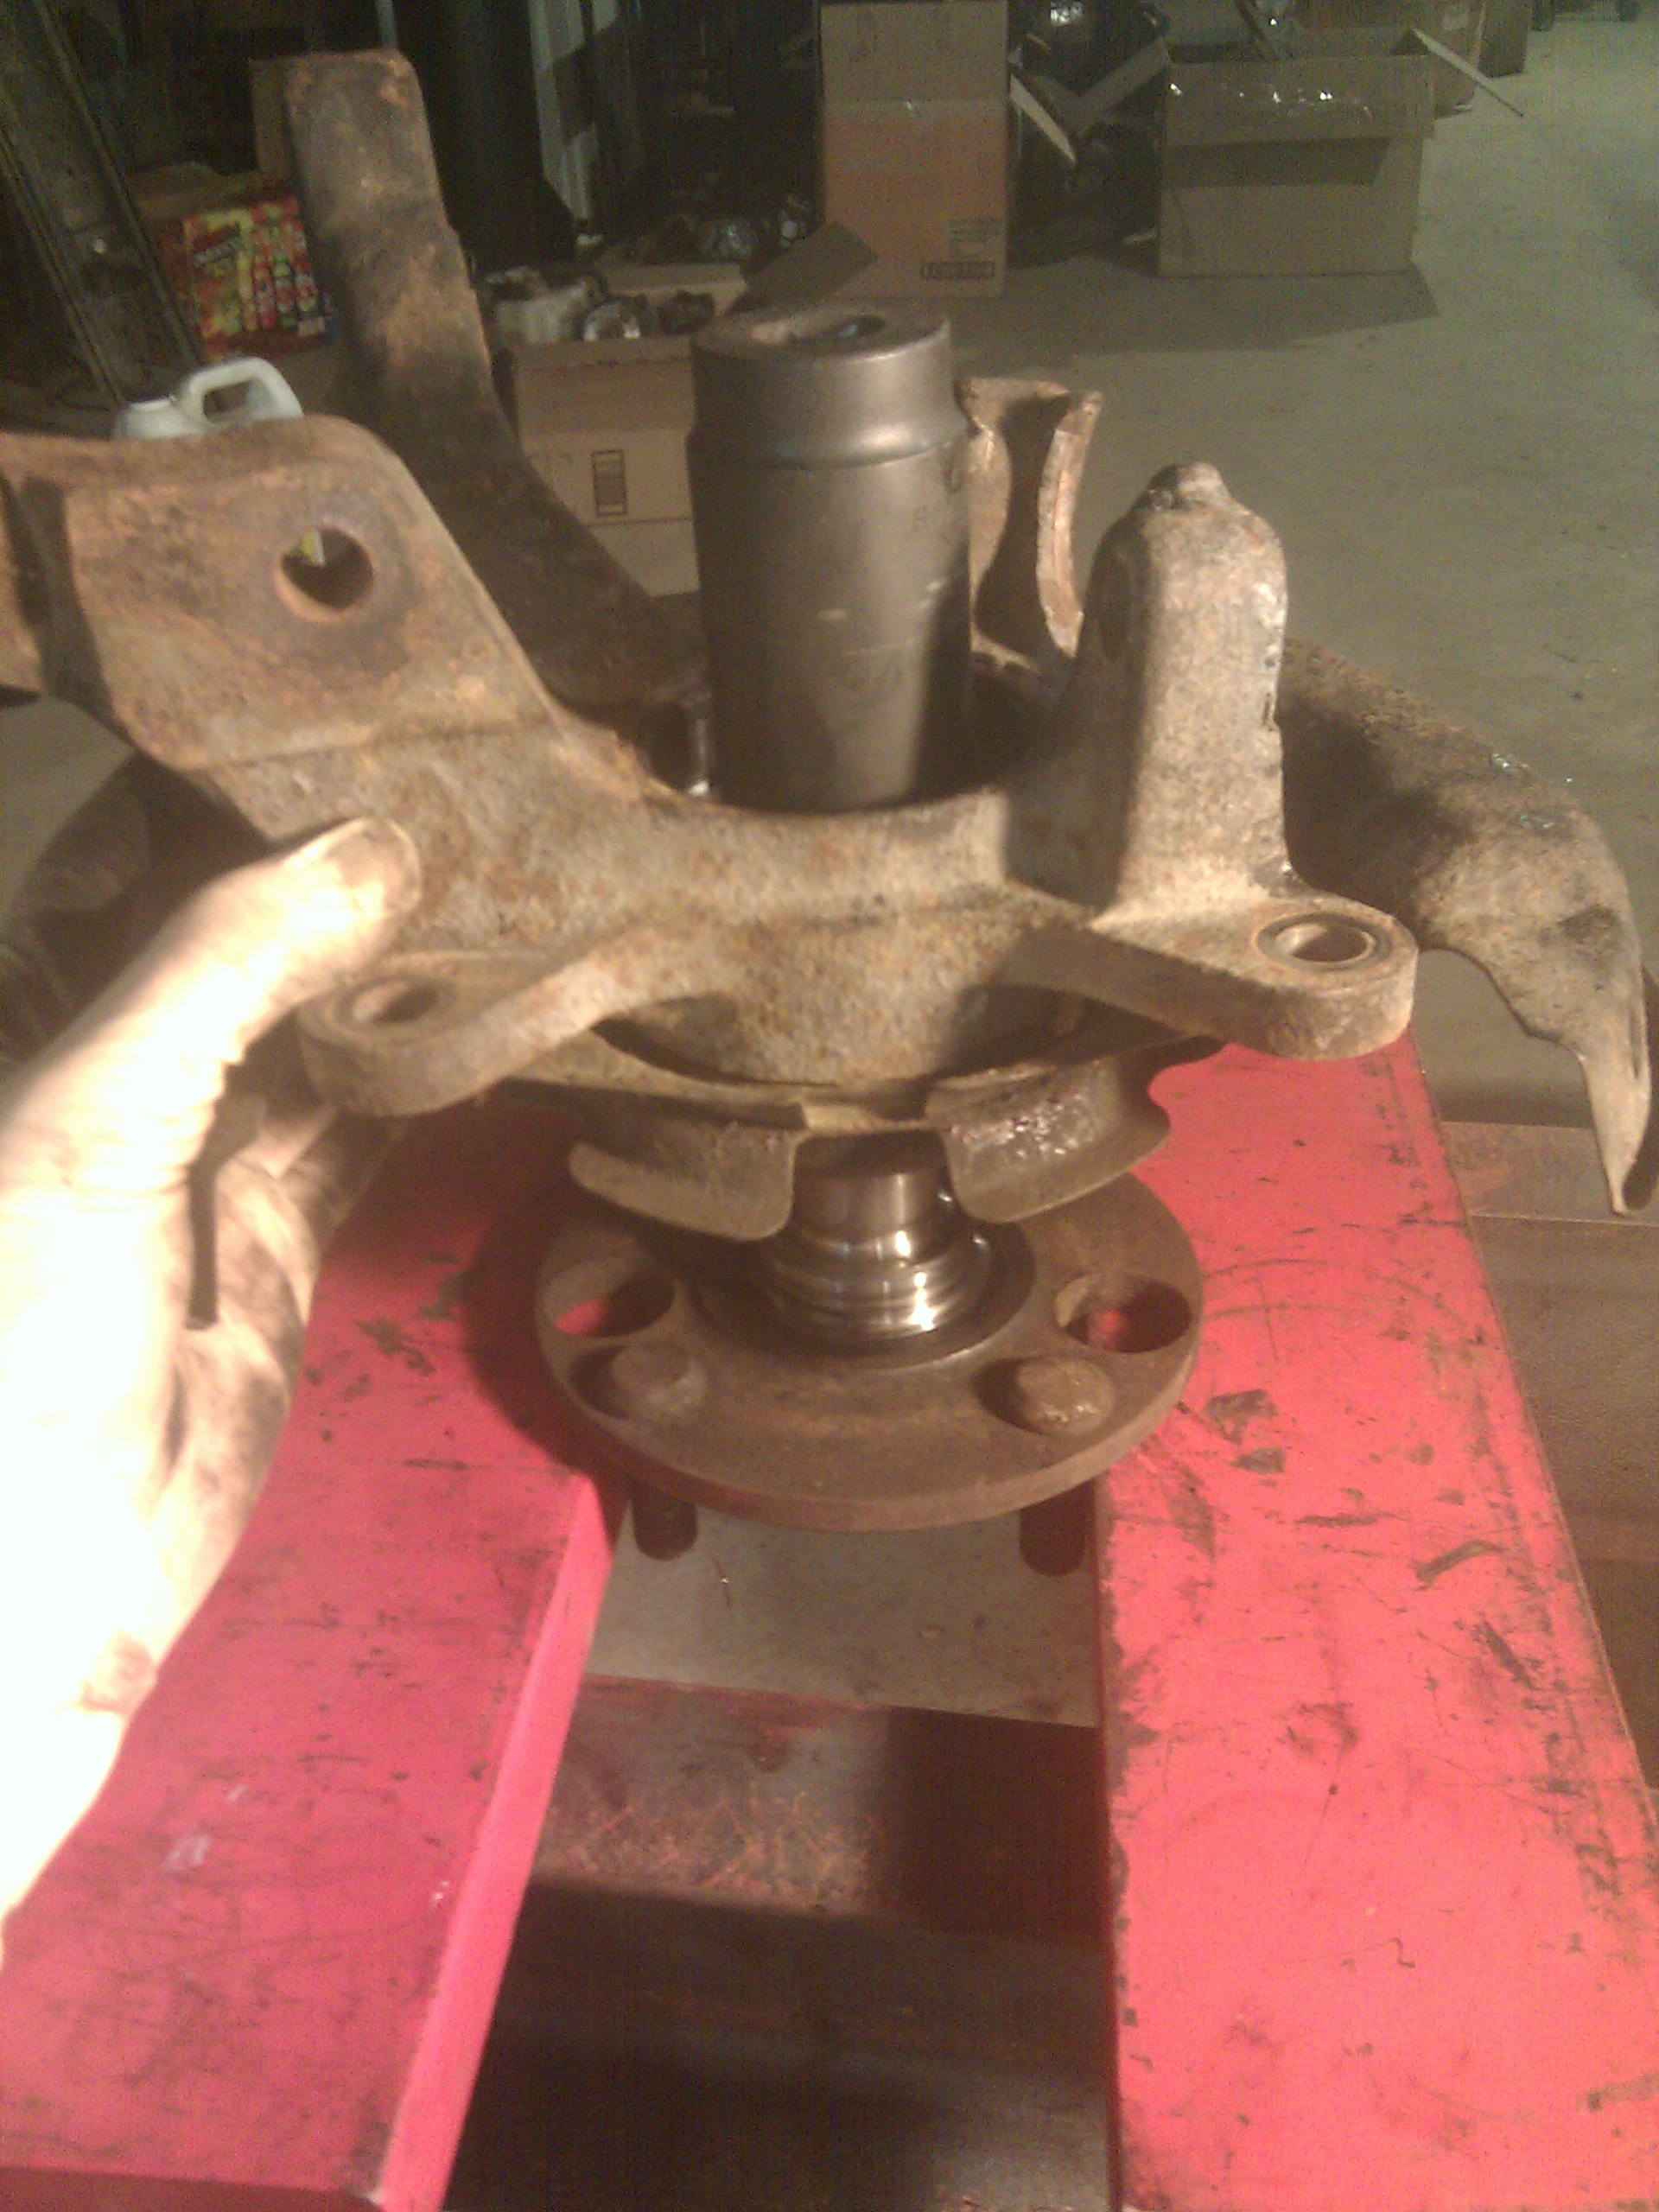
Next, undo 4 bolts and remove the steering knuckle itself. Again, real easy, except it took a bit of hammering due to some rust on the lower ball joint mating surface.
Now, changing wheel bearings is a complicated process involving carefully following the shop manual and using a lot of Toyota special service tools (SSTs). Follow along closely so you know how to do it.
Use a cold chisel and a hammer to remove the grease cap from the back of the knuckle.
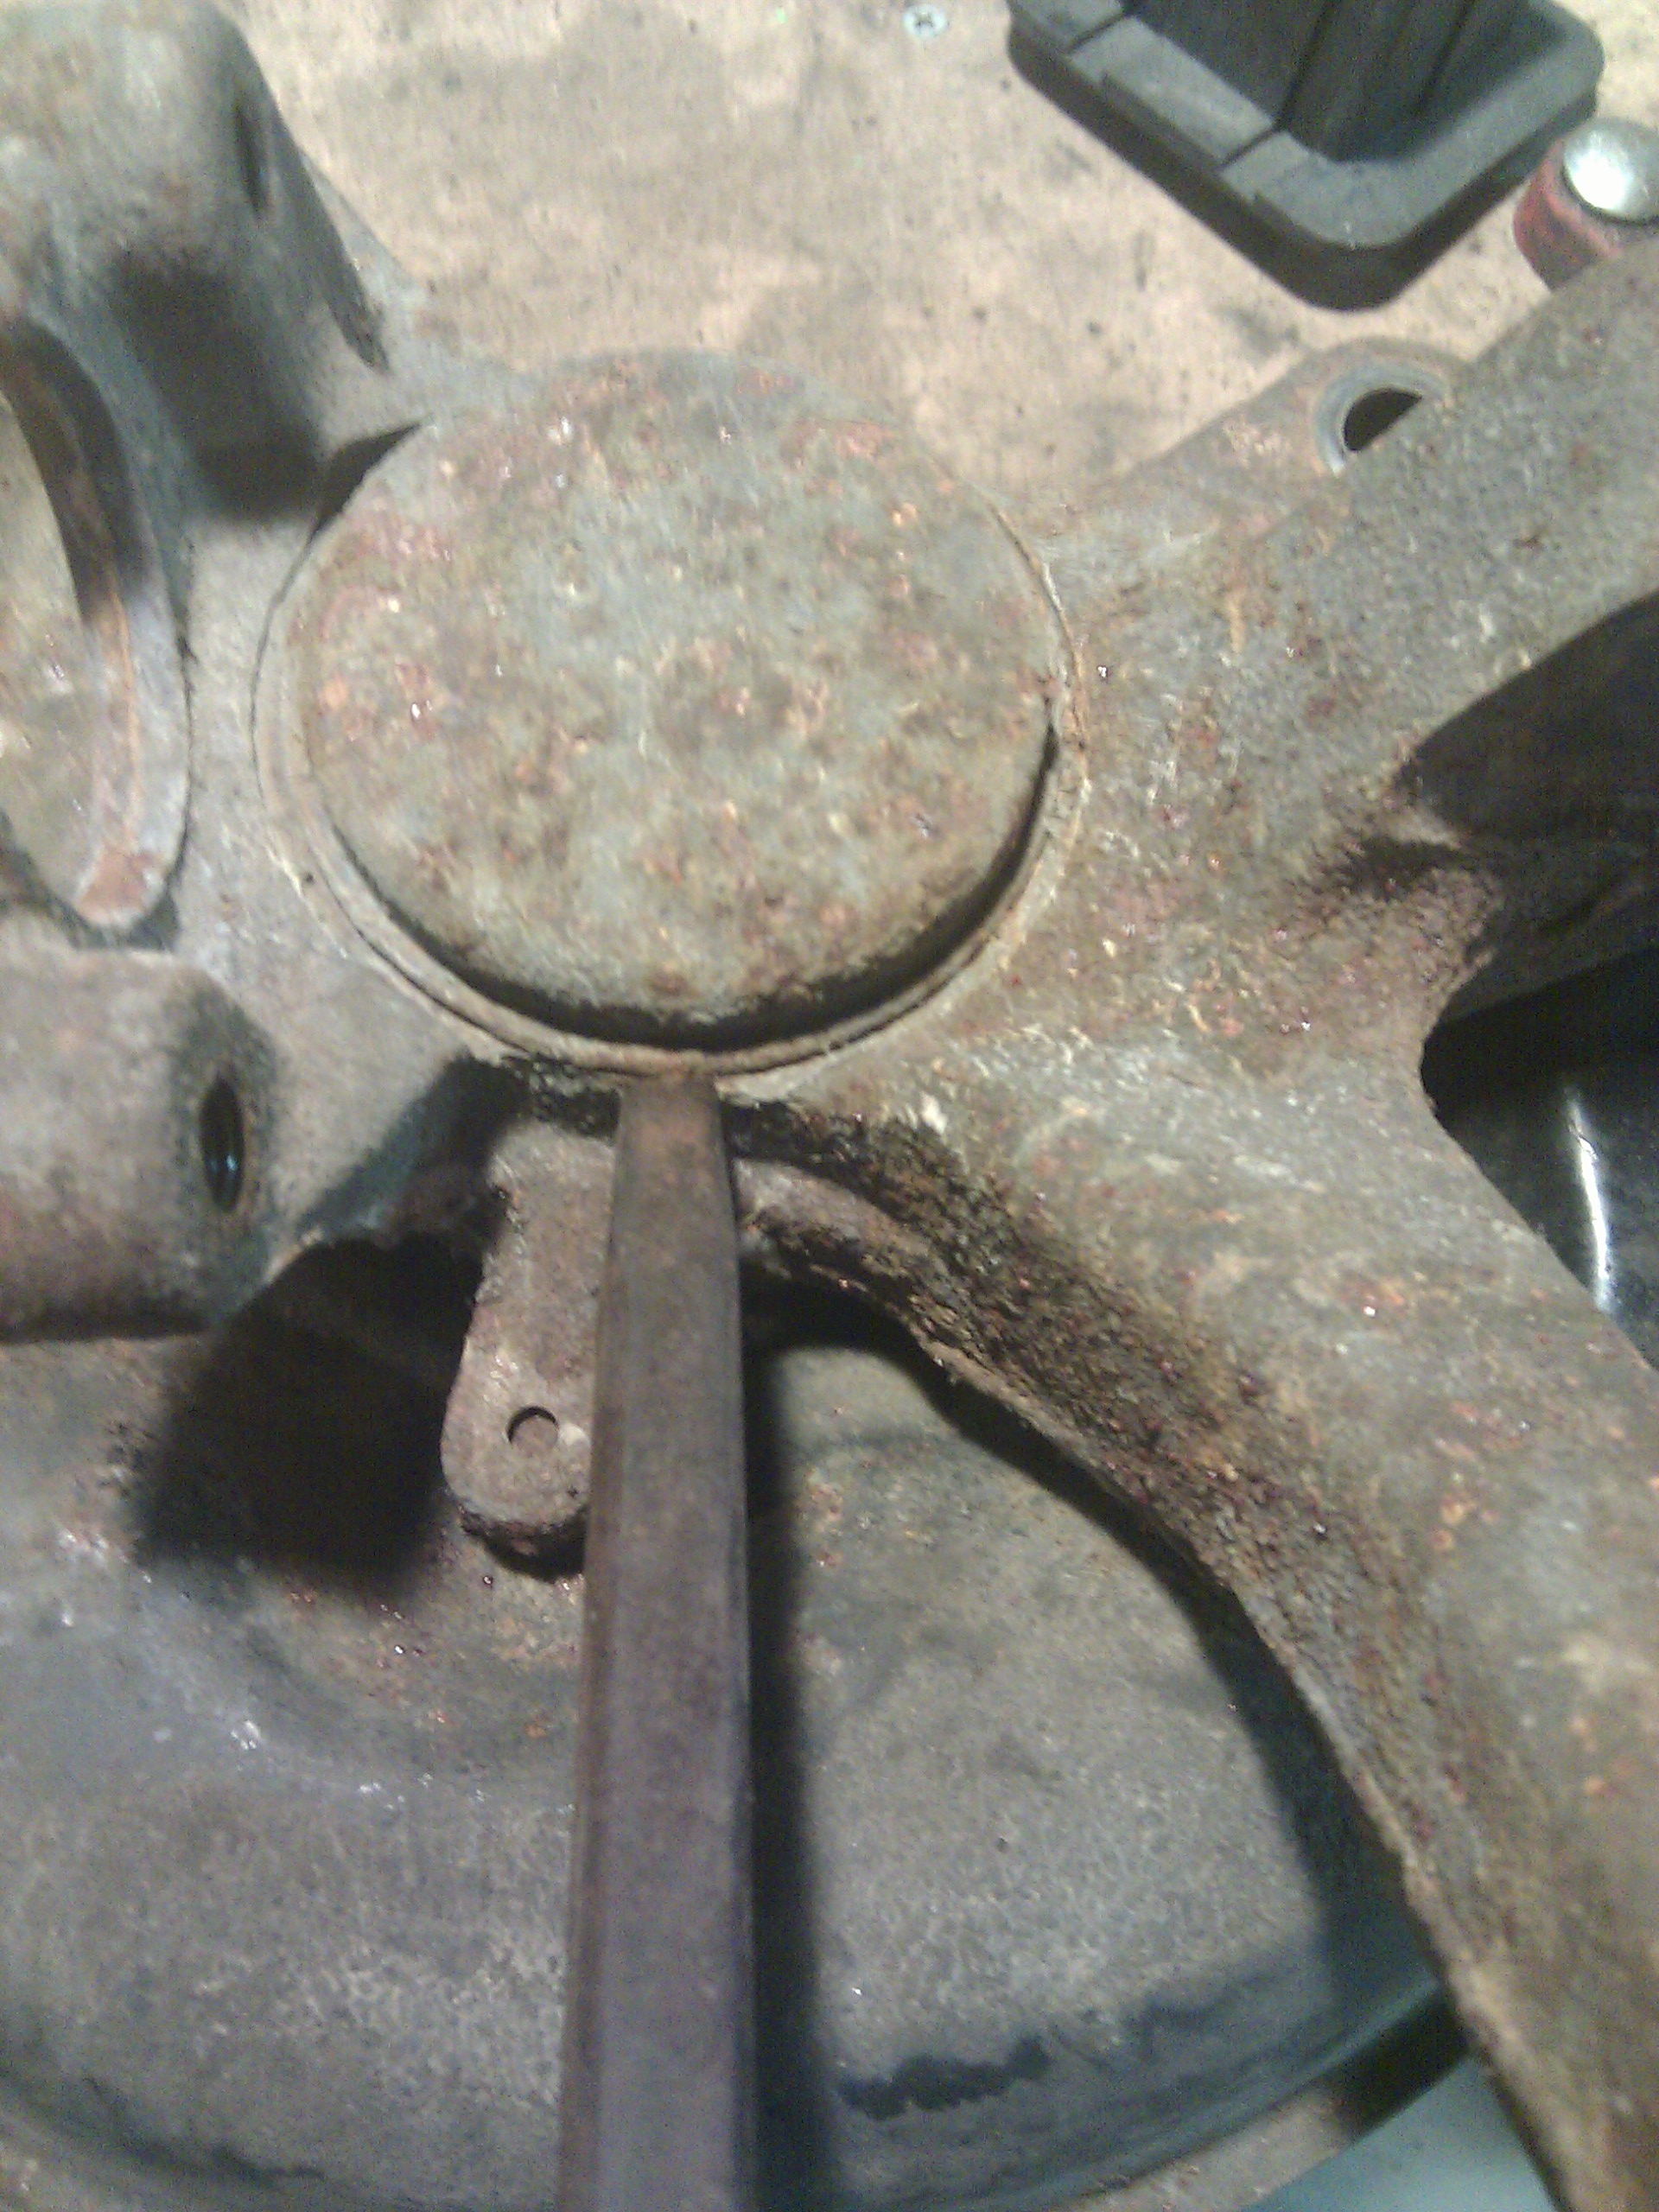
The hub is held on by a large nut that is staked in place with a chisel to keep it from loosening.
It is possible, with a steady hand, to fit a small cutoff tool against the nut without damaging anything else.
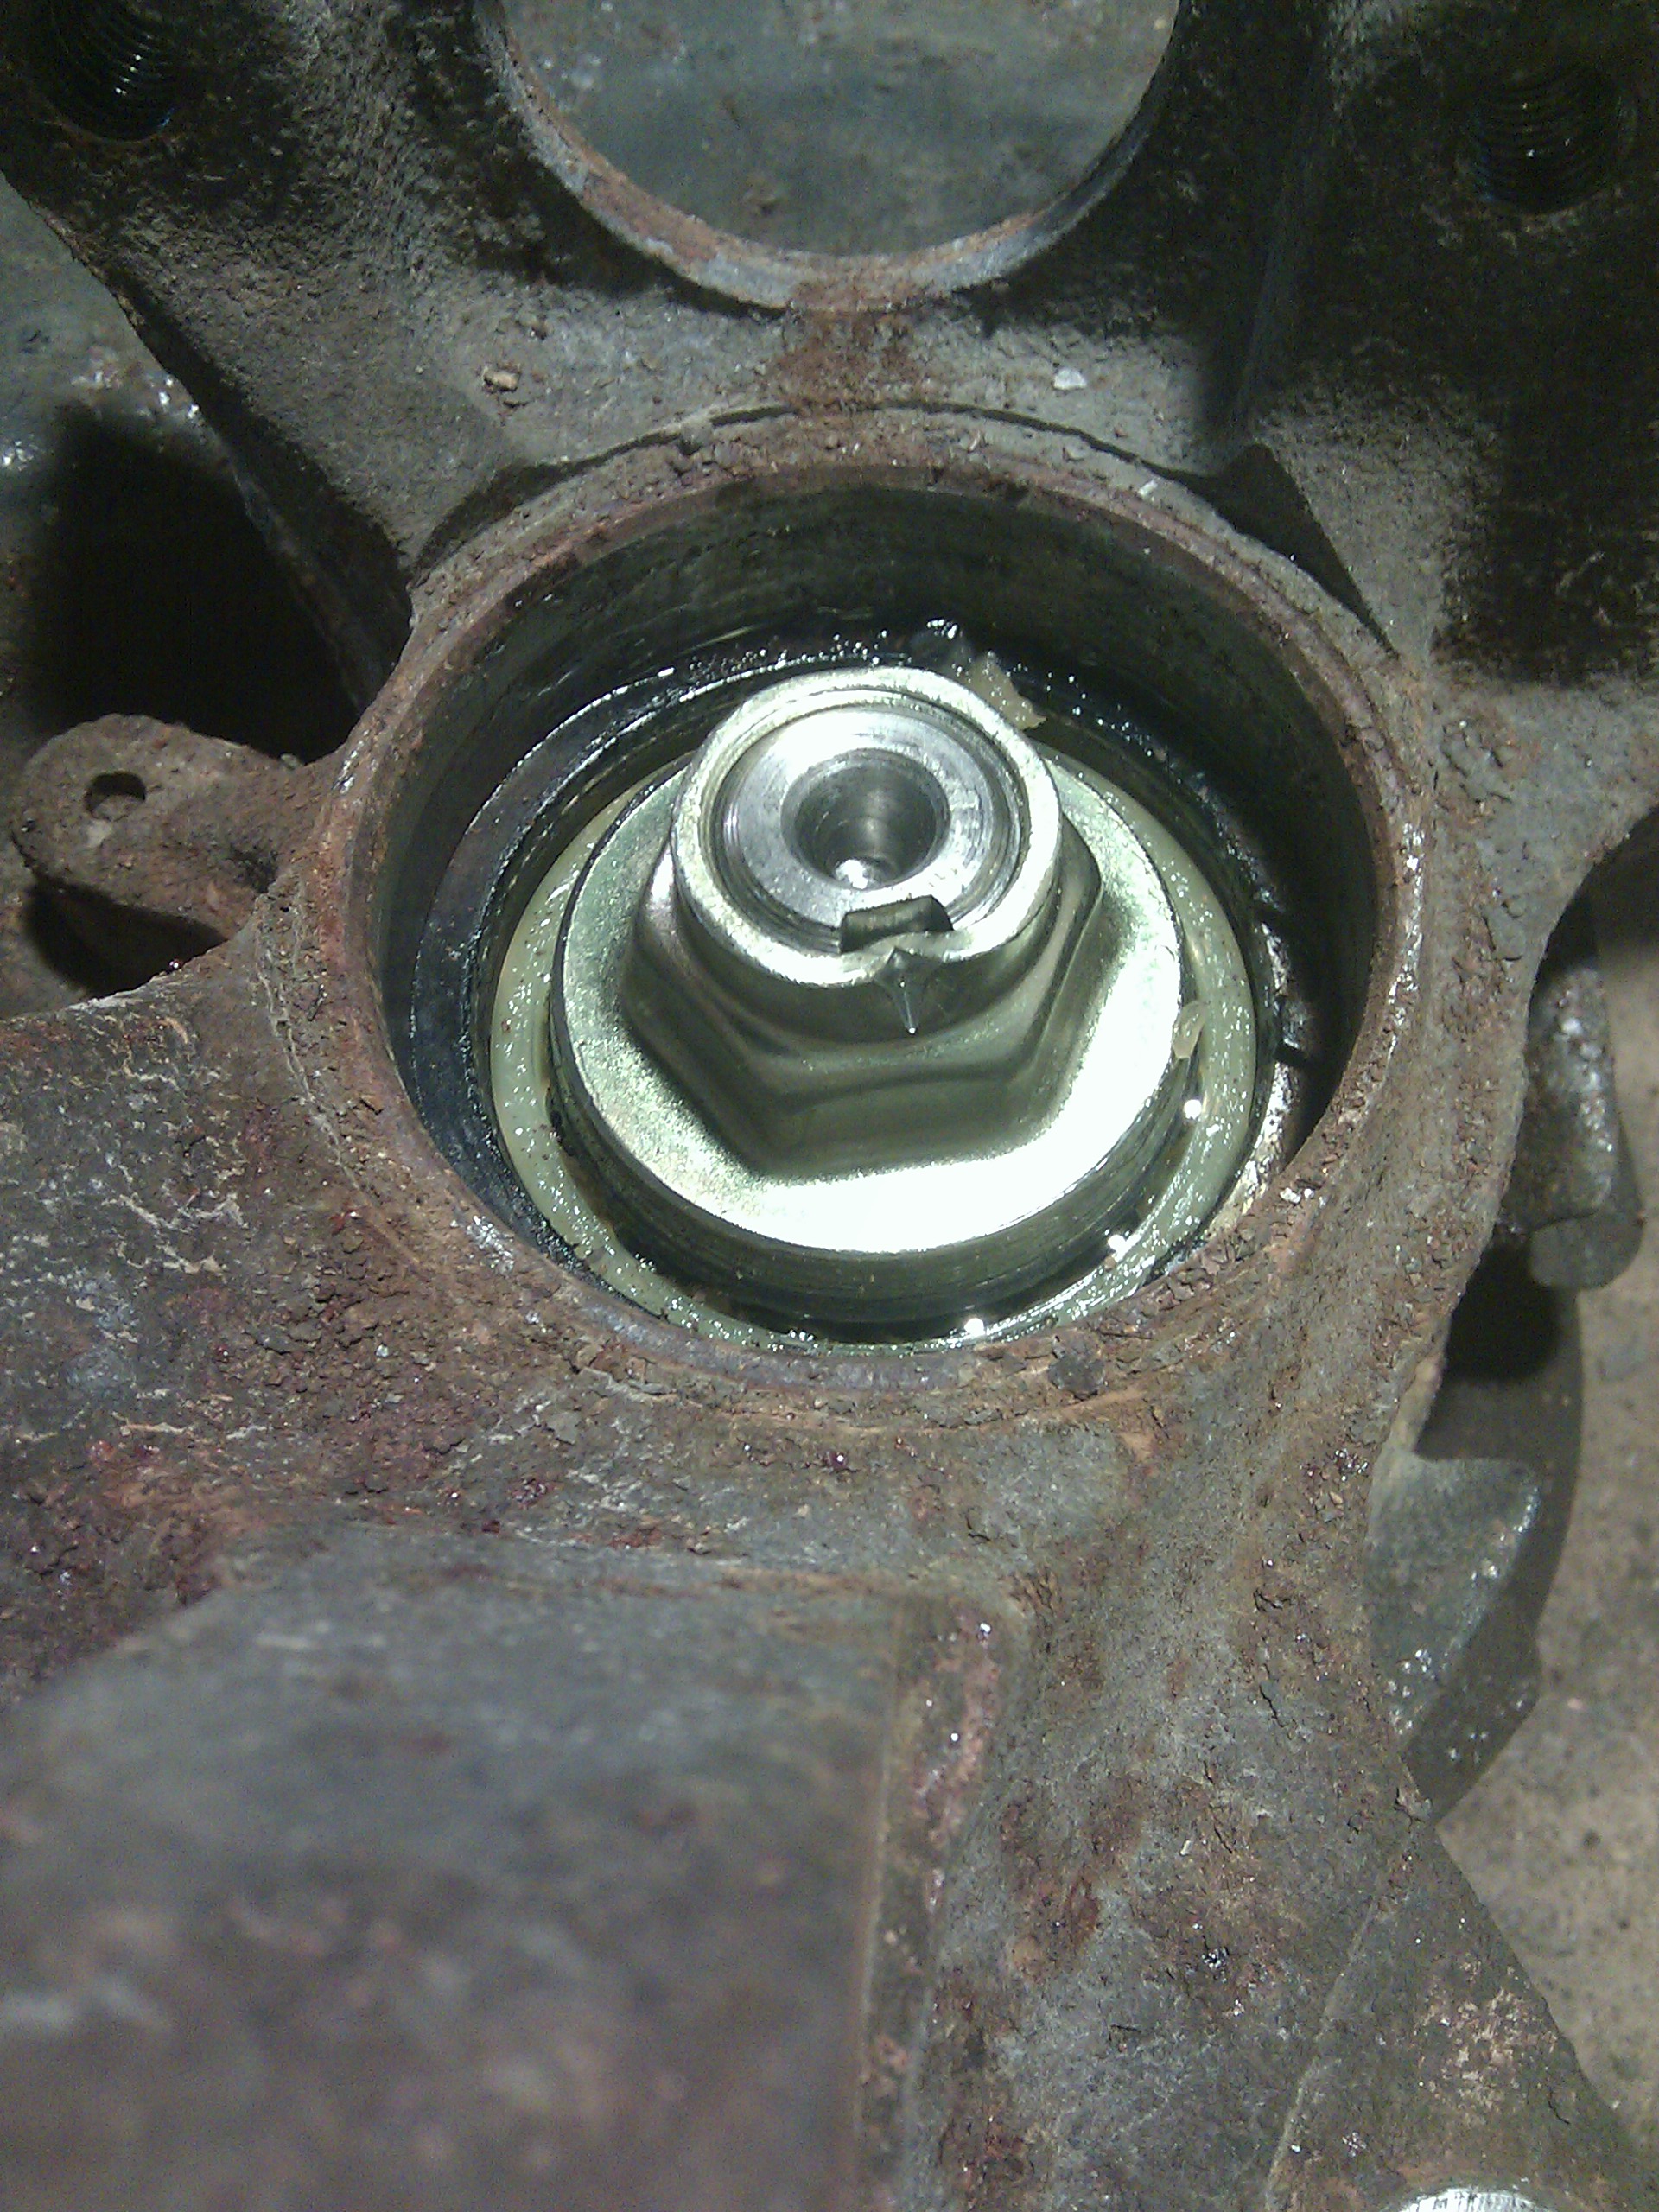
Use a cold chisel to make the vertical 'cuts' needed to remove the deformed part of the nut, then remove the nut itself.
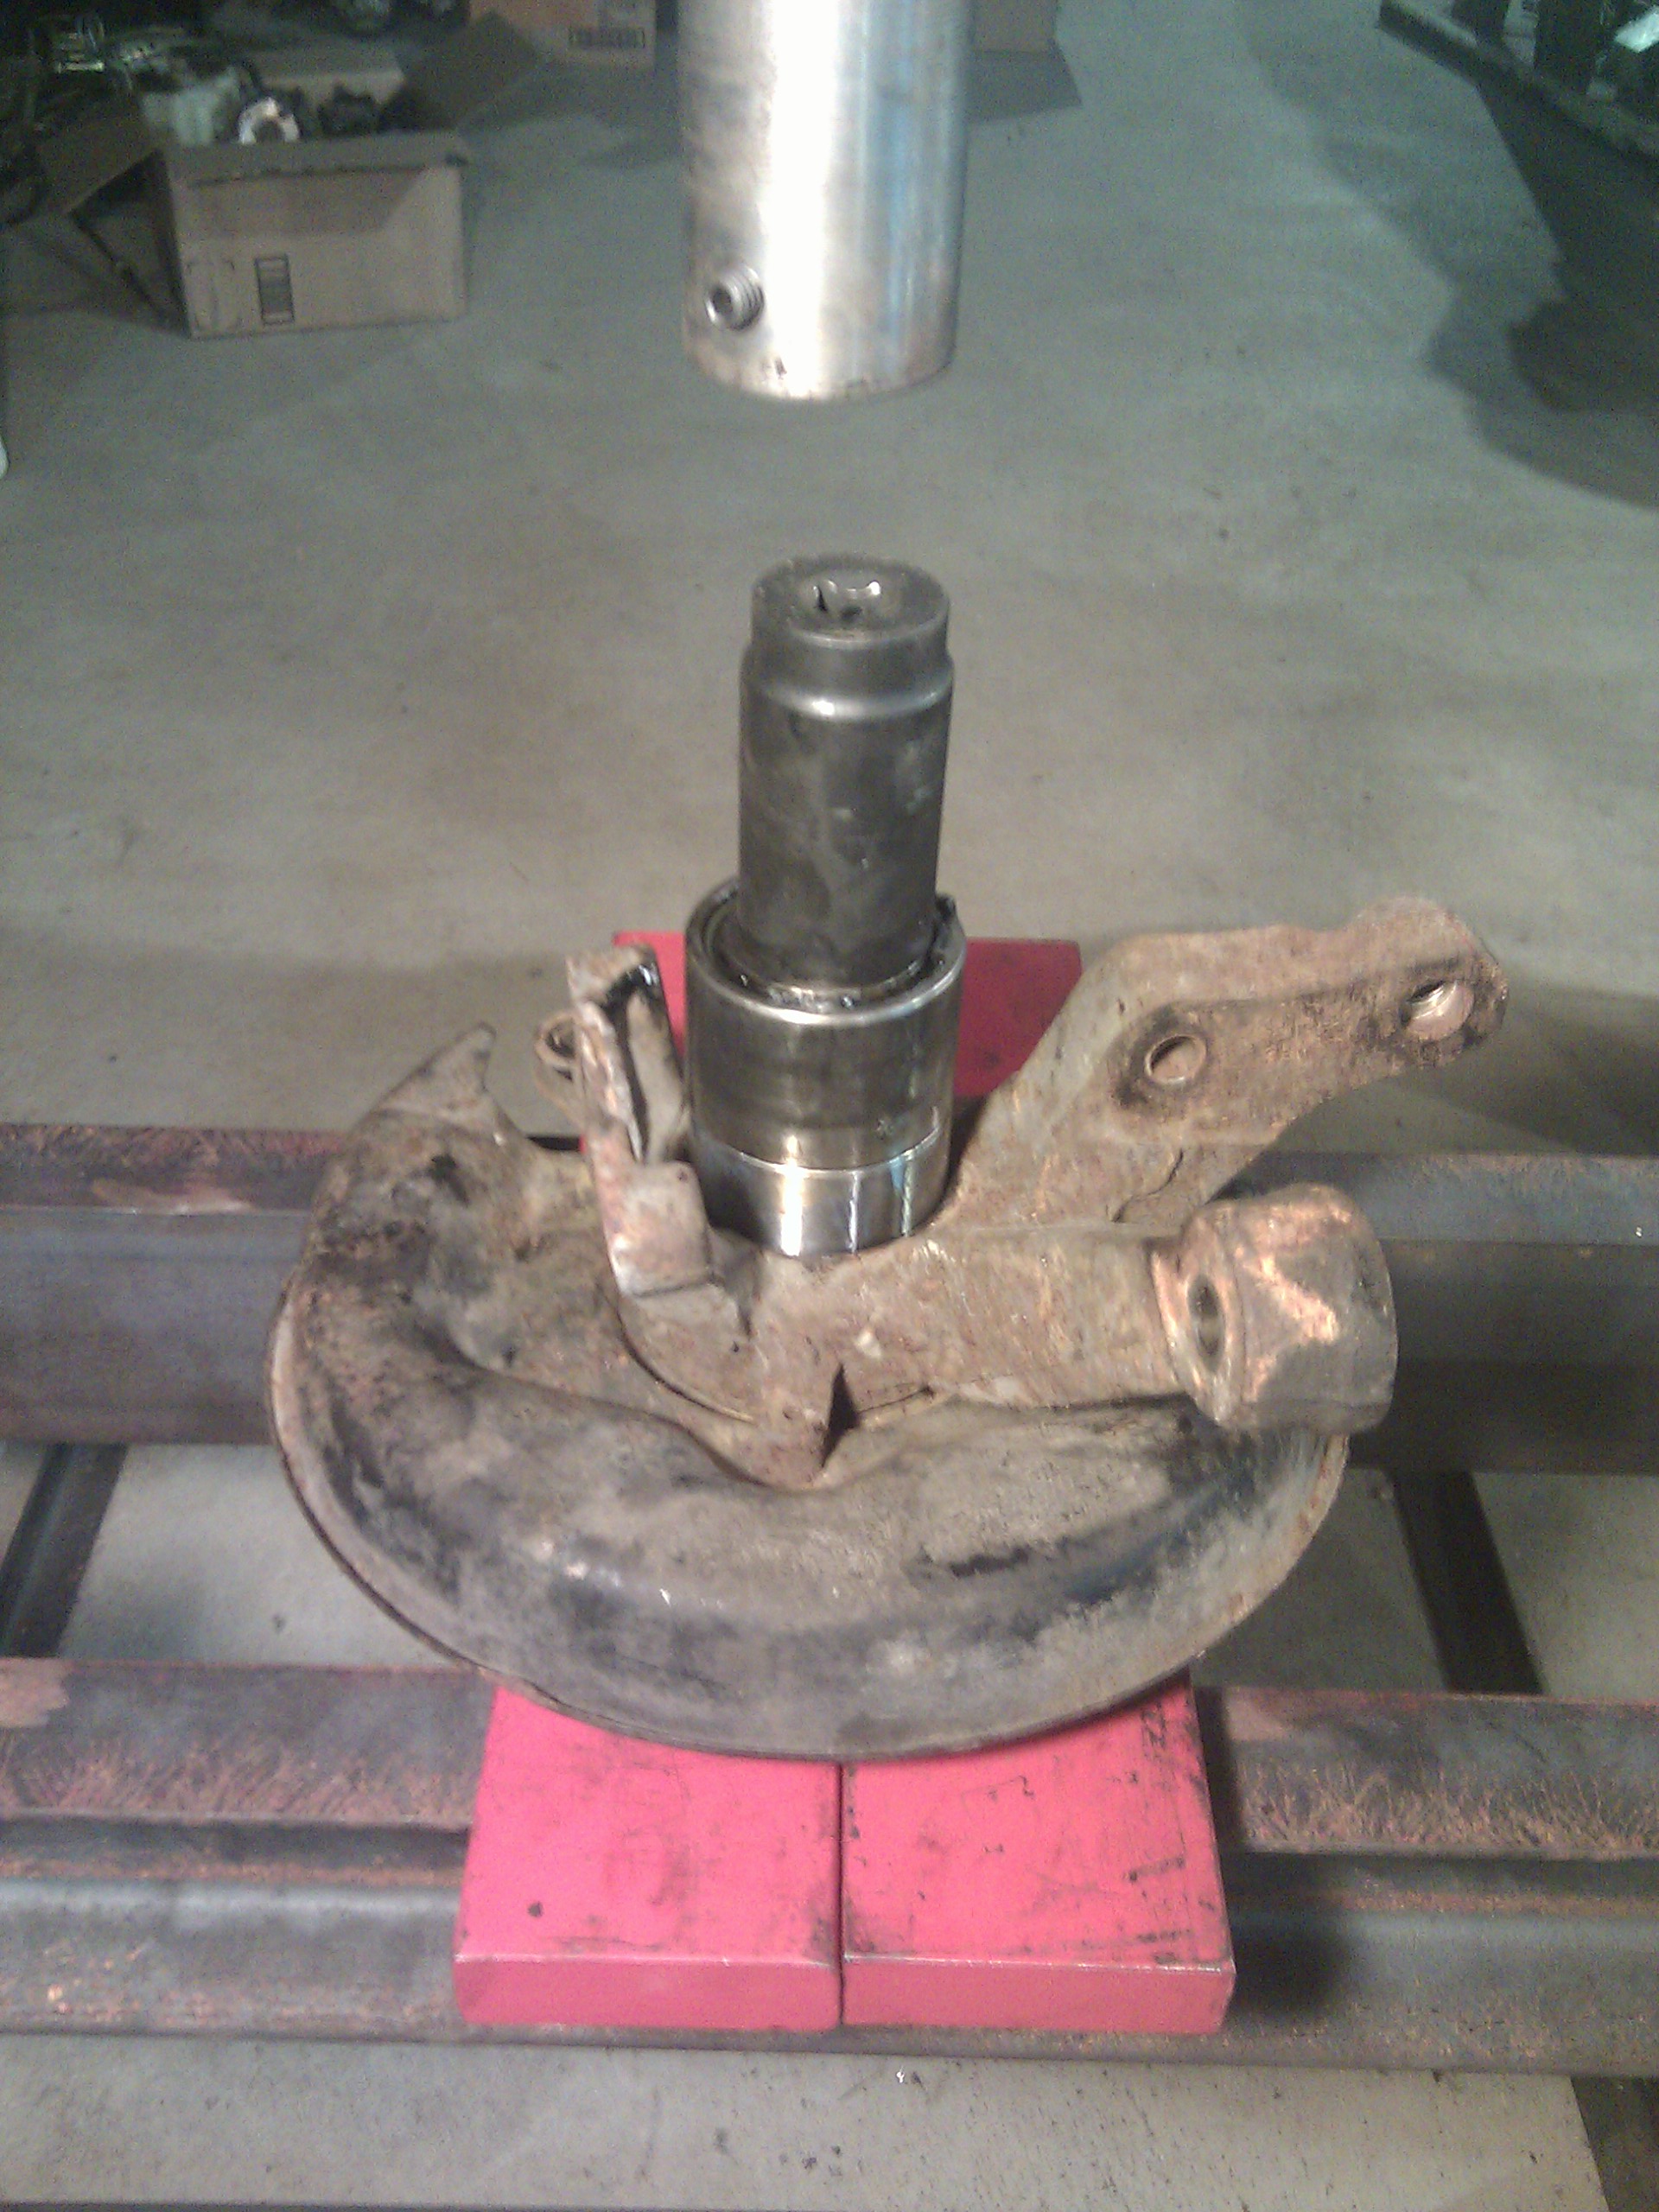
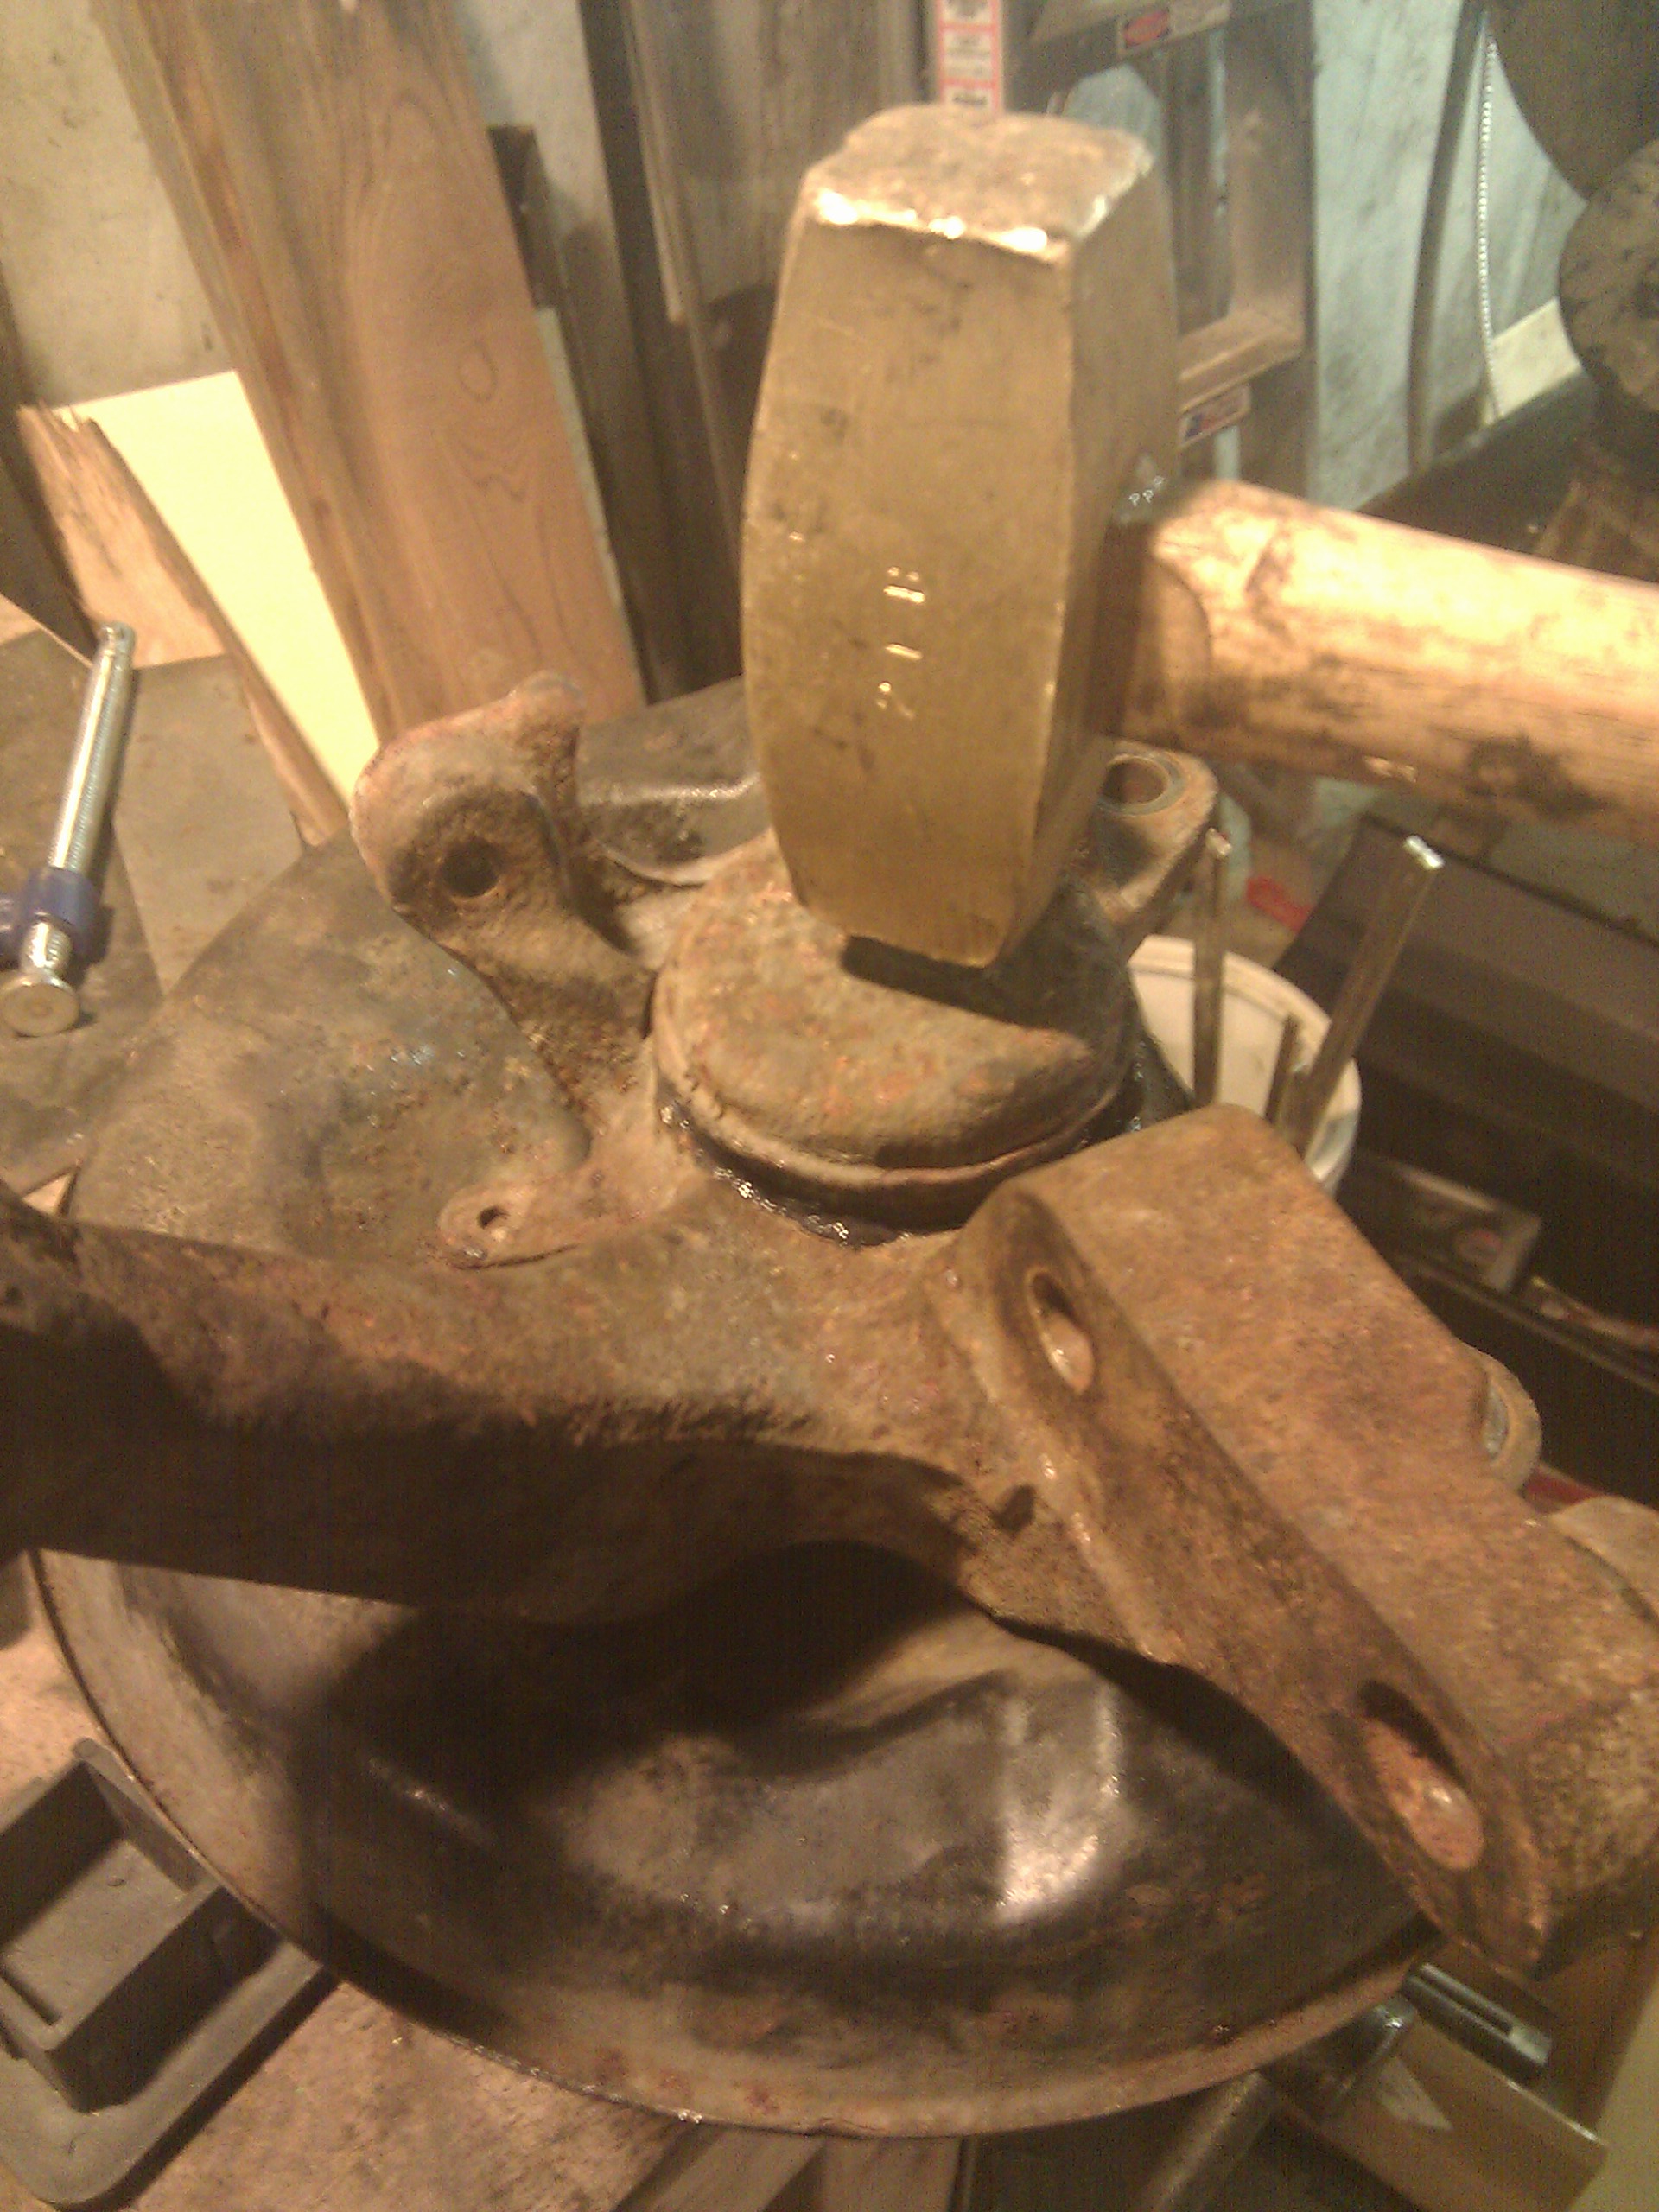
At this point, you're supposed to use SST 09950-20017, which looks supsiciously like a 2-jaw puller, to press the hub out of the bearing. However, I suspect that the authors of the shop manual were looking at something else when they wrote this, because I couldn't find any good place to grab the knuckle in the jaws of the puller. So, I called the dealership and they pointed out an alternative SST that could be used.
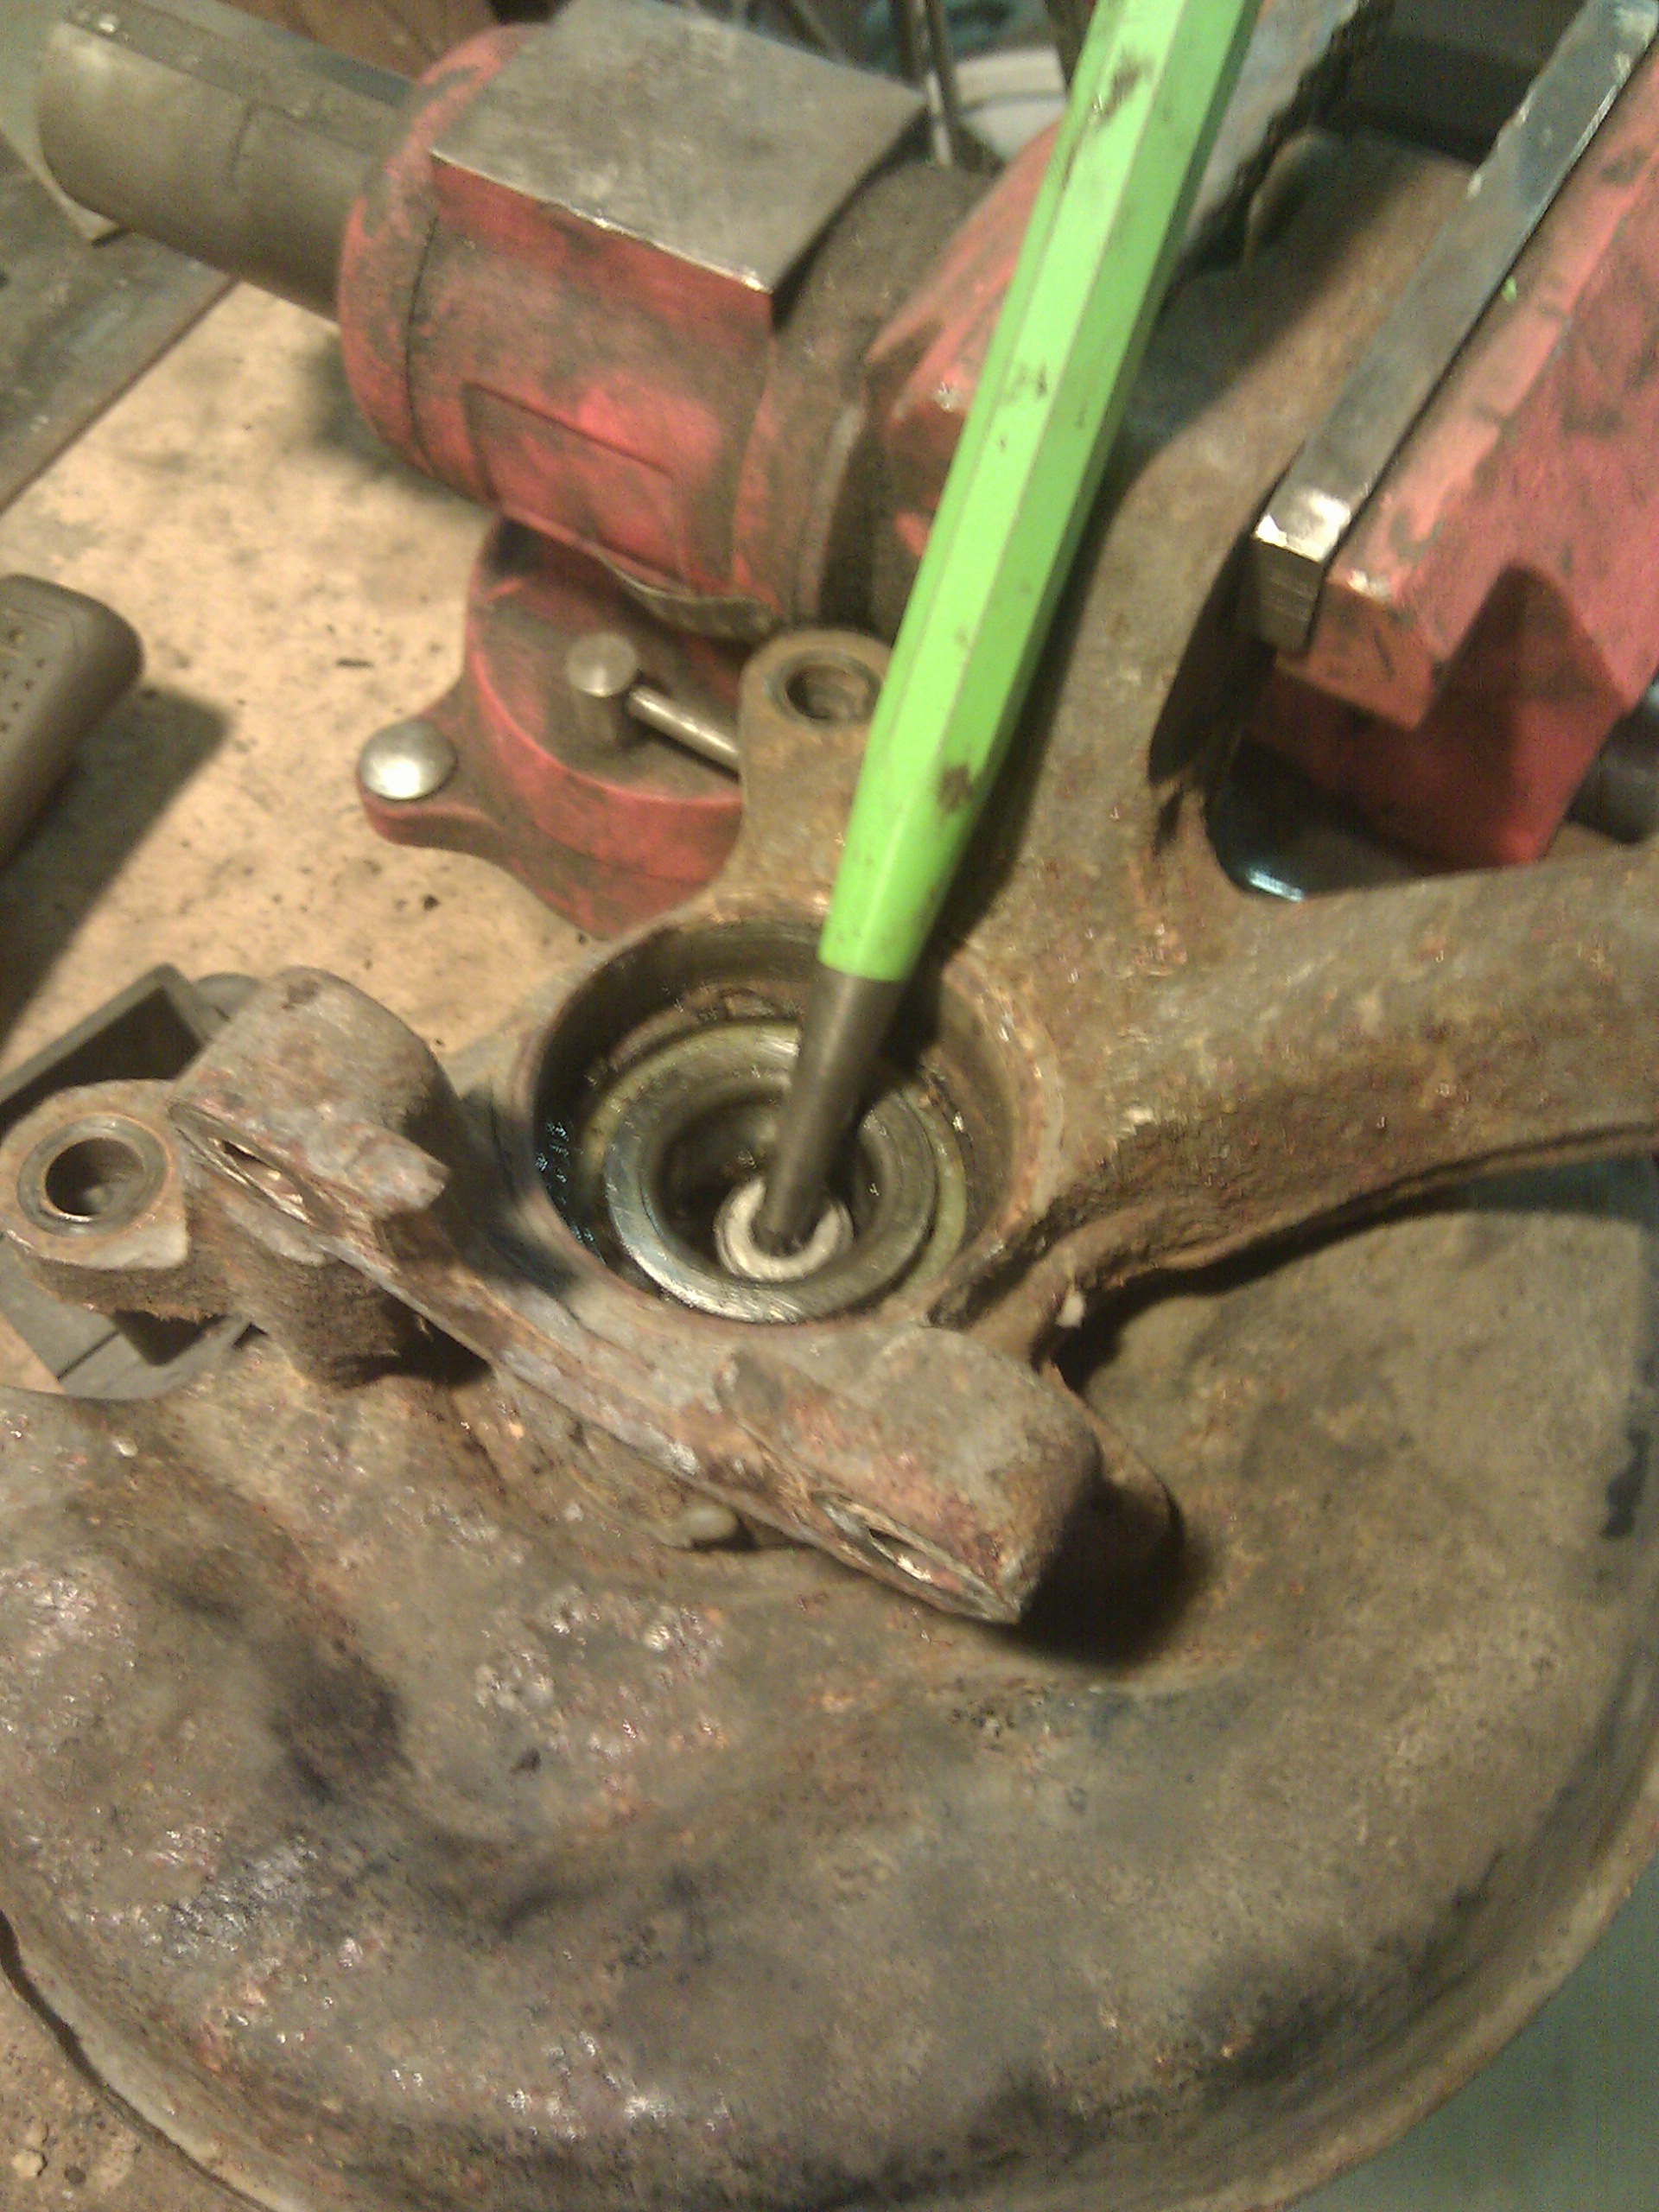
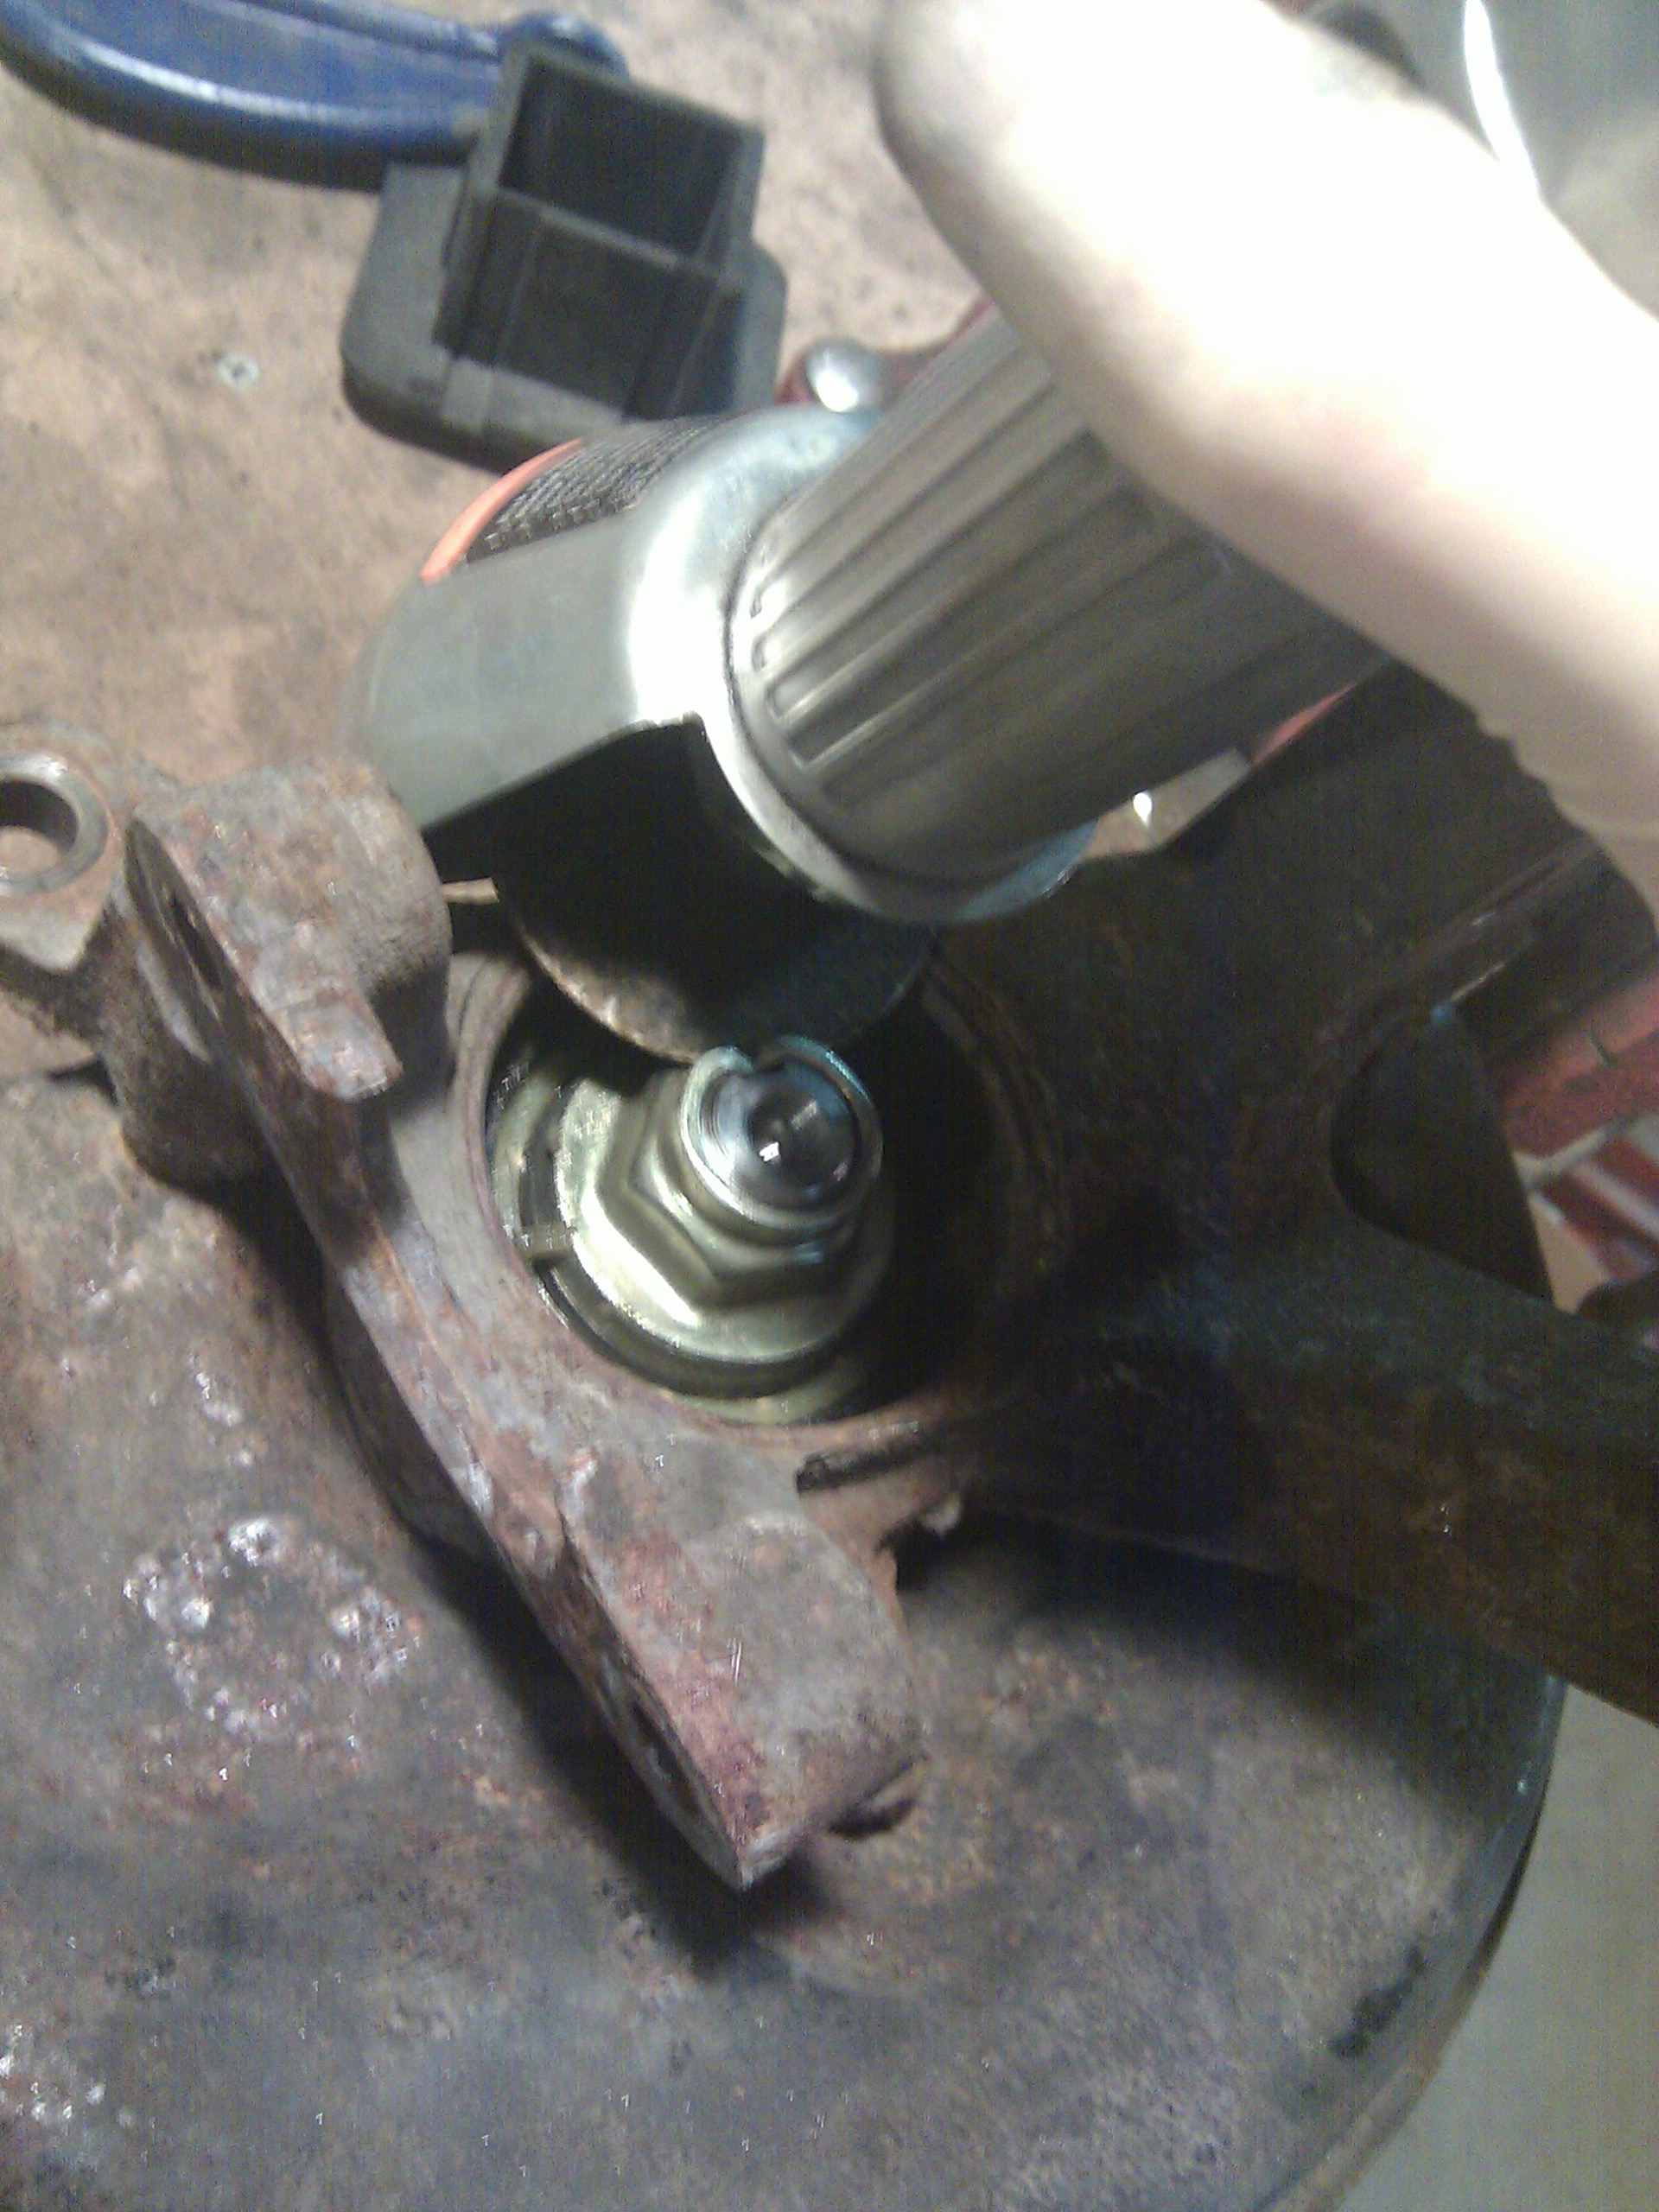
(If you have trouble getting it started, a couple of blows from a 2 lb brass hammer directly on the hub should do it. I used a 24 oz ball peen hammer to drive the taper punch.)
One inner bearing race always sticks on the hub when you remove it. I've got a little jig that's designed to sneak in and hold the race so you can press it off the hub in the press.
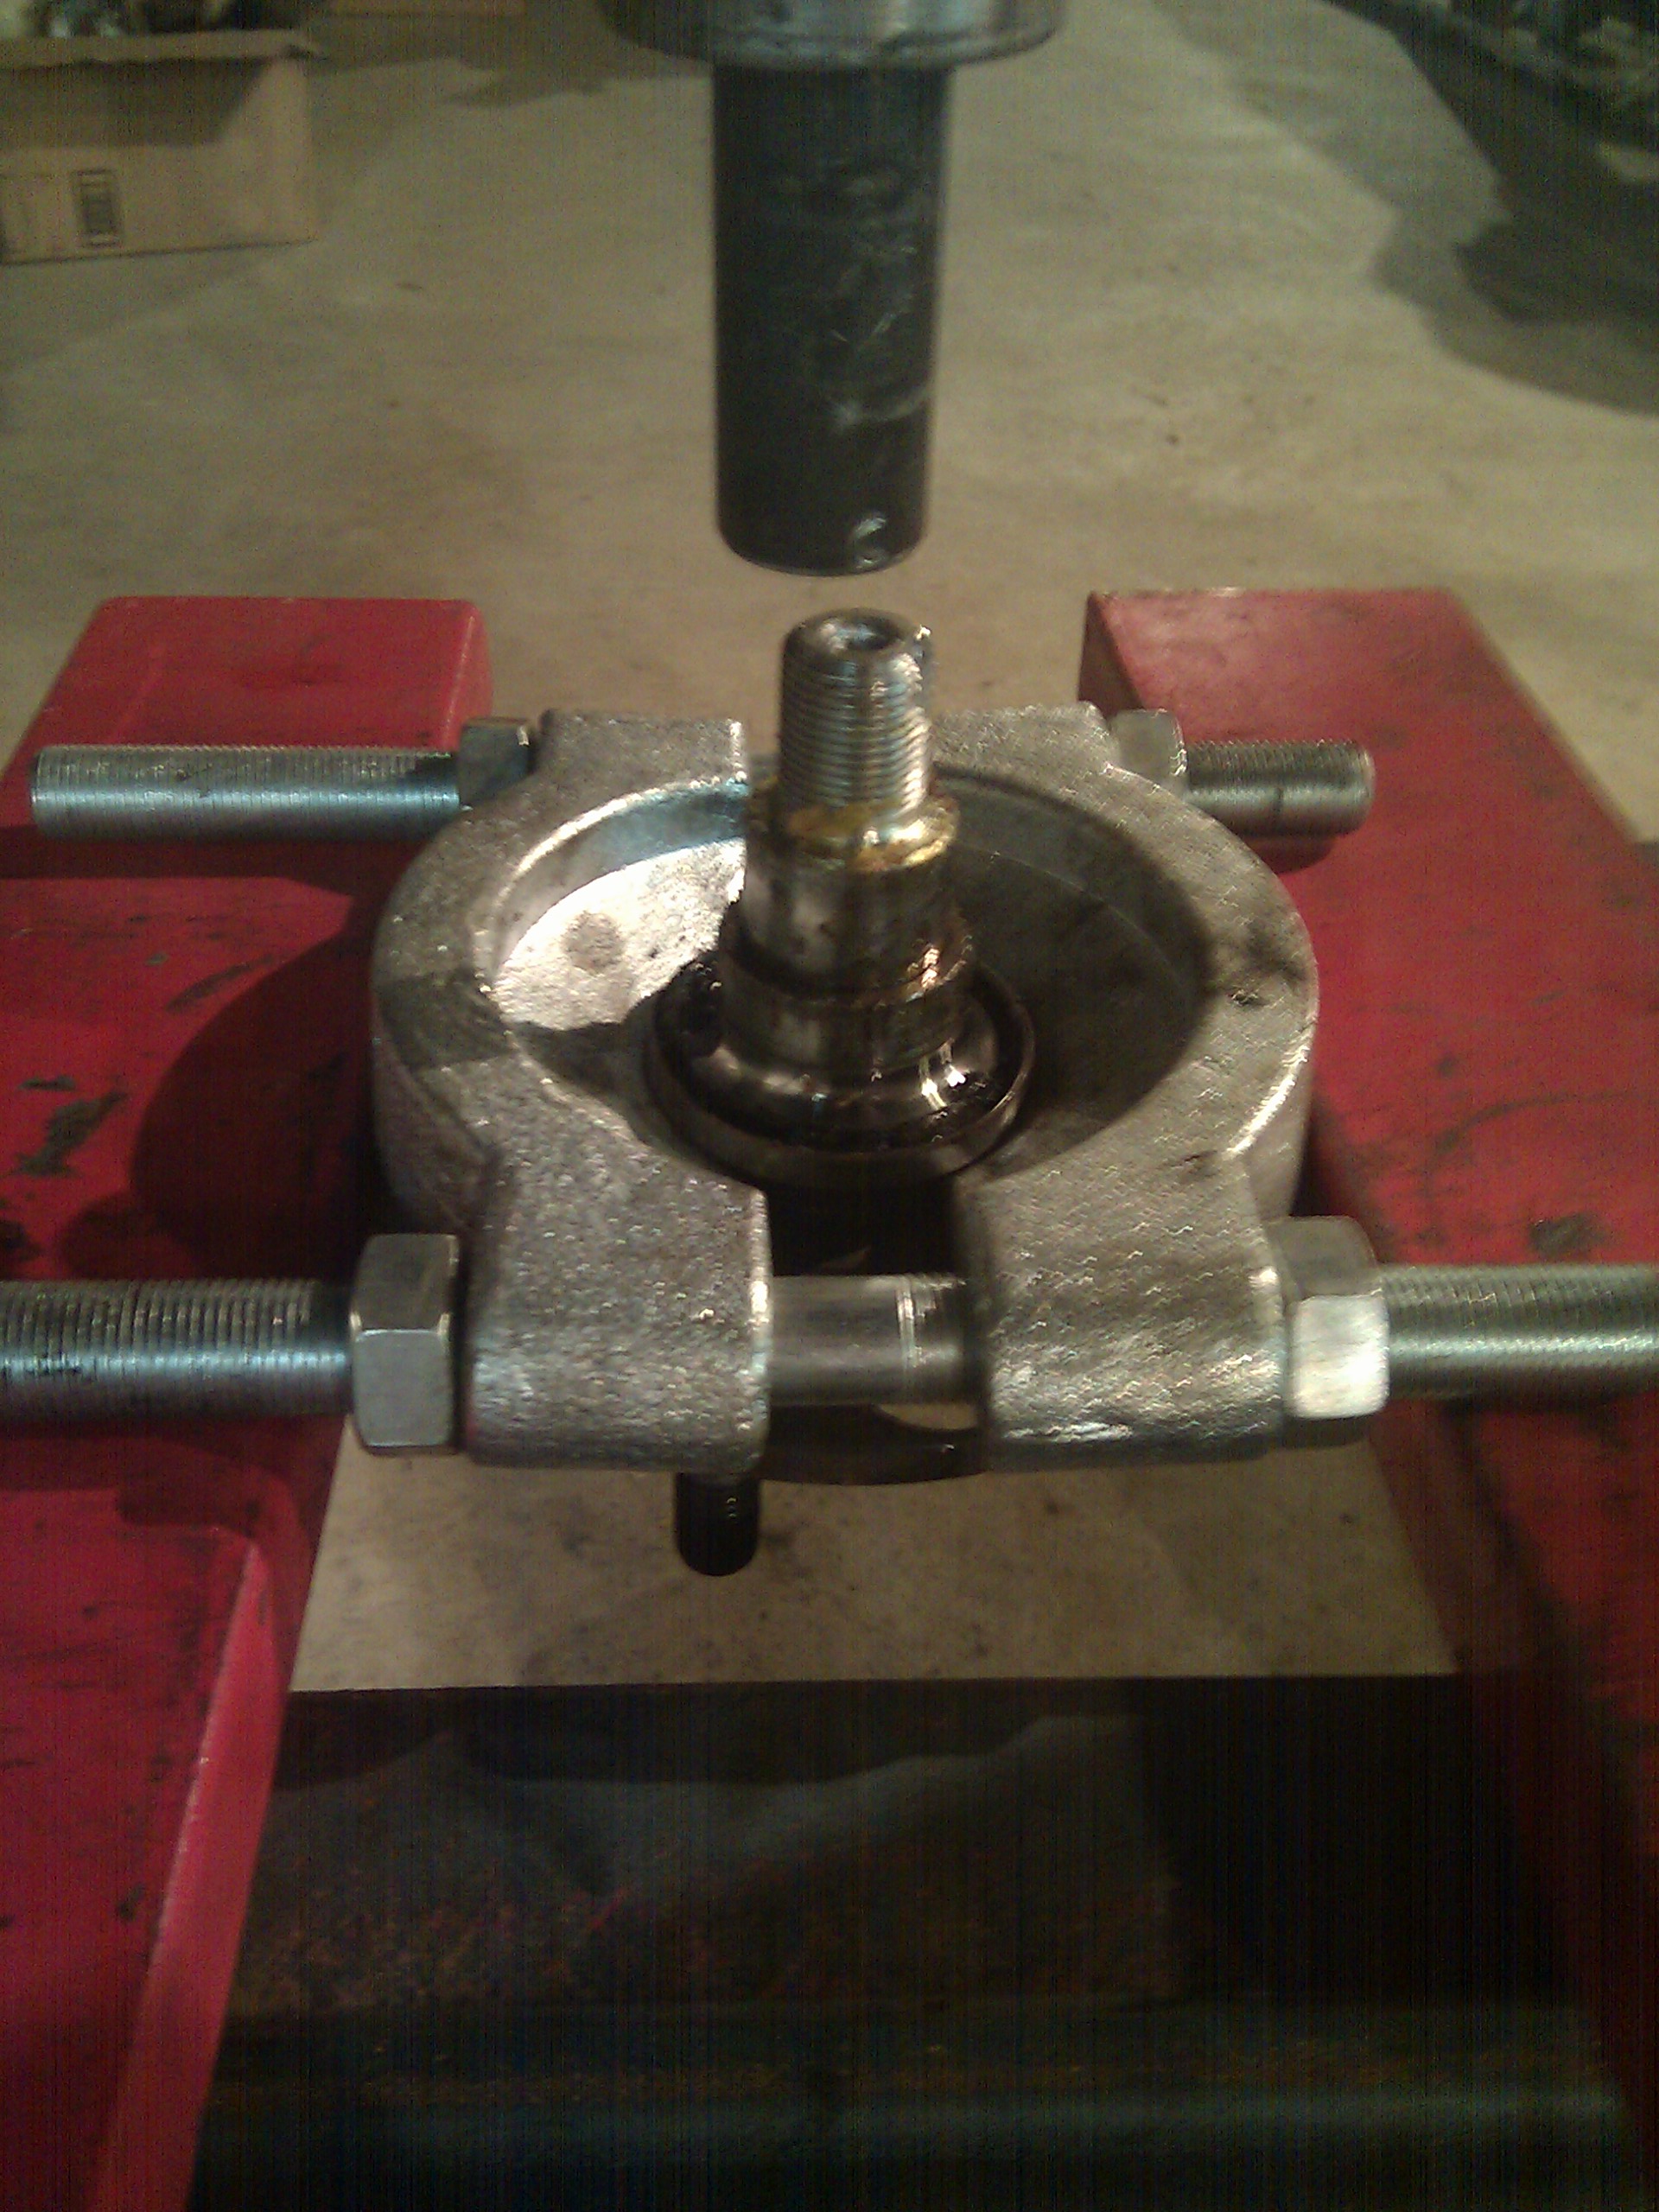
Err, I mean, use SST 09308-00010 to remove the outer oil seal and SST 09950-20017 again to remove the inner bearing race.
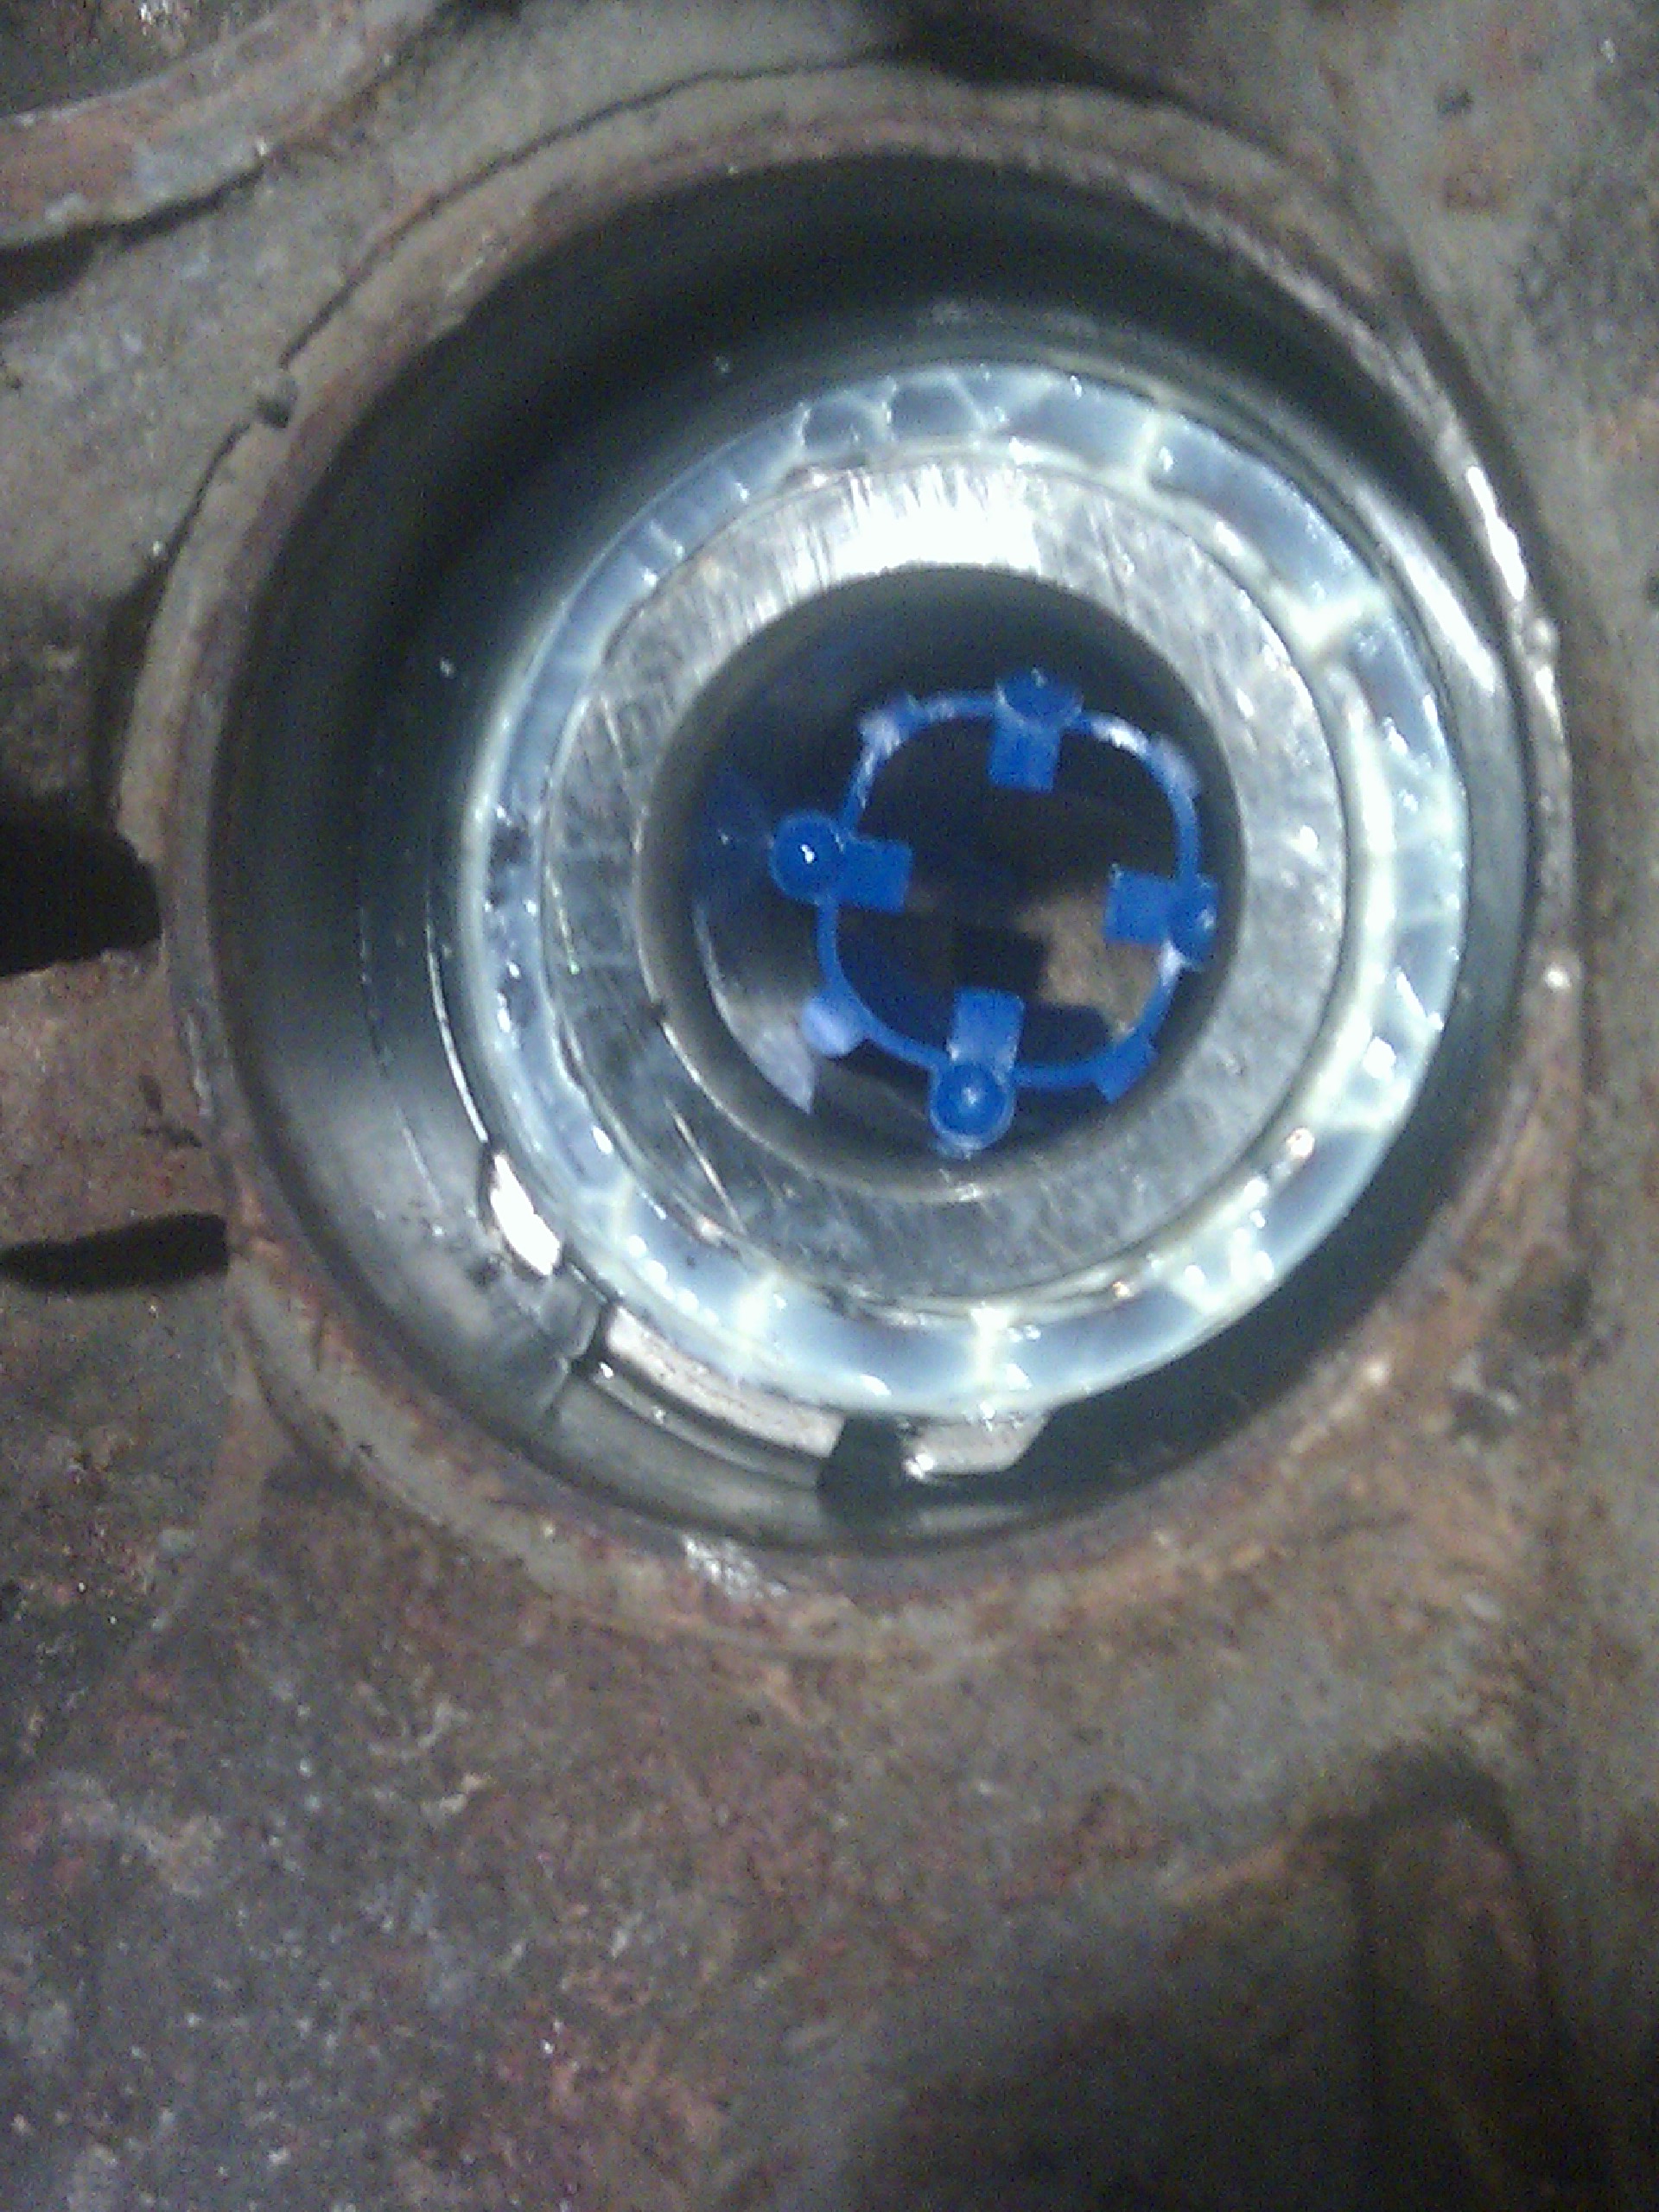
Take your snap ring pliers:
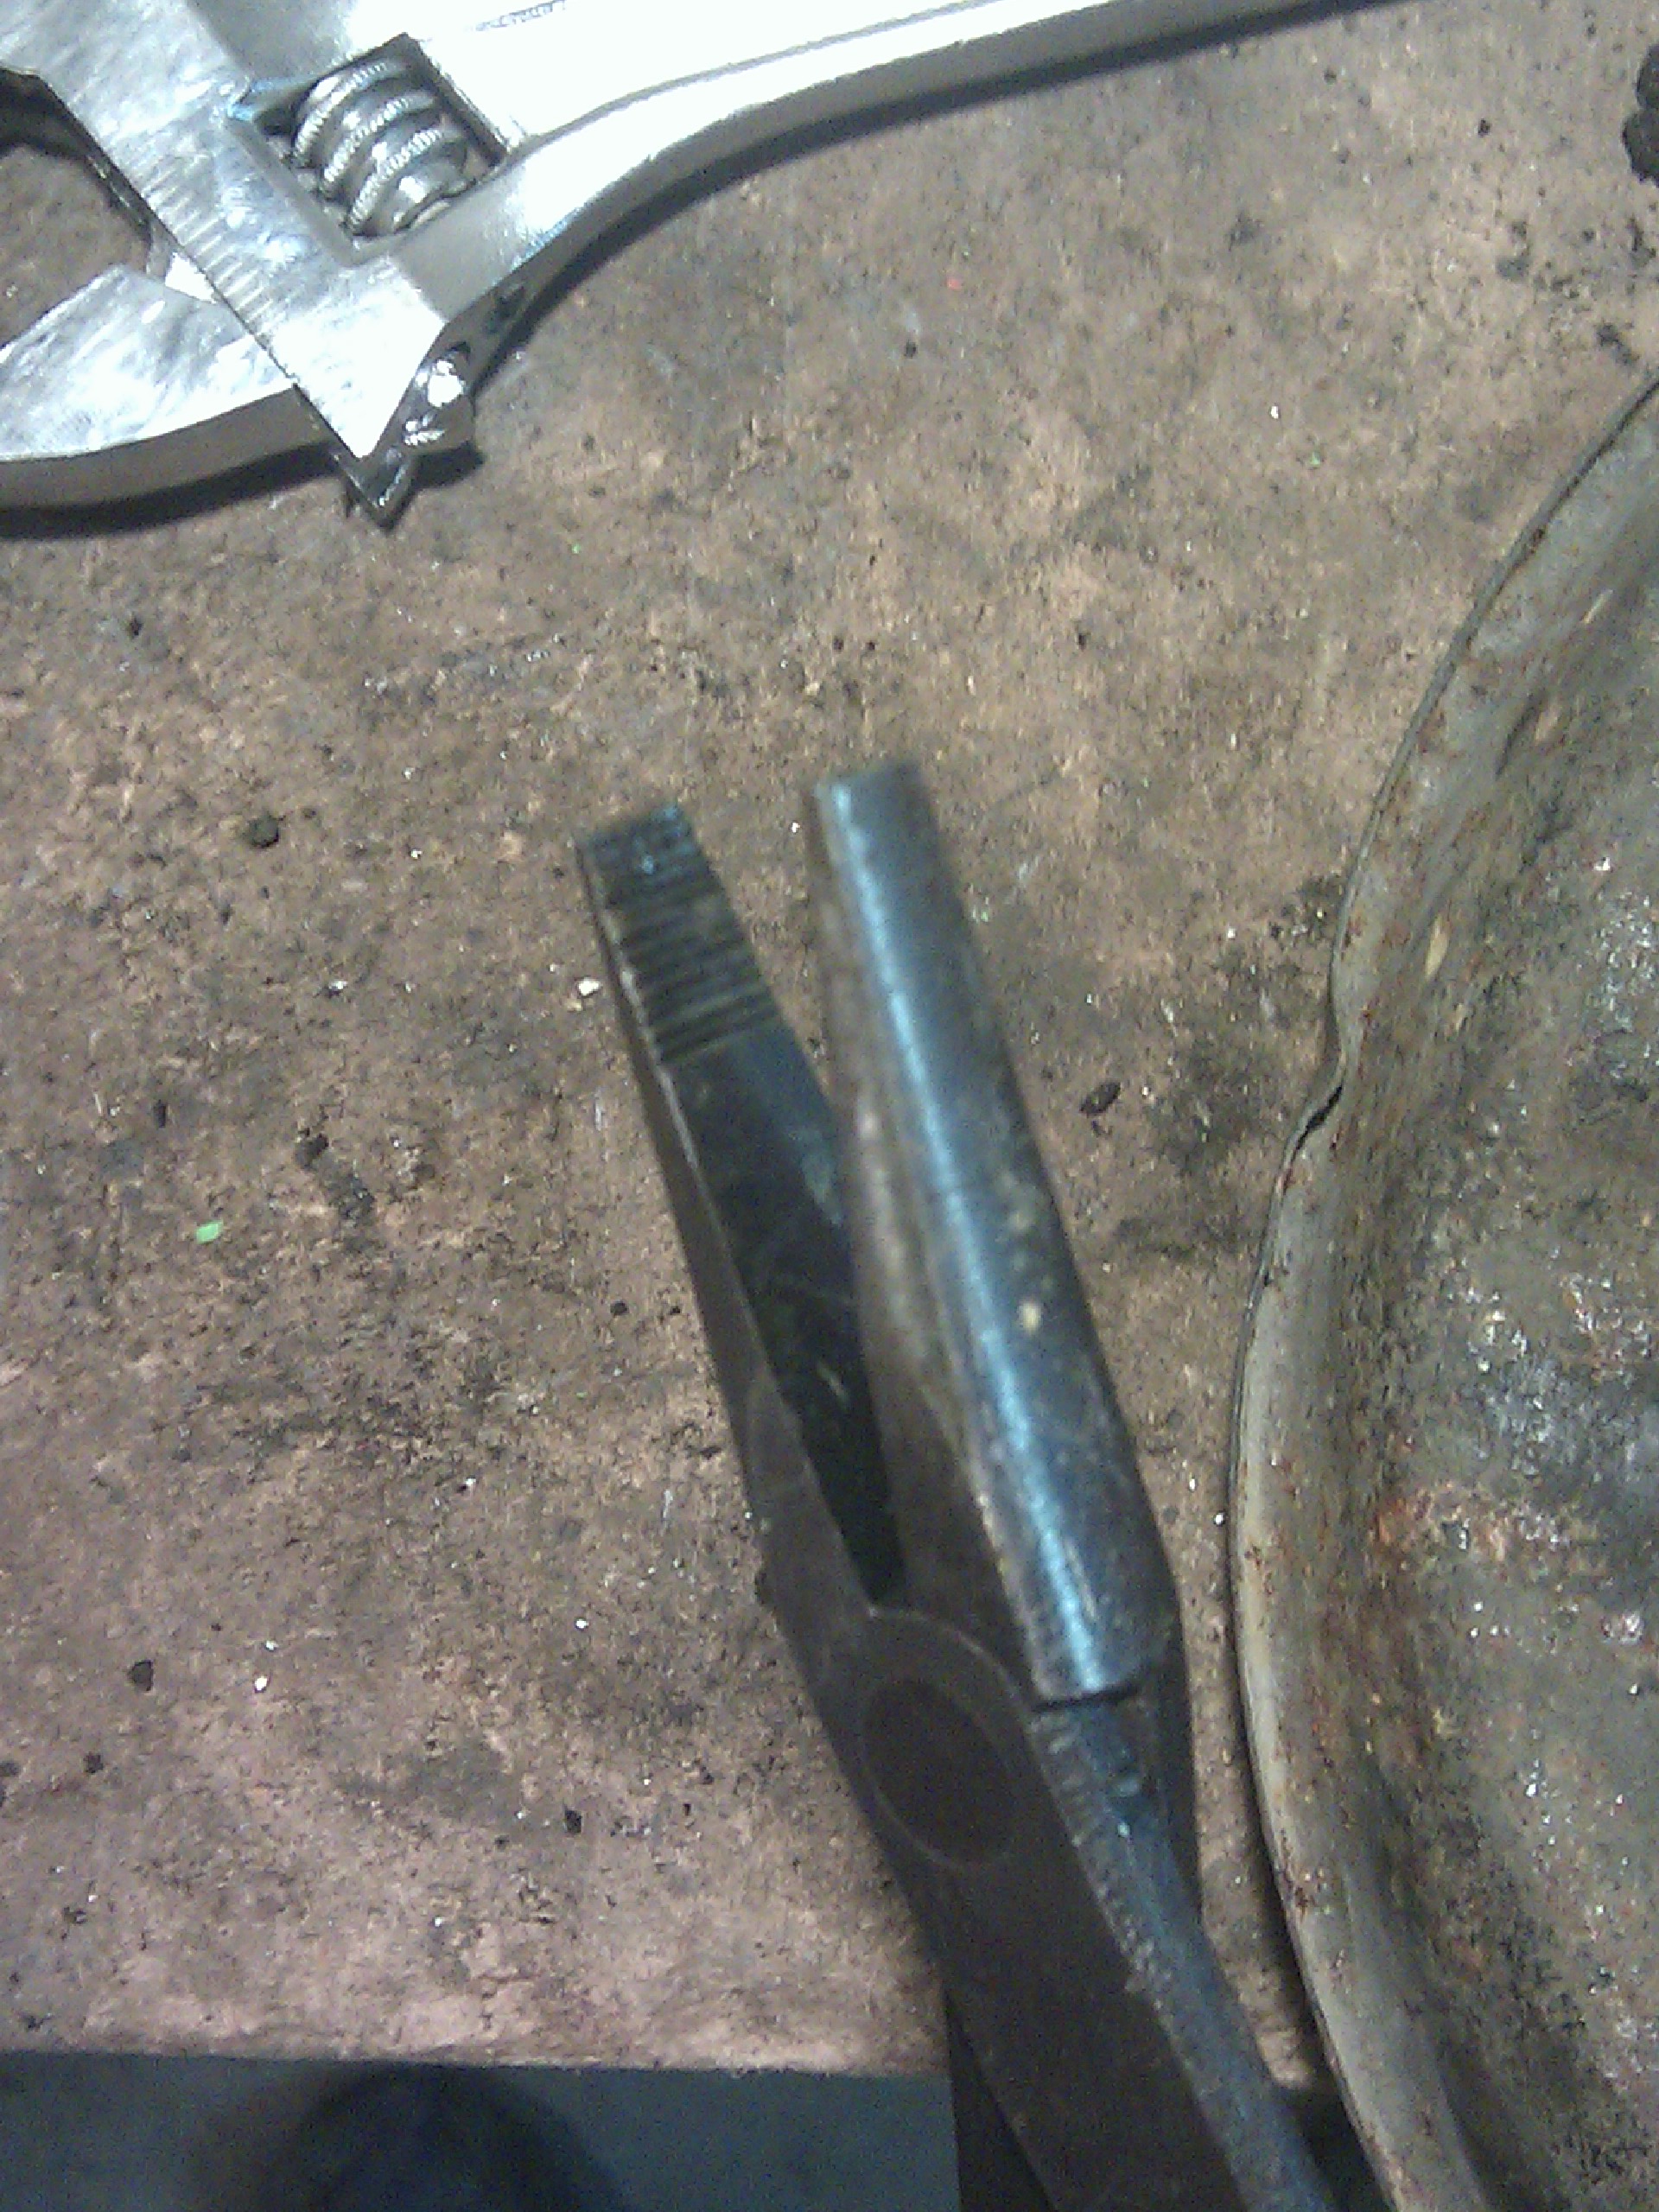
(a pair of flat jaw needle nose pliers always work better for me on these big snap rings) and remove the snap ring from inside the knuckle. Once the snap ring is out of the way, you can press the outer bearing race out with SST 09608-30012 and 09649-17010:
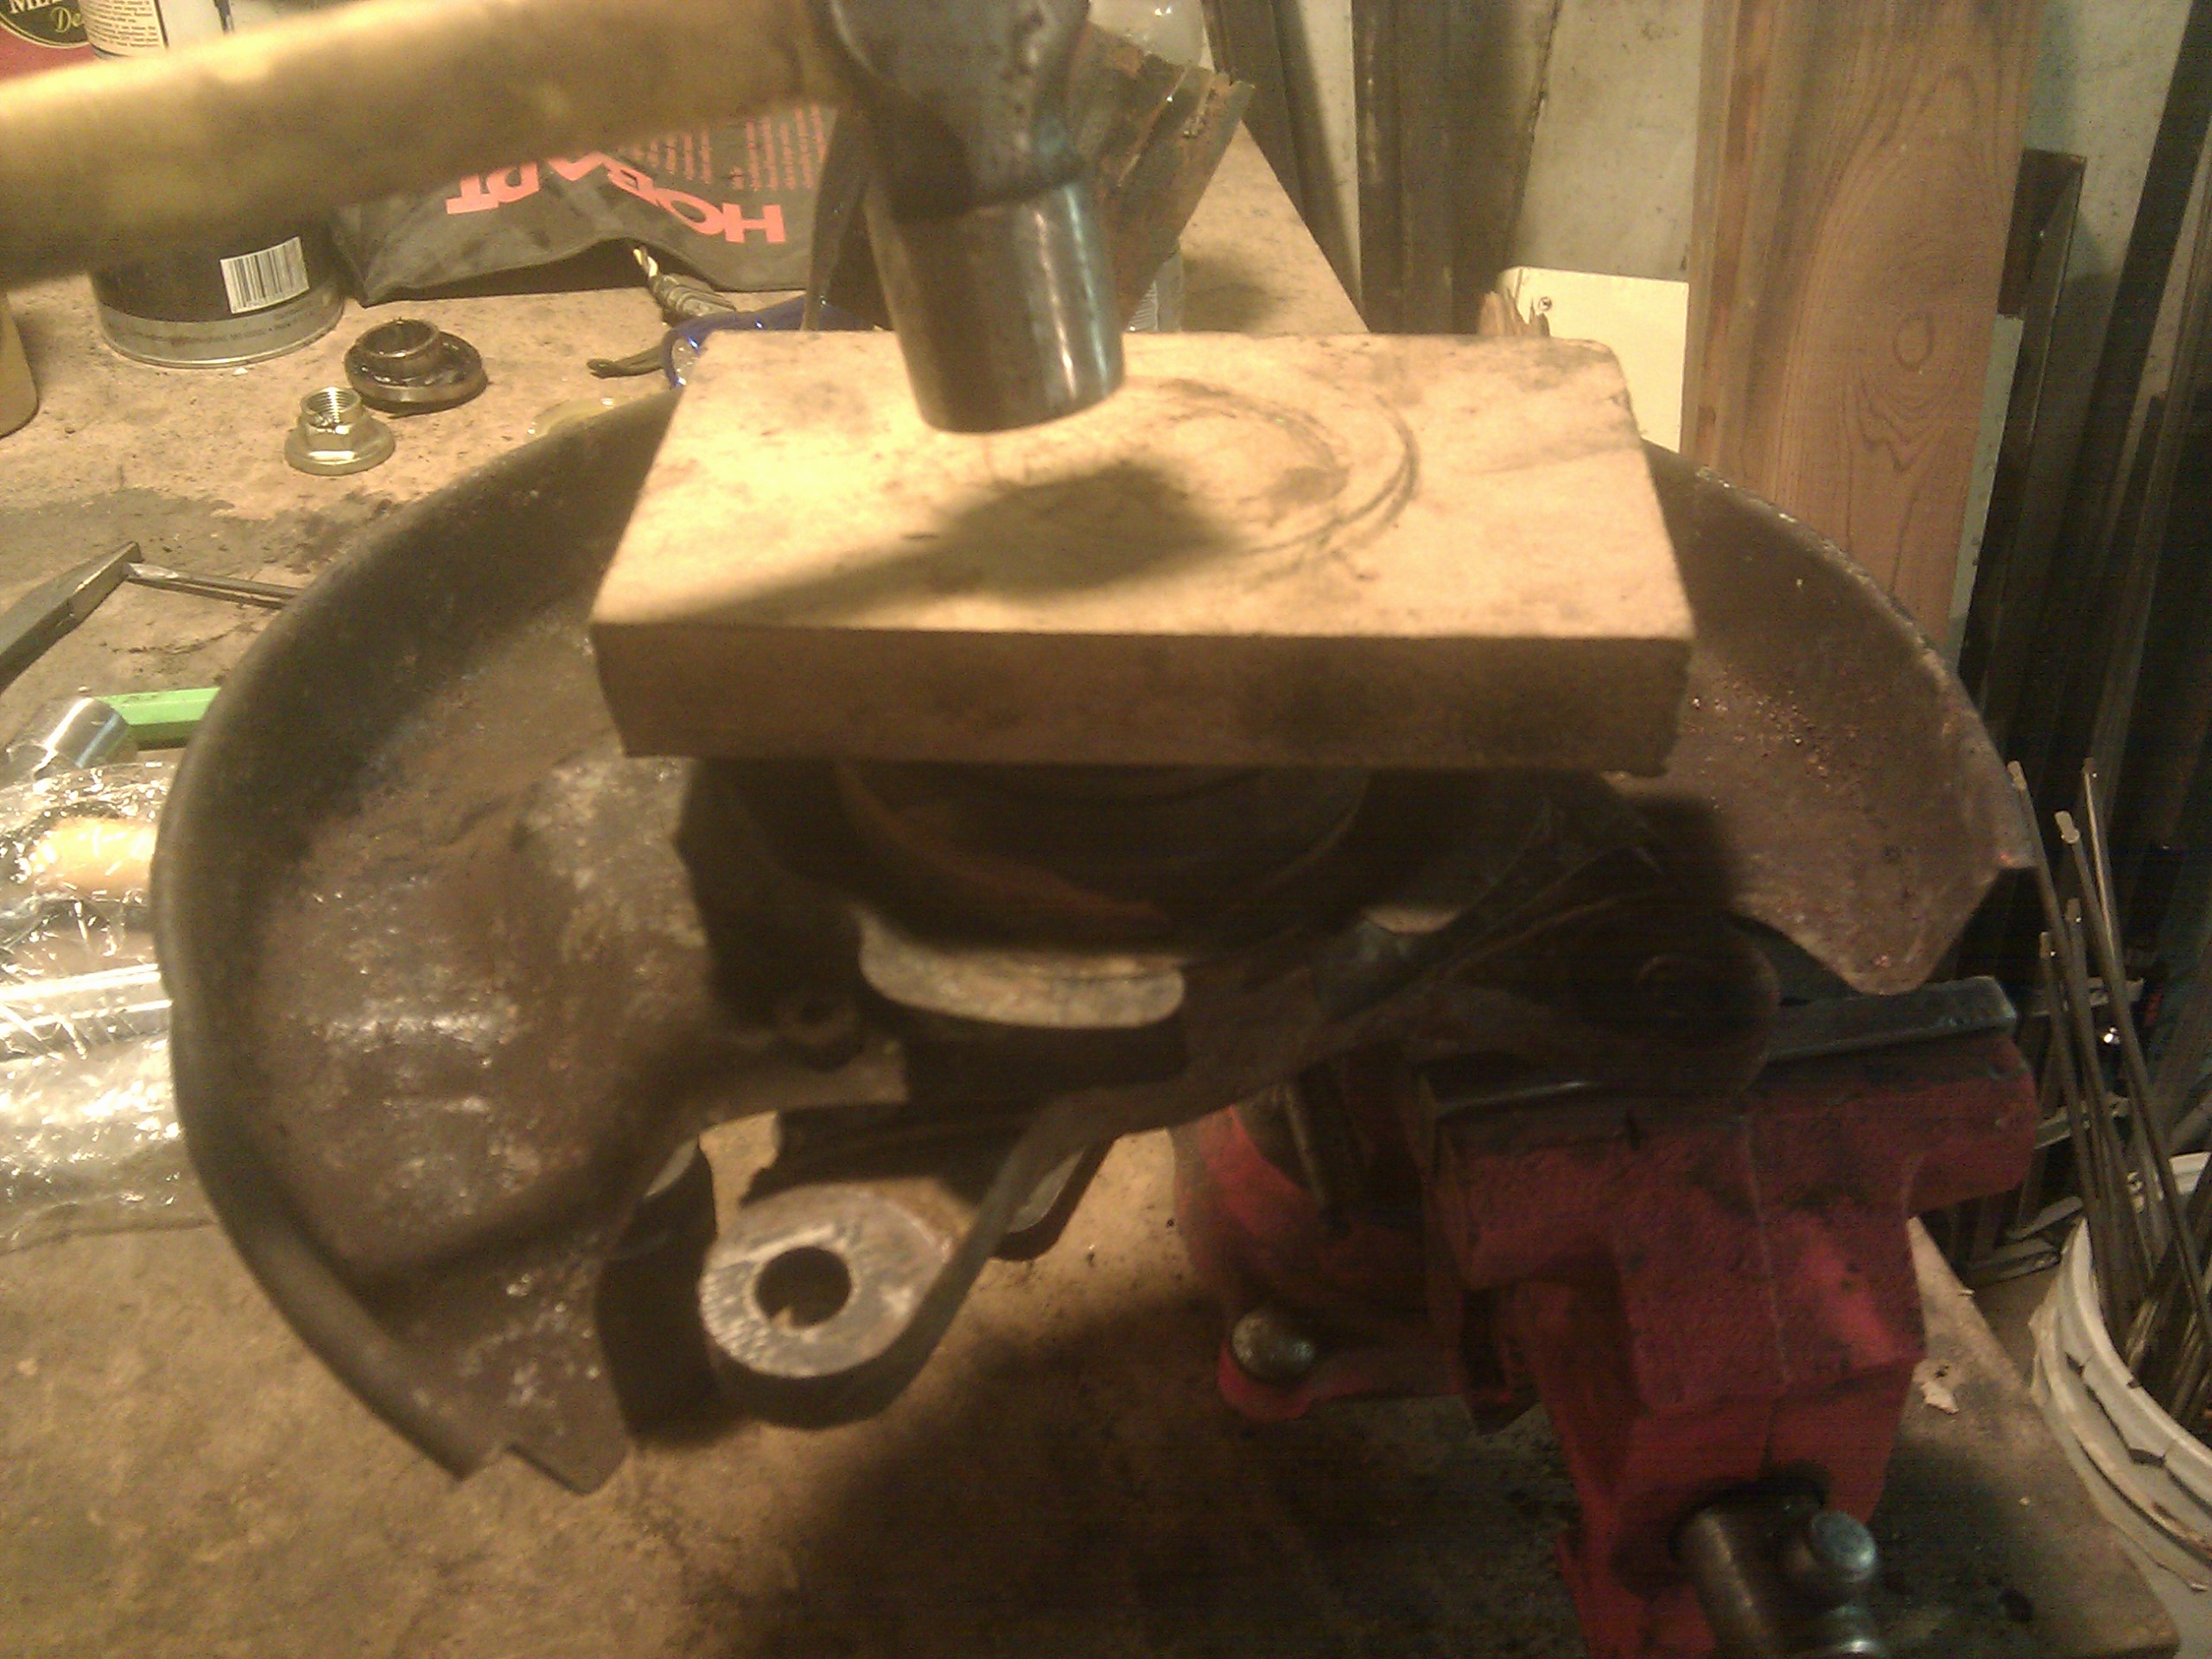
Clean up the grease and grime inside the hub, then press the new bearing in. When pressing in new bearings, it is essential that you not let the force from the press travel across the ball bearings themselves. So, when pressing the outer race into the knuckle, you must press on the outer race, and when pressing the hub onto the inner races, you must press on the inner races.
Use SST 09608-30012 again to install the new bearing:
(That is, in fact, the old bearing stacked on top of the new one. The old bearing will not get stuck in the hub since there is space for only one bearing in there.)
Reinstall the snap ring, after cleaning it up. I like to have a screwdriver handy to encourage the snap ring into its groove. Please note that any process involving snap rings requires a minimum of 2.5 hands.
Using SST 09649-17010, install a new oil seal:
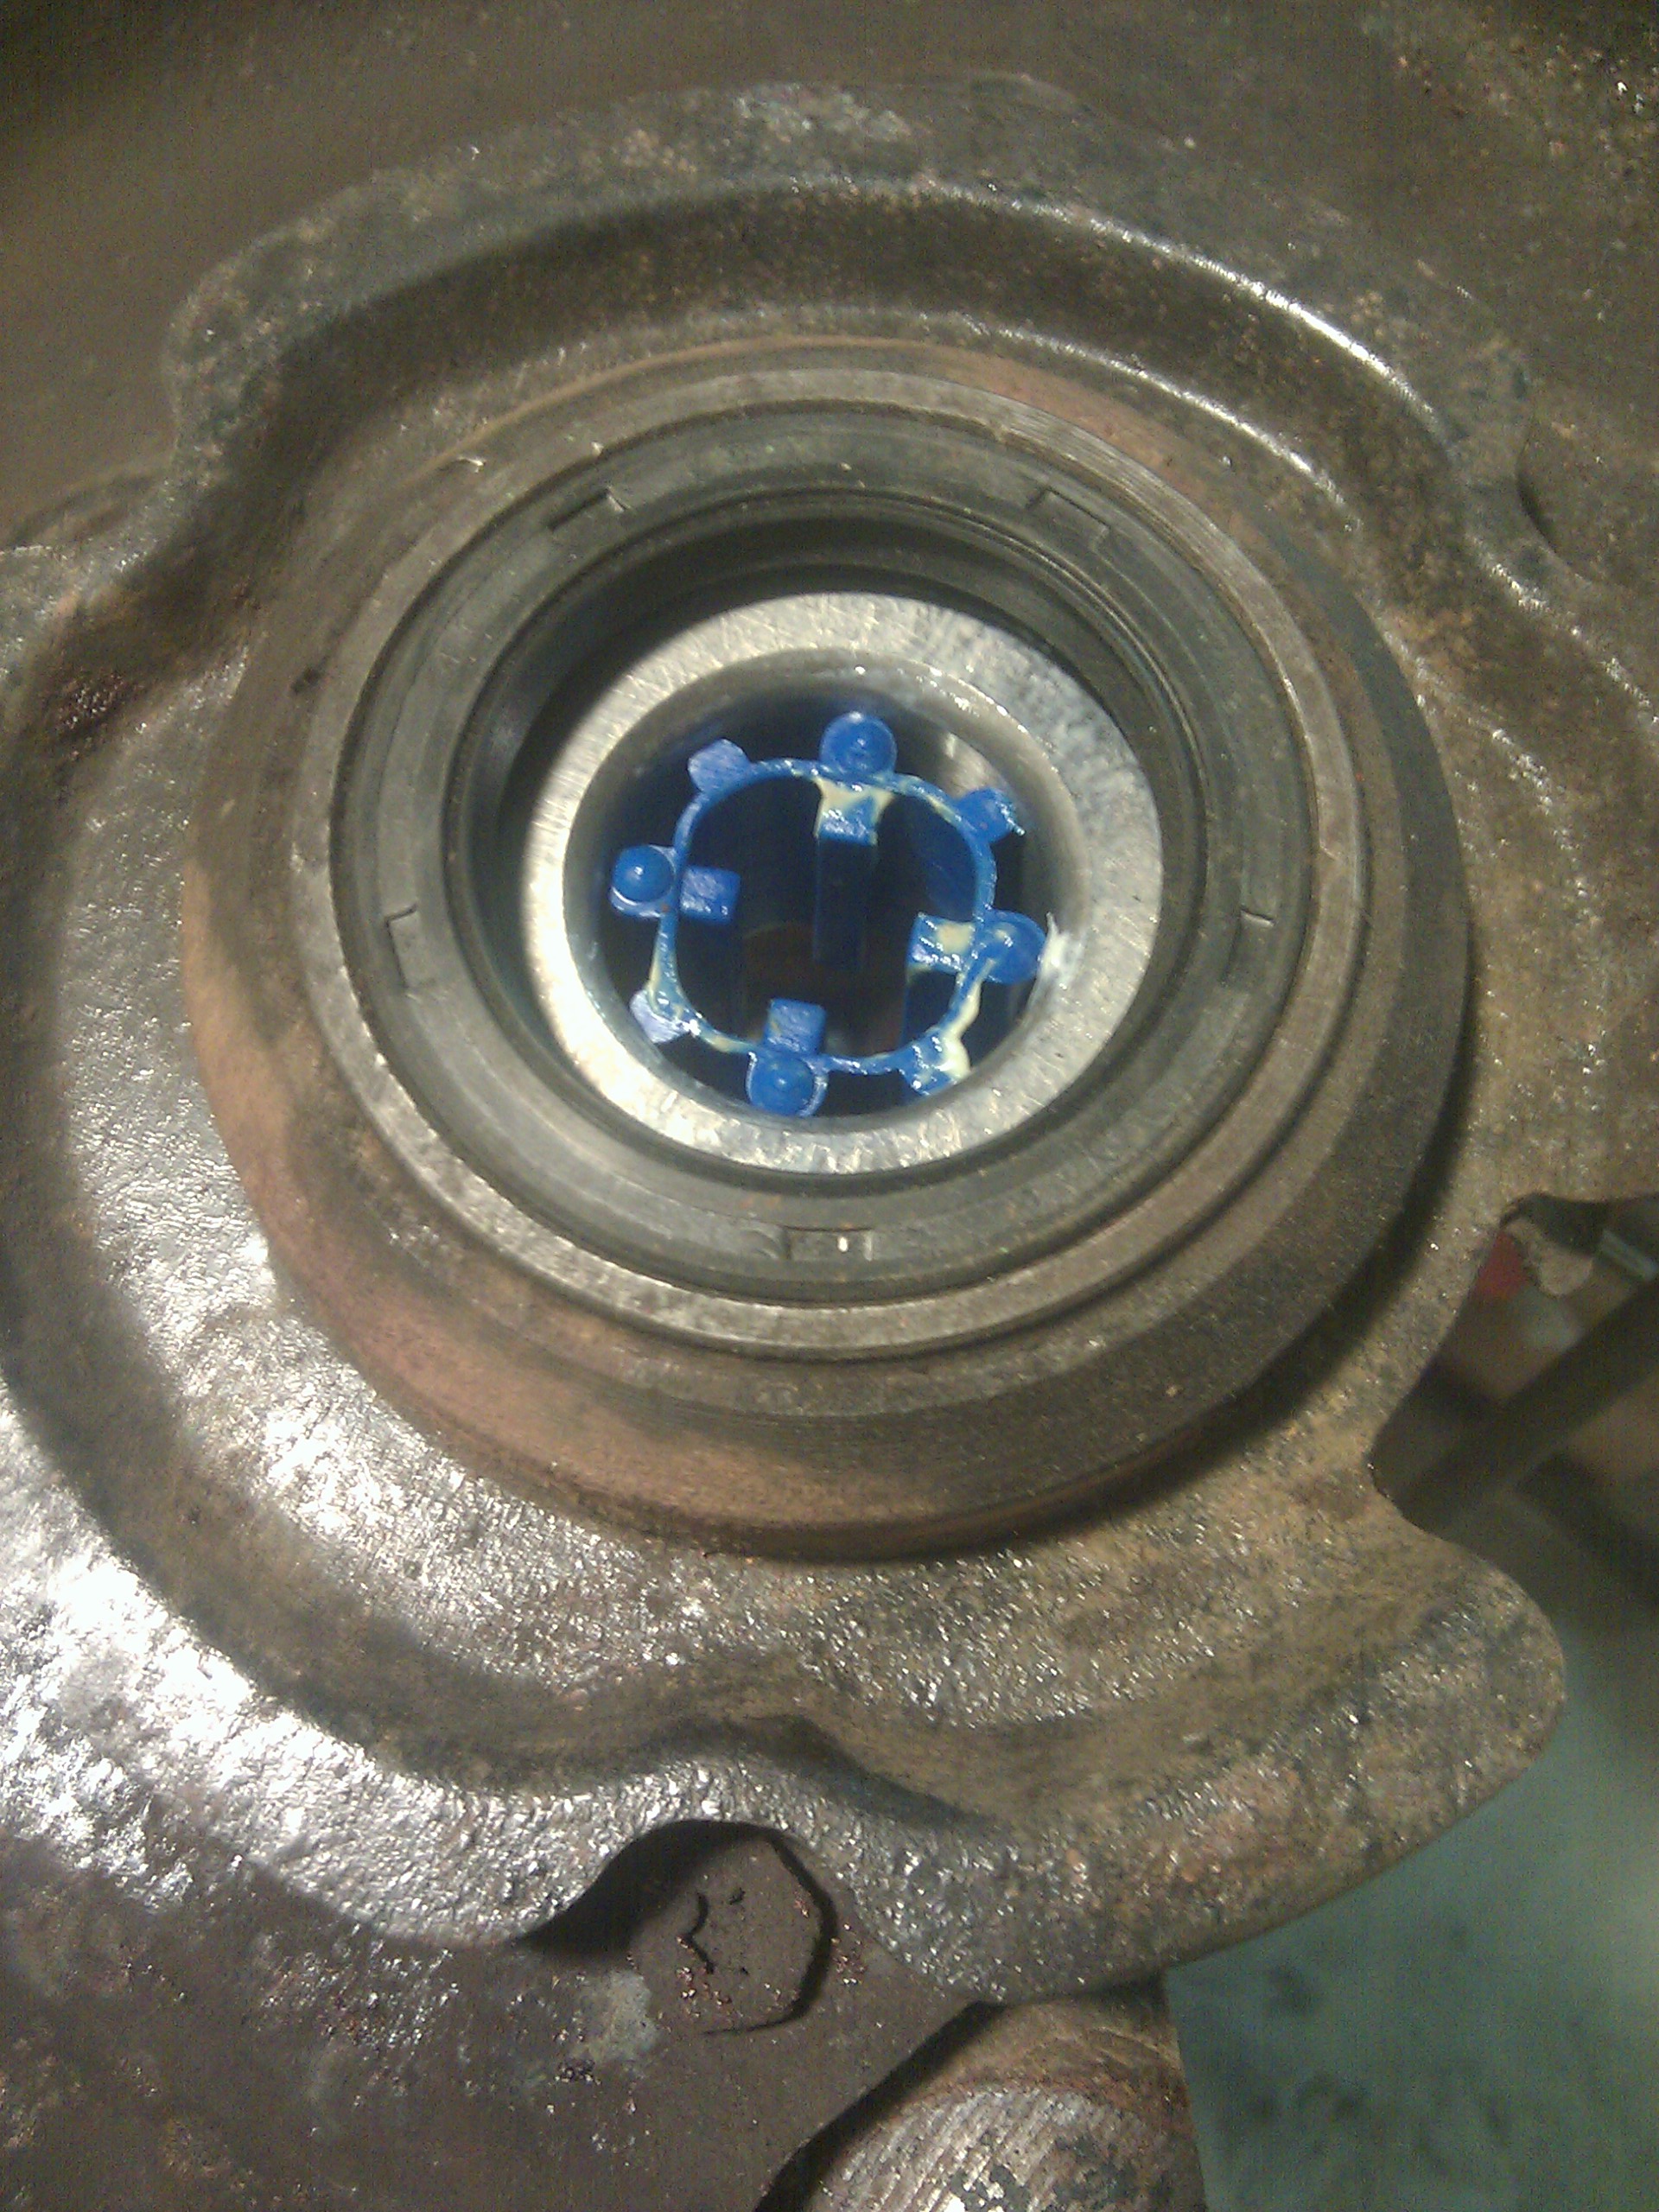
Then grease the hell out of the seal.
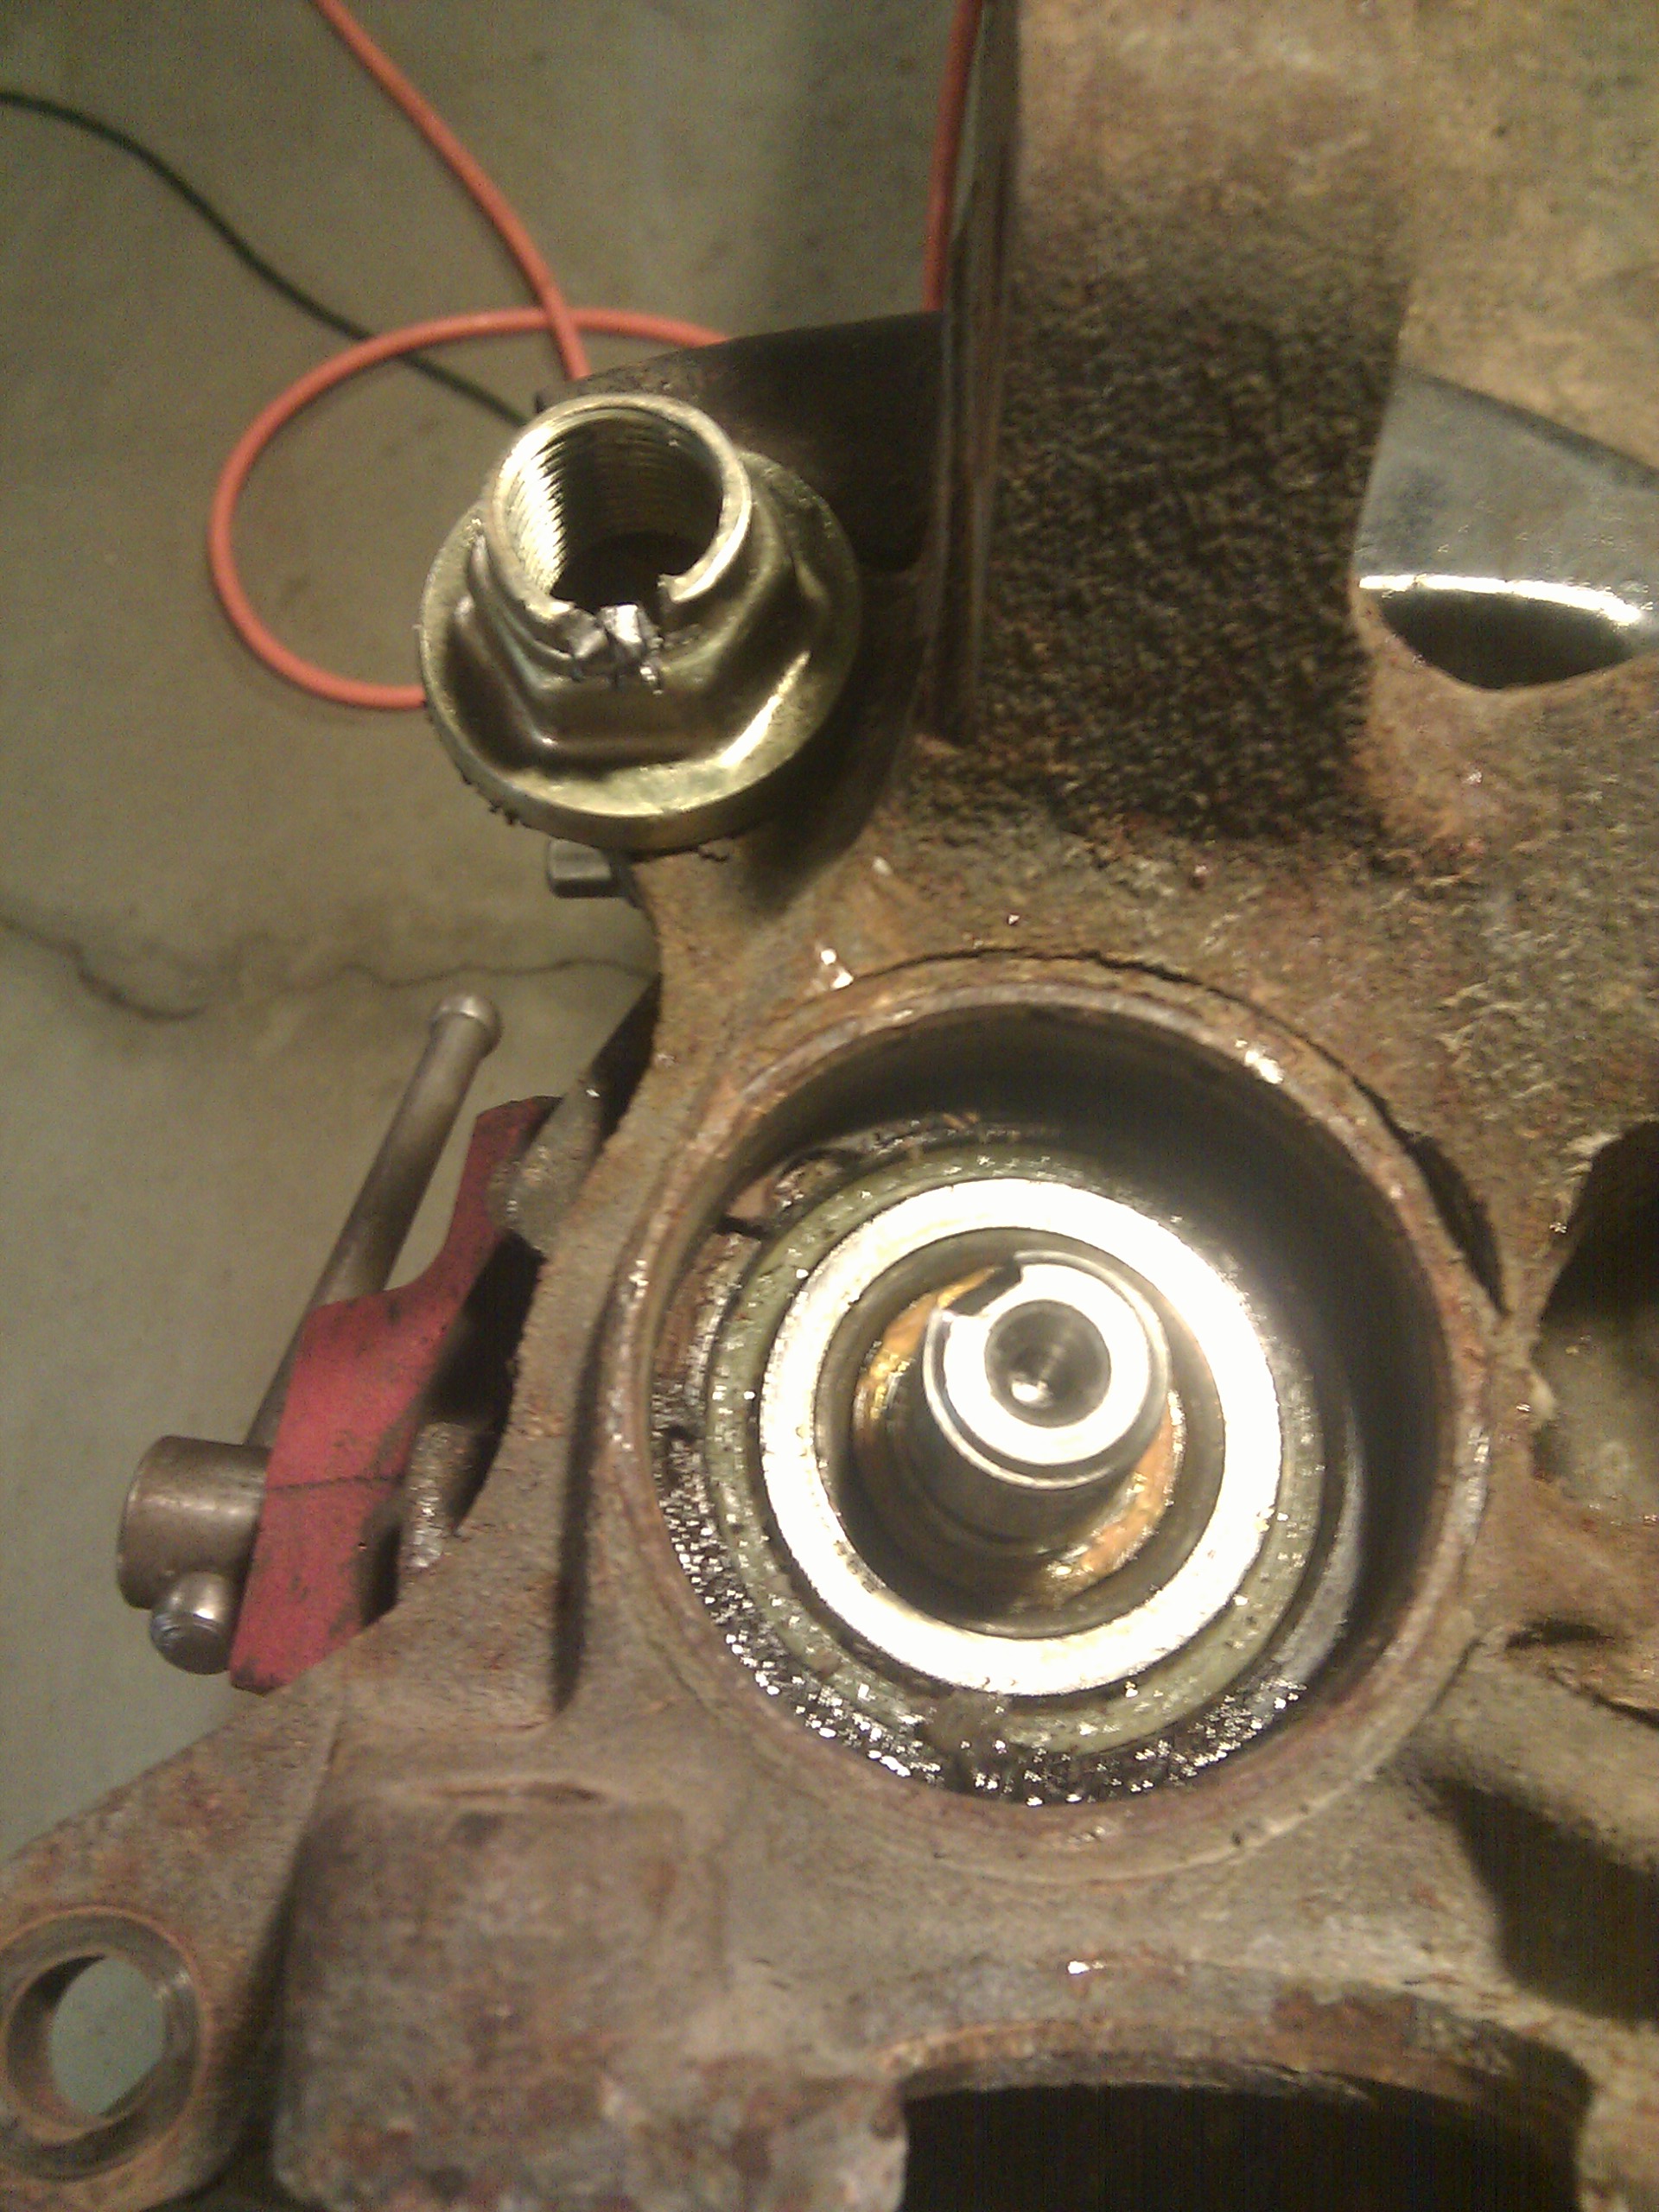
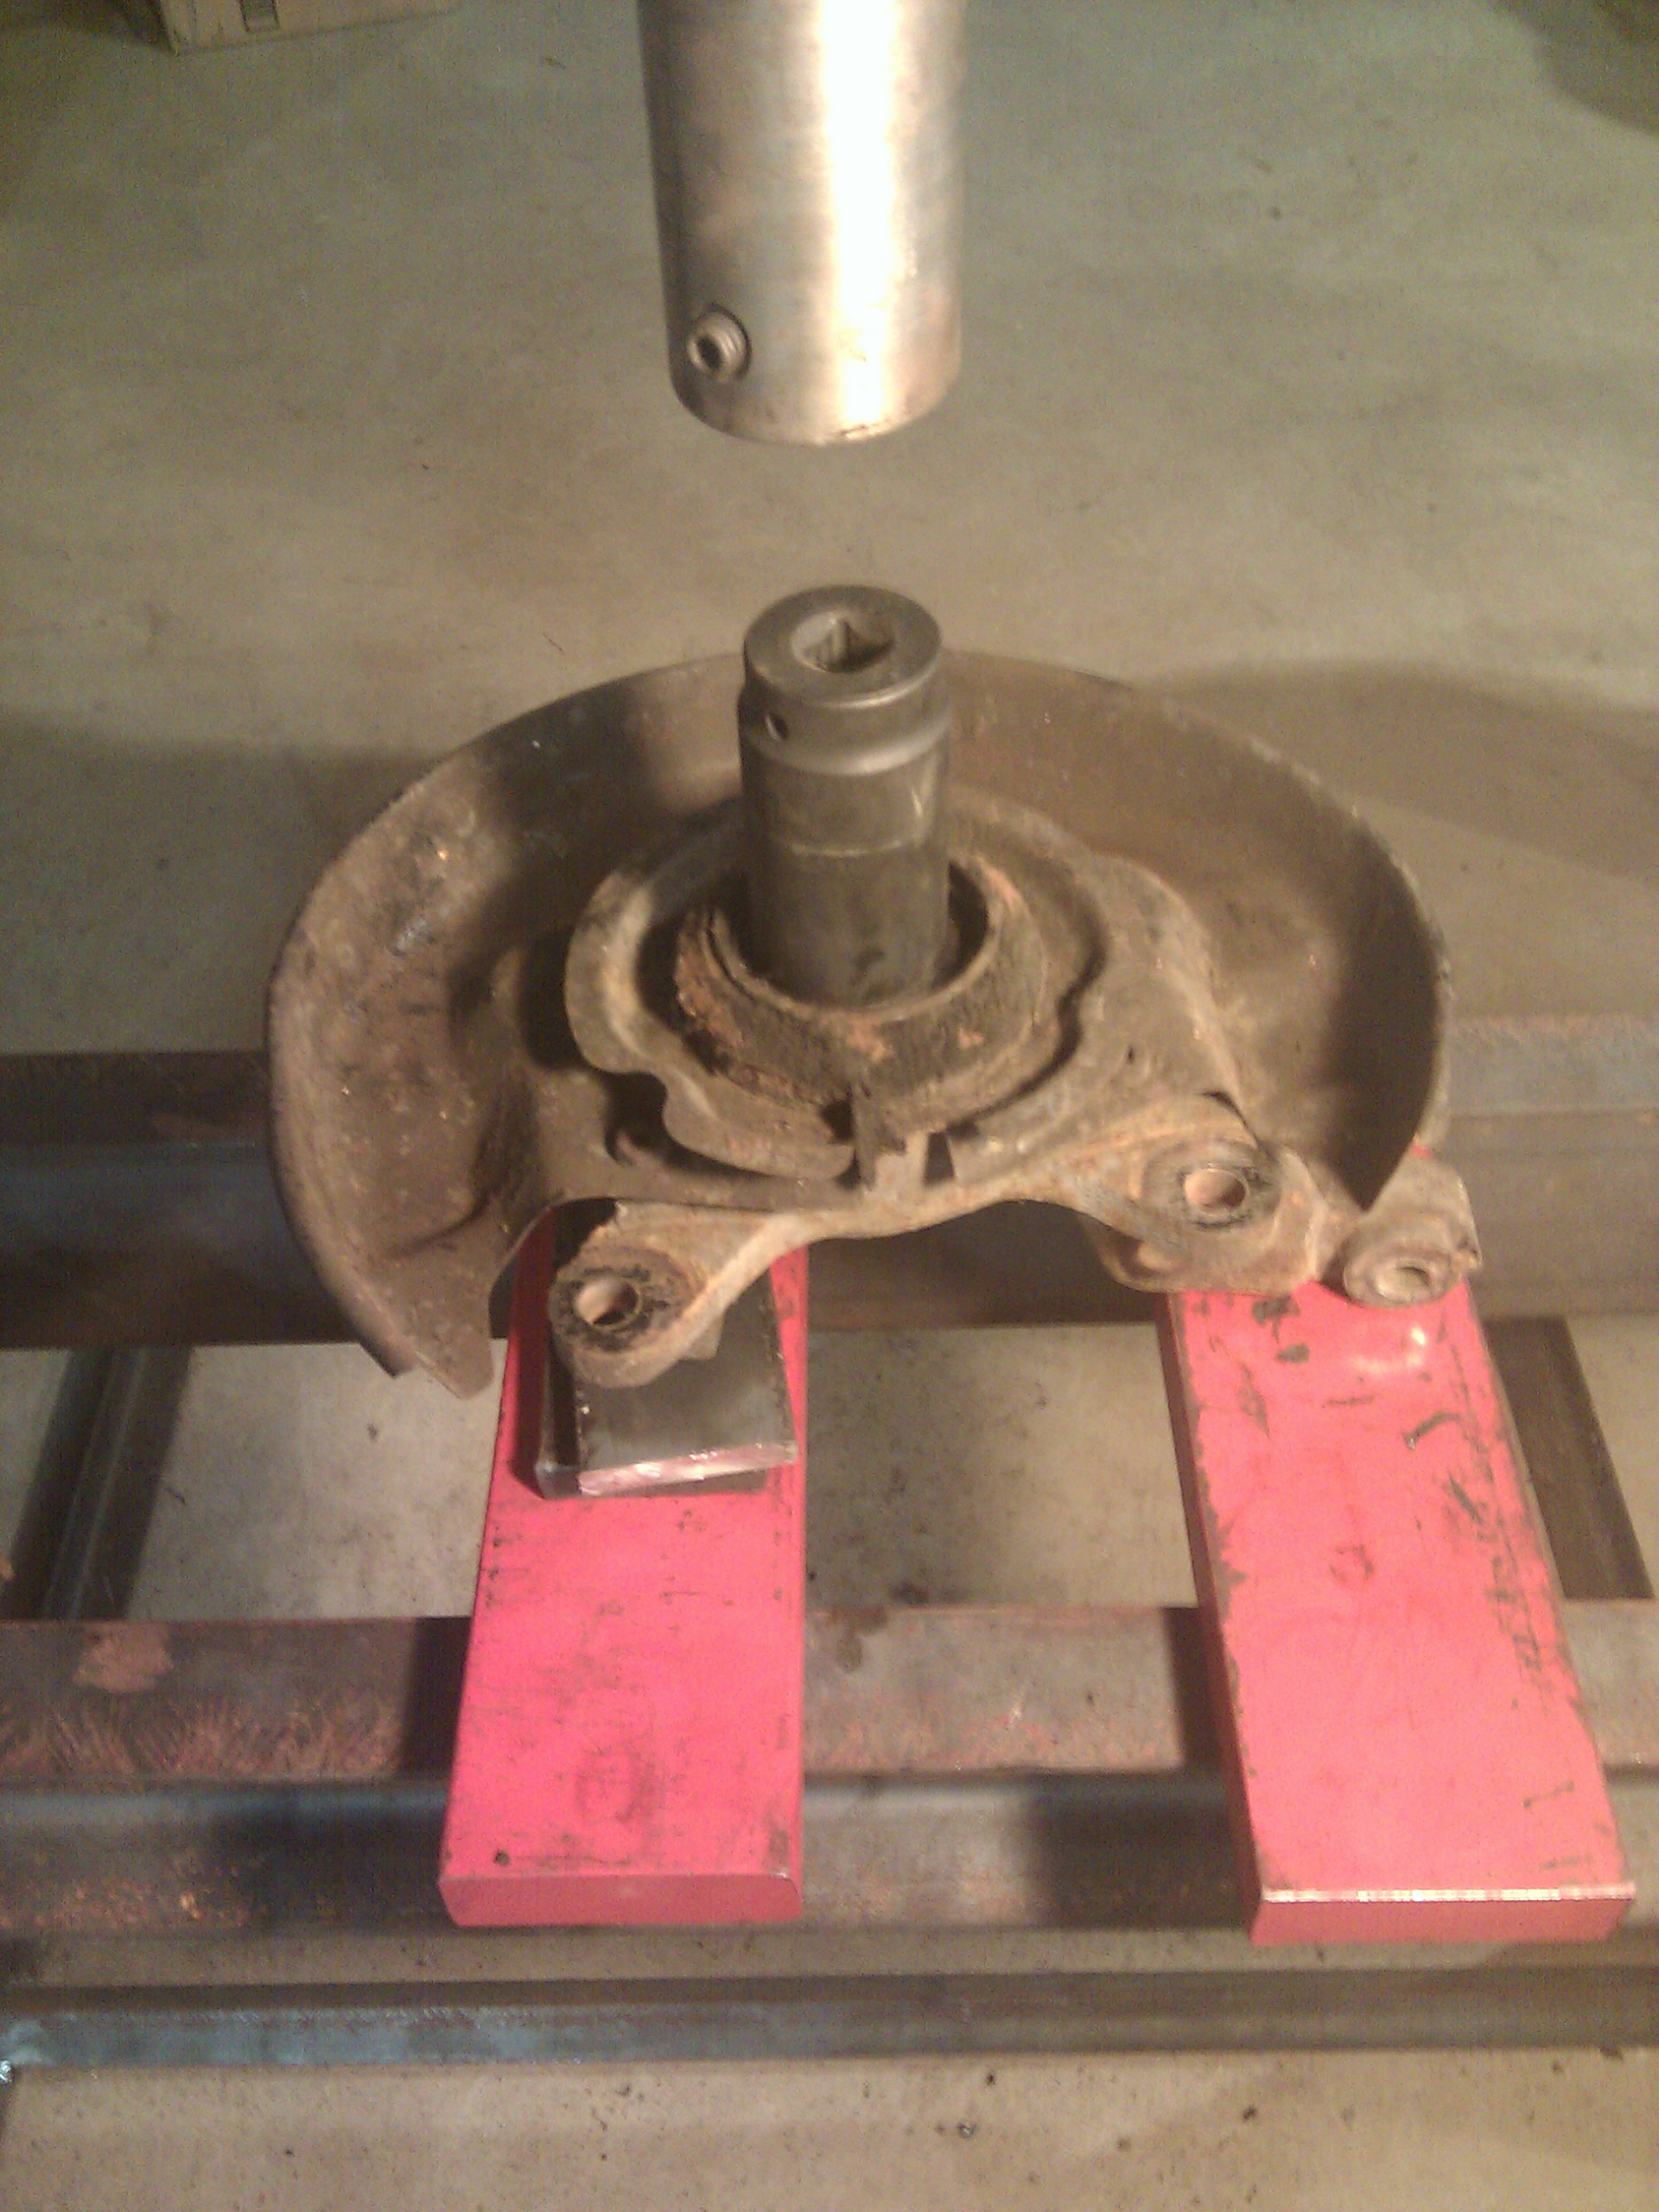
Finally, use SST 09310-35010 to press the hub into the inner races.
Torque the retaining nut back on, then stake the nut with a dull chisel. Harbor Freight sells these for a reasonable price.

Install the grease cap with SST 90608-04020:
Cross your fingers and hope you did it right, since that's about $50 worth of one-time-use parts you just put on. Should be good for another 200,000 miles!
Reinstall the hub, applying the antiseize you forgot you had, but found in the bottom of a milk crate full of various lubricants.
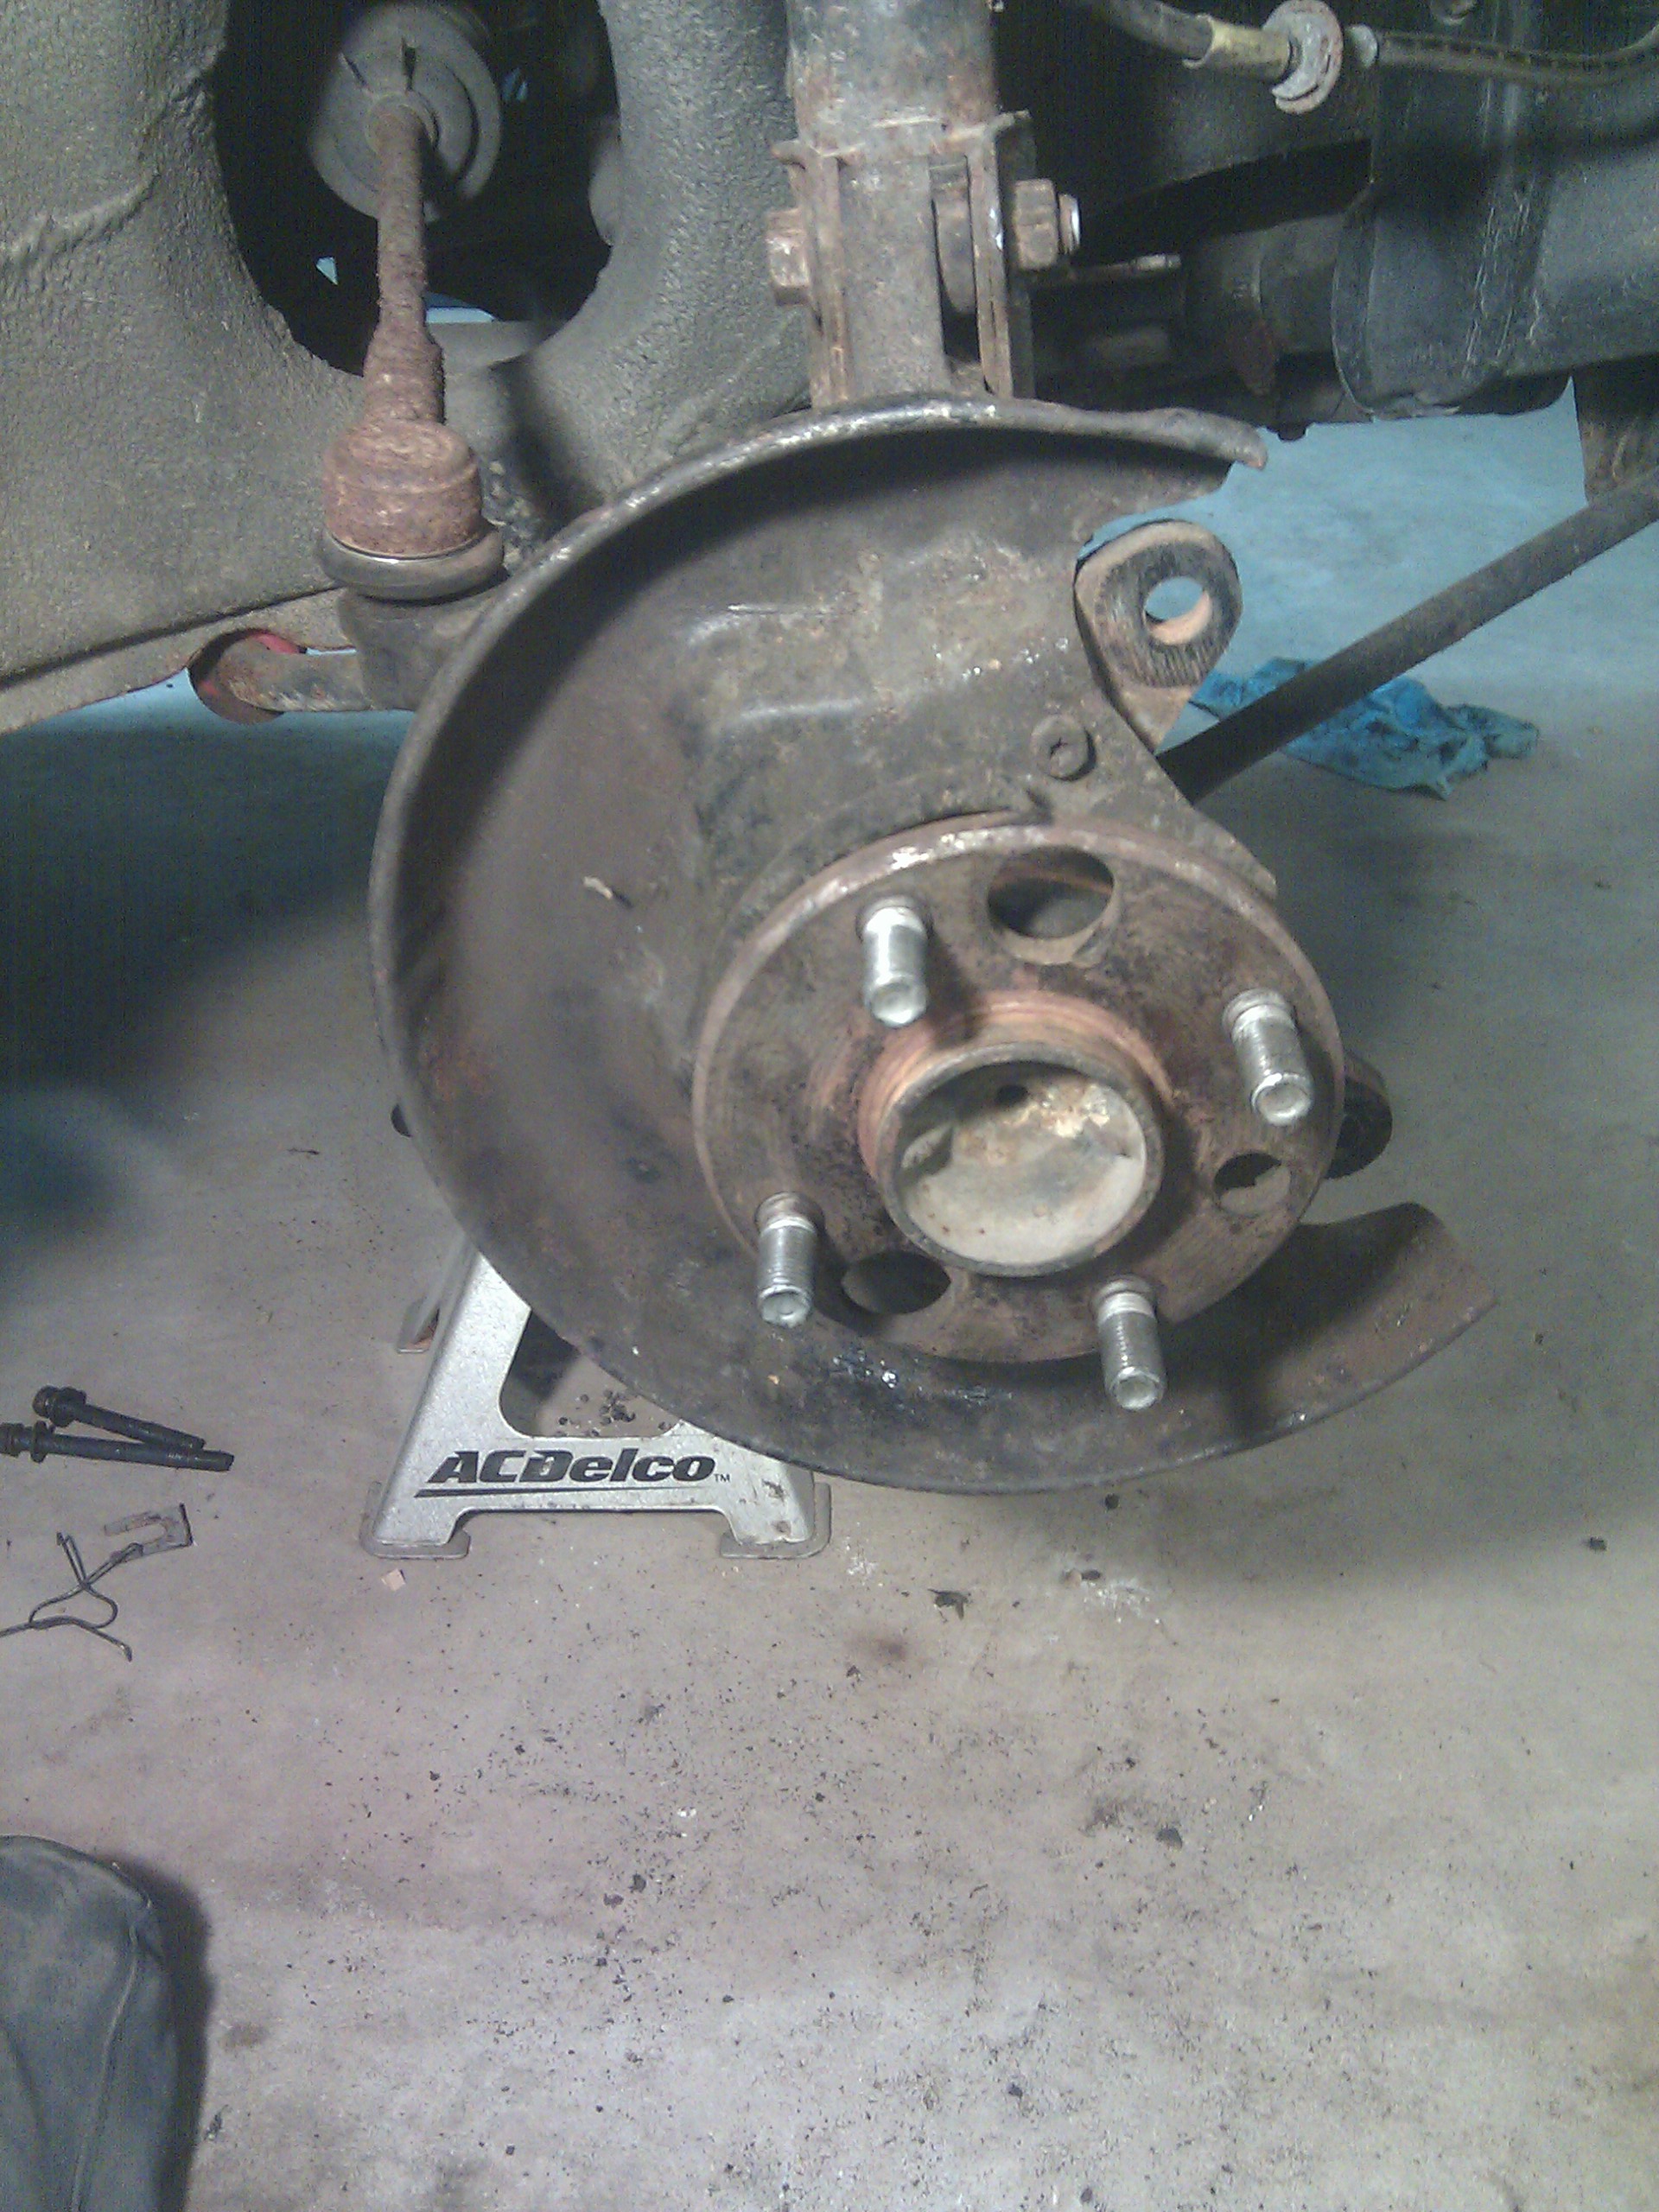
If you find yourself in a situation where you can't quite get two bolt holes to line up, you can use a taper punch to help line things up for you. Depending on the situation, sometimes I will fit it in the hole and tap it in until it's snug; other times I will just use it as a lever to help line things up.
I'll put the brake hardware on later; I plan to clean the surface rust off the rotors using some emery cloth on the lathe first. I still need to re-fill the transmission, change the oil and fix a couple of oil hoses that are leaking, and try to start the engine before I'm done.
By the way, I want to say that I don't mean these posts as 'show off your shop on the internet'. I have no formal training in any of this; most of this stuff I've learned from friends and reading stuff on the internet. I hope to pass on what I've figured out and to encourage you to go out and do things in your basement/garage/spare room/kitchen table. I'd like to see Shopski become more than just 'lm posts what he did in the garage today'!
- I'd like to see Shopski become more than just 'lm posts what he did in the garage today'!
I'm loving these posts and trying to learn what I can from them. Hopefully by this time next year I'll have a house, a garage, and an '80s GM G-Body to join in on this. Though, I'll be learning from scratch and won't have near the tool collection you do. Thank God for Youtube how to vids and rental shops though.
posted 2844 days ago